
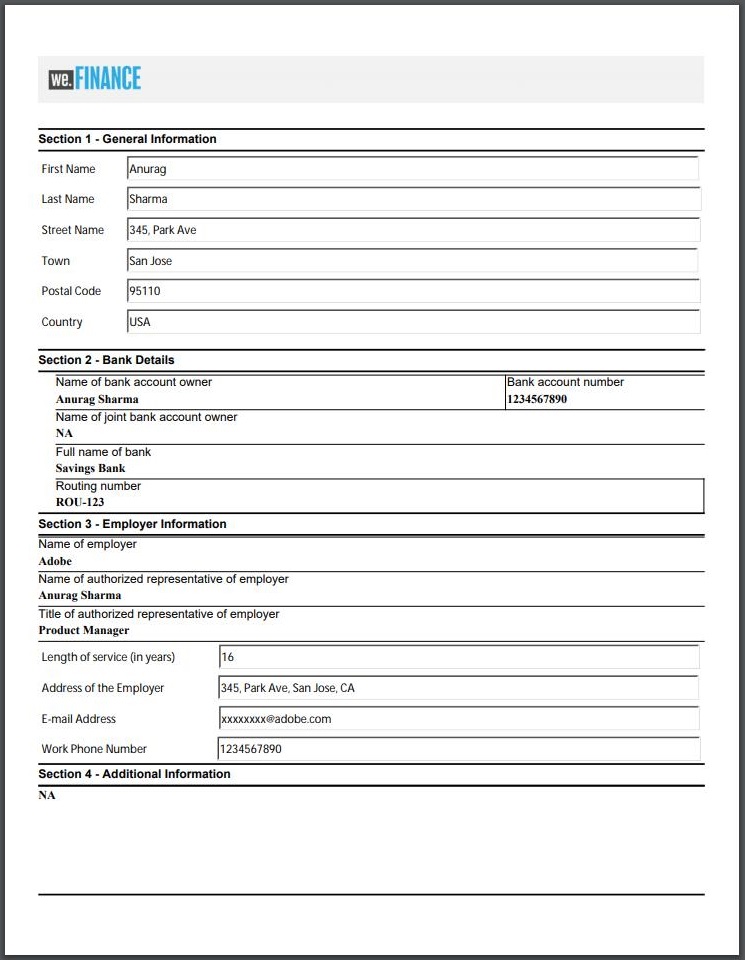
In this lab you will learn how to use Automated Forms Conversion service by Adobe Experience Manager Forms to accelerate digitization and modernization of data capture experience through automated conversion of legacy PDF forms to adaptive forms. The service, powered by Adobe Sensei, automatically converts your PDF forms to device-friendly and responsive HTML5 based adaptive forms. You will learn to generate adaptive forms with consistent styling, layout, and field validations as per your organization's needs.
Certain in-product help dialogs may be displayed in Adobe Experience Manager UI during the course of the lab. Follow the below instructions to dismiss the dialogs.
Product Navigation dialog
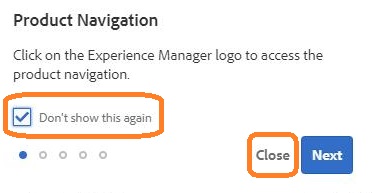
To dismiss the dialog, check Don't show this again and click Close
Form Authoring modes help dialog
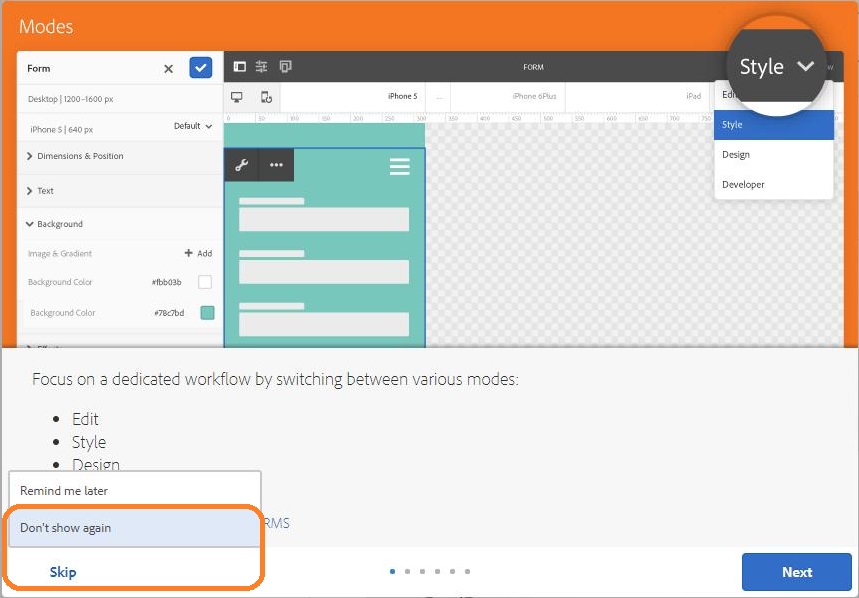
To dismiss the dialog, click Skip > Don't show again
Login to AEM http://localhost:4502/aem/start.html with username "admin" and password "admin".
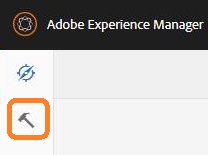
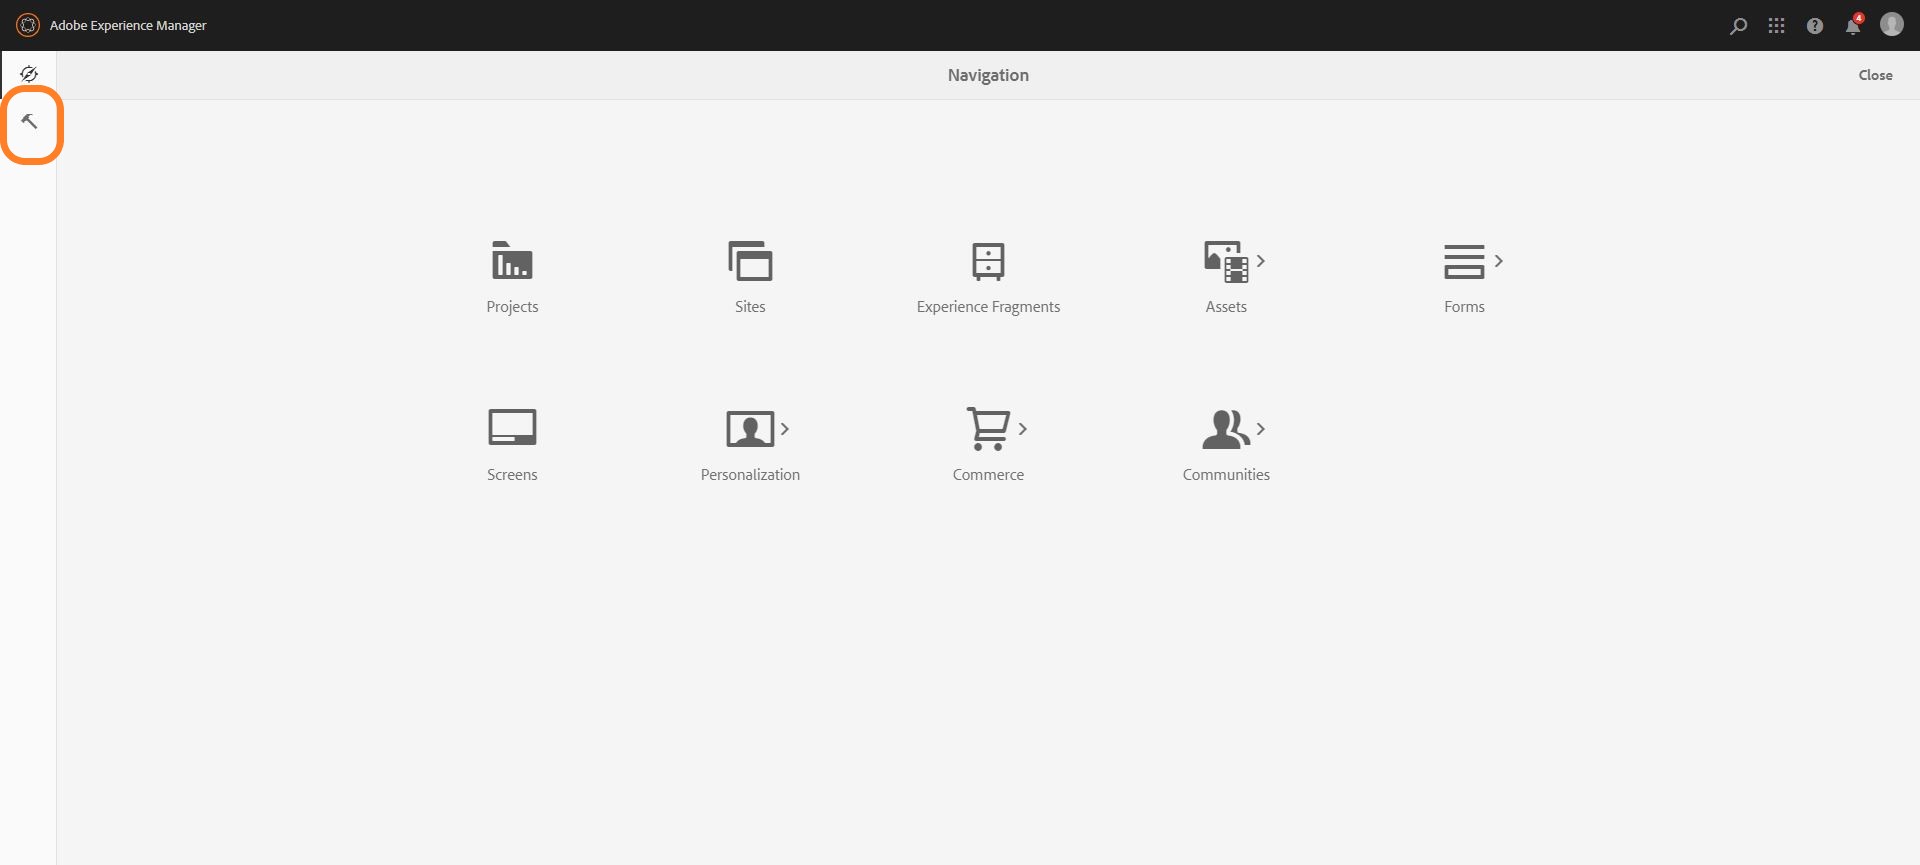
Click Tools icon in the left navigation.
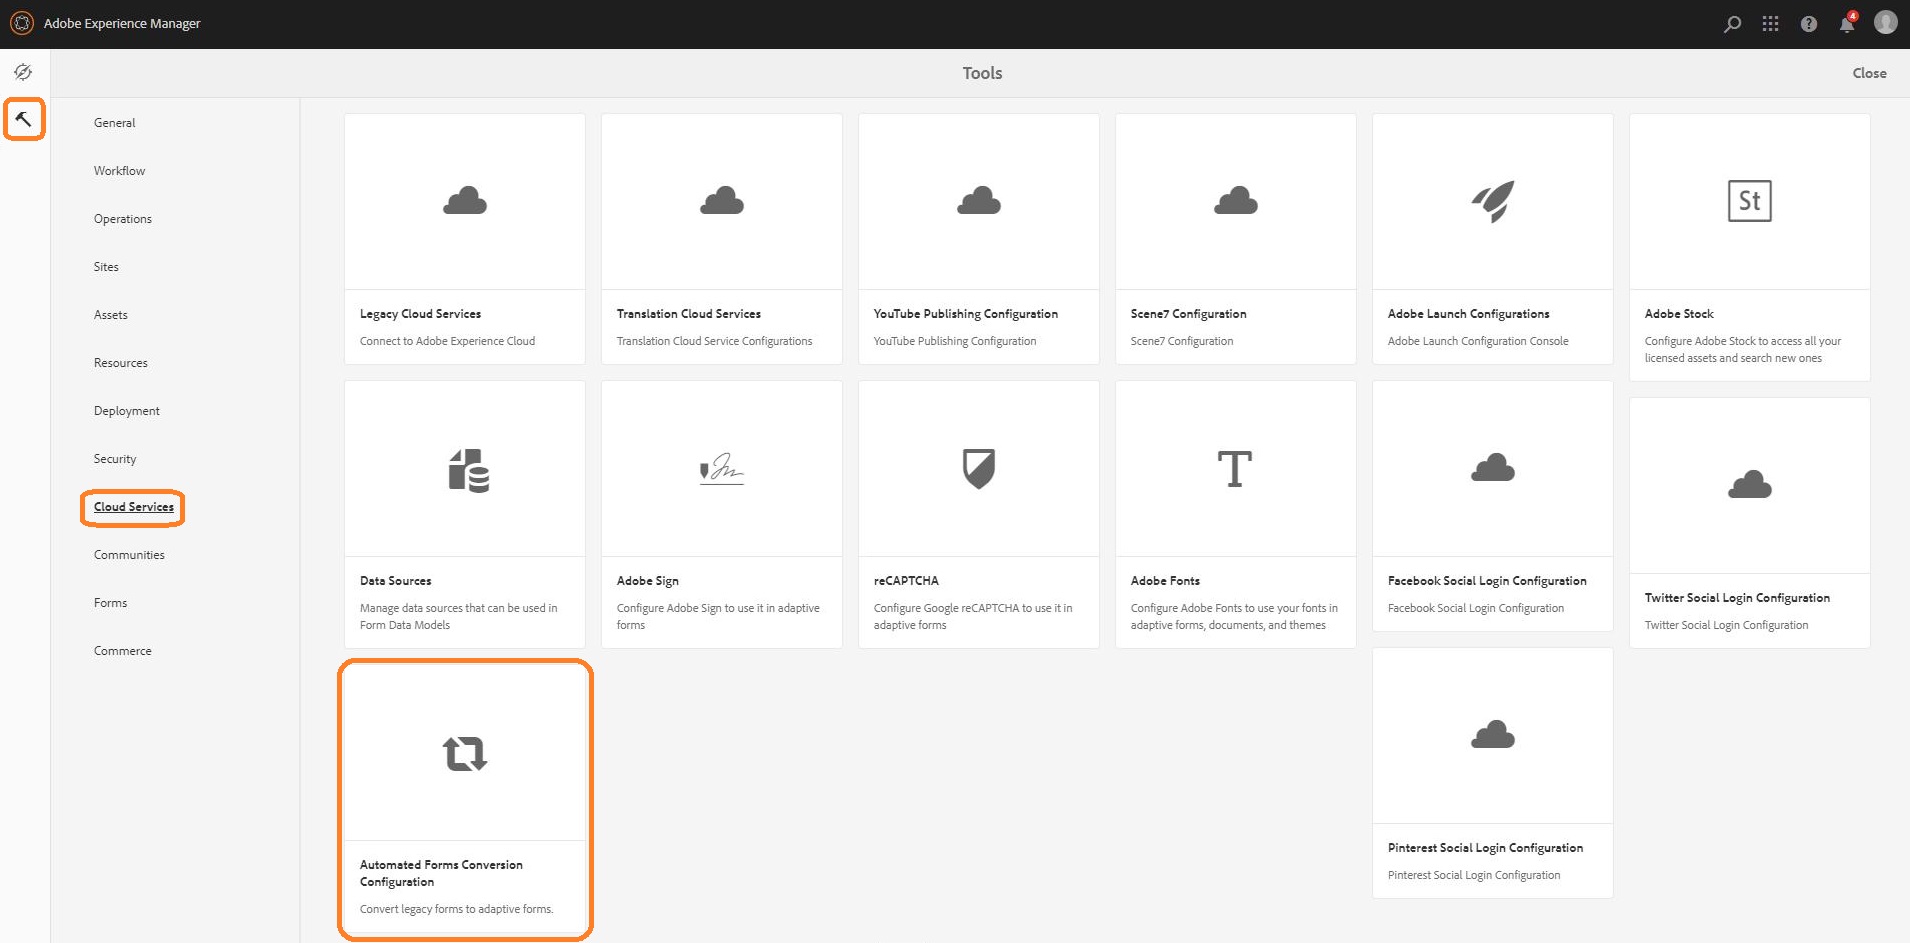
Navigate to Cloud Services > Automated Forms Conversion configuration.
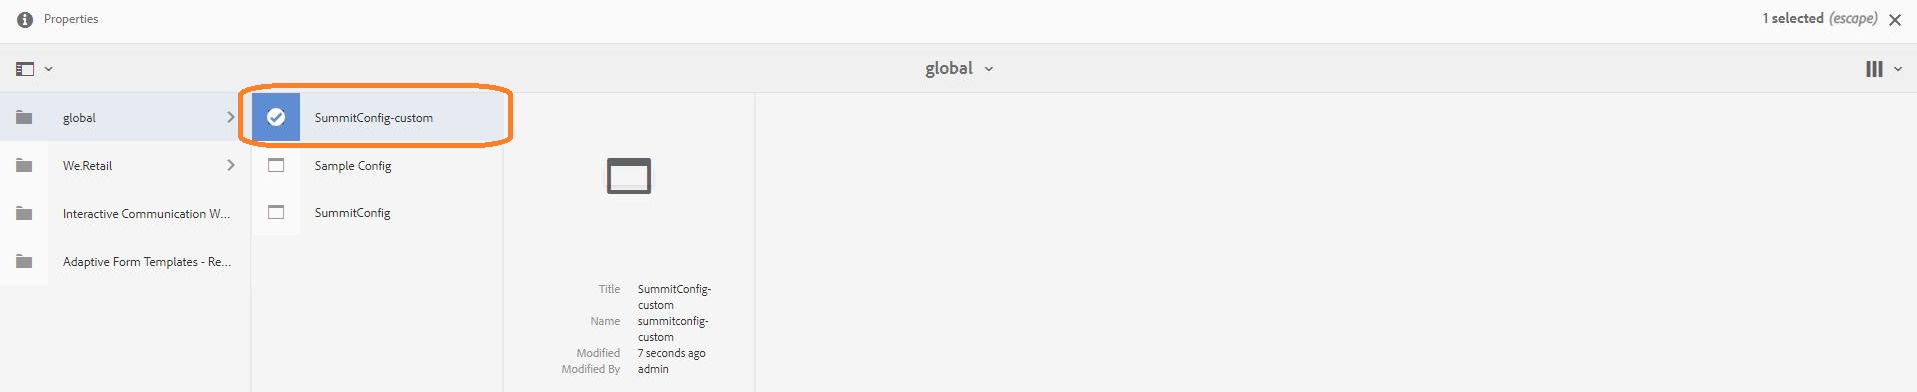
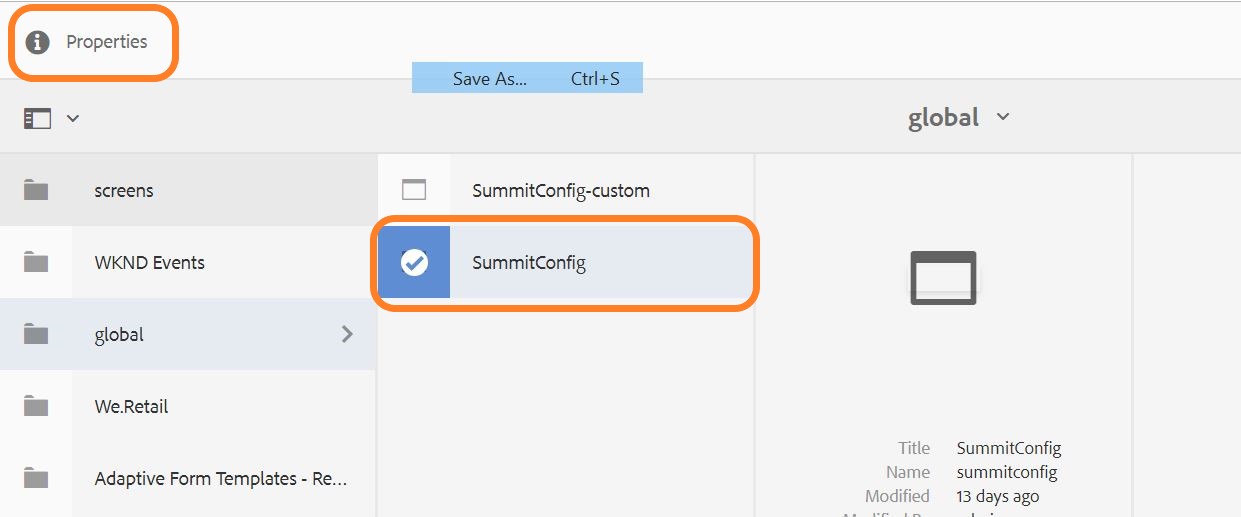
Click global and select SummitConfig-custom config.
Click Properties to open property sheet.
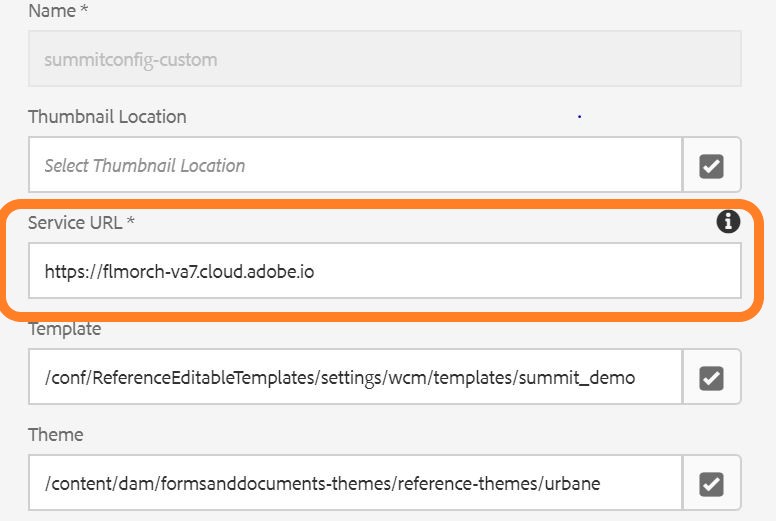
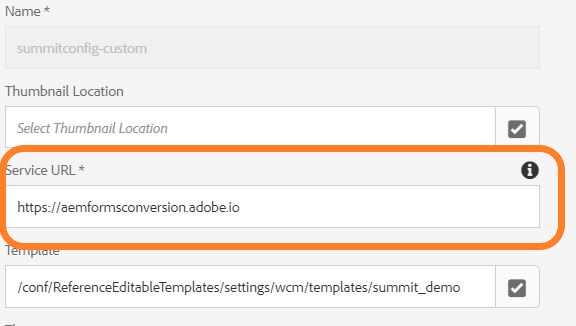
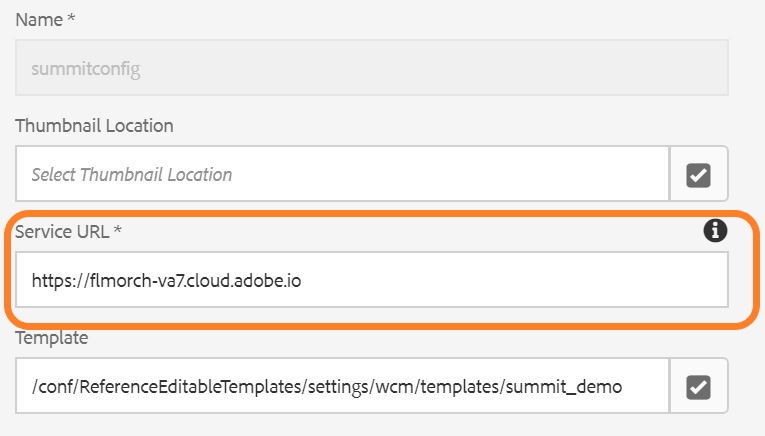
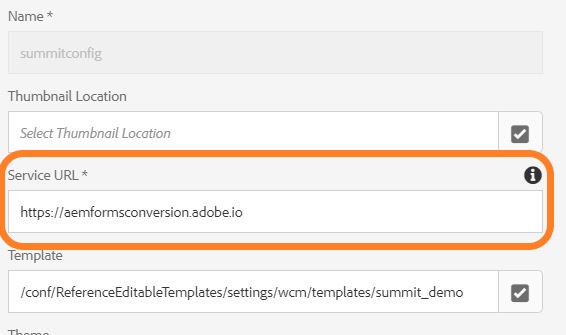
Change the Service URL field from "https://flmorch-va7.cloud.adobe.io" to "https://aemformsconversion.adobe.io".
Click Save&Close present on the top right side of screen.
Now, select SummitConfig config.
Click Properties to open property sheet.
Change the Service URL field from "https://flmorch-va7.cloud.adobe.io" to "https://aemformsconversion.adobe.io".
Click Save&Close present on the top right side of screen.
Automated Forms Conversion service automates various stages of manual form creation to accelerate the form digitization and modernization end to end process. It applies AI/ML to extract form structure from input form by discerning the text and fields, identify compound widgets, and semantically groups them into field groups and sections. Reusable form fragments are extracted by grouping fields into logical sections. Common layout and style are applied to generated adaptive forms to provide consistent branding and appearance. Field validations are automatically applied for different field types. E.g. email, social security number, zip code fields. Adobe Analytics is enabled automatically on all forms to help obtain user engagement.
Let us upload the PDF form and start the conversion:
Login to AEM http://localhost:4502/aem/start.html with username "admin" and password "admin".
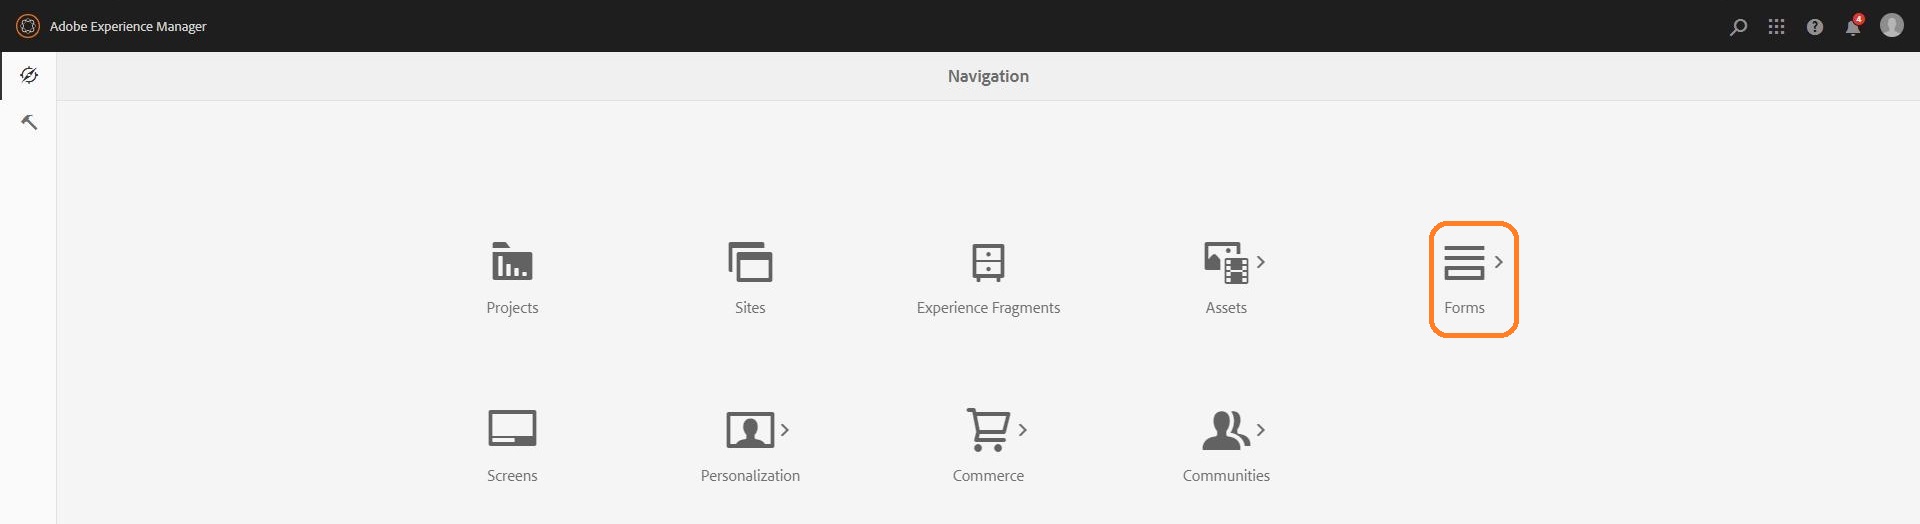
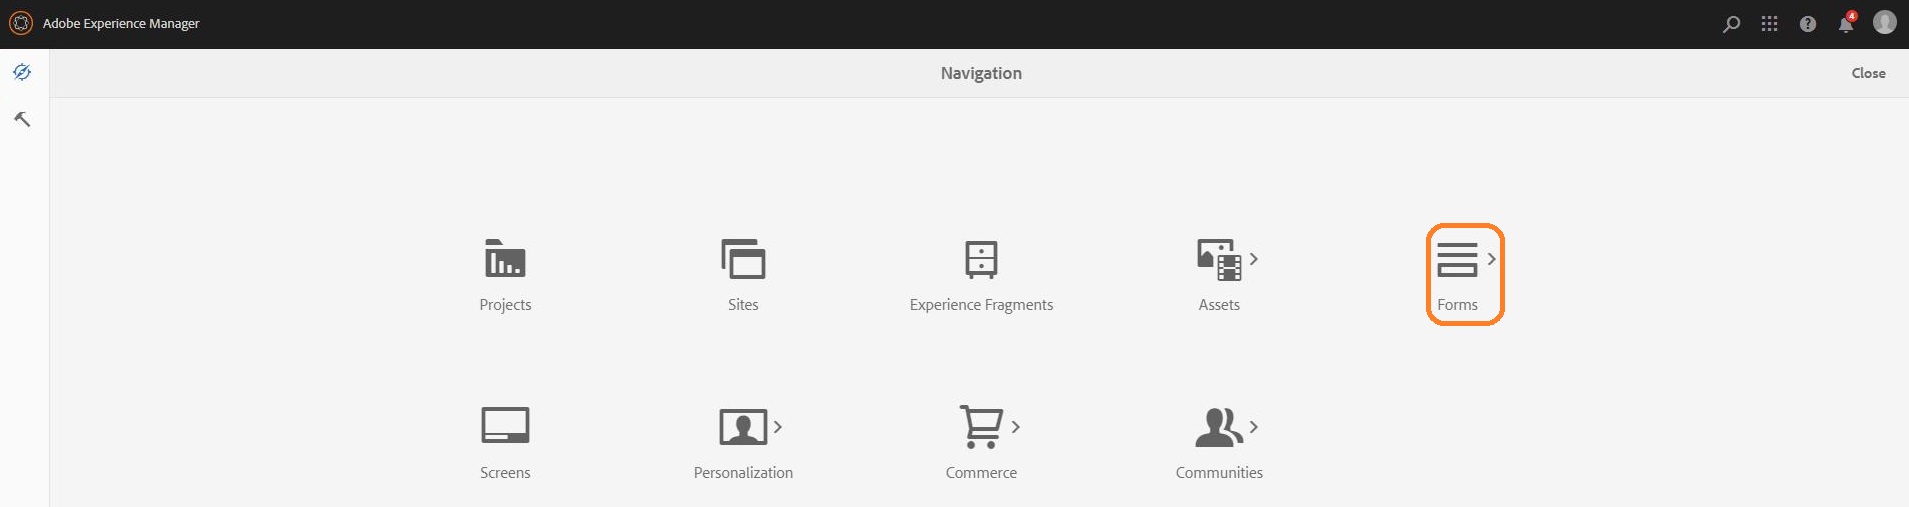
Navigate to Forms > Forms & Documents.

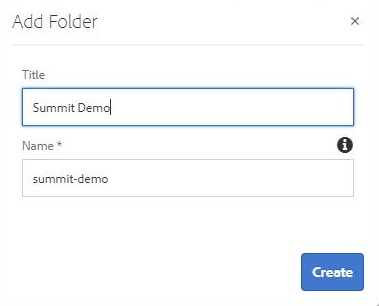
Click Create > Folder. Provide title as Summit Demo, click Create.
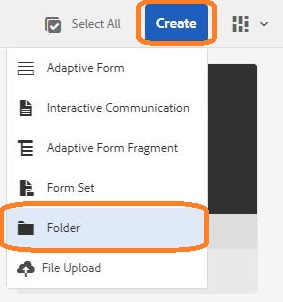
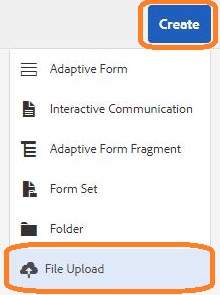
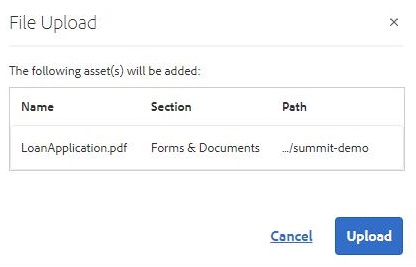
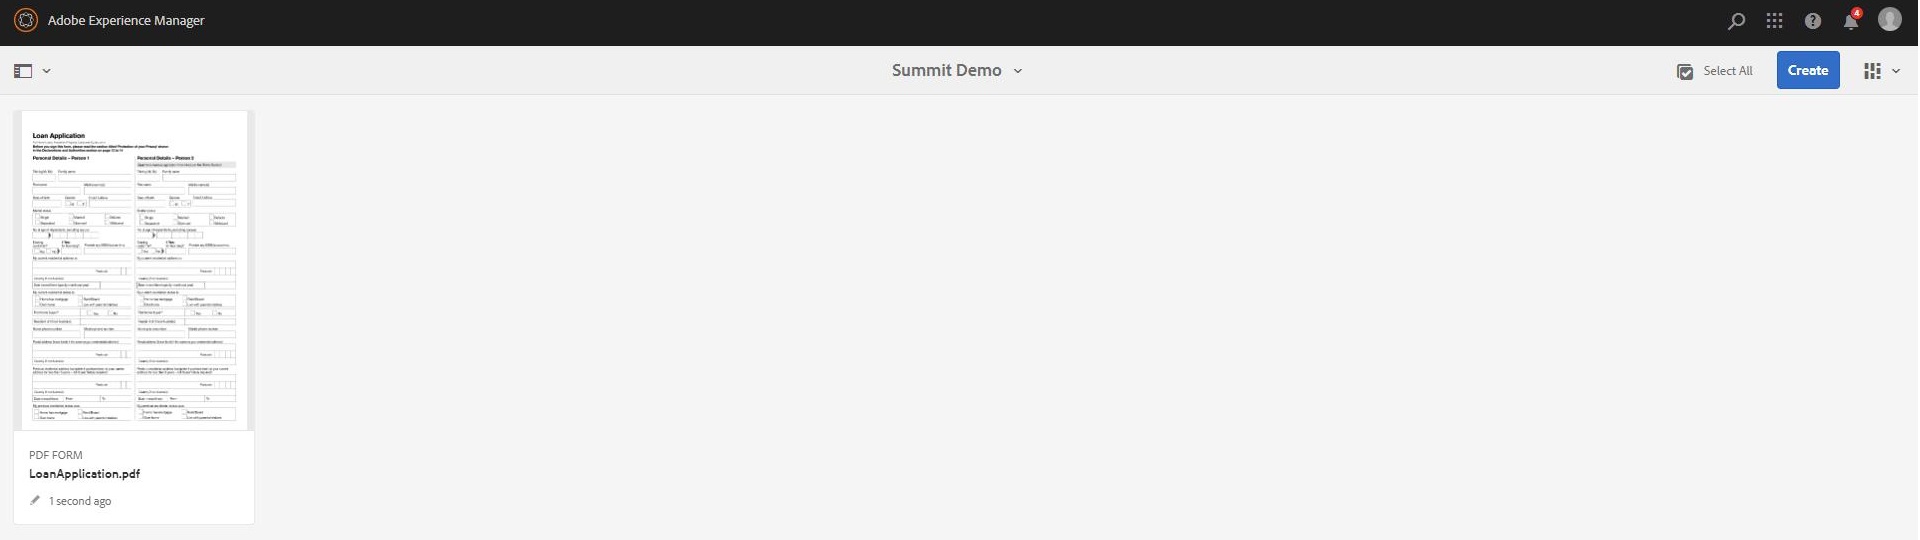
Navigate inside Summit Demo folder. Click Create > File Upload and select LoanApplication.pdf.
Click Open > Upload and wait for form to be uploaded in the folder.
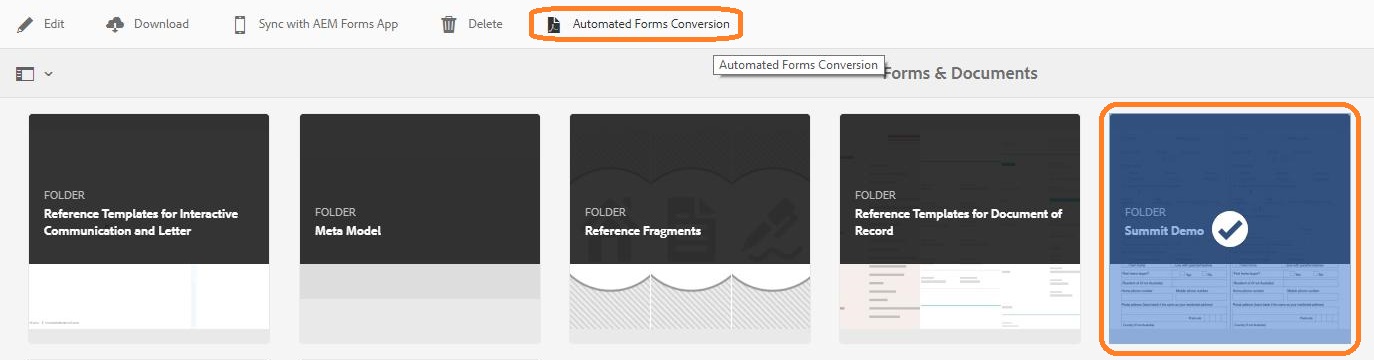
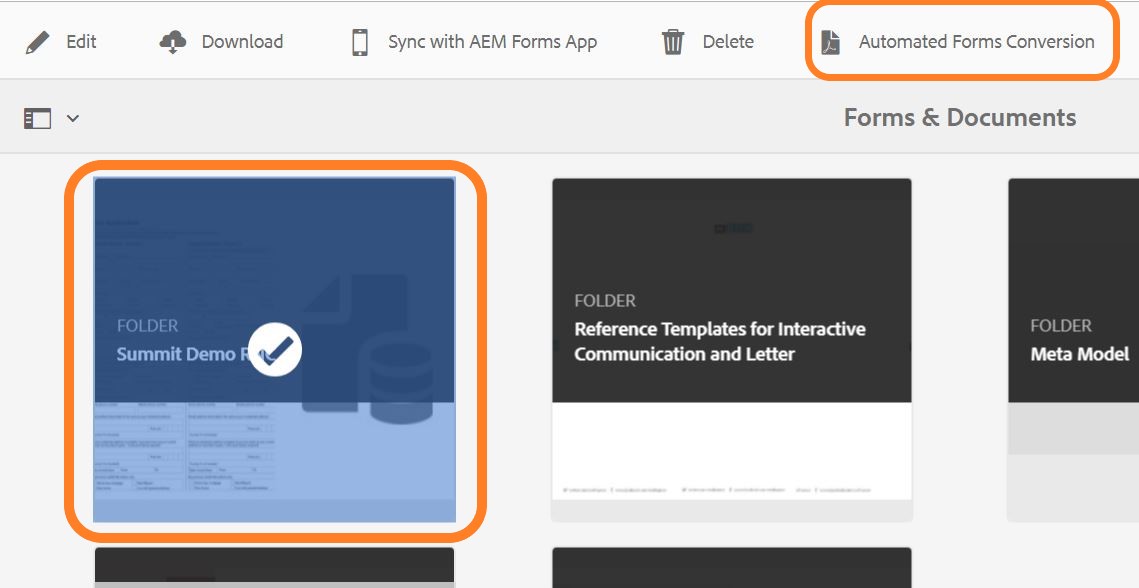
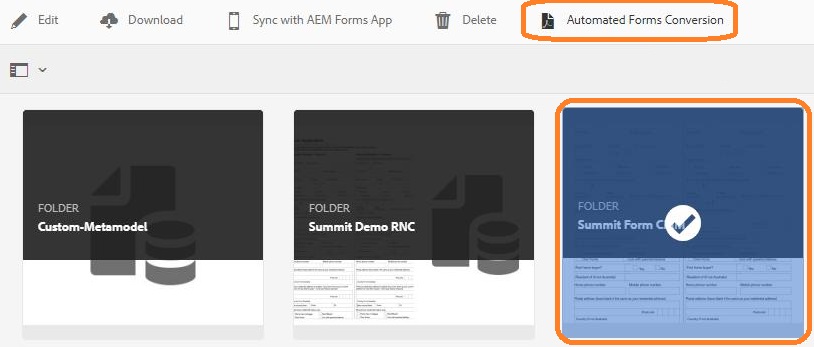
Using navigation at the top, goto Forms & Documents folder.

Select Summit Demo folder and click Automated Forms Conversion.
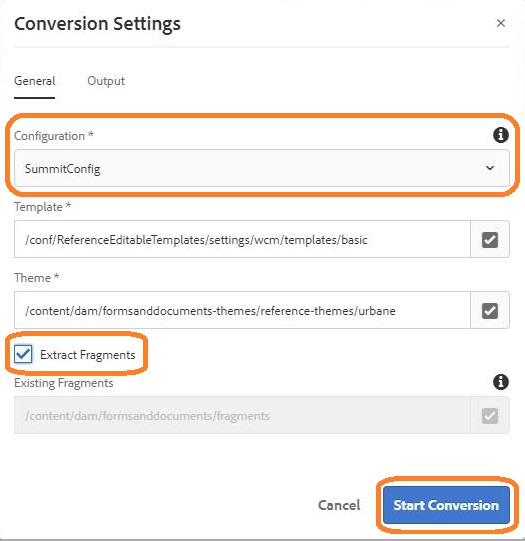
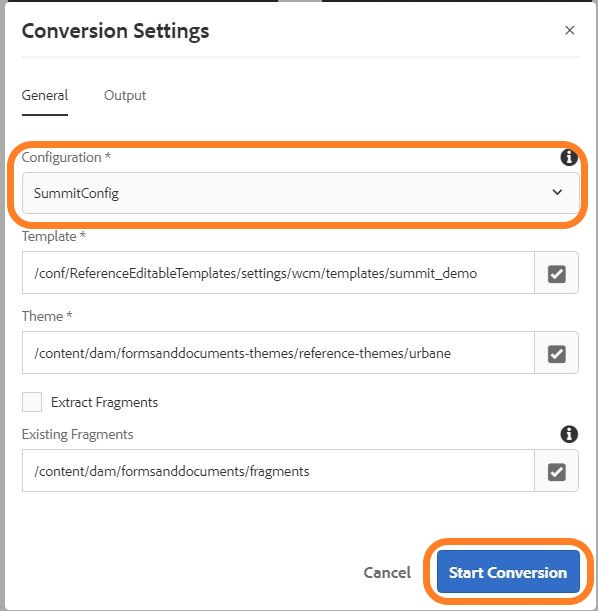
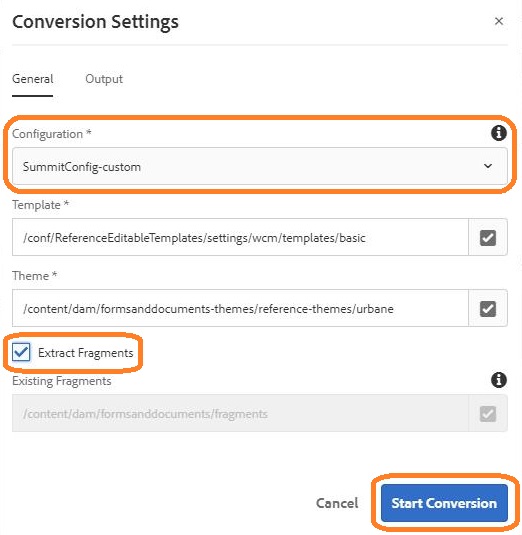
The Configuration Settings dialog appears
Select Configuration as SummitConfig
Check Extract Fragments and click Start Conversion.
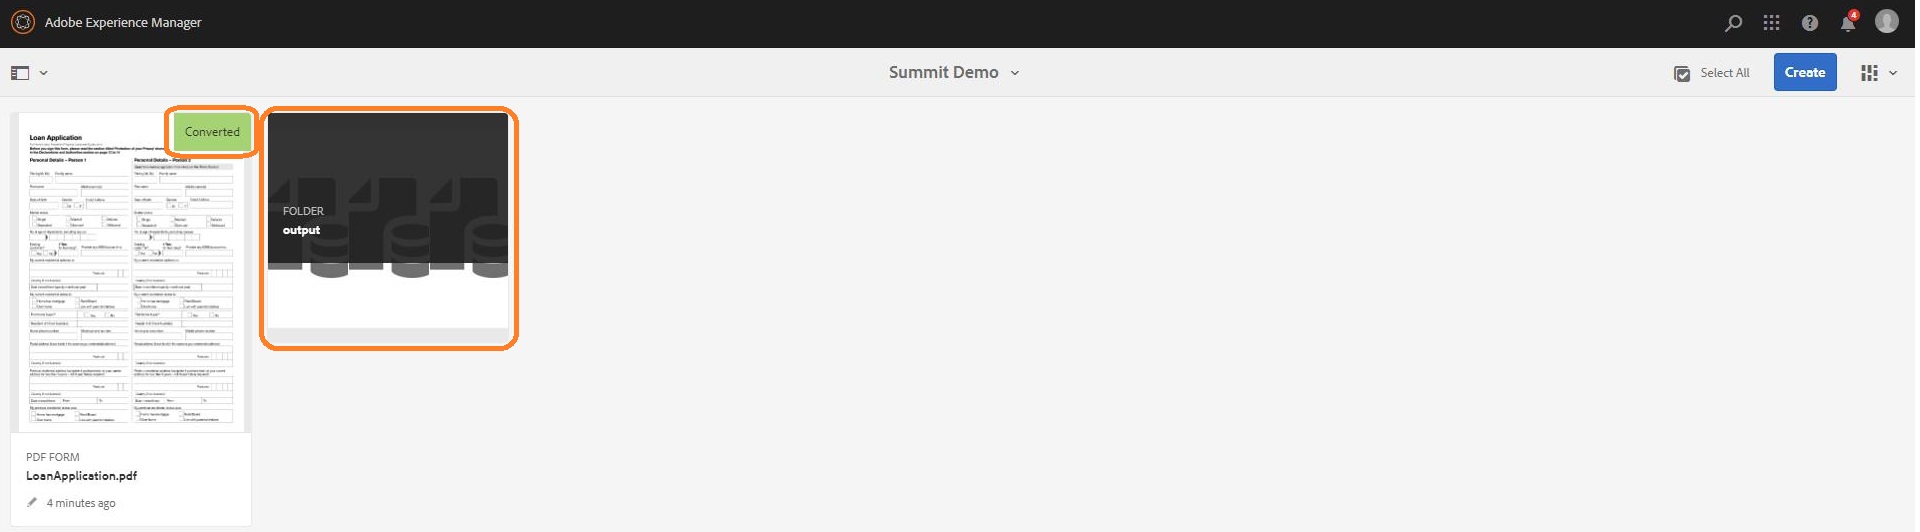
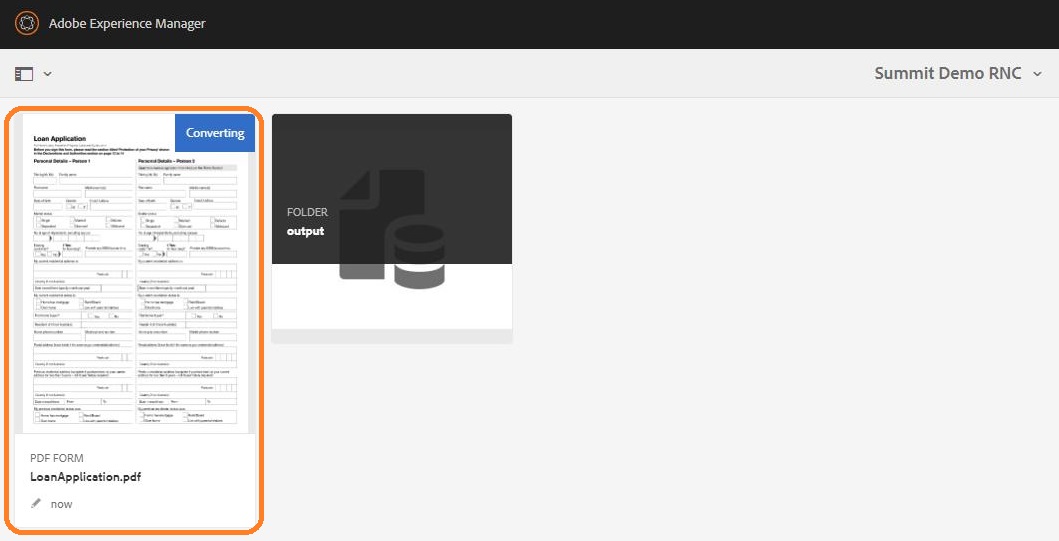
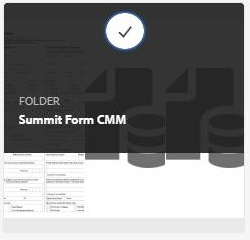
As conversion is triggered, Conversion in progress message is displayed on the folder.
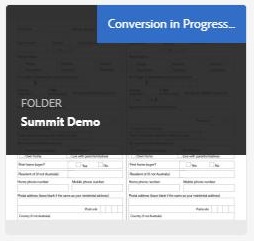
Refresh the page after a couple of minutes to check conversion progress. Once the conversion is complete, open the Summit Demo folder.

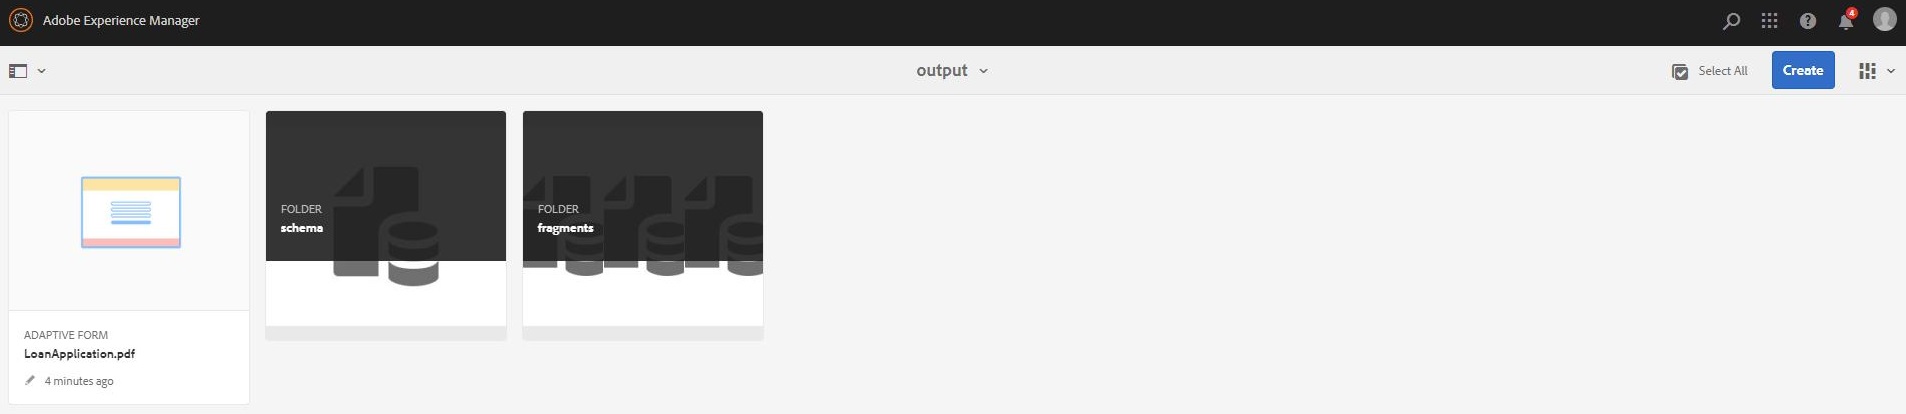
Open the output folder. The adaptive form and auto-generated JSON schema are present.
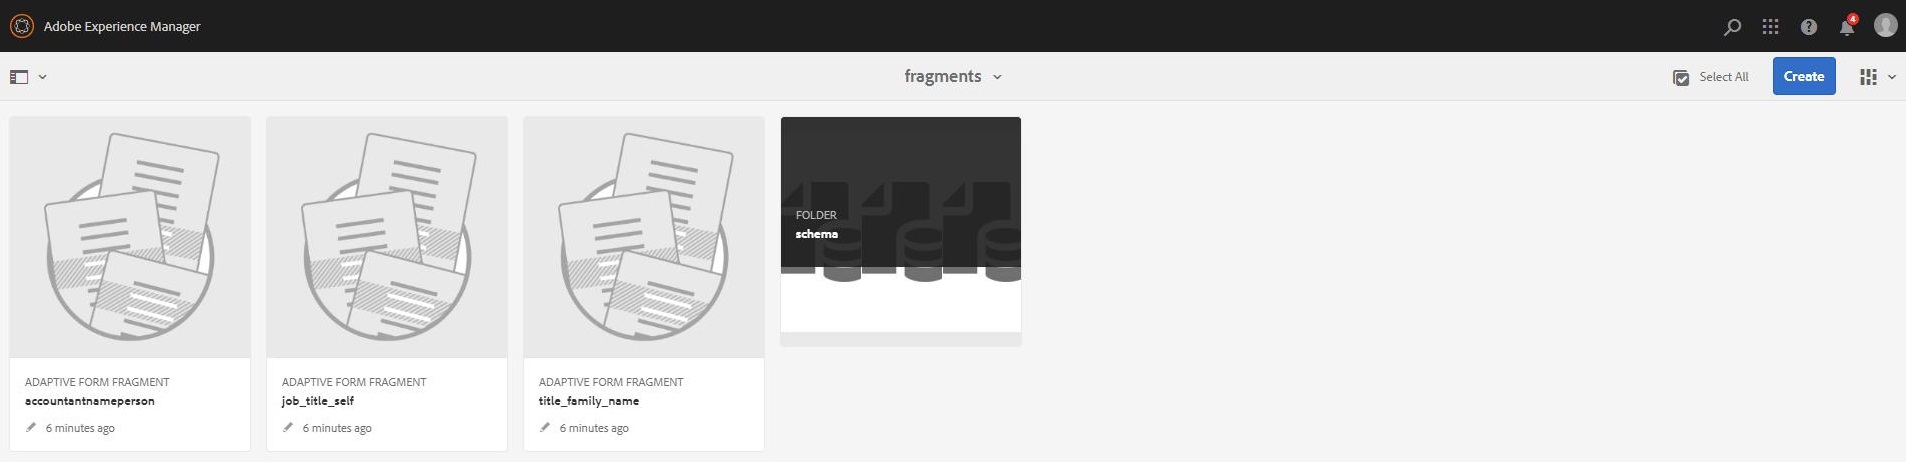
Open the fragments folder. The auto-generated fragments and associated JSON schema are present.
Let us preview the adaptive form generated automatically.
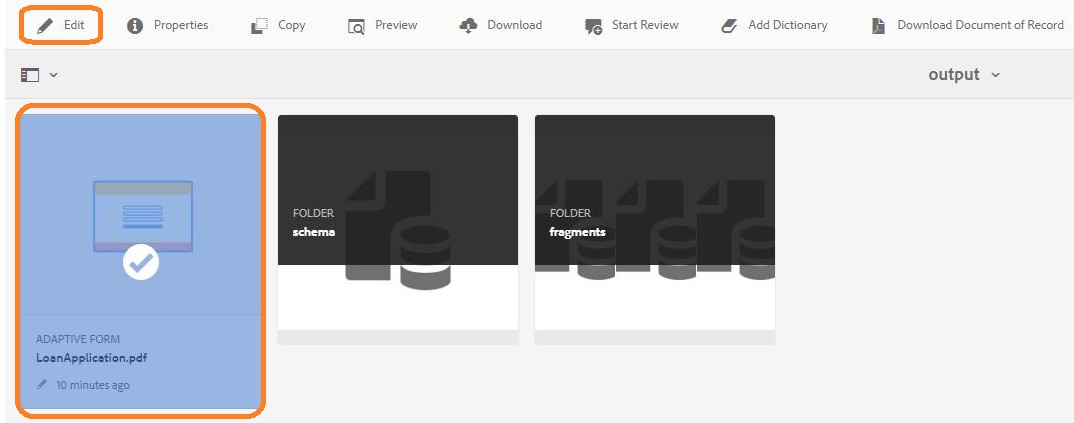
Navigate to Summit Demo > output folder. Select LoanApplication adaptive form.

Click Edit from top toolbar to launch adaptive form editor in a separate tab.
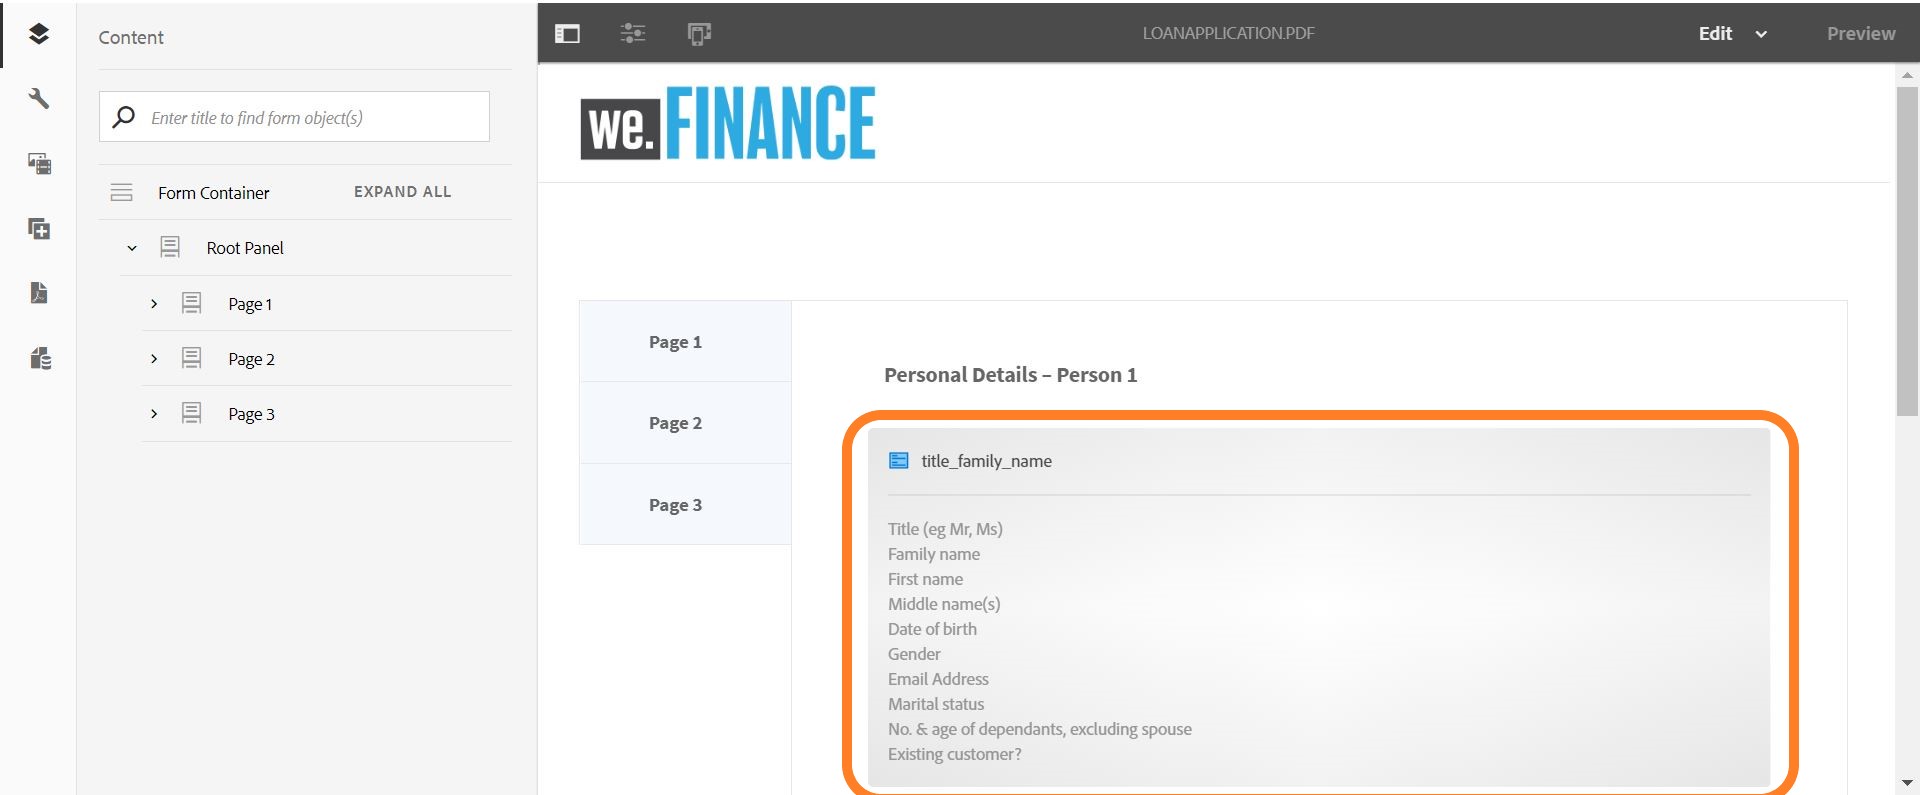
Notice the fragments generated on page 1 in the right panel.
In the left navigation bar, click Data sources icon to open form schema.
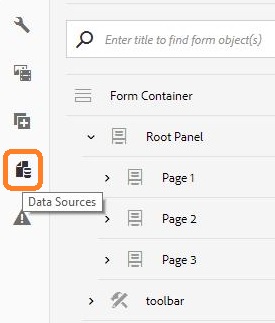
Click Expand All to view data bindings generated for all fields and fragments.

You may make necessary modifications to the adaptive form in authoring environment, if required.
Close the adaptive forms editor.
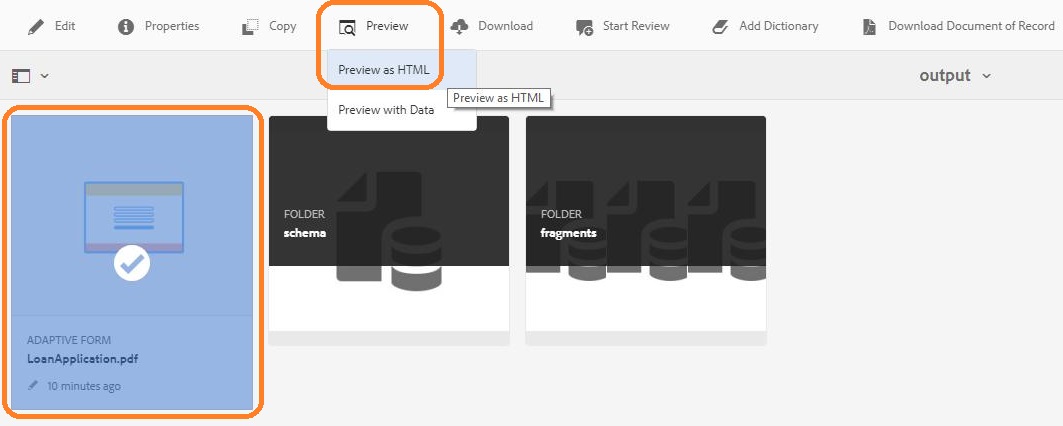
With the adaptive form selected in the previous tab, click Preview > Preview as HTML to launch adaptive form runtime experience for end-users.

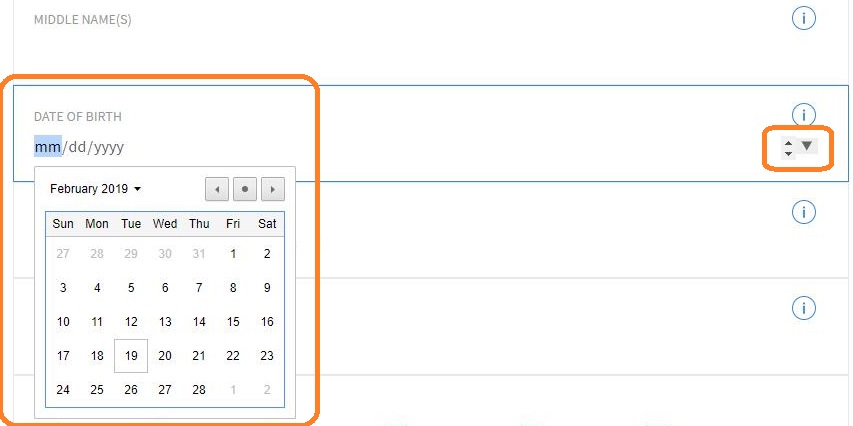
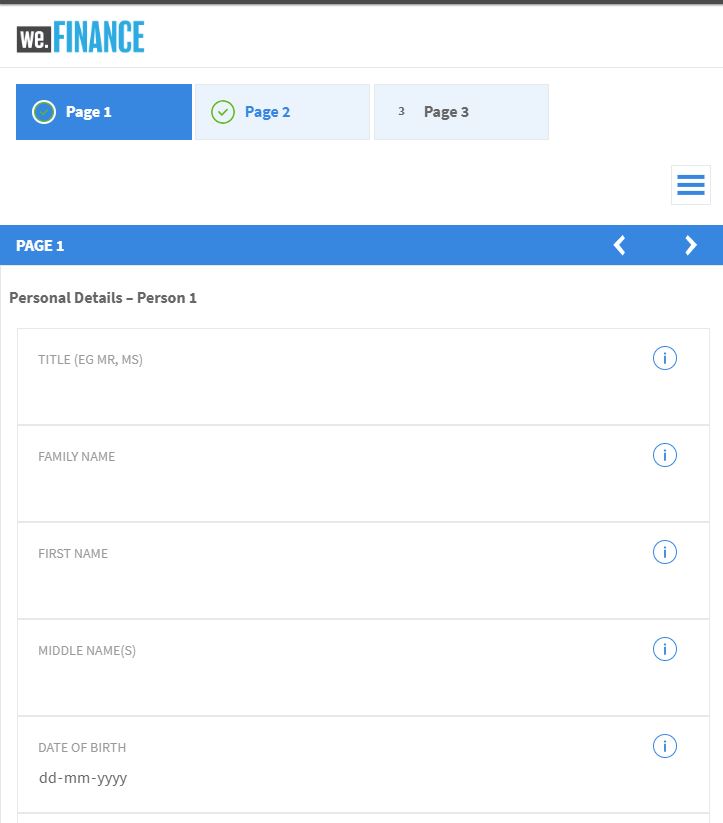
Scroll down to Date of Birth field, click date picker to select a date.

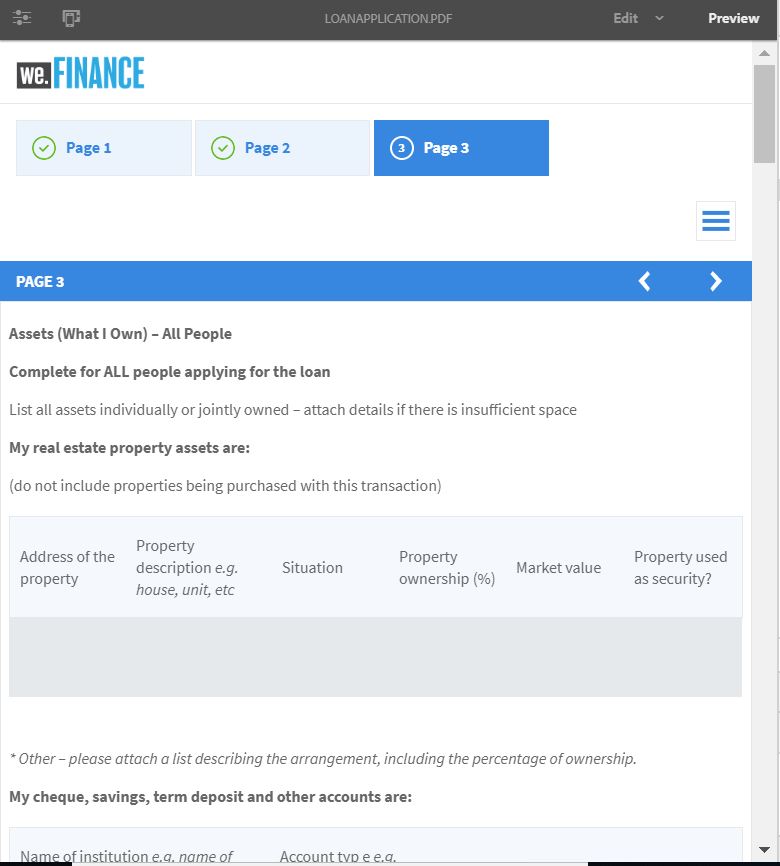
Navigate to different pages by clicking on page level panels.
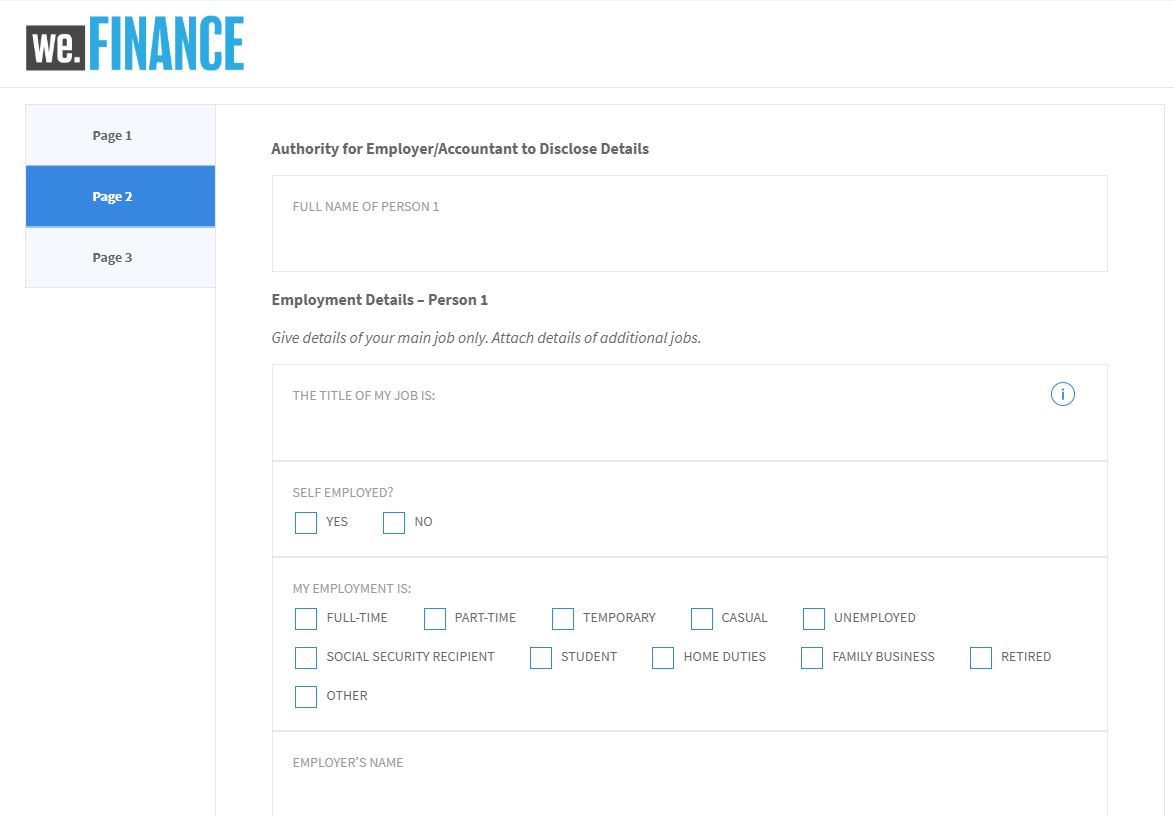
Notice largely all fields including tables have been extracted and identified automatically.
Resize the browser to see how adaptive form adapts itself to various device form factors.
Close preview tab of the form.
Update auto-generated form using easy to use Review and Correct UI
The pattern detection capabilities of AI/ML networks is limited by their training data. Detection accuracy increases over time as more data is added over time to the training corpus. So AI/ML-based solutions help increase efficiency and reduce time to value but the finished output may require some human verification and update. Form authors can use the Review editor to review the automated conversion, fix errors, and provide helpful cues to conversion network to improve the conversion process. This editor lets users review, add, or update corrective steps using the familiar PDF form layout. Form author sends the form for conversion after completing all updates. The final adaptive form with updates is returned back in the output folder location.
Login to AEM http://localhost:4502/aem/start.html with username "admin" and password "admin".
Navigate to Forms > Forms & Documents.
Select Summit Demo RNC folder and Click Automated Forms Conversion in top navigation.
The Configuration Settings dialog appears
Select Configuration as SummitConfig. Click Start Conversion.
Refresh the page after a couple of minutes to check conversion status. If conversion is still in progress, wait for couple of minutes and then again refresh the page. Proceed with the exercise only after conversion is completed.
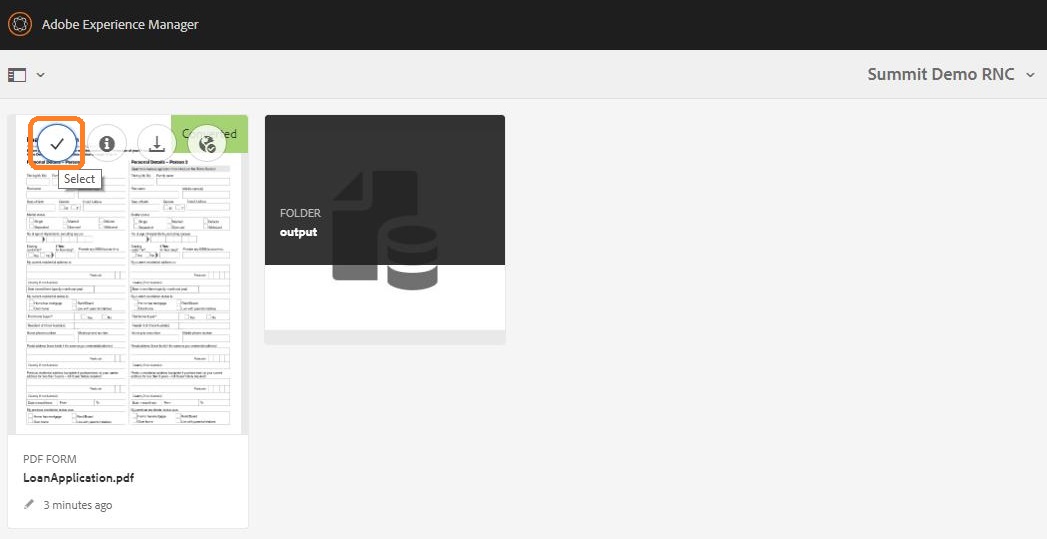
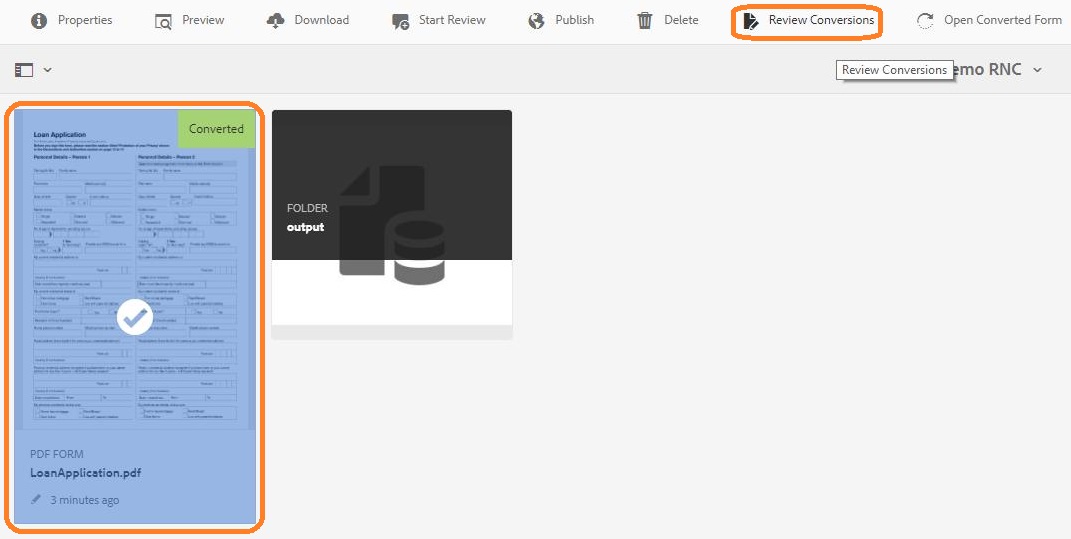
Navigate to the Summit Demo RNC folder and select the LoanApplication.pdf PDF form.
Click Review Conversions in top navigation to launch Review editor.
Scroll down to Gender field and select the field.
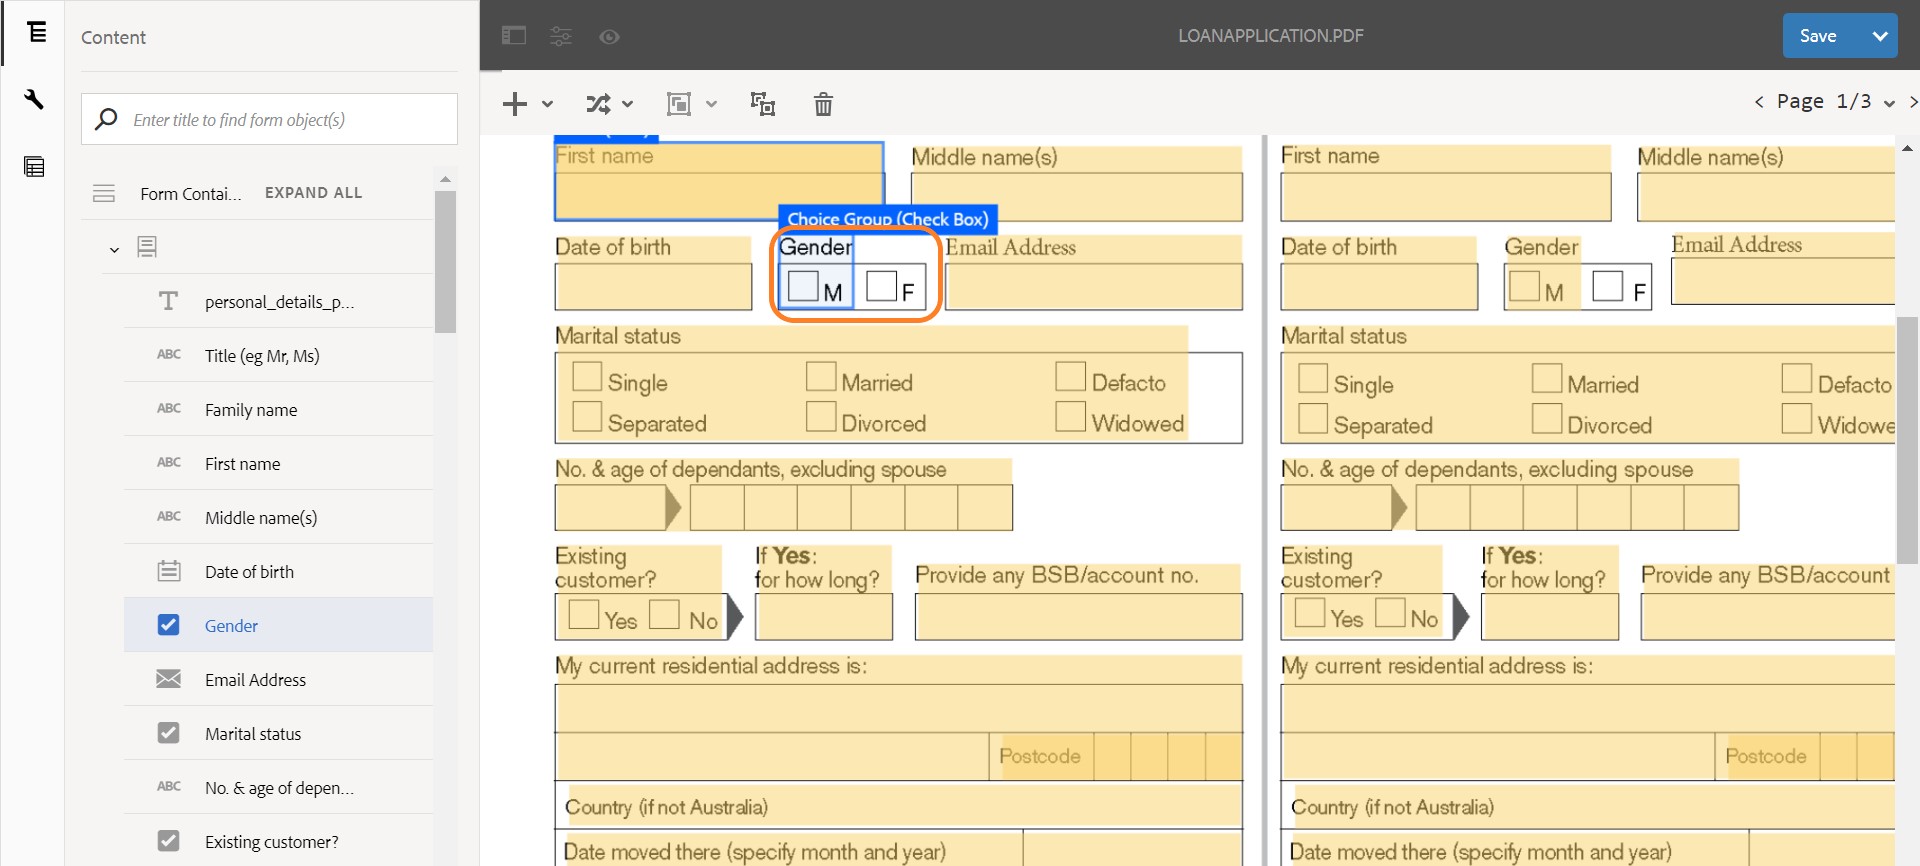
Double click Gender field to open property sheet and in options add text "1=F".

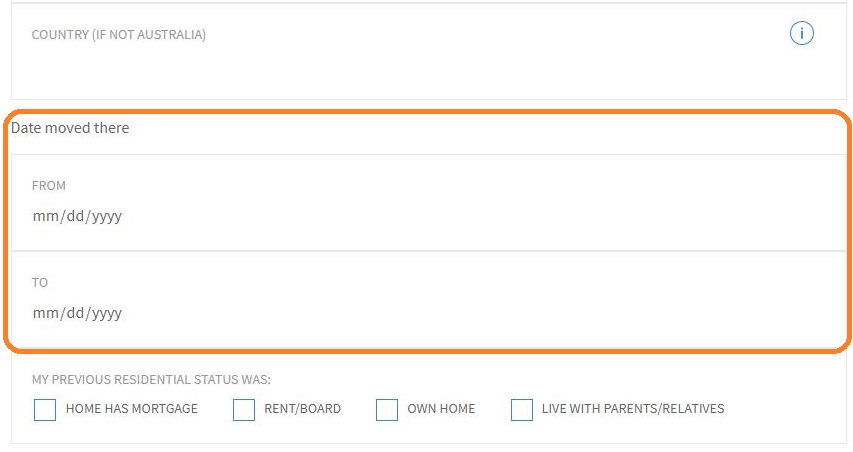
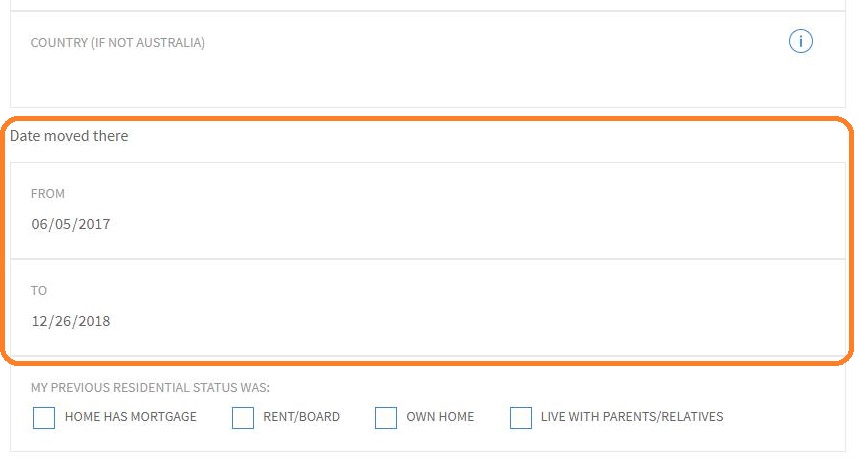
Under Date moved there, the From and To fields are incorrectly detected as text field whereas they should be date fields. Such errors are inadvertent and based on the context around the field which humans can understand better than algorithmic detection.
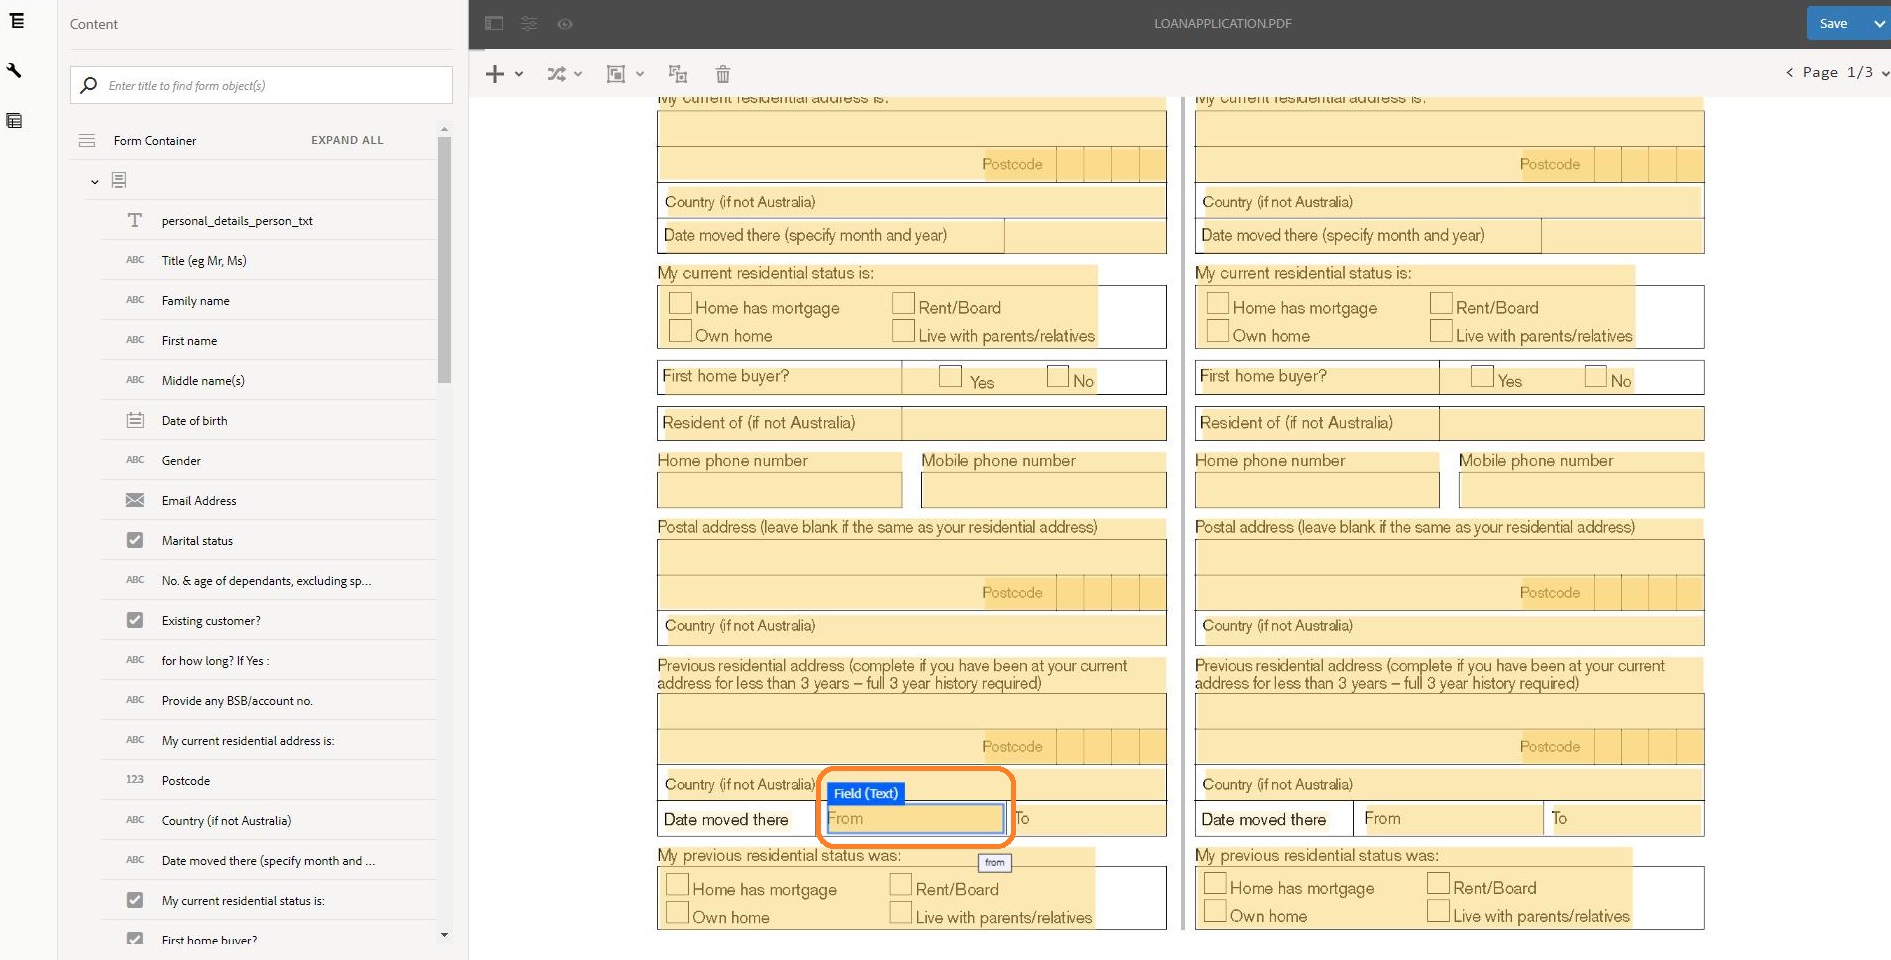
Double click the From field to open property sheet and select Type as Date from the dropdown.
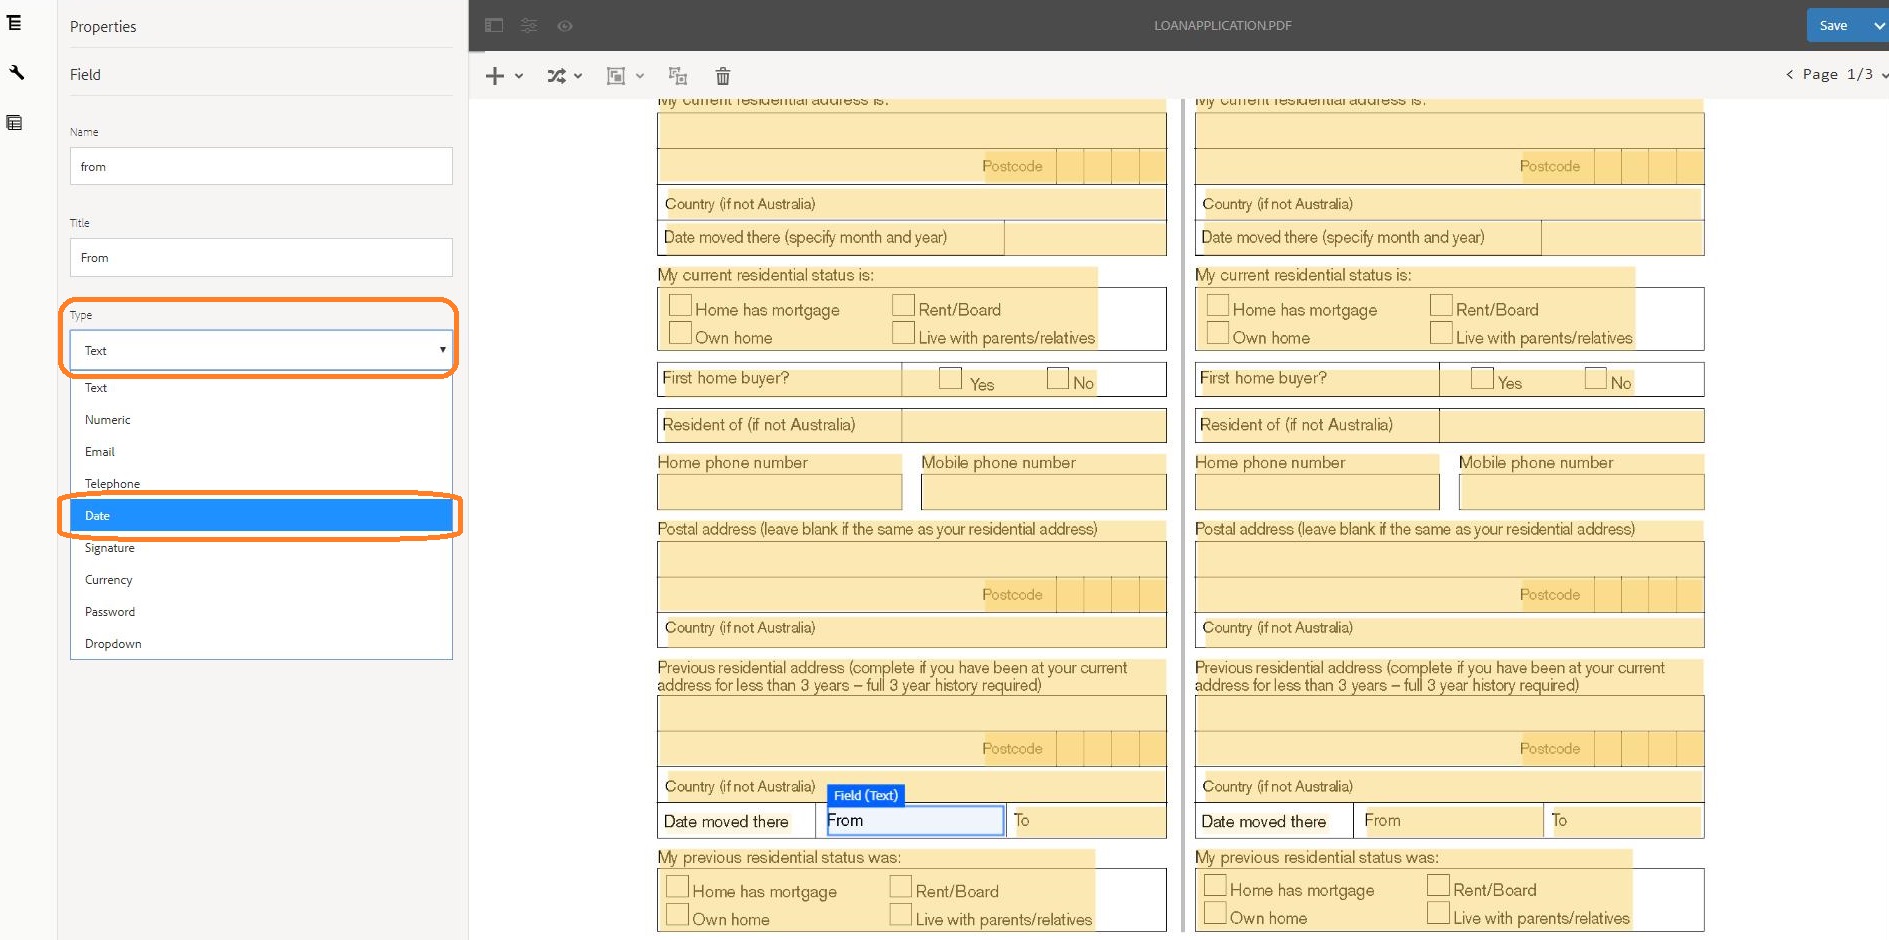
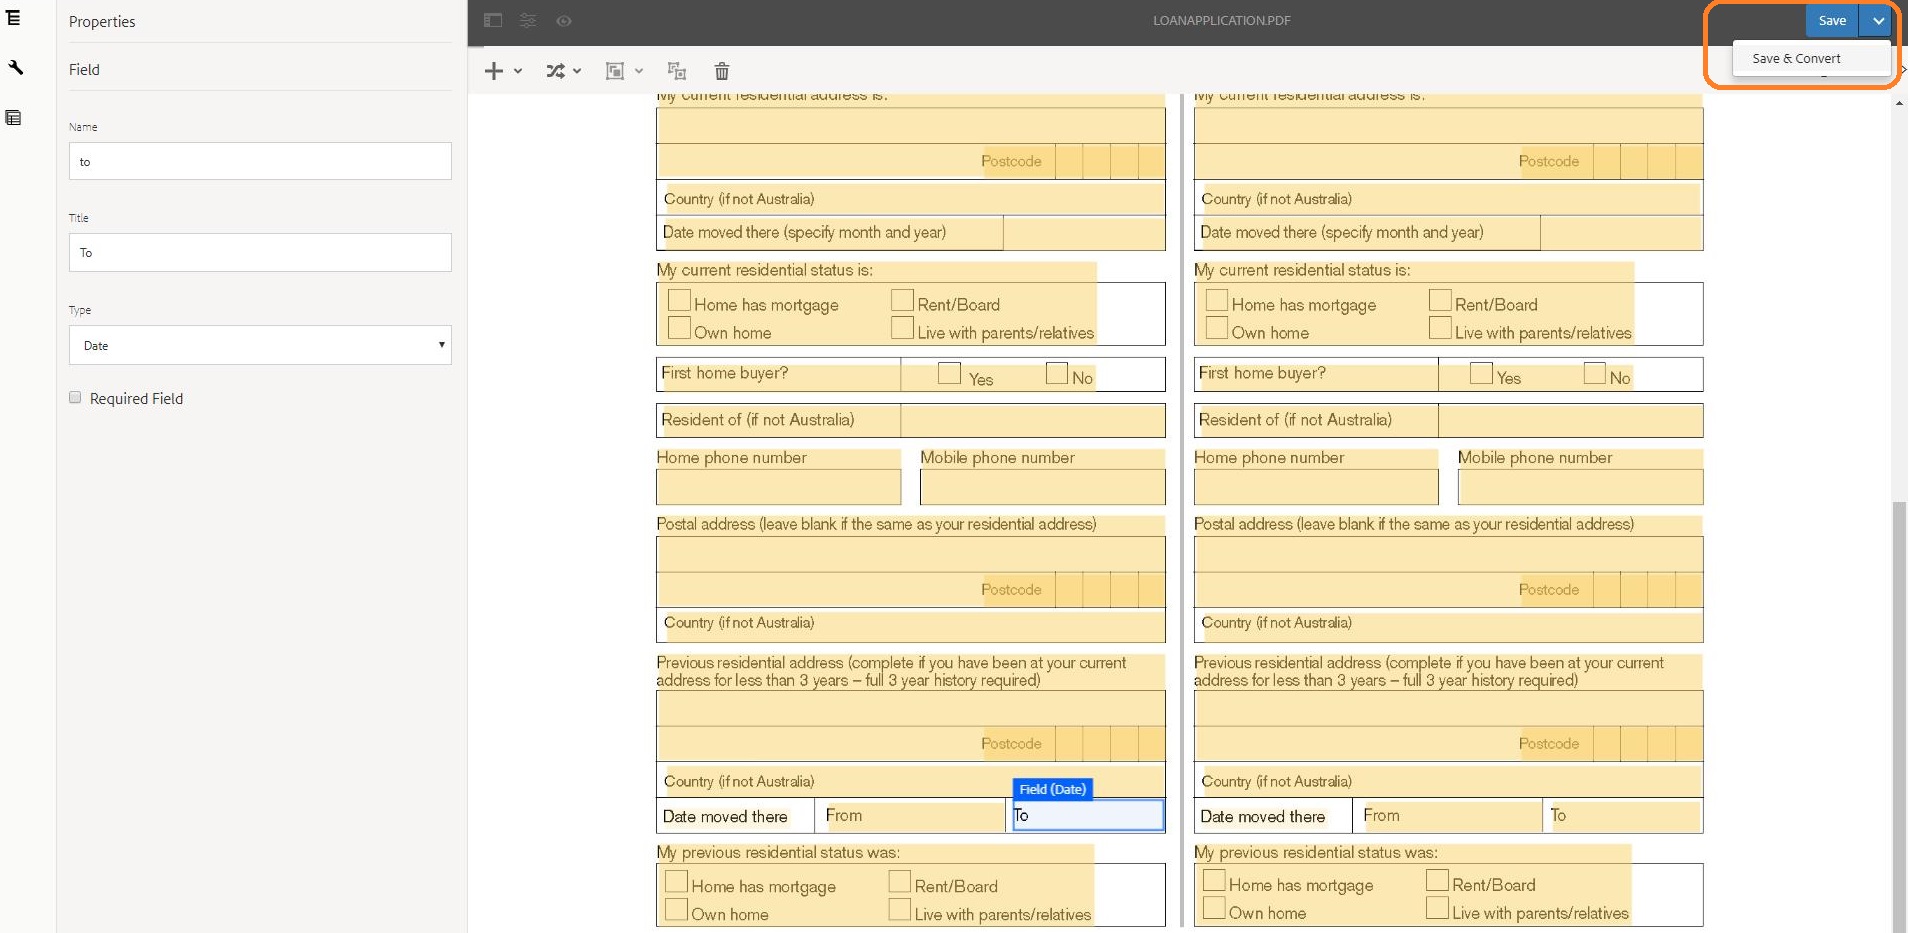
Similarly, double click To field and update field Type to Date.
Click Save and Convert to save changes and trigger the creation of adaptive form based on recent changes.
Let us preview the adaptive form generated after review and corrections.
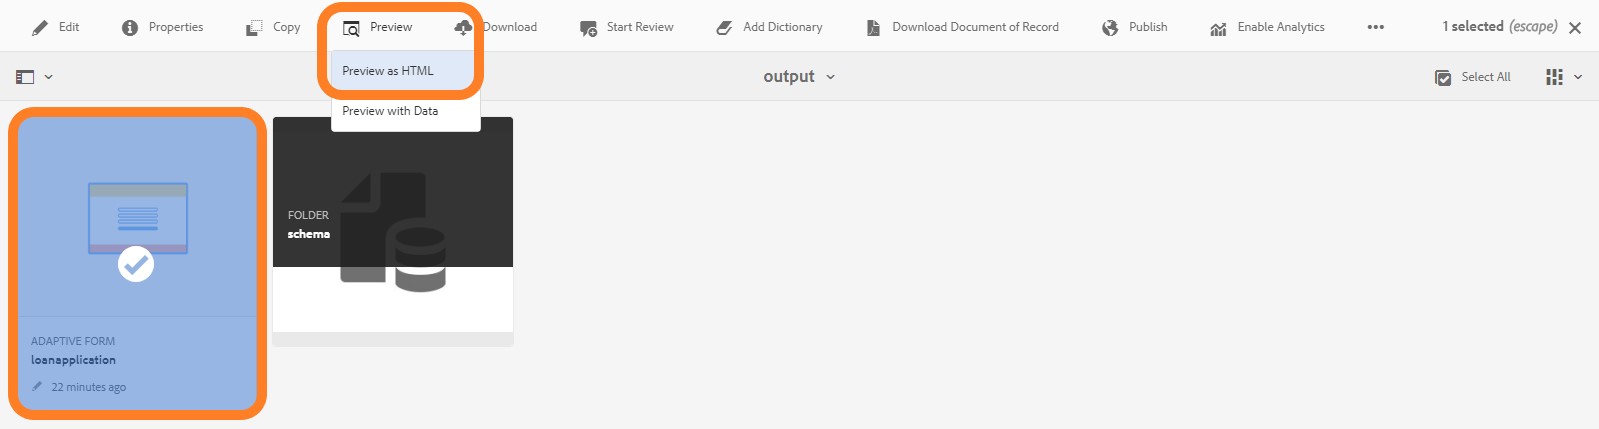
Navigate to Summit Demo RNC > output folder. Select loanapplication.pdf adaptive form.
Click Preview > Preview as HTML to launch adaptive form runtime experience for end-users.
Text fields like First Name allow alphanumeric input.
Scroll down to Gender field. Two options will be visible in gender field.
Scroll down to Date moved there > From and To fields.
Use the date picker to select dates.
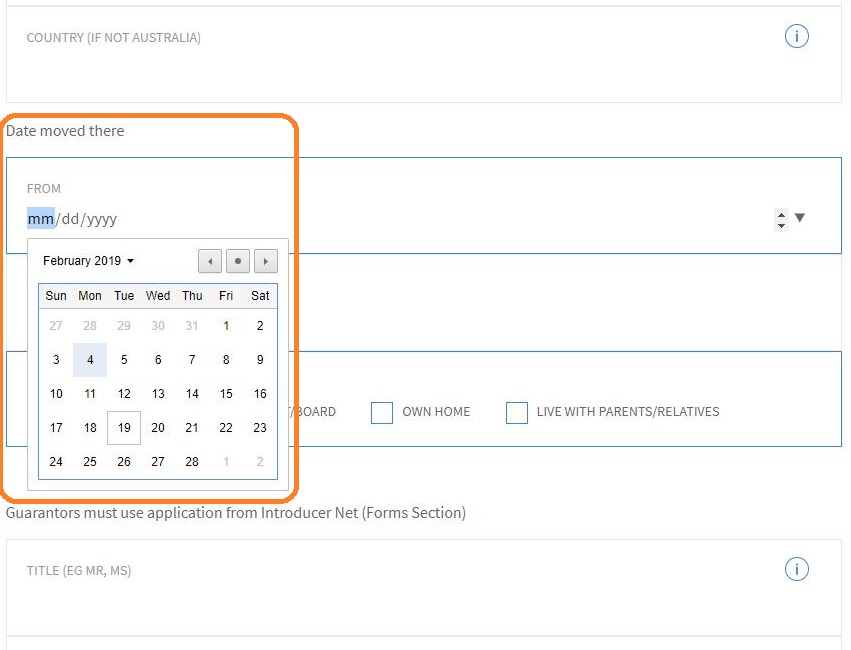
So we can see that Review UI corrections were successfully applied in the adaptive form.
Close preview tab of the form.
Extend the default meta-model to improve field detection and validations
Default Meta model provides a structured configuration to inform helpful cues during automated forms conversion. The meta model JSON file uses standard vocabulary to defines patterns and validations for various fields. During conversion, the validations defined in the meta model are automatically applied to detected fields. As an organization's needs evolve, default meta model can be extended to add vocabulary and validations.
Extend default meta-model to provide custom vocabulary and add field validations in generated Adaptive Form as per your organizational requirements.
Upload custom meta-model and update configuration
Login to AEM http://localhost:4502/aem/start.html with username "admin" and password "admin".
Navigate to Forms > Forms & Documents.
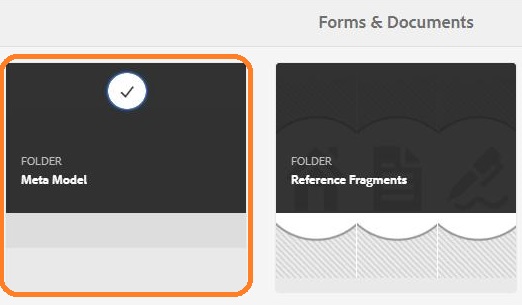
Open the Meta Model folder.
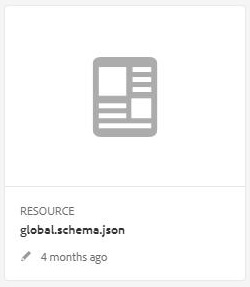
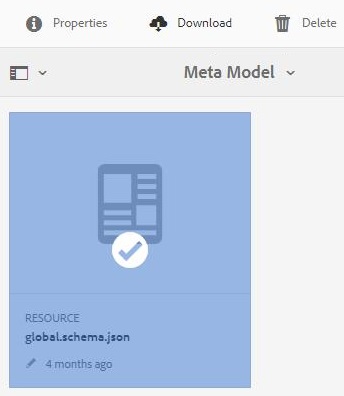
Default global schema meta-model is present in this folder as global.schema.json.
In practice, the administrator would download global meta-model and customize as per organizational needs. For purpose of the lab, a ready to use extended meta-model file is provided.
Open the myorg-metamodel.schema.json in Notepad++.
Following section from line 22 onwards provides configuration to:
Do not make changes to myorg-metamodel.schema.json. Detailed documentation to extend meta-model JSON would be provided later.
          "properties": {
            "BSB": {
              "type": "string",
              "pattern": "/\\d{10}/",
              "aem:affKeyword": [
                "Provide any BSB/account no."
              ],
              "description": "BSB",
              "aem:afProperties": {
                "validatePictureClause": "\\d{10}",
                "validationPatternType": "custom",
                "validatePictureClauseMessage": "BSB/account no. must be atleast 10 digit long"
              }
            },
            "birthDate": {
              "type": "string",
              "format": "date",
              "pattern": "date{DD MMMM, YYYY}",
              "aem:affKeyword": [
                "DOB",
                "Date of Birth"
              ],
              "description": "Date of birth in DD MMMM, YYYY",
              "aem:afProperties": {
                "displayPictureClause": "date{DD MMMM, YYYY}",
                "displayPatternType": "date{DD MMMM, YYYY}",
                "validationPatternType": "date{DD MMMM, YYYY}",
                "validatePictureClause": "date{DD MMMM, YYYY}",
                "validatePictureClauseMessage": "Date must be in DD MMMM, YYYY format."
              }
Close Notepad++.
In a browser window, navigate to Forms > Forms & Documents.
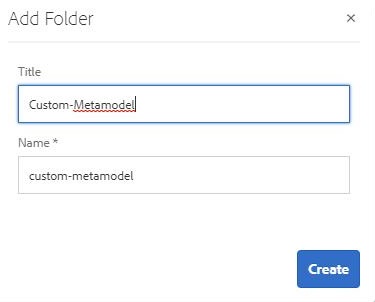
Click Create > Folder.
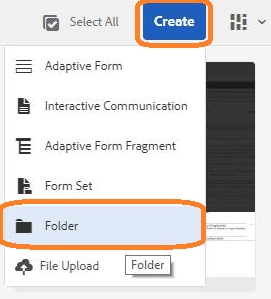
Provide folder name as Custom-Metamodel. Click Create.
Navigate inside Custom-Metamodel folder.
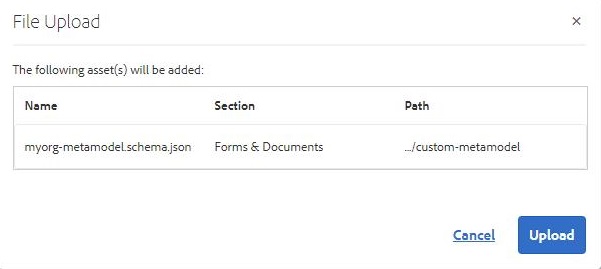
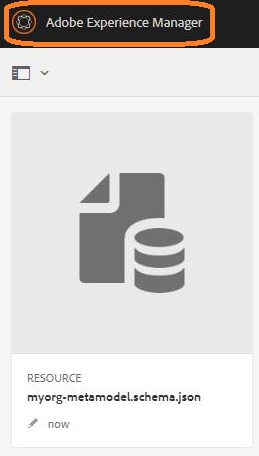
Click Create > Upload myorg-metamodel.schema.json in this folder.

Click Adobe Experience Manager icon on the top left to navigate to the home screen.
Click Tools icon in the left navigation.
Navigate to Cloud Services > Automated Forms Conversion configuration.
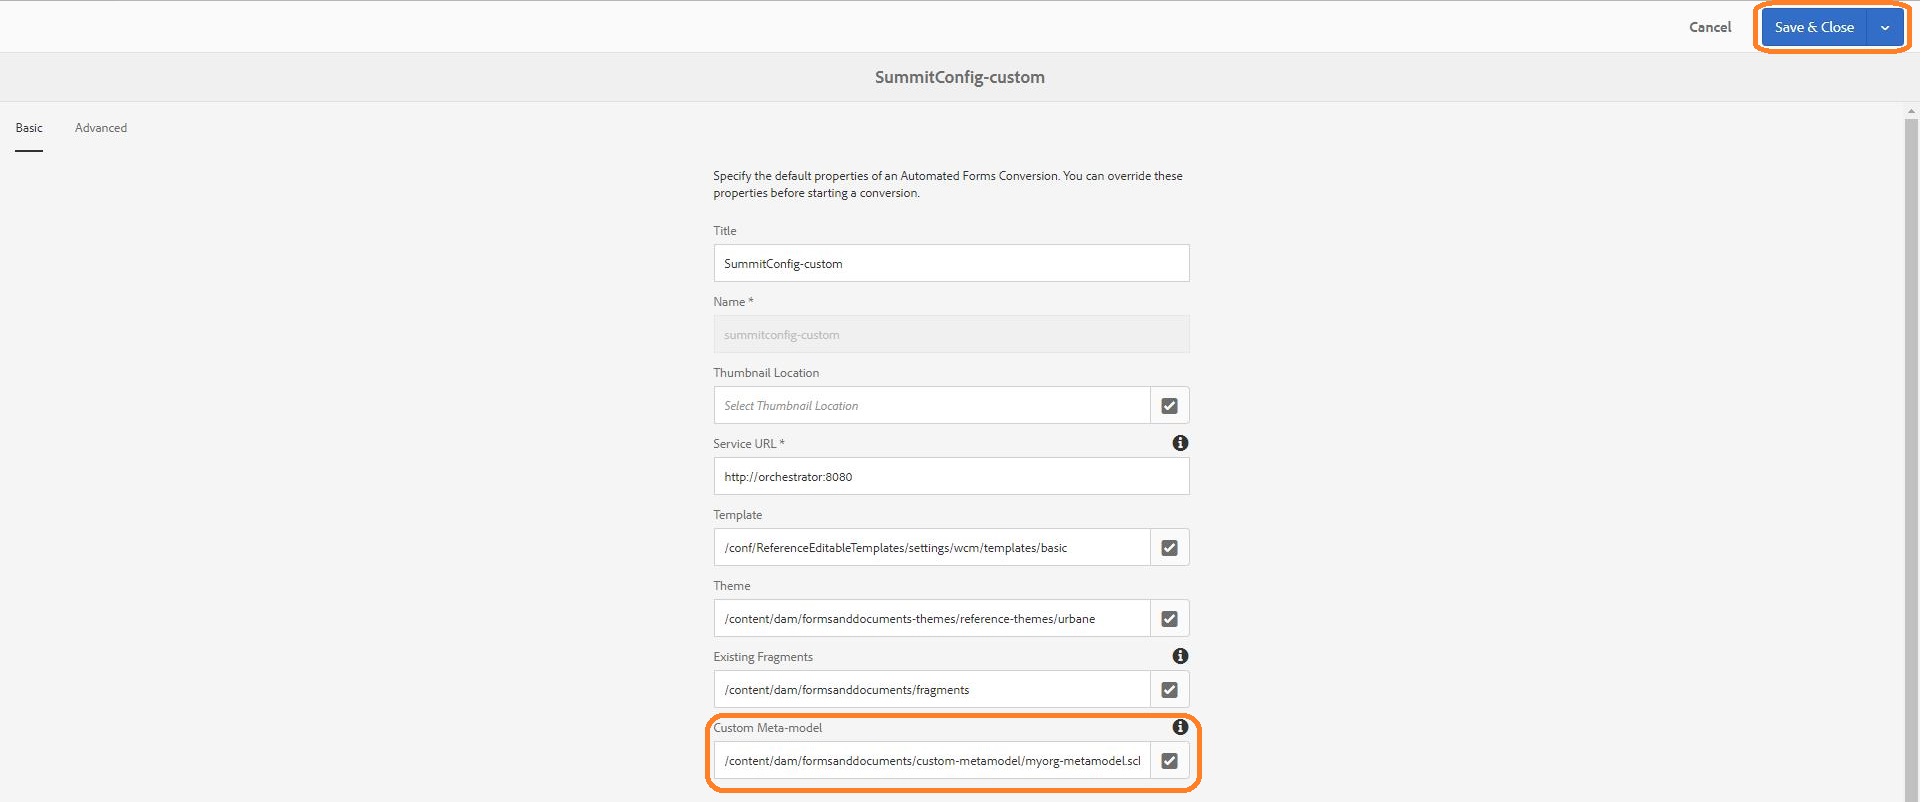
Click global and select SummitConfig-custom config.
Click Properties to open property sheet.
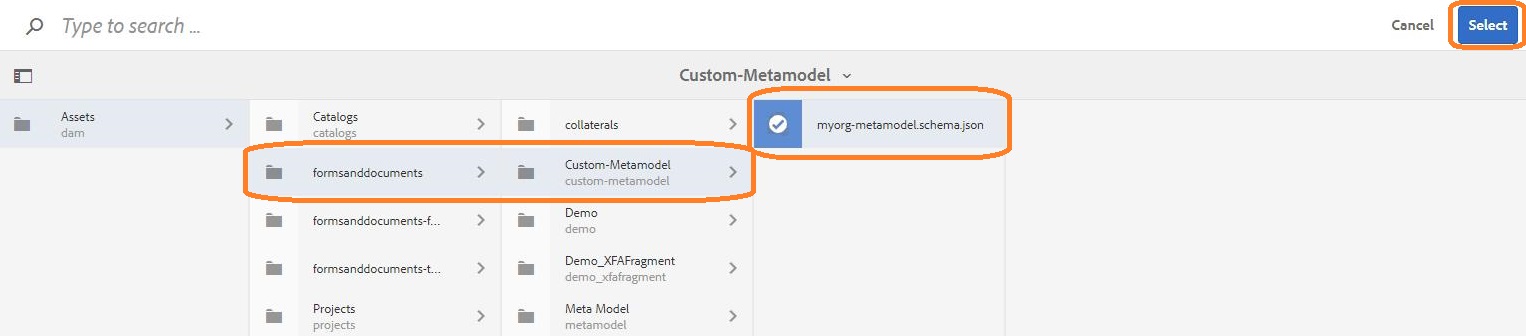
Click browse to open picker for Custom Meta-model.

Navigate to Assets > formsanddocuments > Custom-Metamodel folder and select myorg-metamodel.schema.json. Click Select.
Click Save & Close in the top right menu to save the configuration.
Convert form using custom meta-model
Click Adobe Experience Manager icon on the top left and navigate to Forms > Forms & Documents.

Click Create > Folder.
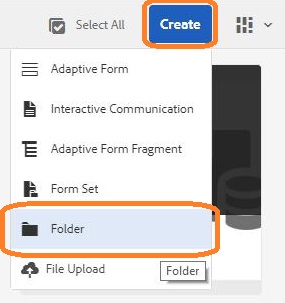
Name the folder Summit Form CMM and click Create.

Open the Summit Form CMM folder.
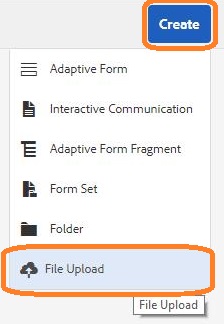
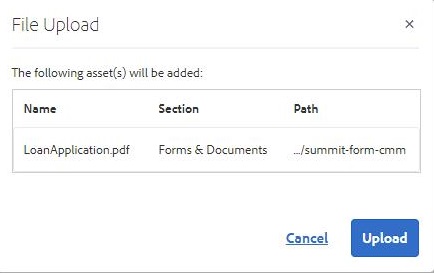
Click Create > File Upload to upload LoanApplication.pdf in the folder.
Navigate up to Forms & Documents.

Select Summit Form CMM folder, click Automated Forms Conversion to trigger conversion.
In Configuration Settings dialog
As conversion starts, Conversion in progress message is displayed on the folder.

Refresh the page after a couple of minutes to check the conversion progress. Once conversion is complete, navigate inside Summit Form CMM folder.
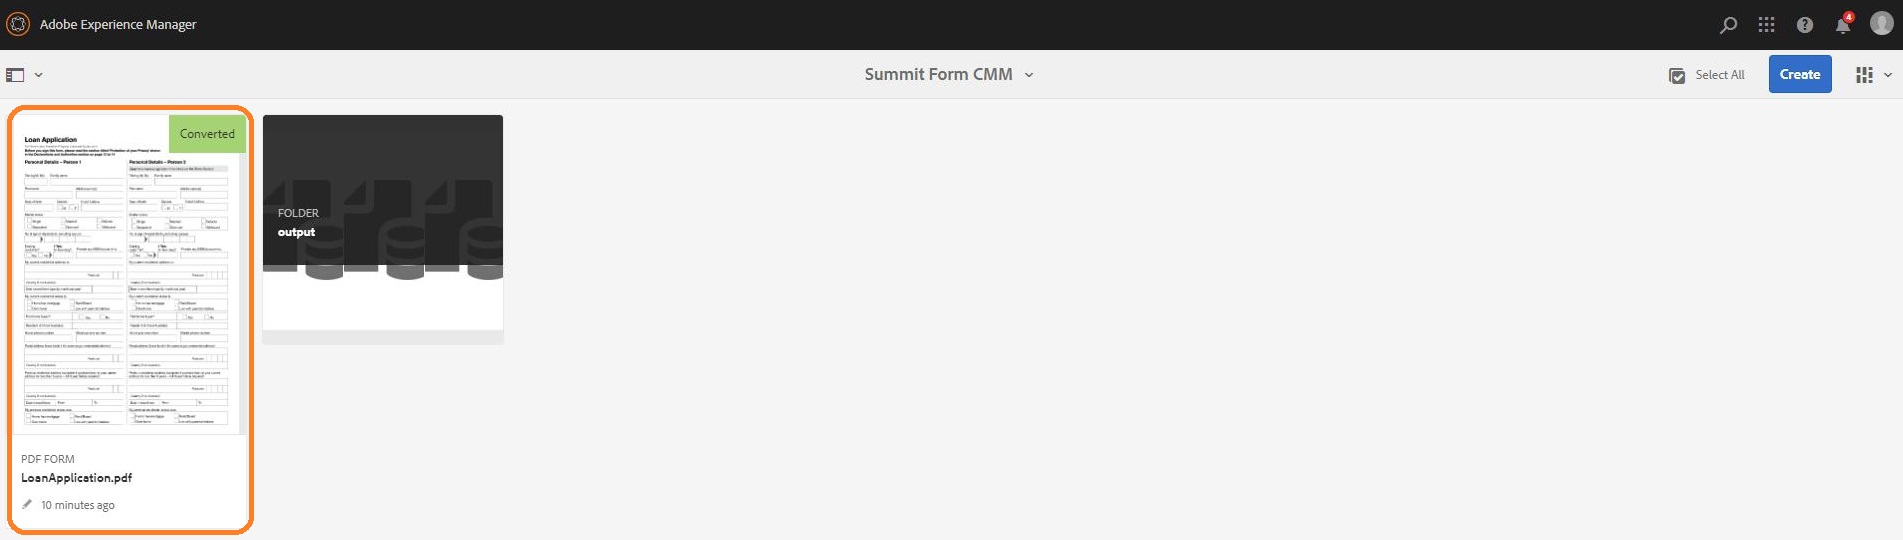
Navigate inside output folder. The Adaptive form and auto-generated JSON schema is present.
Select the adaptive form and click Edit to open the form editor.

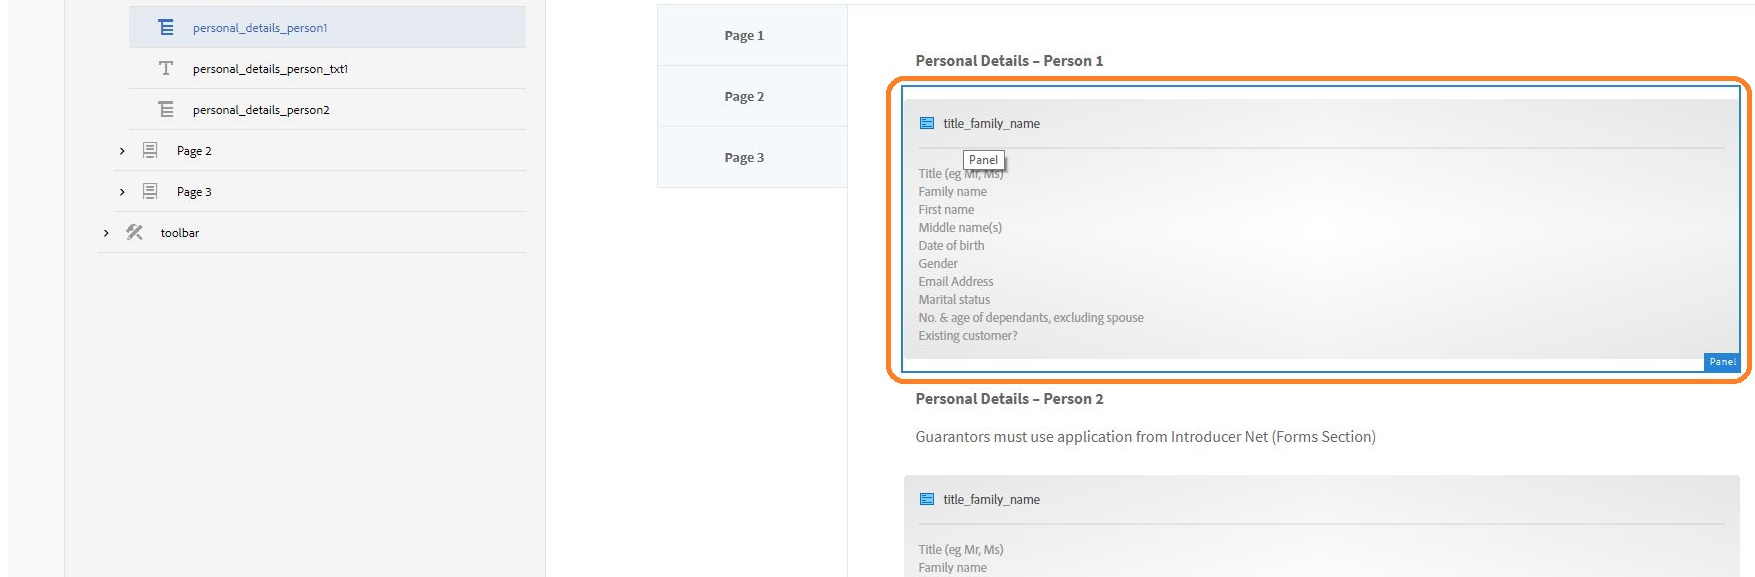
In right panel, double click fragment under Personal Details - Person 1.
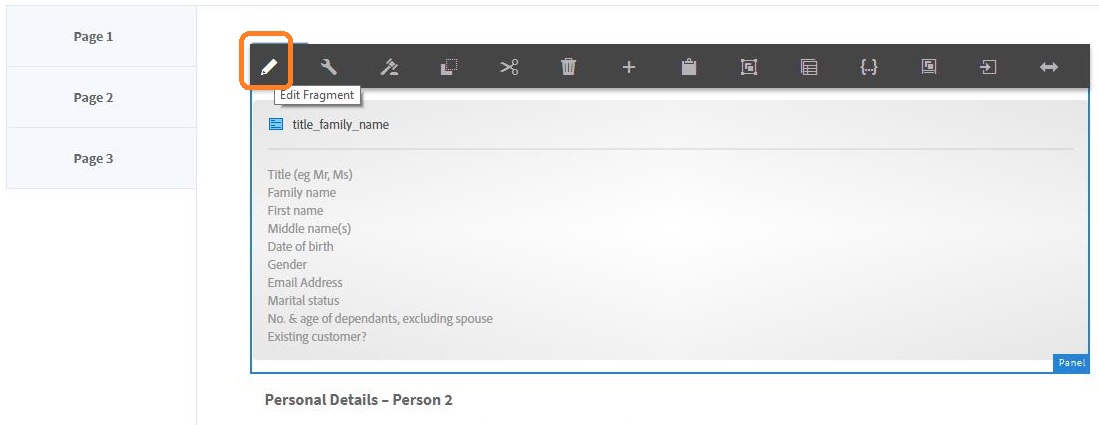
Click Edit in the toolbar to open fragment in form editing mode.
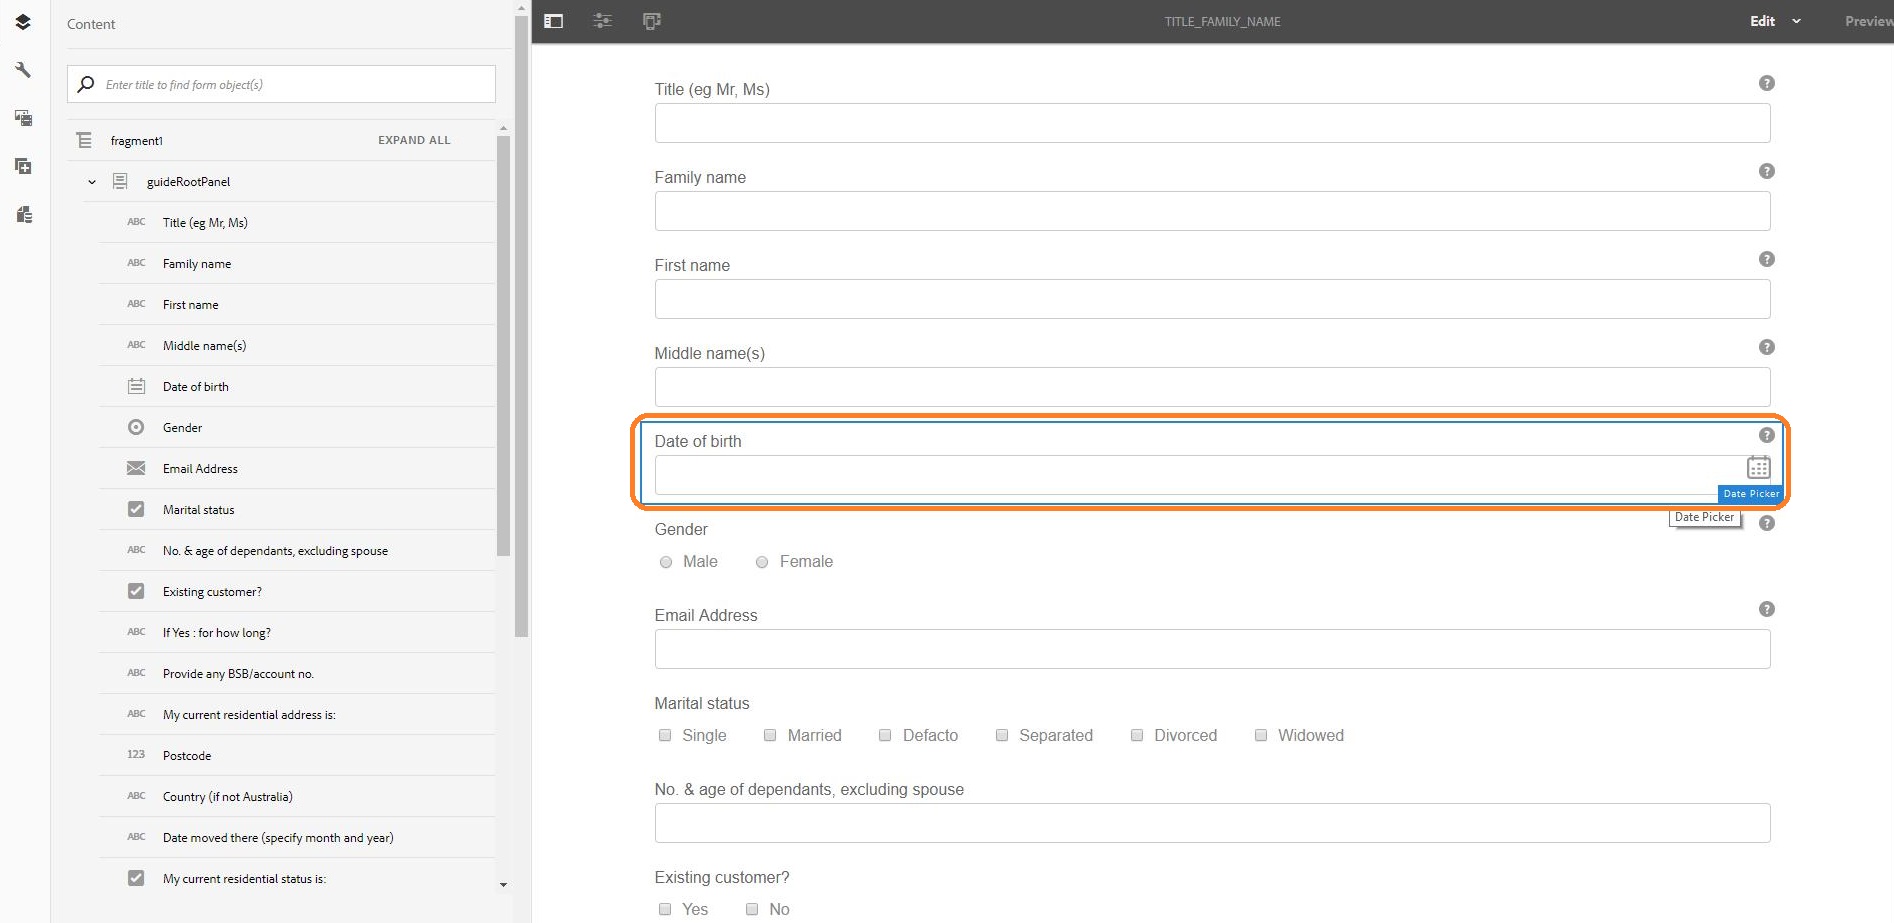
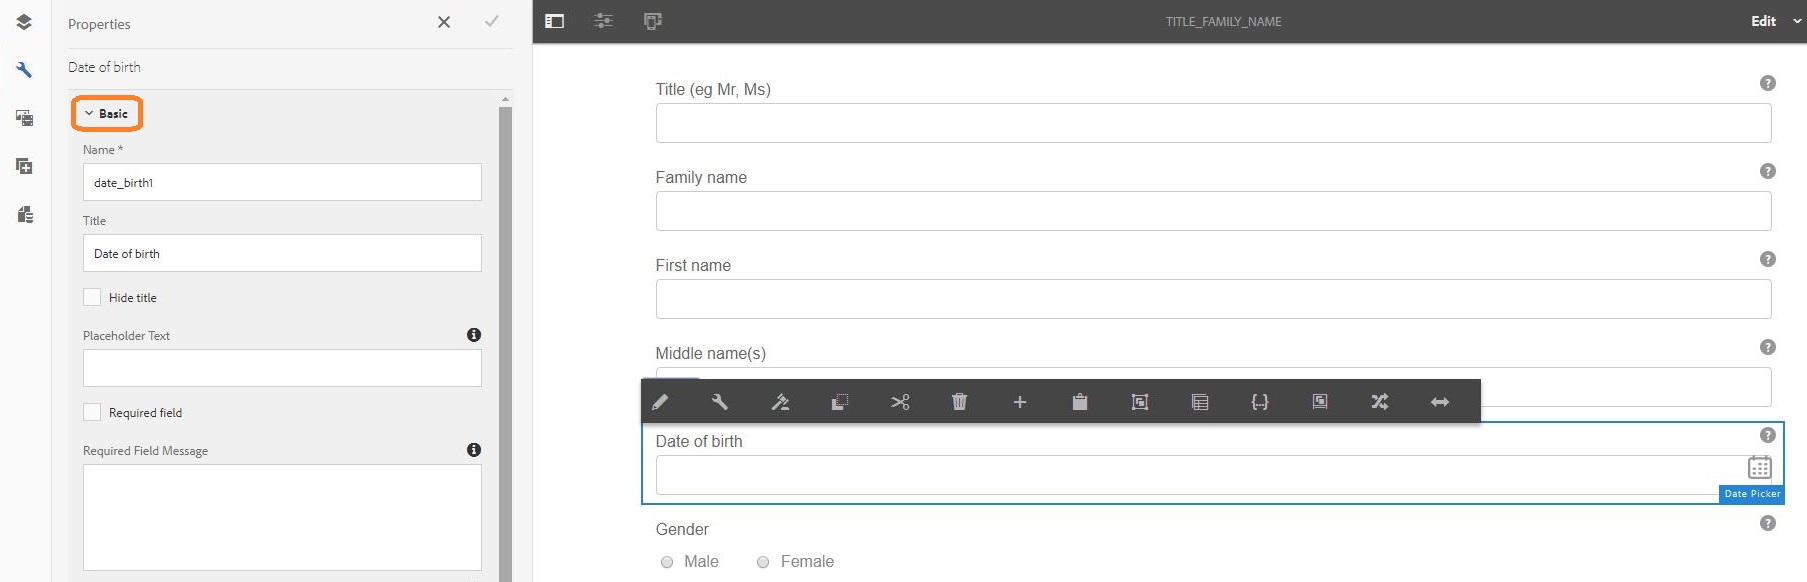
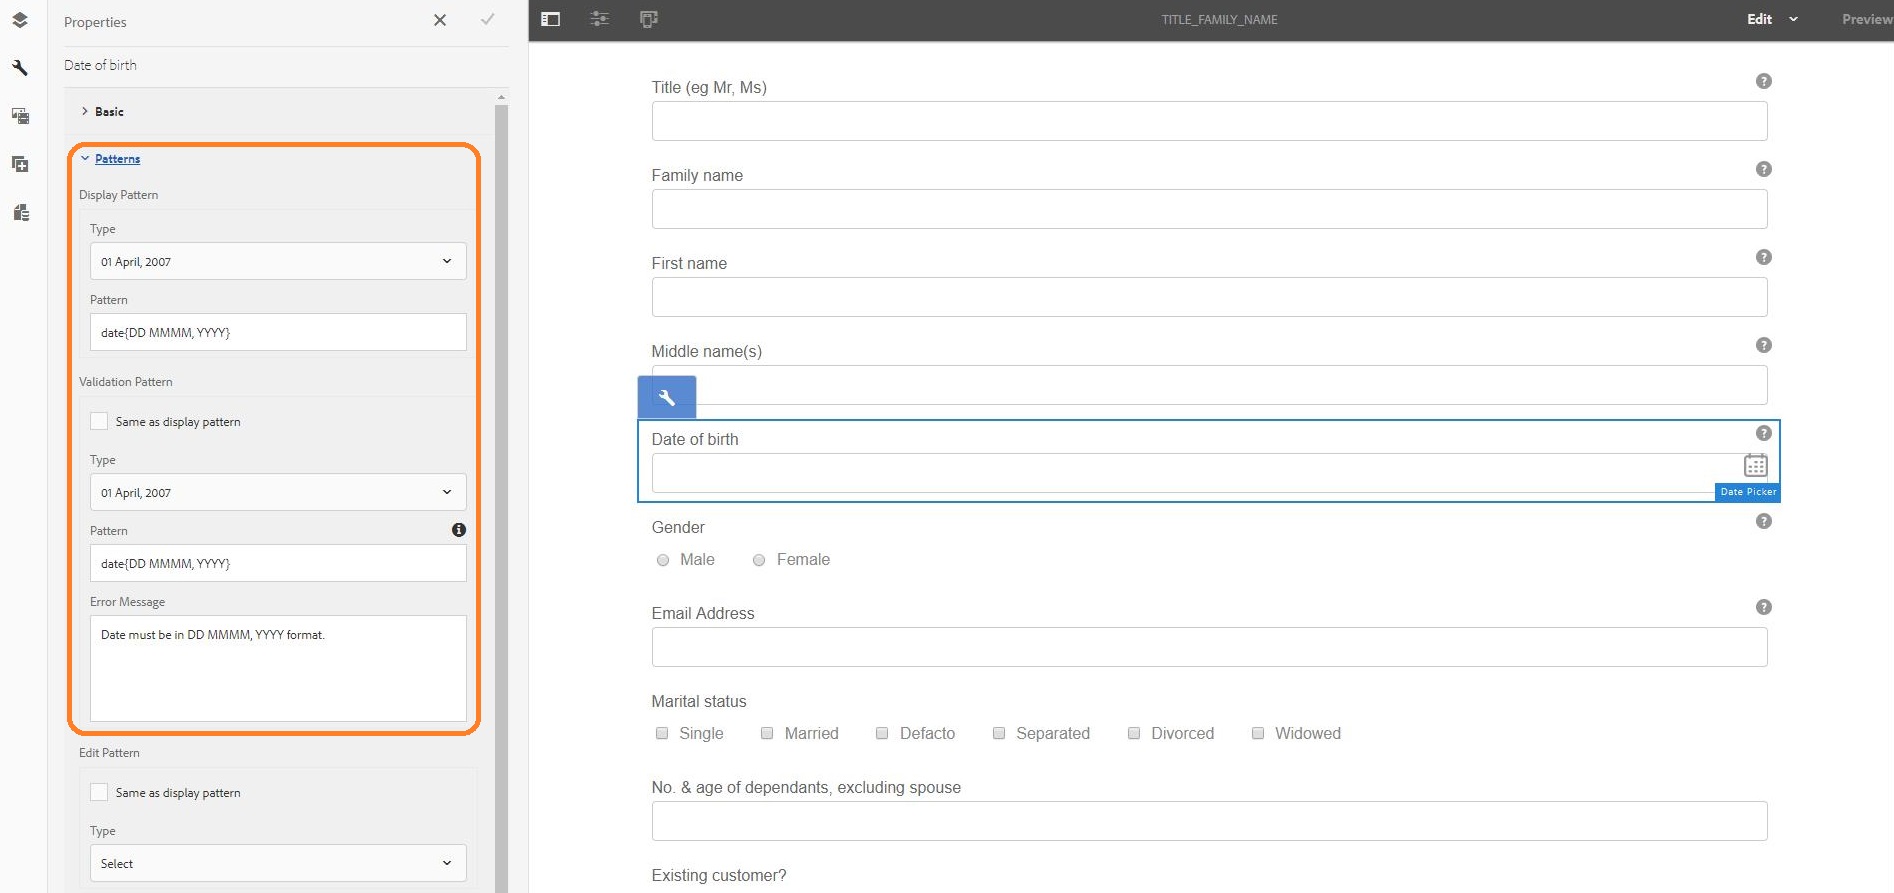
Scroll down and double click Date of Birth field to open properties in the left panel.
Collapse Basic properties and expand Patterns.
Notice display and validation pattern have been set as specified in the custom meta-model.
Click X on top to close property sheet.
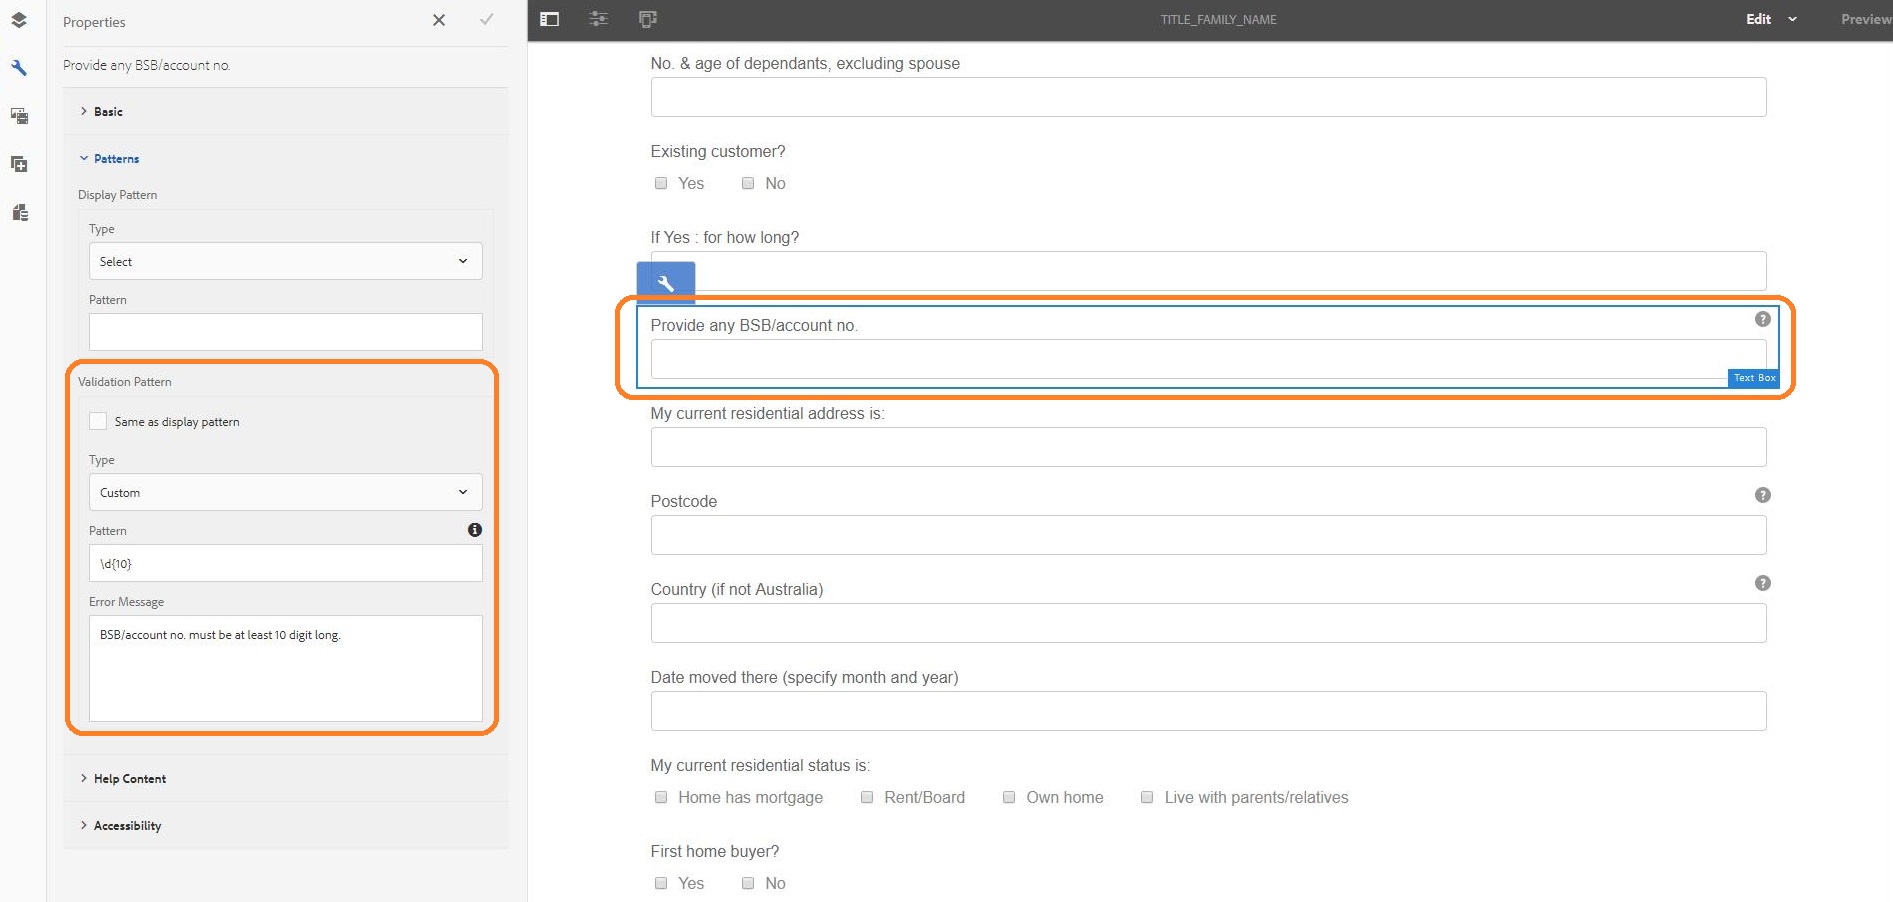
Scroll down in right panel and double click Provide any BSB/account no. field to open properties in the left panel.
Notice the validation pattern has been set to 10-digits as specified in the custom meta-model.
Close both tabs for fragment and form authoring.
In AEM UI, select the form and click Preview > Preview as HTML.
Scroll down to Date of birth field. Select a date using date picker and click outside the field.
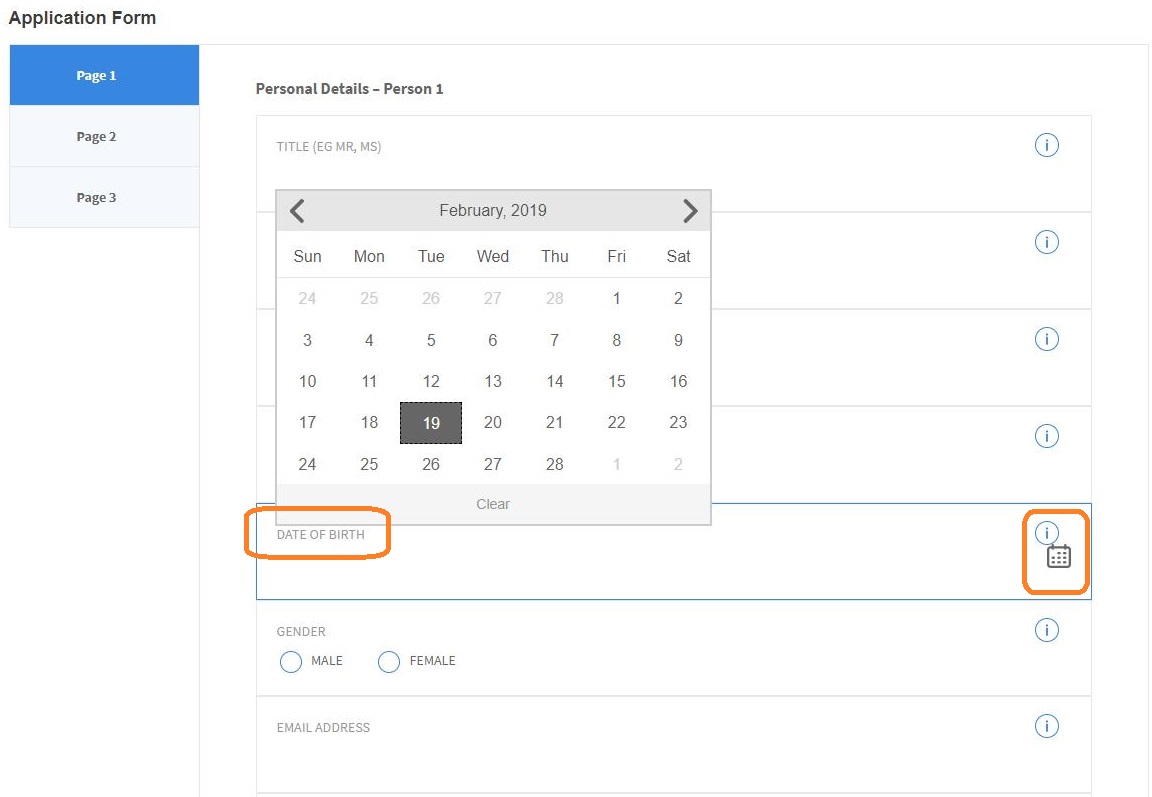
Notice the date is formatted into DD MMMM, YYYY format.

Enter date as 10-10-2019 and click outside the field.

Notice the error message is displayed.

Scroll down to Provide any BSB/account no. field and enter less than 10 digits.
Click outside the field or tab out. Notice error is displayed.

Now provide a 10-digit number and tab out. Notice the data is accepted fine.

Close the Adaptive form tab.
Form author should be able to generate Document of Record containing submitted data with the same layout as the input form
Adaptive forms provides end users with an online responsive device friendly data capture experience. The submitted data can be easily integrated into down stream processing and storage systems. In regulated industries like Public Sector, Financial Services, and Healthcare compliance requirements may mandate archival of submitted data in the layout and format of original traditional form. Thus it is important to be able to seamlessly merge the submitted data with the original form template and provide the document of record. Adaptive forms provides the ability to either automatically generate the document of record based on a default layout or a custom XFA template layout. Thus, XFA input forms can be used as Document of Record template in the adaptive forms automatically generated by Automated Forms Conversion service.
Configure XFA template as DoR template in auto-generated Adaptive Form and verify results.
Login to AEM http://localhost:4502/aem/start.html with username "admin" and password "admin".
Navigate to Forms > Forms & Documents.
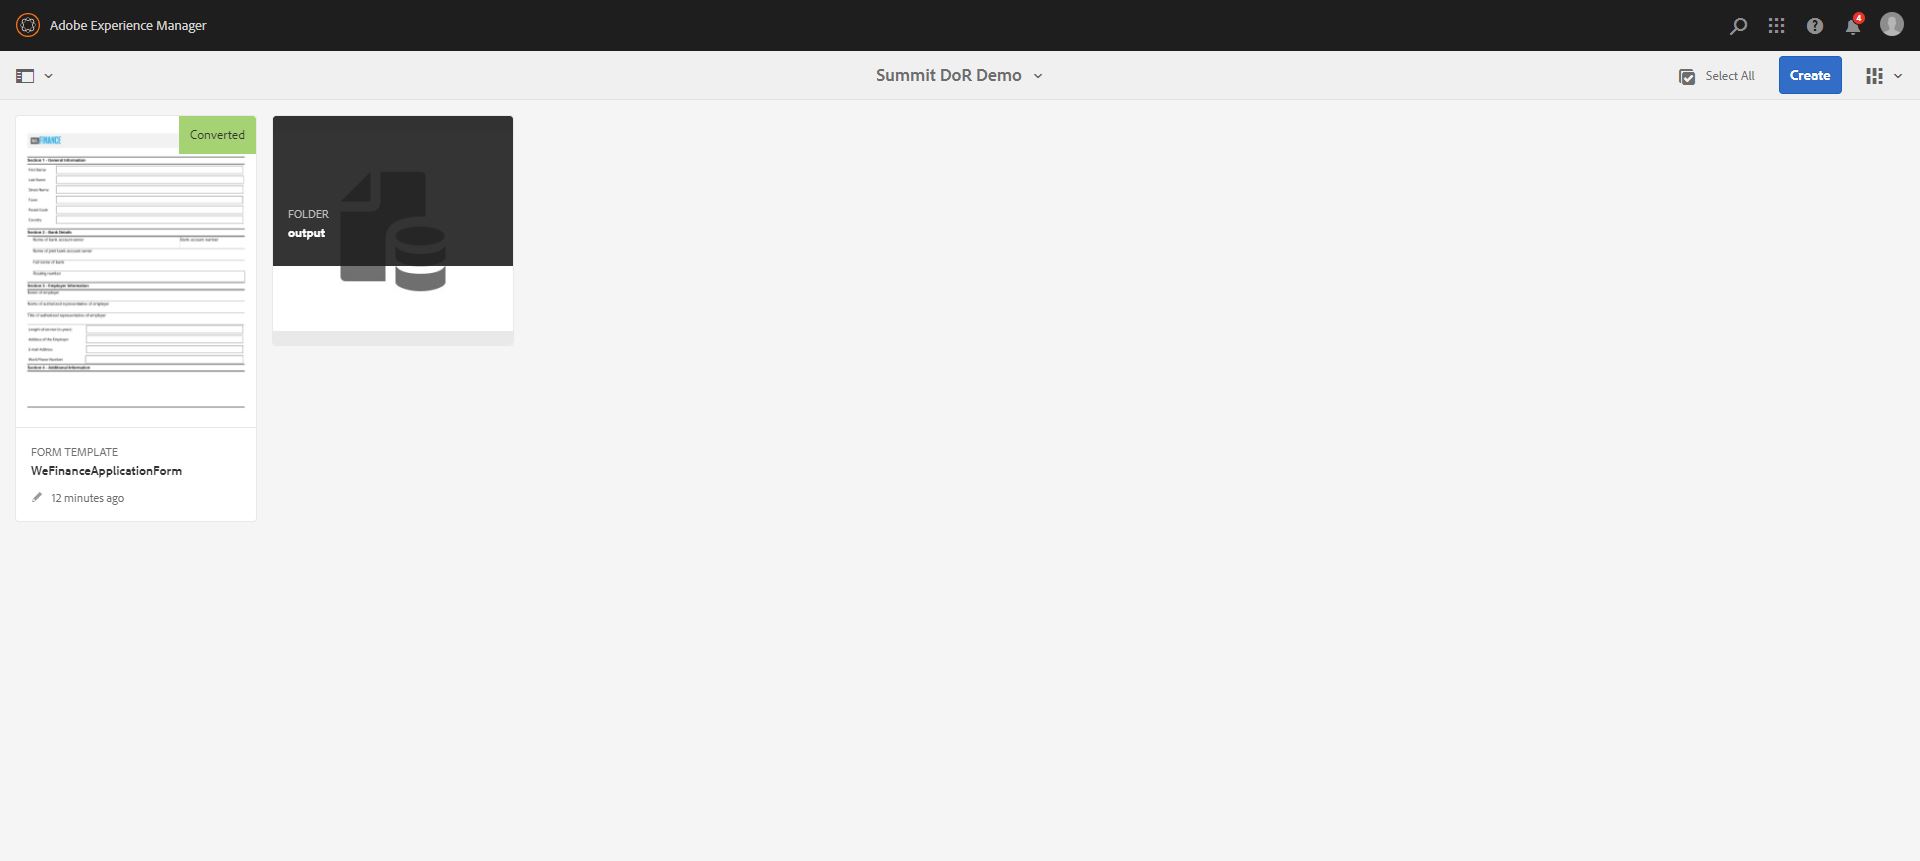
Navigate to Summit DoR Demo folder.
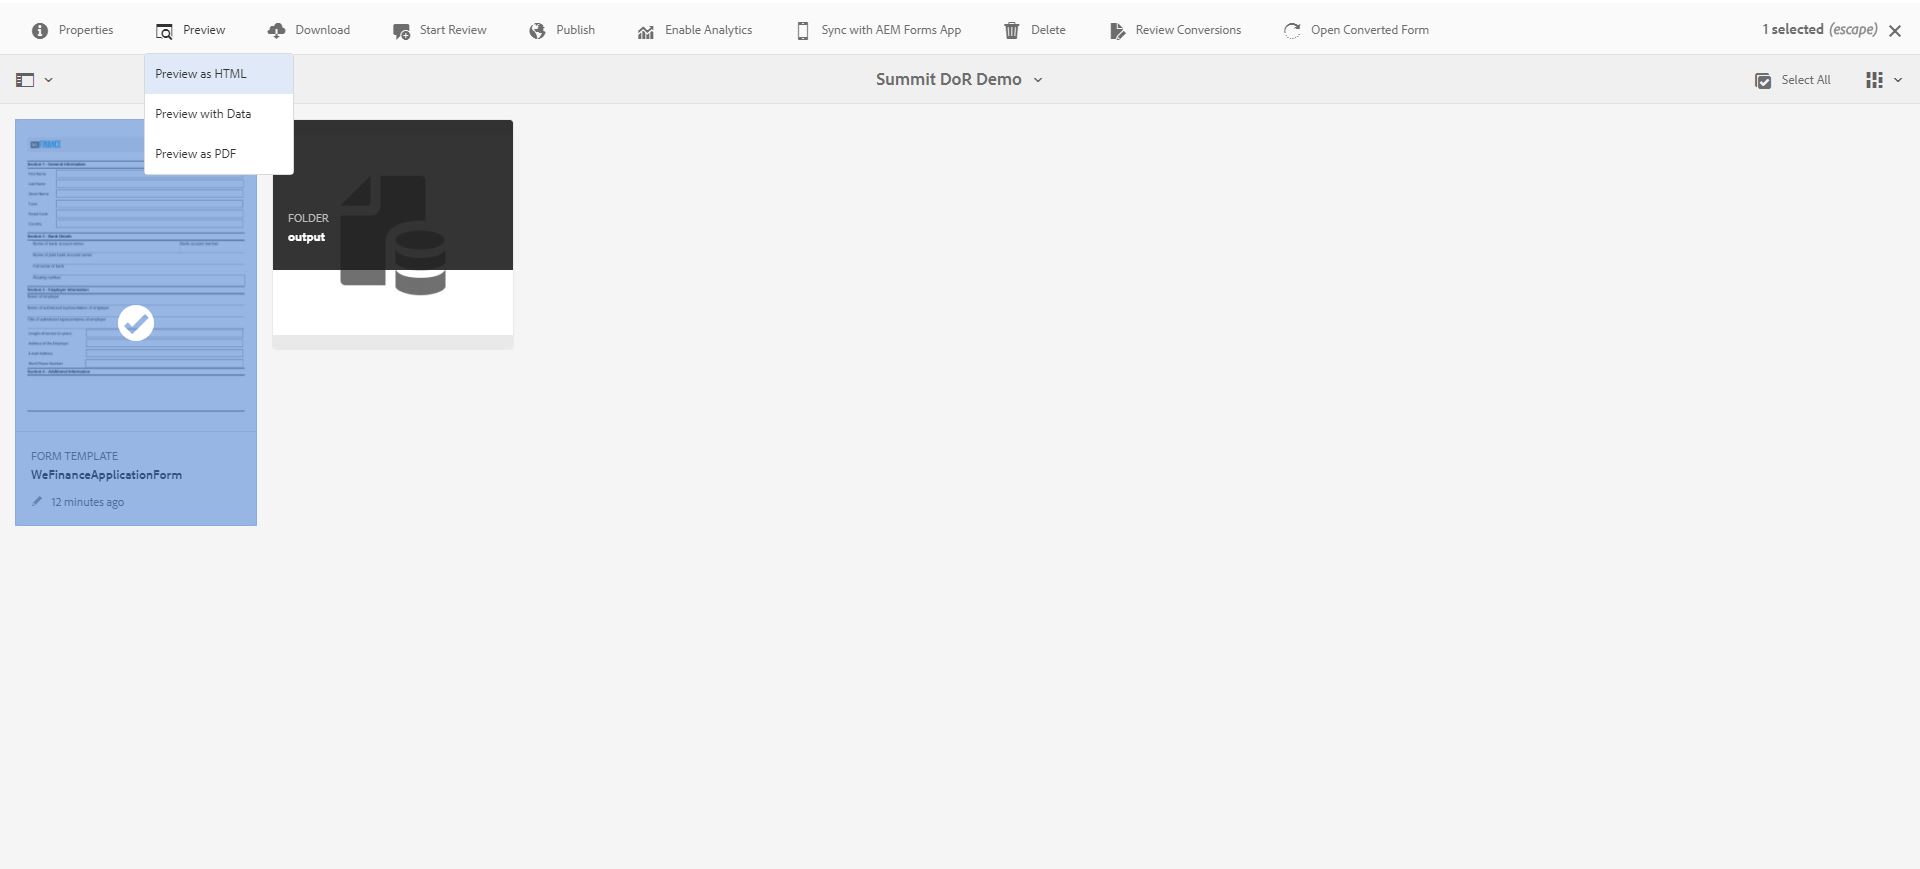
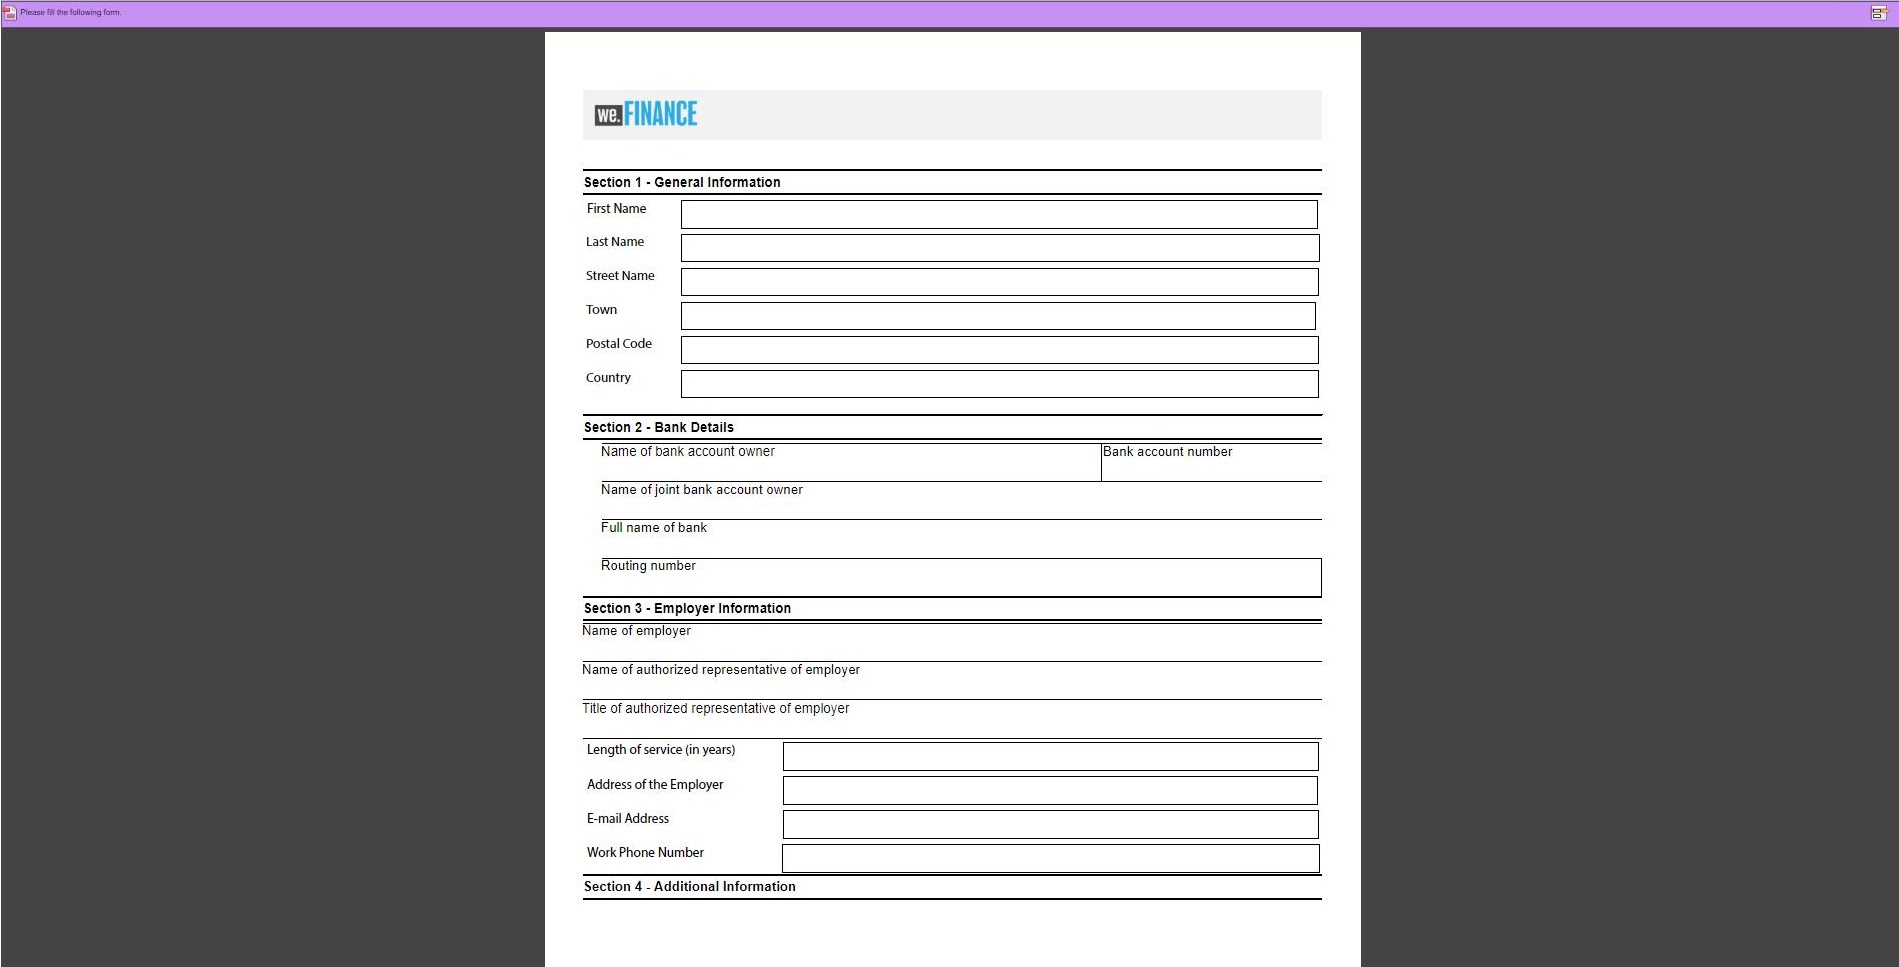
Select input XFA form XDP file WeFinanceApplicationForm, click Preview > Preview as HTML
The XDP form is displayed as HTML form in new tab. The form contains various type of form fields.
Close preview tab.
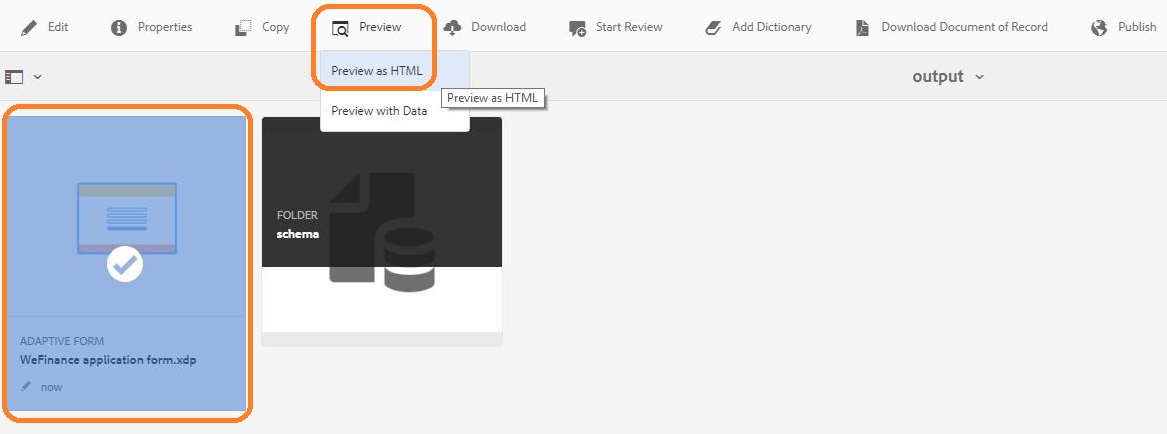
Unselect WeFinanceApplicationForm and navigate to output folder.
For purpose of workshop, a pre-converted Adaptive Form is present. Select the adaptive form and click Properties.

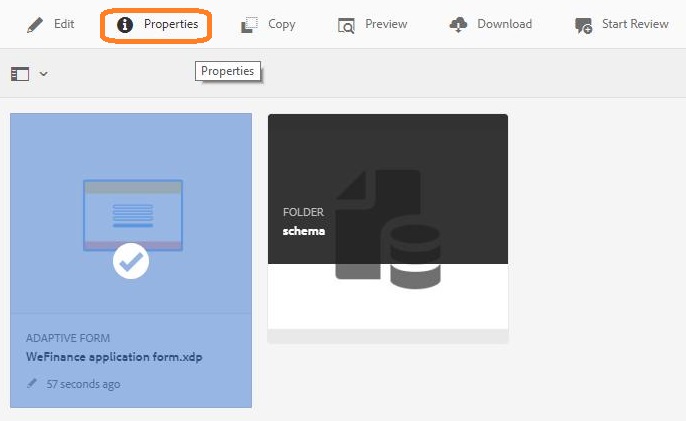
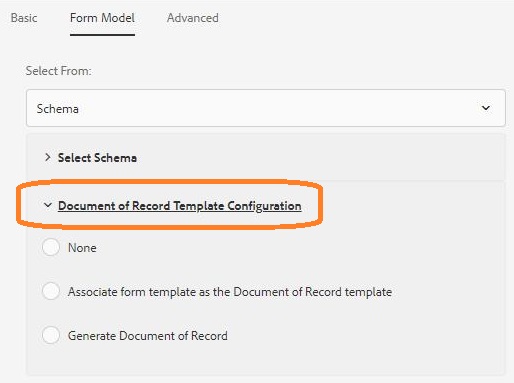
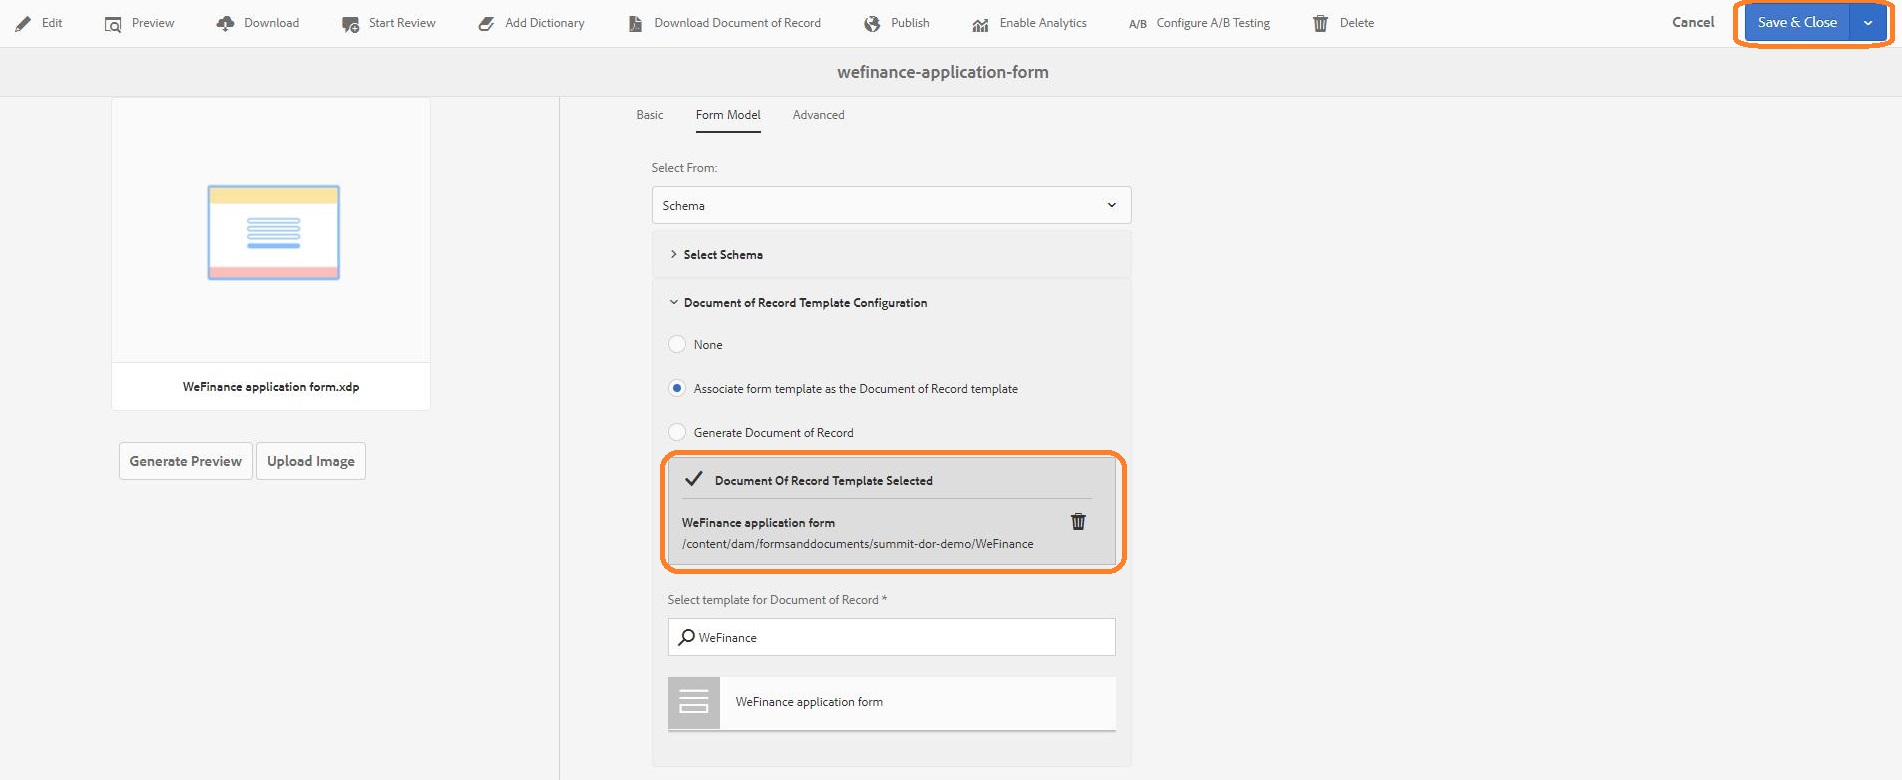
Navigate to Form Model tab
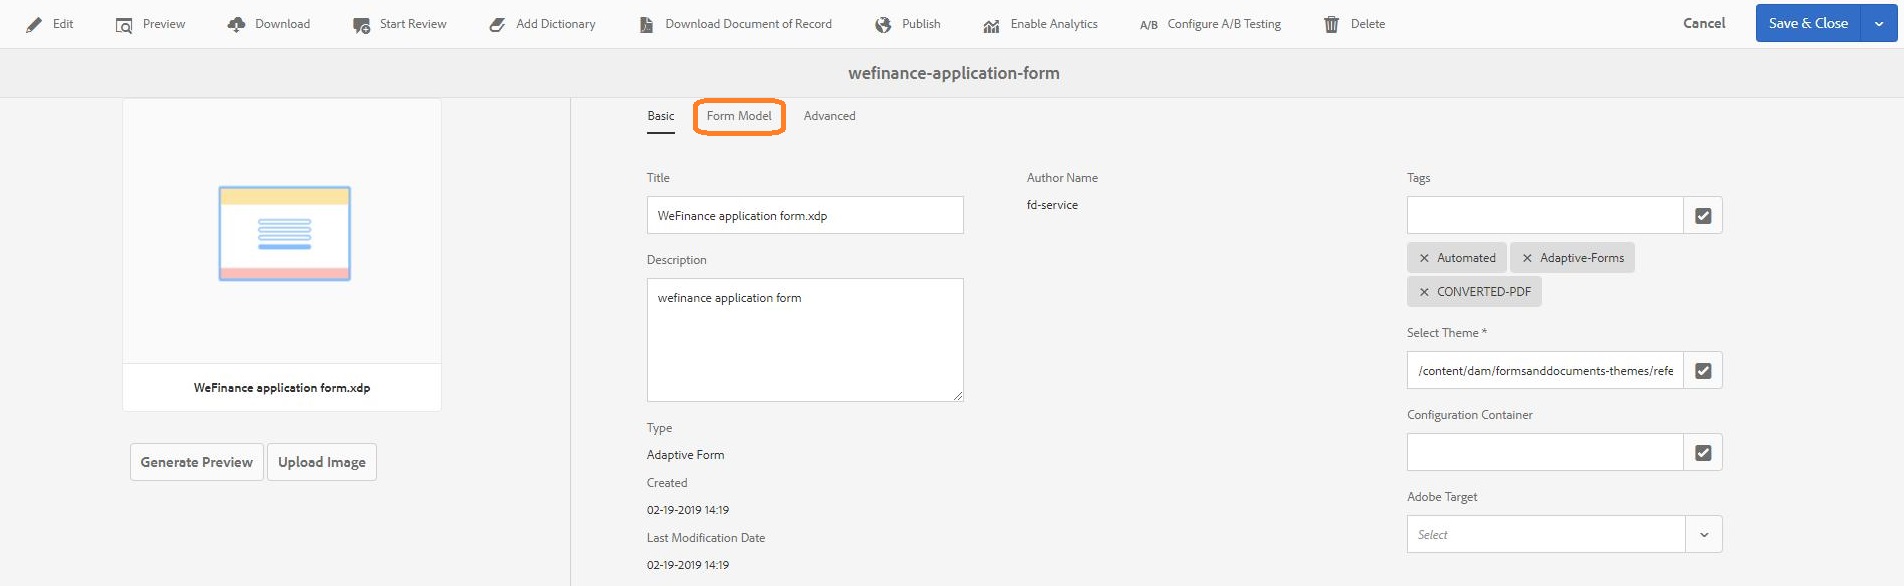
Expand Document of Record Template Configuration.
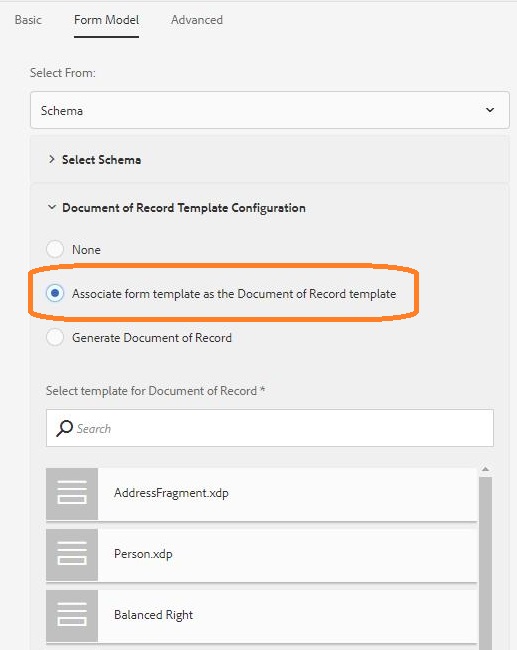
Select Associate form template as the Document of Record template.
In Search dialog, enter WeFinanceApplicationForm, press Enter.
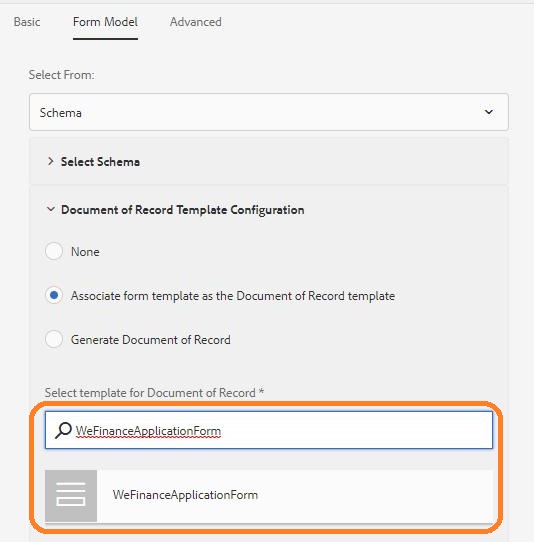
Select the form.
Click Save and Close on the top right.
Select the adaptive form, click Preview as HTML.
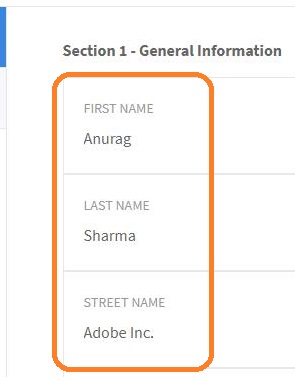
Enter First name, Last name and other data in the form.
Click Summary panel. The form is automatically submitted and a link to the document of record with merged data is displayed.
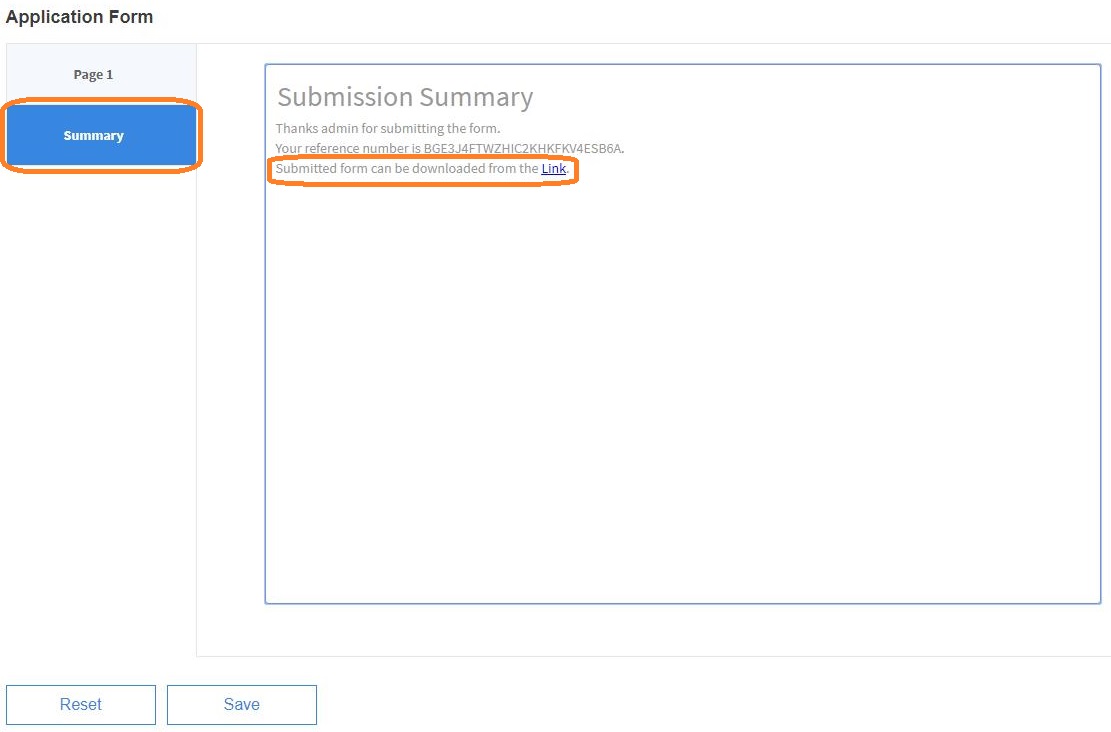
Click the link to open document of record in a separate tab.
If you are finding any problem regarding cloud configuration, pre converted form or summit package provided in the resources. Follow the below instructions to reinstall package provided in the resource folder.
Login to AEM http://localhost:4502/aem/start.html with username "admin" and password "admin".
In the left navigation bar, click tools icon to open tool.
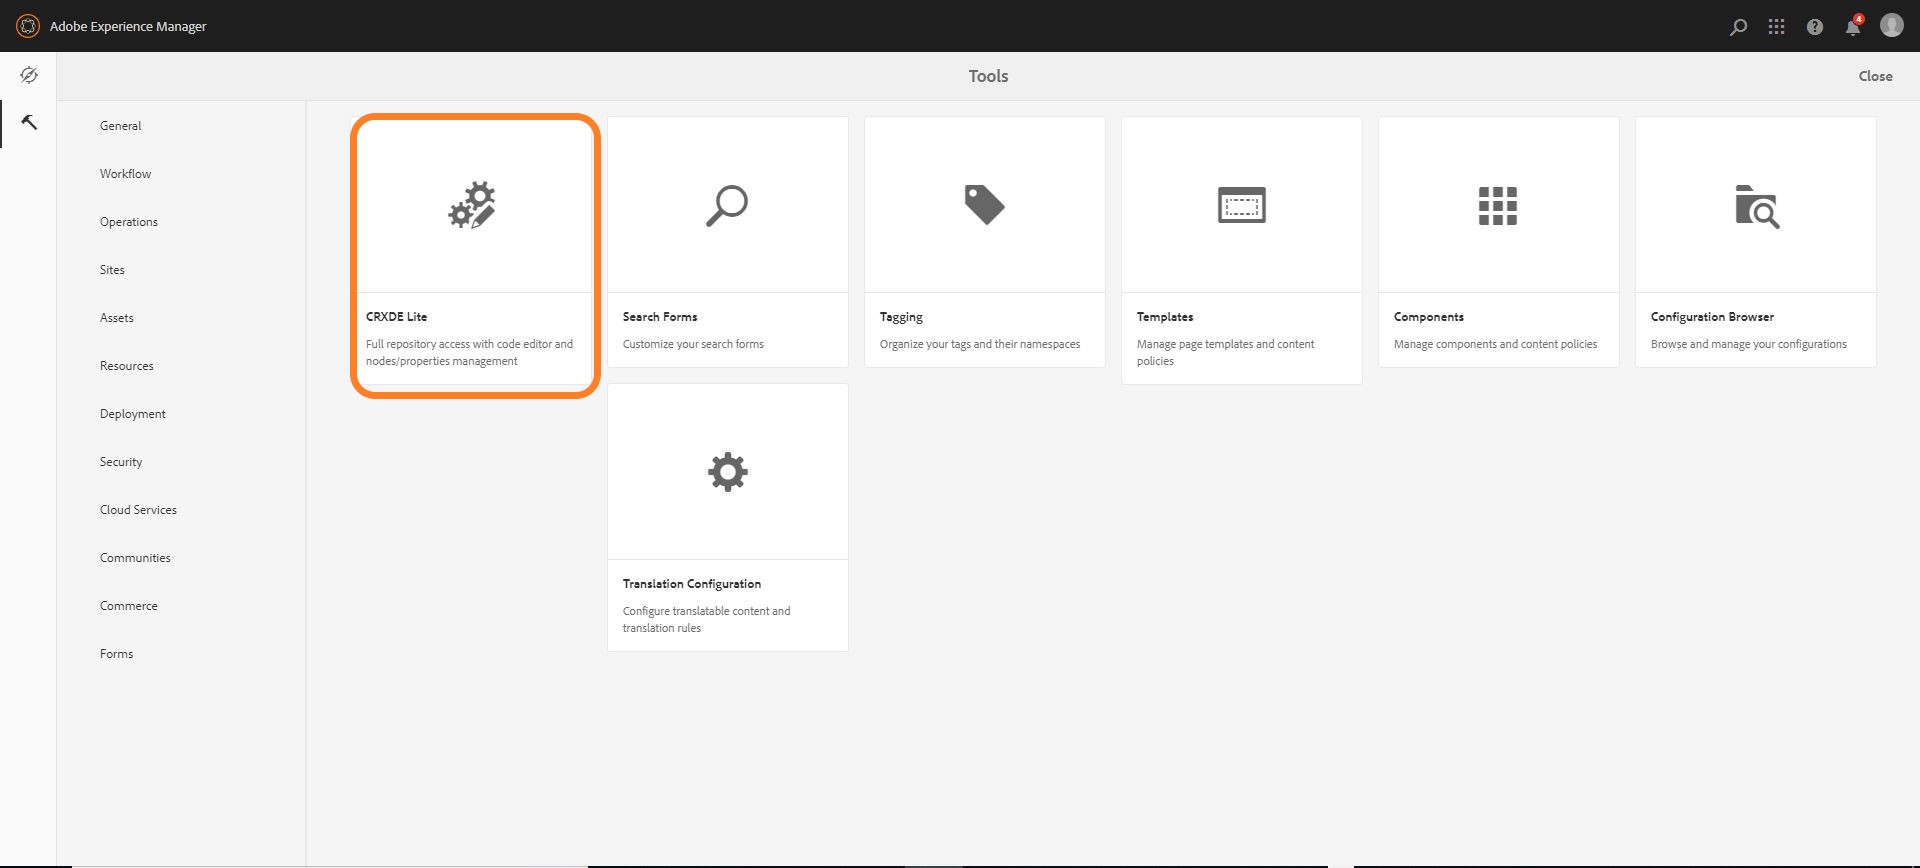
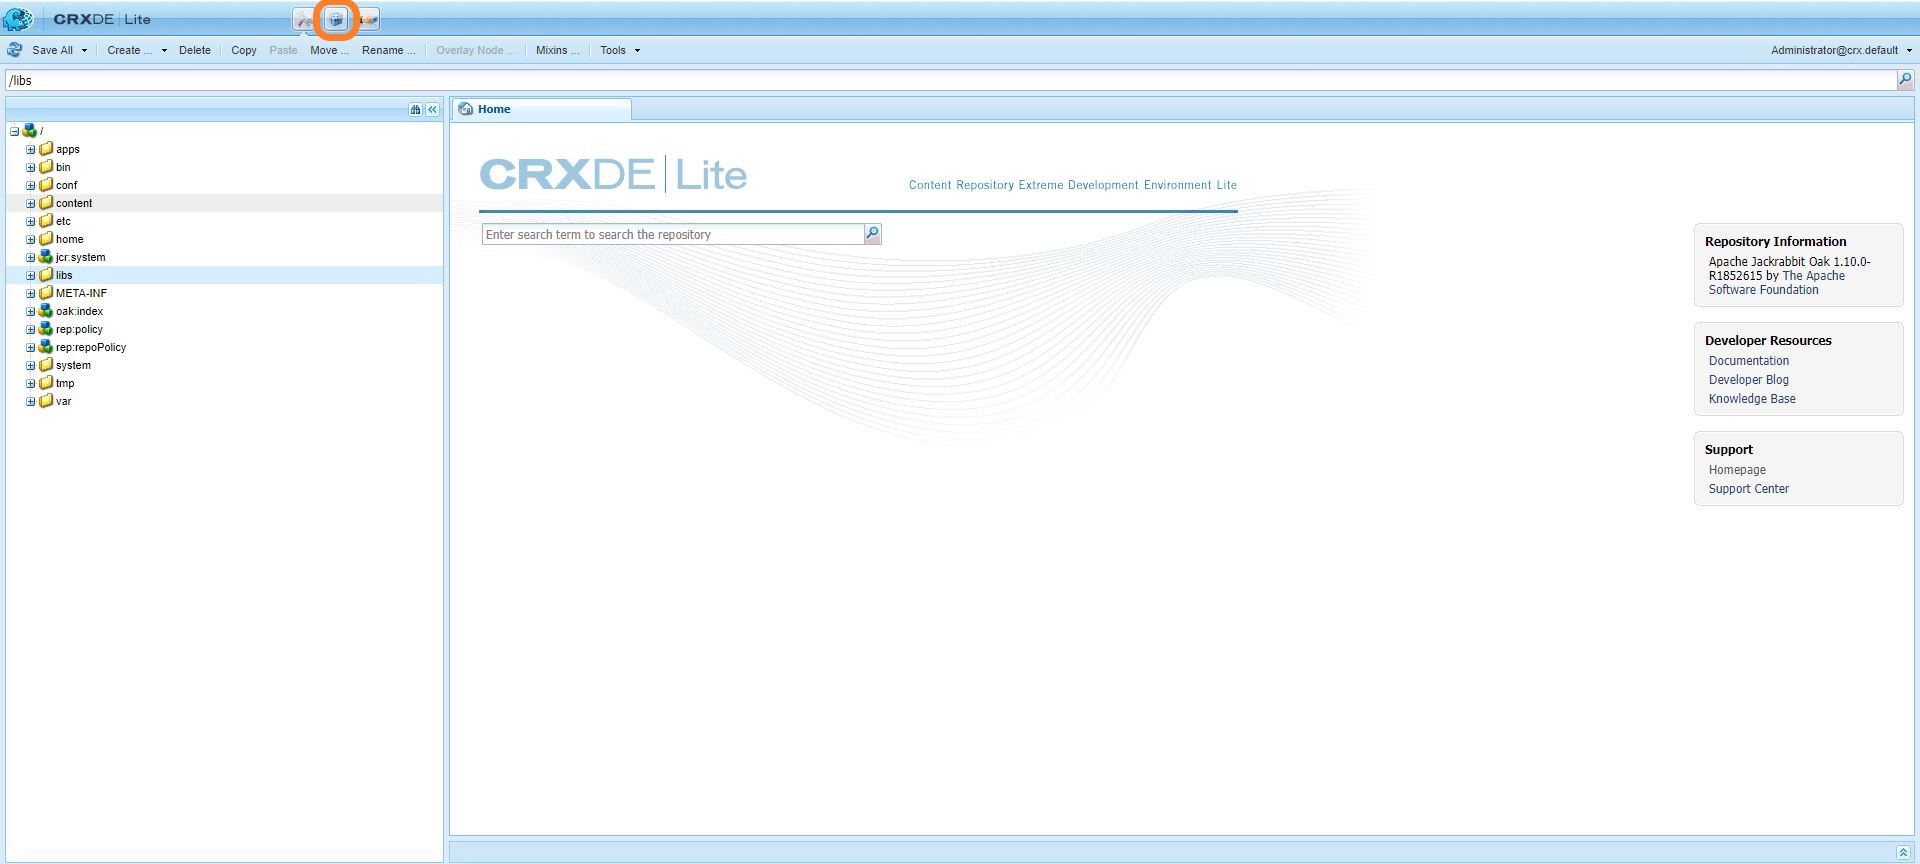
Click on CRXDE Lite and crxde tool will open in new tab.
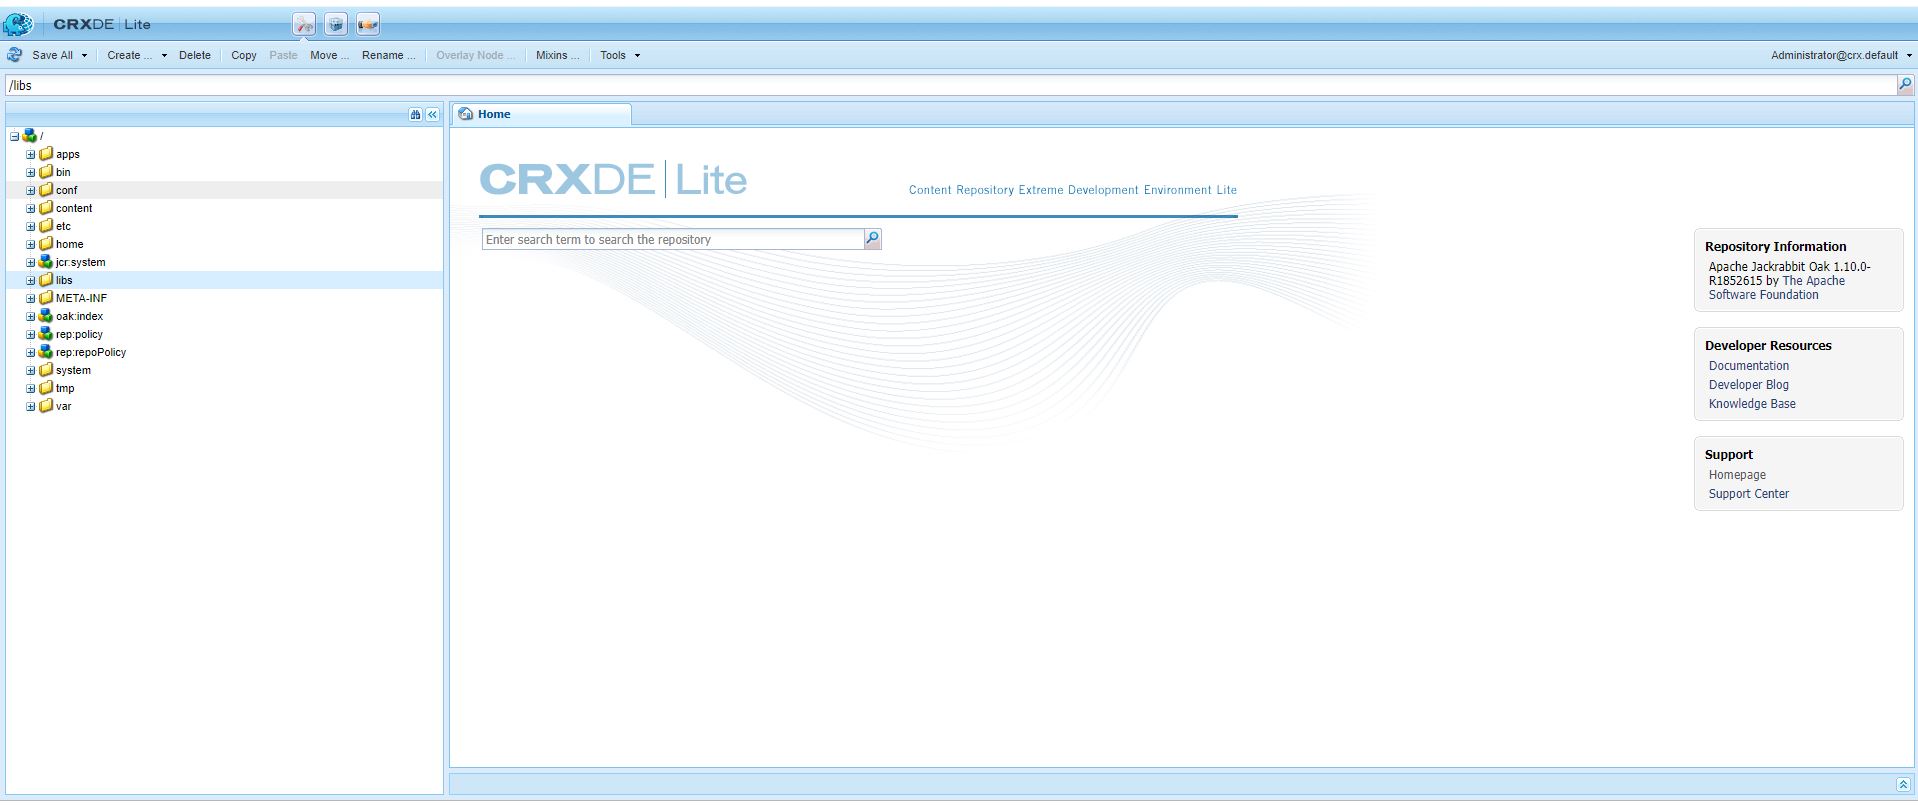
Click on the package button provided in the top menu bar of crxde tool.
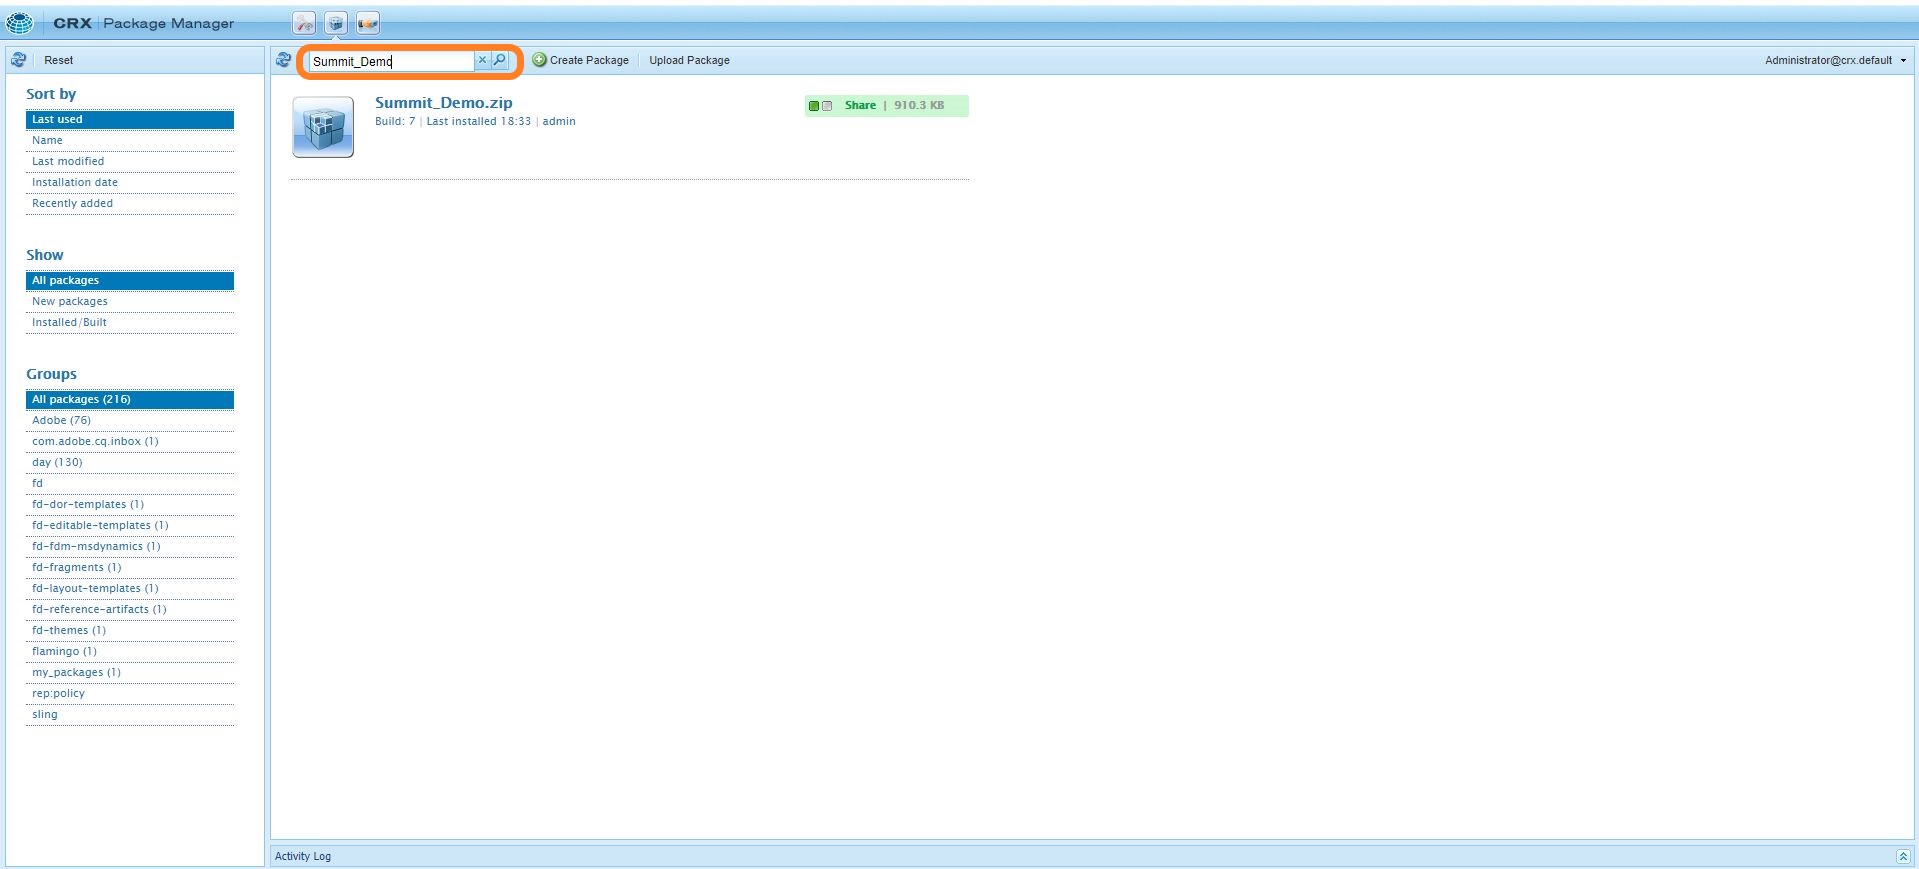
In the search field type Summit_Demo and hit Enter. Select the Summit_Demo package.
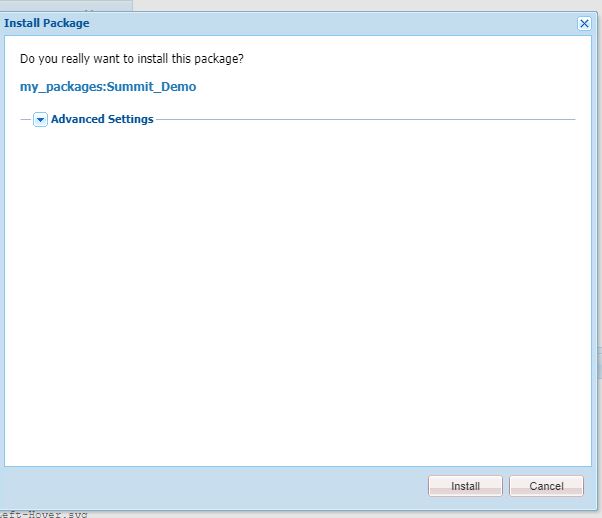
Click on the more button. Select uninstall from the dropdown. Uninstall dialog will appear and click on uninstall button to uninstall package.
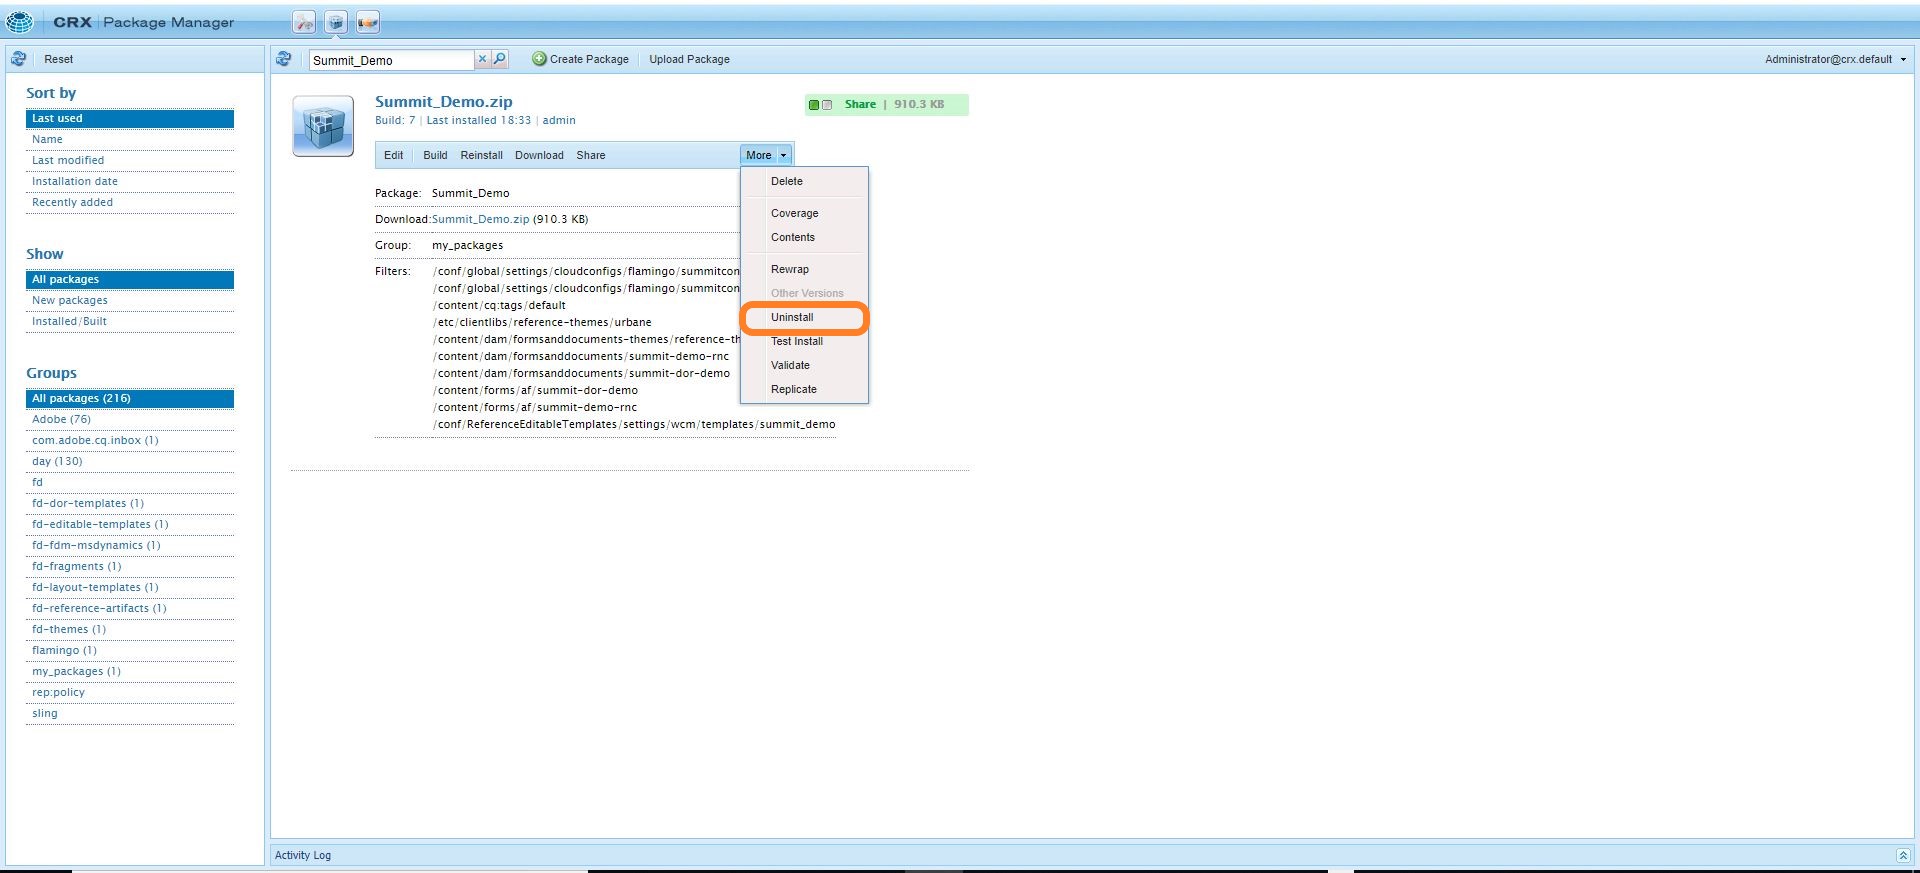

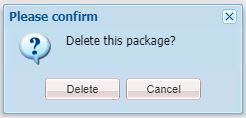
Click on the more button. Select delete from the dropdown. Delete dialog will appear and click on delete button to delete package. 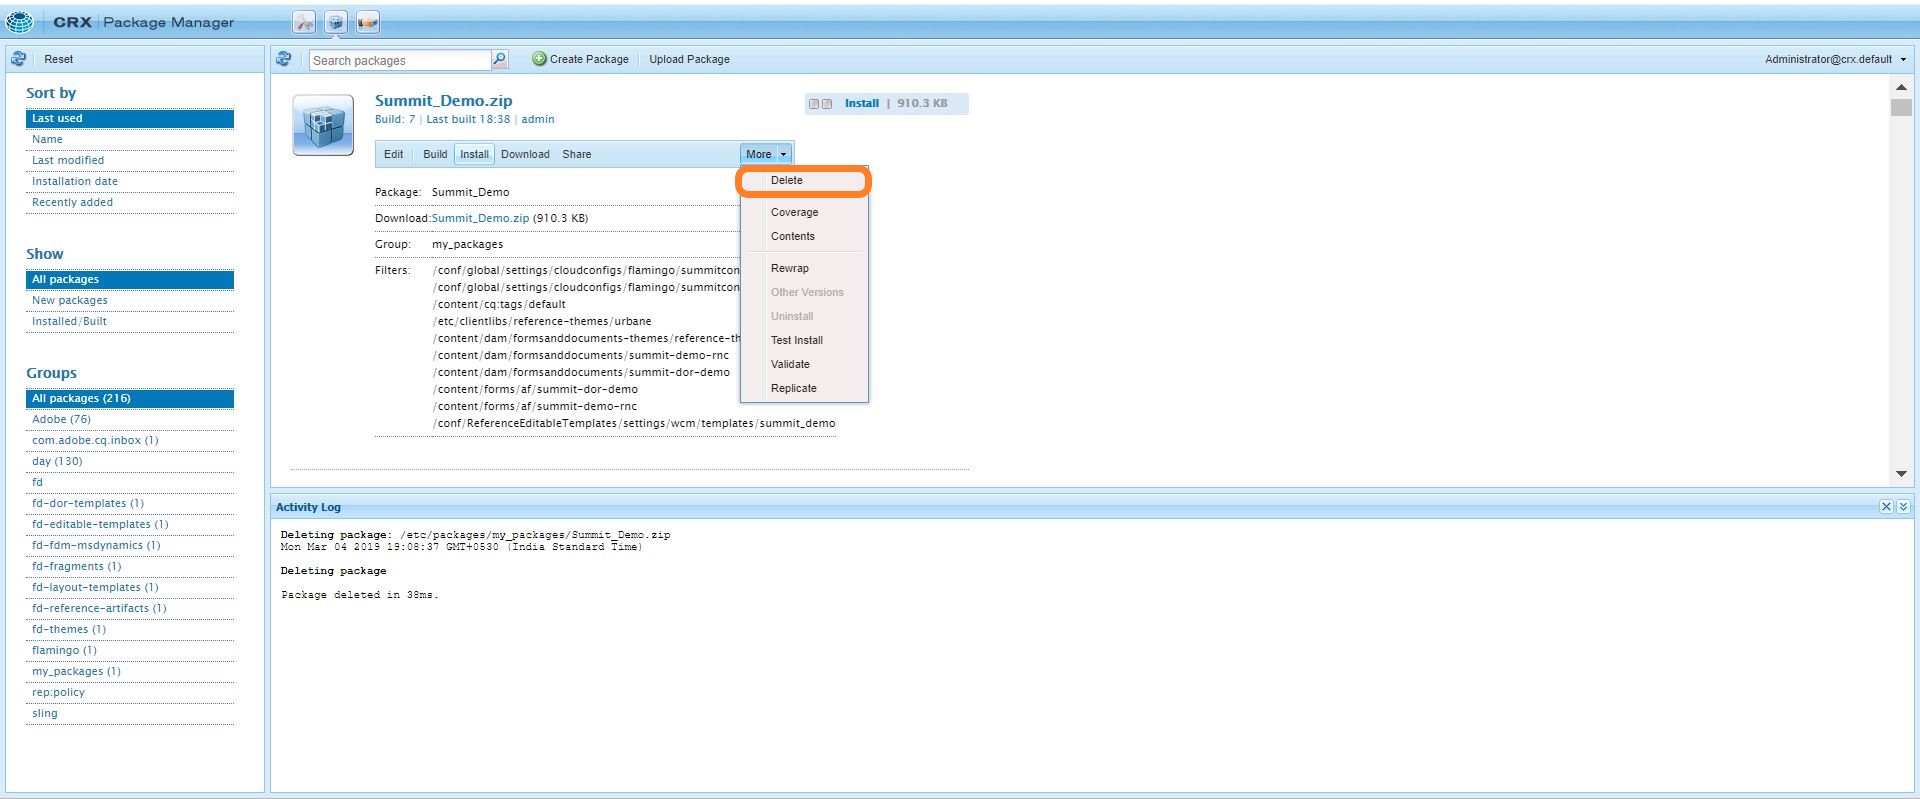
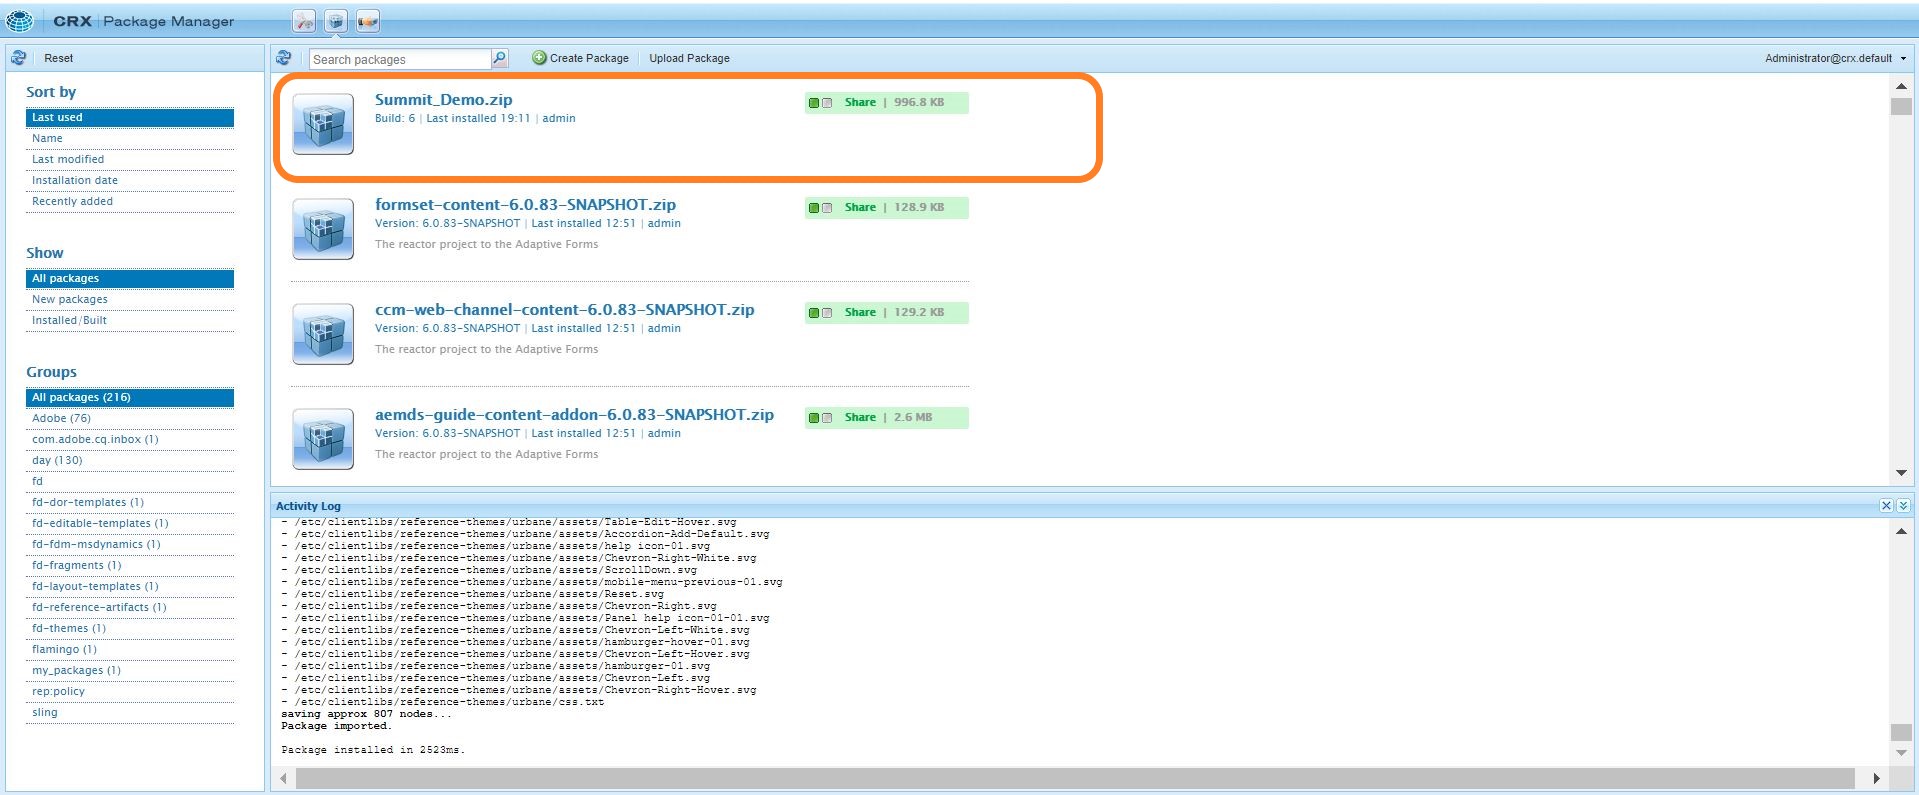
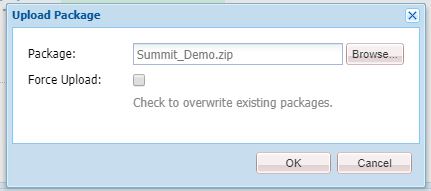
Click on the Upload package button in top menu, a dialog will appear. Upload the Summit_Demo.zip and click Ok. 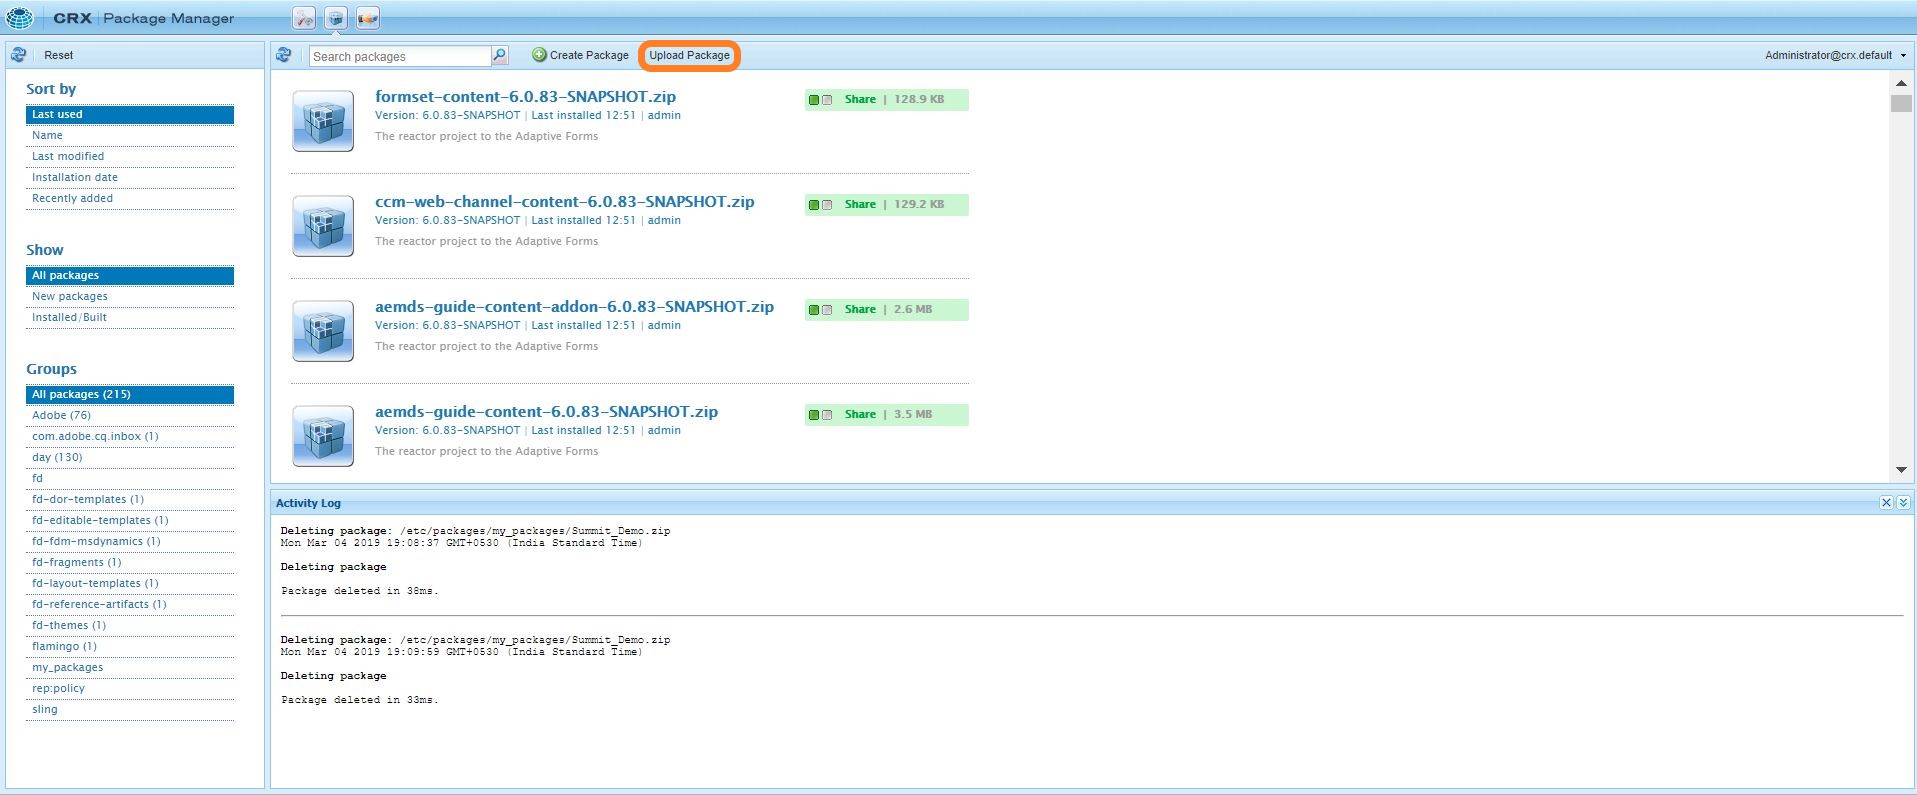
Summit_Demo package will be visible in the content. Click on the install button provided on the right side of Summit_Demo.zip, a dialog will appear. Select the install button on the dialog to install package in AEM. 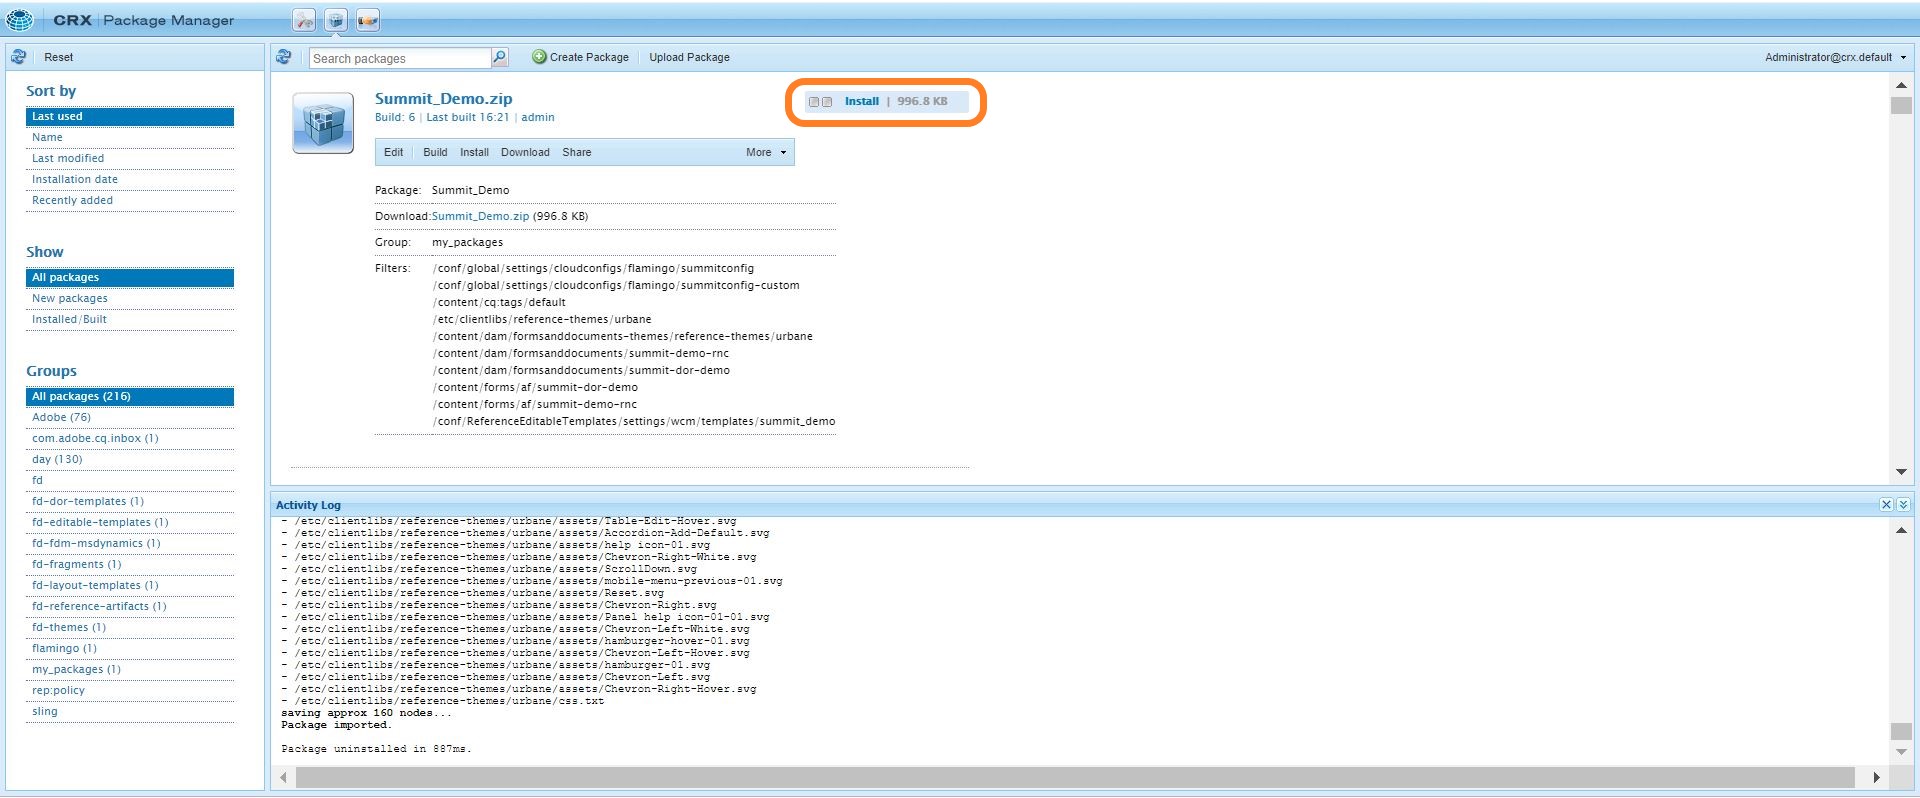
Close the upload package tab and refresh the AEM to see the expected changes.
If form conversion is taking too much time. Please go through the mentioned steps.
Login to AEM http://localhost:4502/aem/start.html with username "admin" and password "admin".
Navigate to Forms > Forms & Documents.
Scroll down the folder you chose for conversion. If there is a Conversion in progress status on folder top right side and its been too long since you have started the conversion.

Navigate inside the folder. Note that the pdf would also be showing Converting status at top right side.
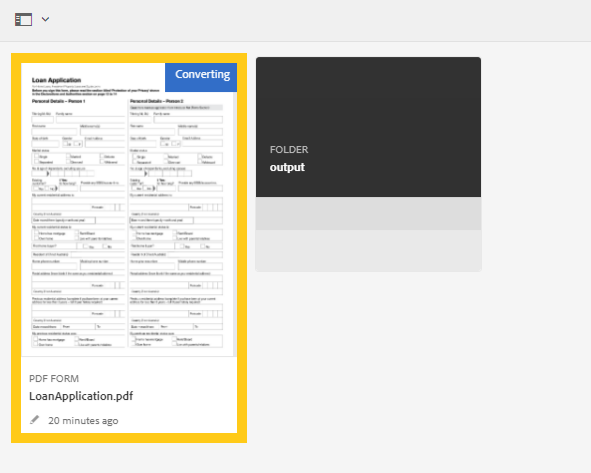
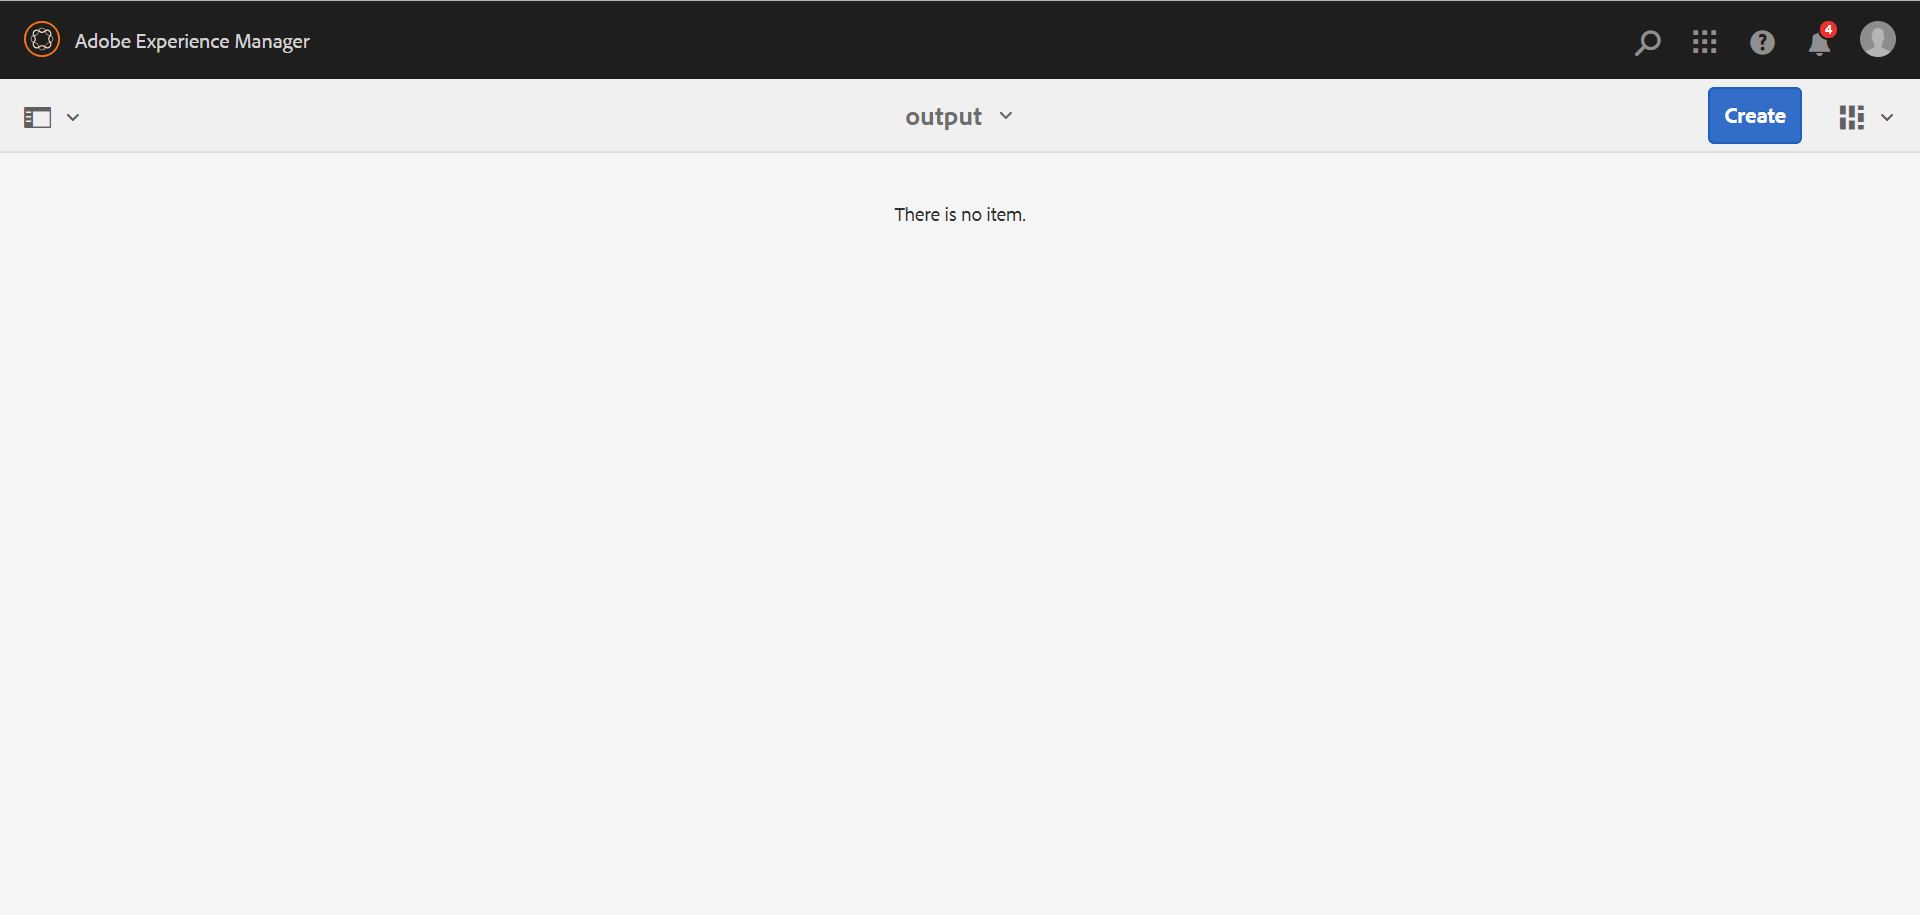
Navigate to the Output folder.
If your Output folder is empty. Please wait because the conversion is still in progress.
If your Output folder is not empty and an adaptive form, schema folder and fragment folder are present there. Then conversion has been completed, please ignore the Conversion in Progress status and continue with exercise.

Your feedback is important as it helps us improve our offerings. To share your experiences and report feedback on the conversion service, you may join the beta program. Send a request to AEMBeta@adobe.com with the subject "Request to join Automated Forms Conversion service beta program" with below details:
AEM Forms documentation - https://www.adobe.com/marketing/experience-manager-forms.html
Automated Forms Conversion service - https://www.adobe.com/in/marketing/experience-manager-forms/automated-forms-conversion.html
Forms maturity model - http://bit.ly/FormsMaturityModel