
In the lab overview, we make the audience understand that Digital Signage goes way beyond digital advertising. With Adobe Experience Manager Screens, our customers can leverage personalization in retail stores.
adminadminSolution packages for each chapter can be found here.
To install a solution package:
Chapter-#-Solution_l742.zip where # is the chapter to provide the solution for.In this lesson, you will learn how to get started with AEM Screens and create your first in-store experience. We get started by creating a real-world store structure in AEM. Afterwards assets will be uploaded and used in your first channels. An intelligently planned schedule will support you by creating a changing experience throughout a day or any time of the year.
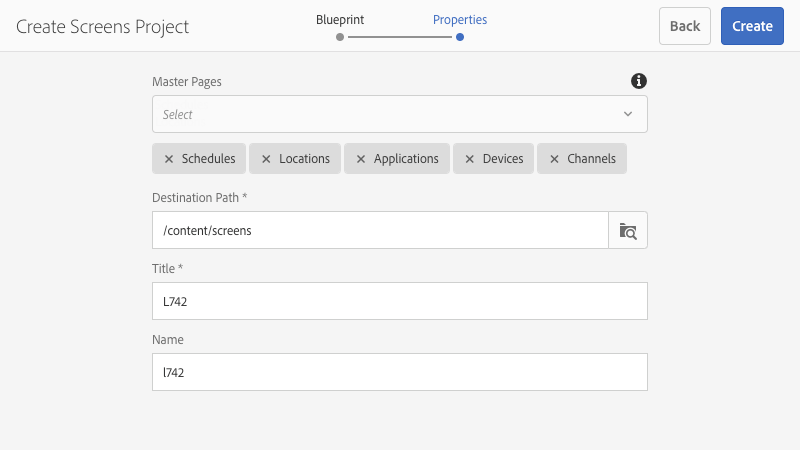
In this exercise you are going to create an in-store project structure.
Login to your lab machine with the following credentials
On your desktop, open the folder named L742.
Double click on cq-quickstart-6.5.0.jar to get AEM started.
Open your browser and go to http://localhost:4502/ where you can login with the following credentials:
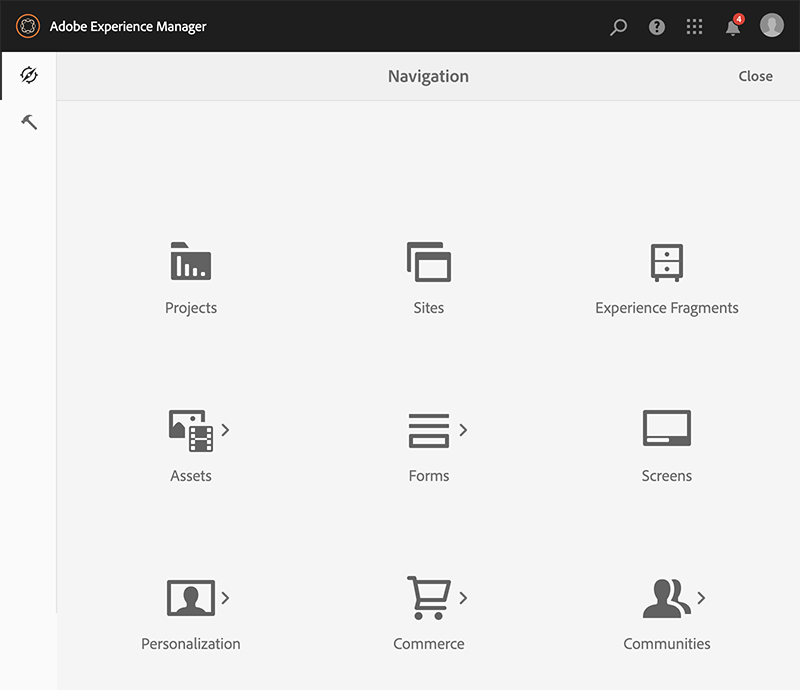
Navigate to Screens.
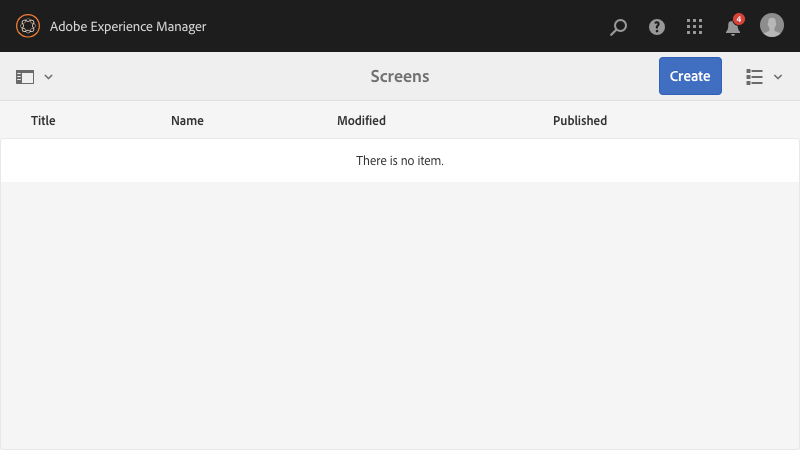
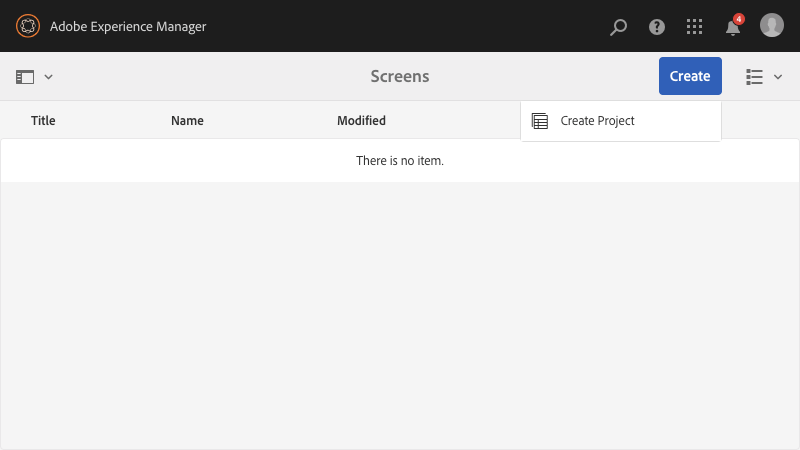
Click the blue Create button so that we can continue setting up a new project.
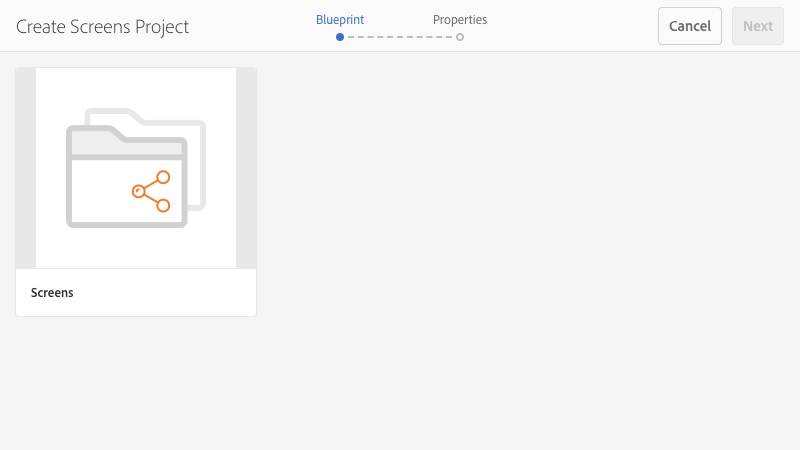
Follow the wizard in creation of the new project. Keep the default values and only fill out the title field.
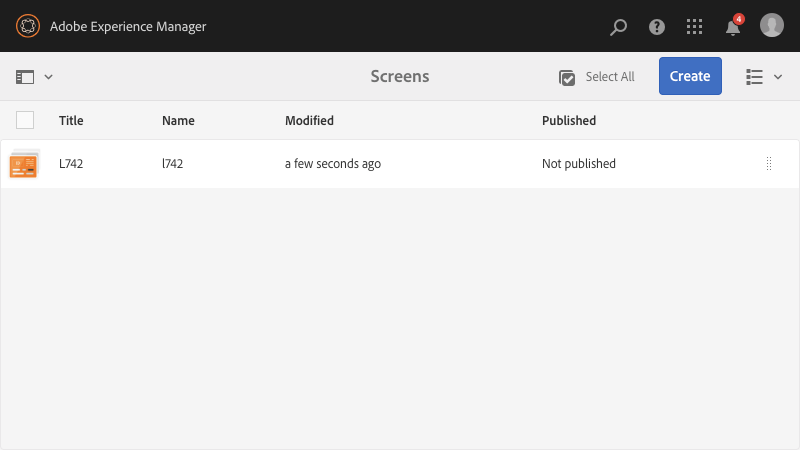
Click on the project title to navigate the project.
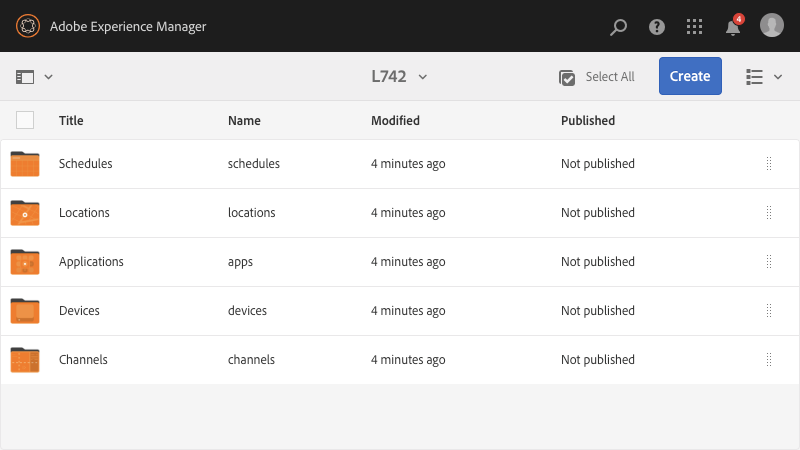
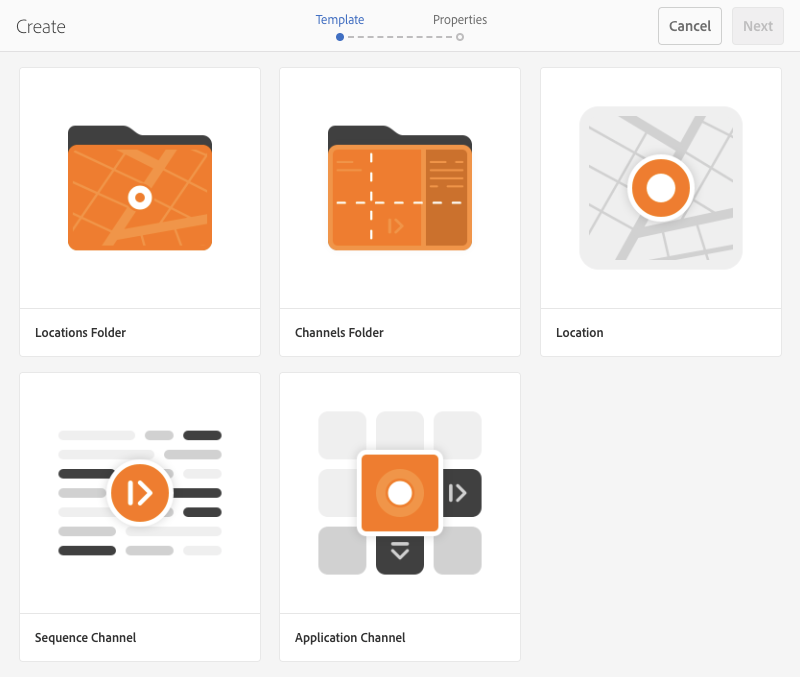
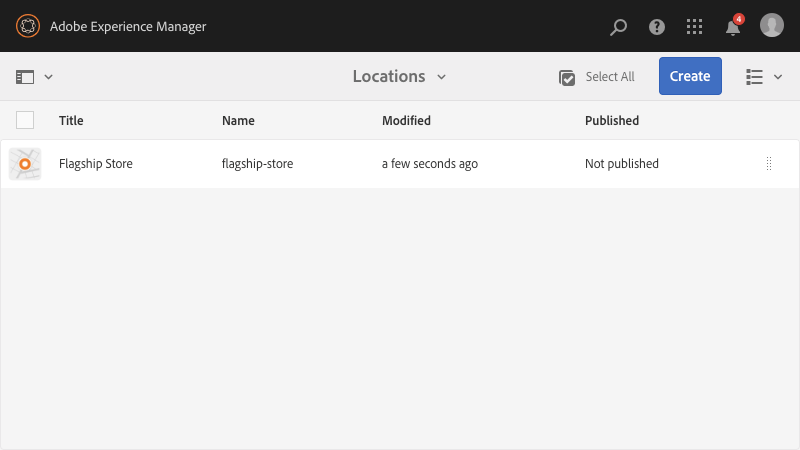
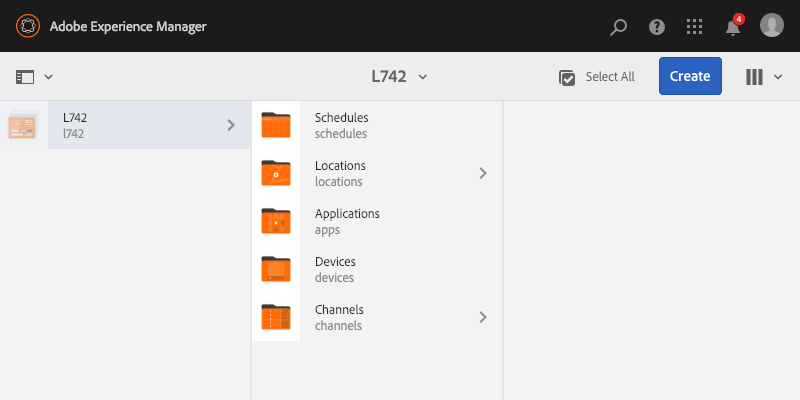
Continue to navigate into the locations and afterwards click on create to structure your project. We start by creating a new entity!

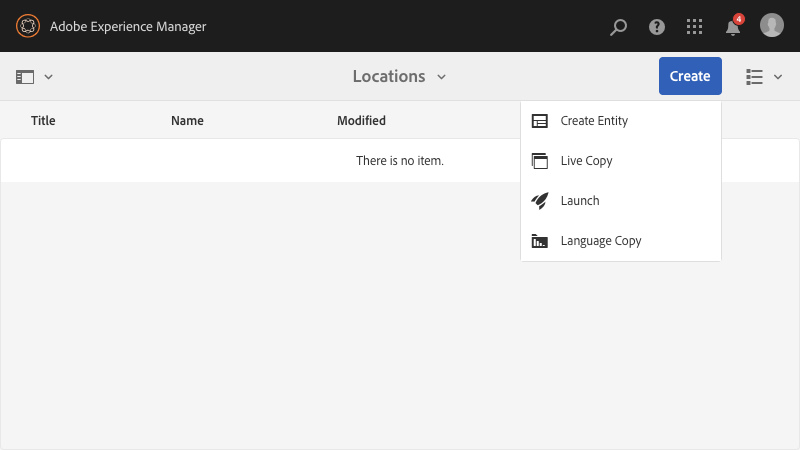
Follow the wizard to create a location and enter a title of the location in the second step.

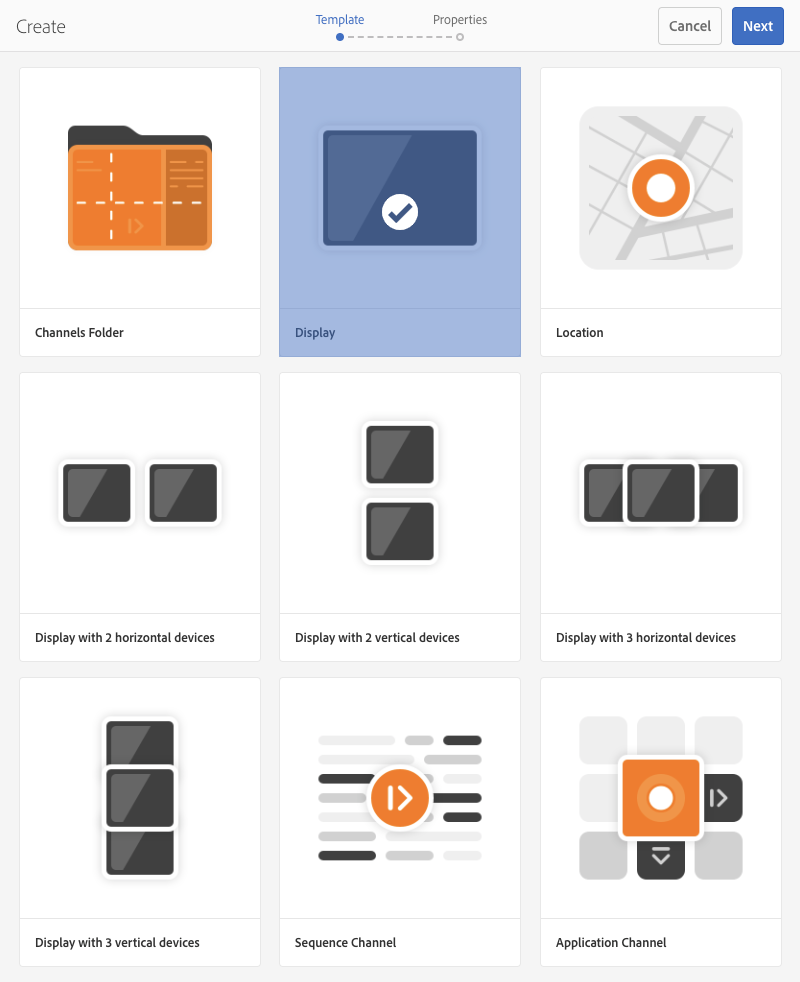
Open the newly created location and press again create entity to create new display.

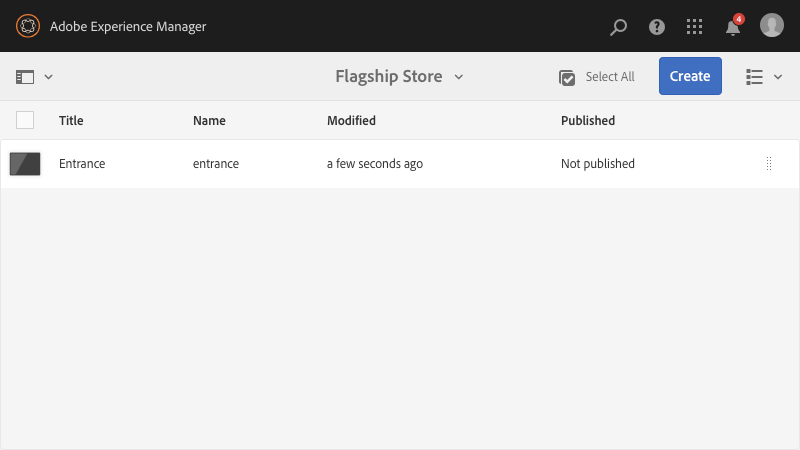
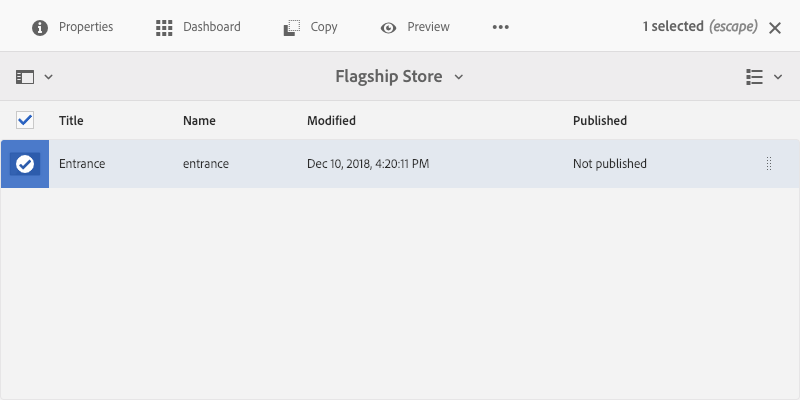
Congratulations! You have created a display for the entrance display of your flagship store. Now let's pull some content on the display in the next exercise.
In this exercise, you are going to create your first in-store experience.
Navigate to Screens and open your previously created project.
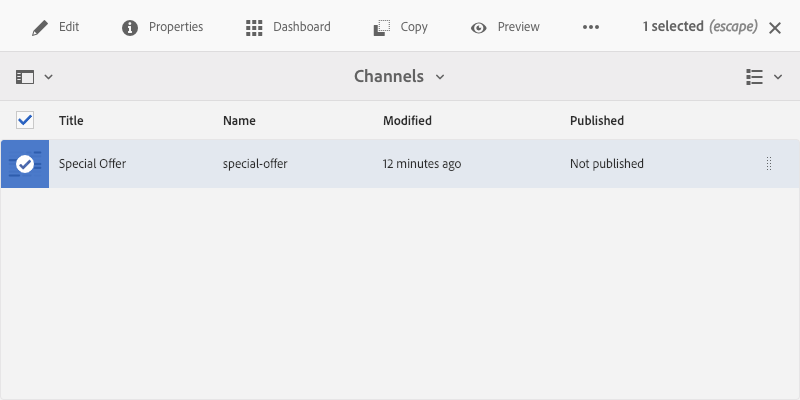
Open the Channels folder in your project and create a new entity.
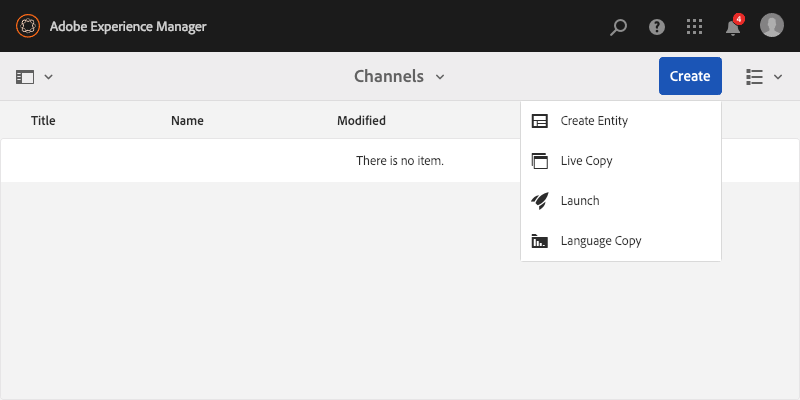
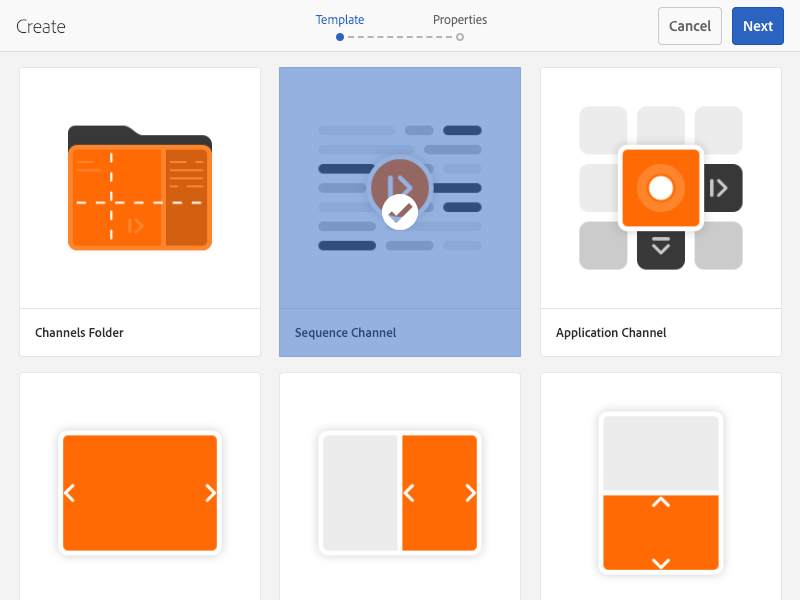
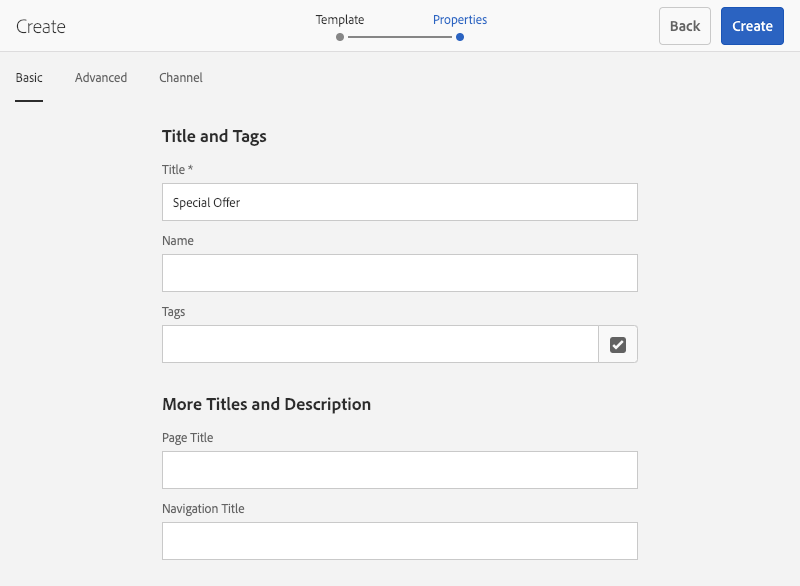
Select Sequence Channel and follow the wizard to fill out the title field in the second step.
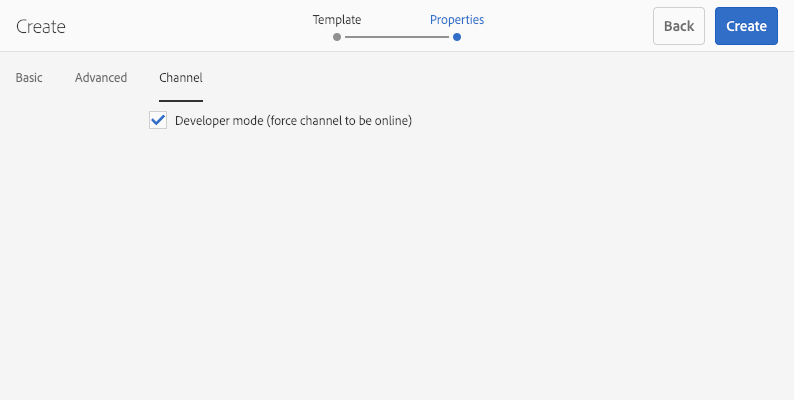
Switch to the Channel tab and enabled Developer mode to allow automatic updates.
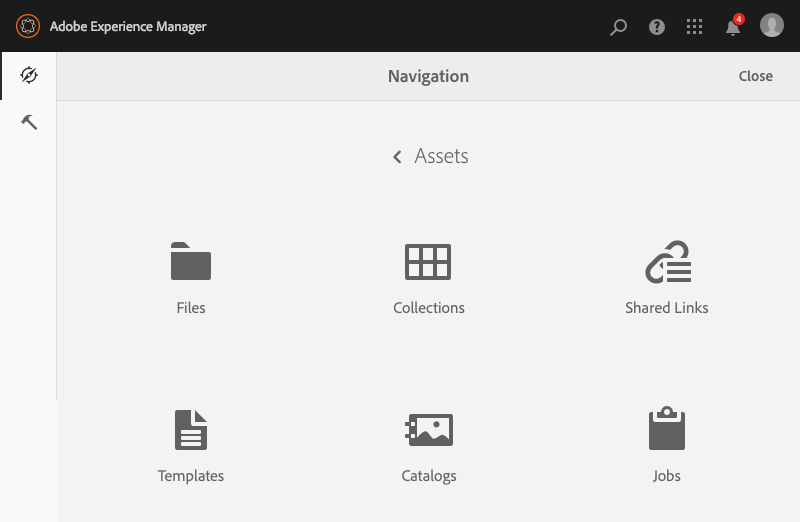
Now open the main navigation of AEM and navigate to Assets -> Files -> Projects.
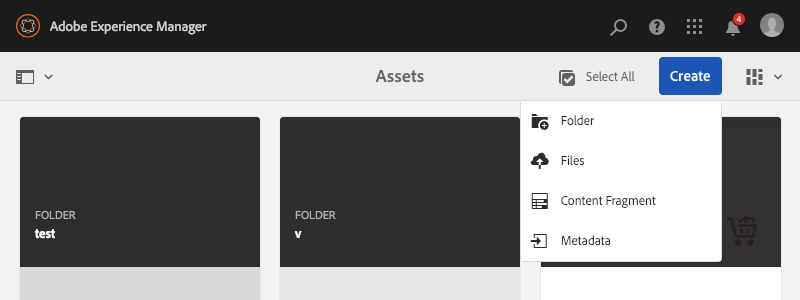
Click on Create and create a new folder.
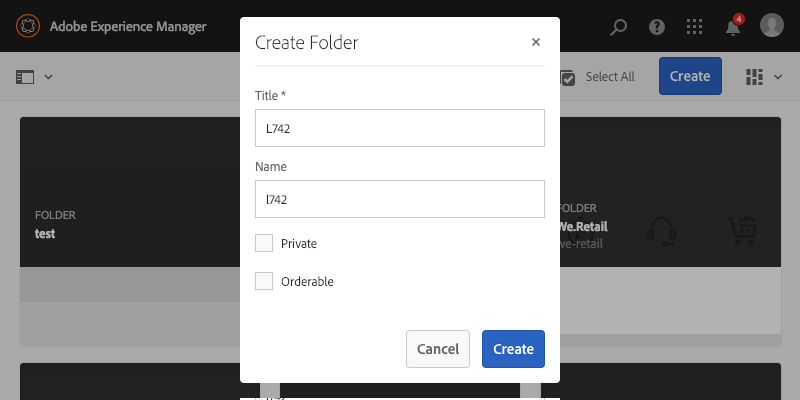
Open the newly created folder.
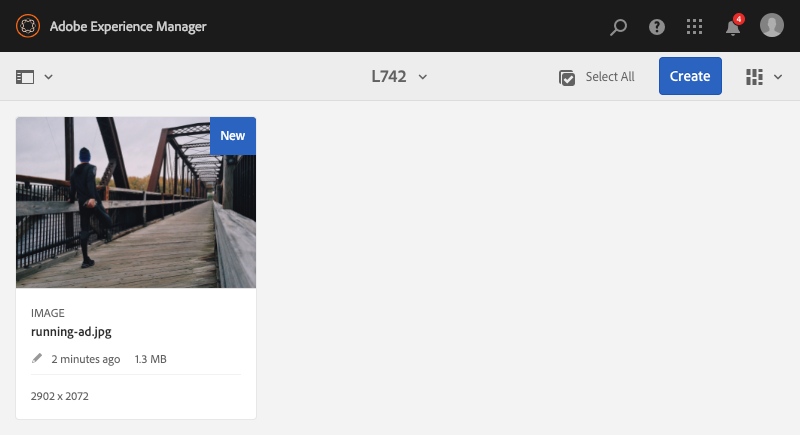
Drag and drop images from your project into the folder.
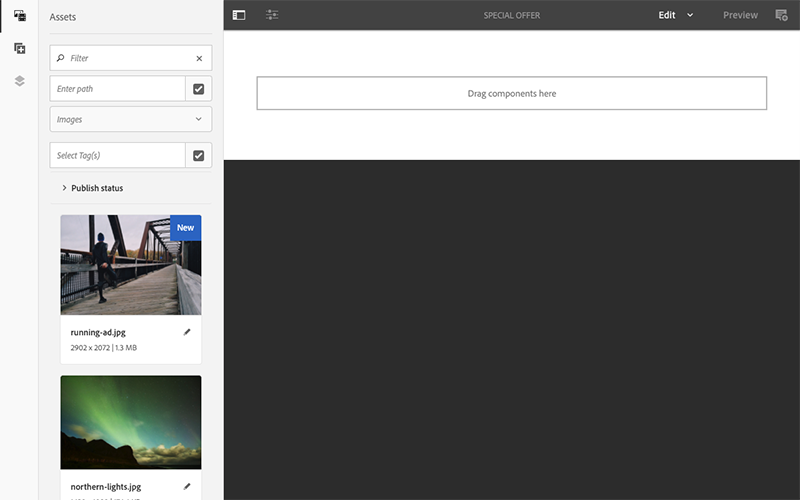
Now open the main navigation of AEM and navigate back to Screens.
Open your project and navigate down into channels.
Select your previously created channel by clicking on the icon of the entry. The toolbar now reveals a button to edit the channel. Click it and the channel is opened in the editor in a new window.
On the left side, you see all images available in AEM. Drag in 1 of them into the container of the channel.
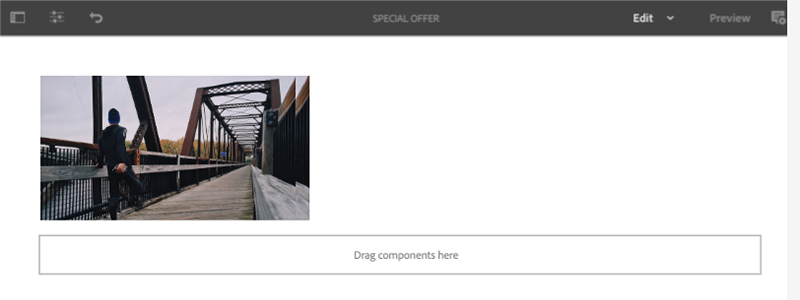
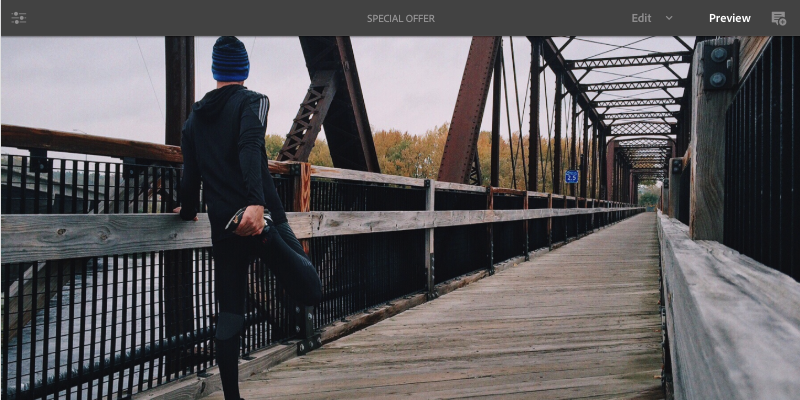
You may already preview your result by clicking the Preview button on the right top.
Close the editor and open your project in the Screens admin console and navigate to your previously created display.
By selecting the display, a dashboard button is revealed in the toolbar. Click on it to navigate to its dashboard.
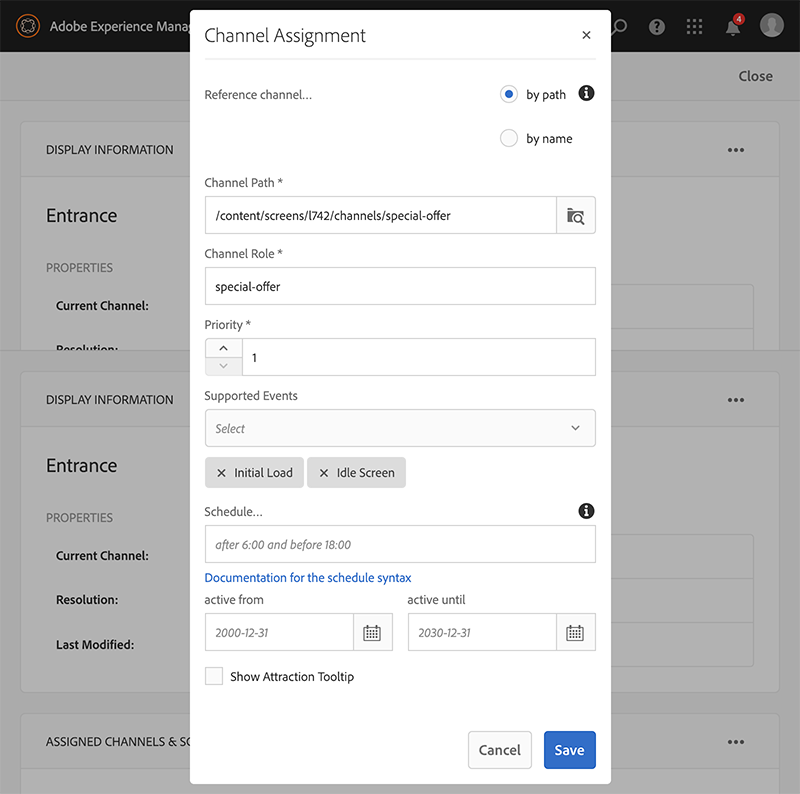
In the dashboard scroll to the Assigned Channels & Schedules tile. And open the assign channel dialog by clicking the three dots button on the right top of the tile.

In the dialog, use the channel path picker to select your previously created channel. Further in the "Supported Events" dropdown choose "Idle Screen" and "Initial Load" before saving.
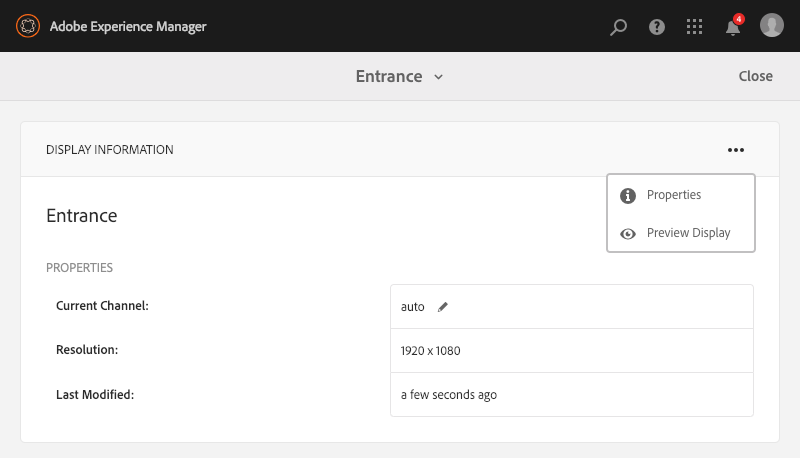
Congratulations! You have created your first in-store experience and assigned it to a display. Click on the three dots in the Display Information tile to preview the display.
Learn how to connect a (hardware-) player to AEM.
In this lesson, you will learn how a player is connected and used to retrieve content from AEM.
In this exercise, you are going to register a player on AEM.
Open your browser and go to http://localhost:4502/ where you can login with the following credentials:
After you successfully logged into AEM, browse to http://localhost:4502/system/console/configMgr.
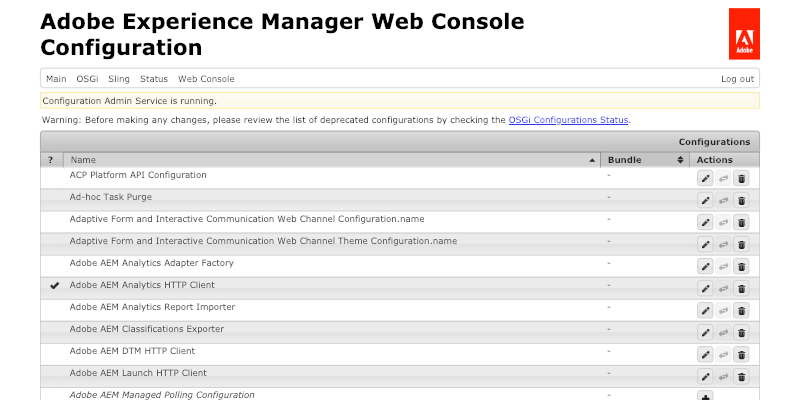
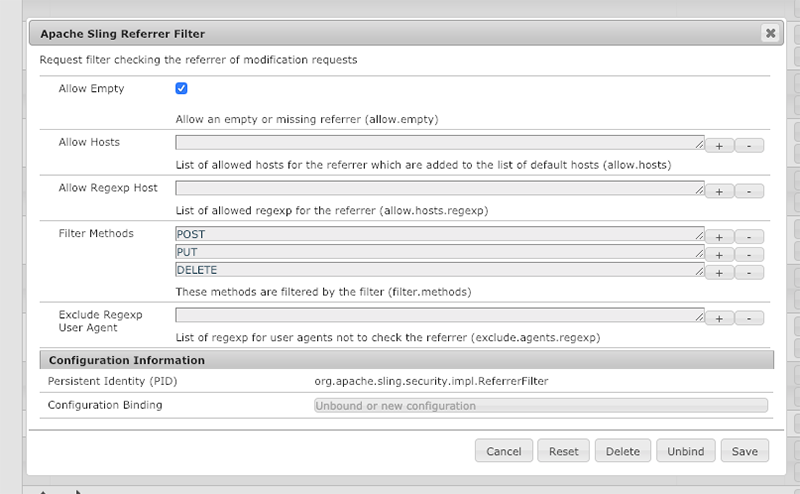
On the upcoming page, you see a list with AEM configuration options. Search for Apache Sling Referrer Filter and click on the entry.
In the opening dialog, ensure that Allow empty is checked and press Save. By saving this option, you allow AEM Screens players to connect to your server.
On your desktop, you will find an executable called aem-screens-player-electron.exe, which is the player software for Windows. Normally this software runs on dedicated players connected to a screen. For testing, this may also be excuted on any computer. Click on it to start it.
To exit fullscreen mode press F11 on your keyboard.
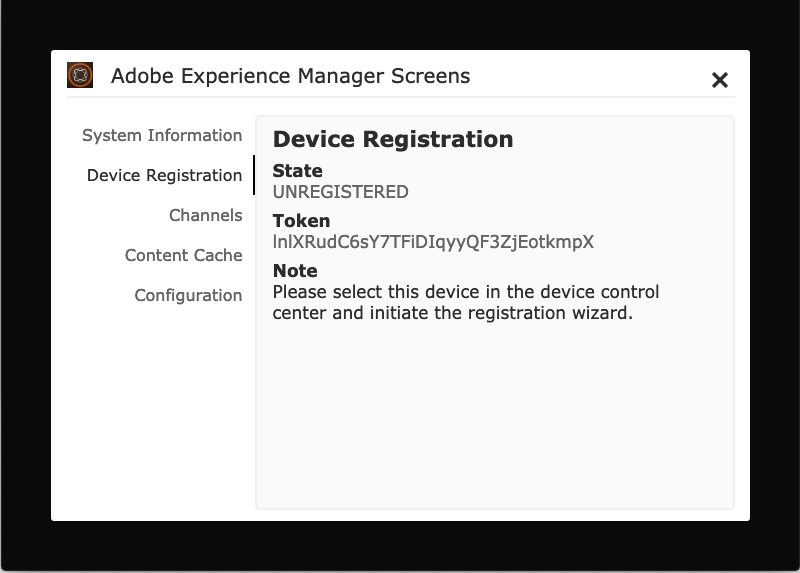
Your player is now in an unregistered state. So it's time to register it in your AEM instance. Therefor go back to your computer's browser and navigate to Screens.
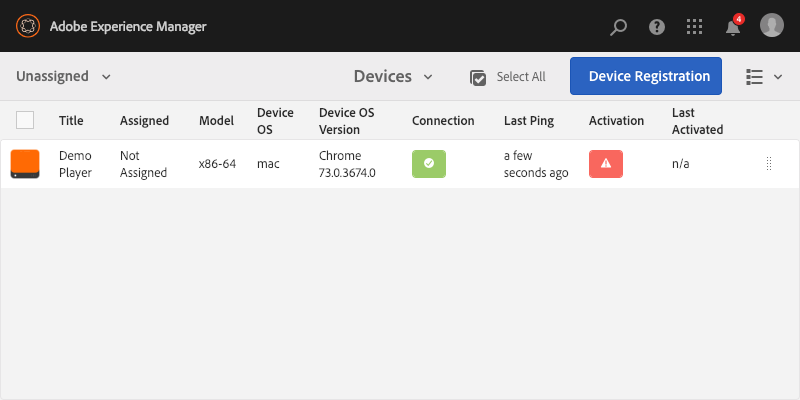
Open your project again and select the Devices folder.
In the toolbar, you should see a Device Manager button. Click it to open the device manager.
The device manager shows you all devices known to AEM. In this console, you can review their status or remove it from the system in case it broke or got stolen. To add a new device, click the device registration button on the right top.

Now you should see a list of pending and untrusted devices requesting access to AEM. Your player should be in the list. You can identify your player by the token visible in the list and the admin user interface of the player.

Select your device and click Register device in the toolbar.
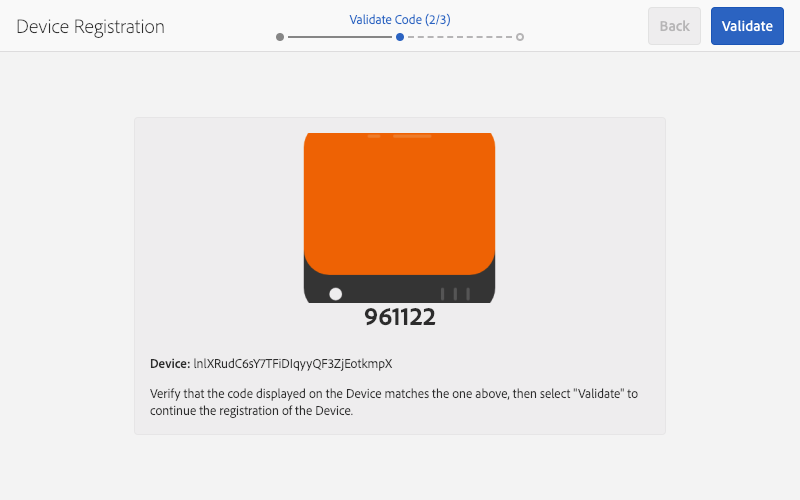
The server will perform a key exchange. You must verify the authenticity of your player by comparing the registration code. If the same code is shown in your browser and your device, click Validate.
In the second step of the wizard, you may enter a title to identify your device later on.
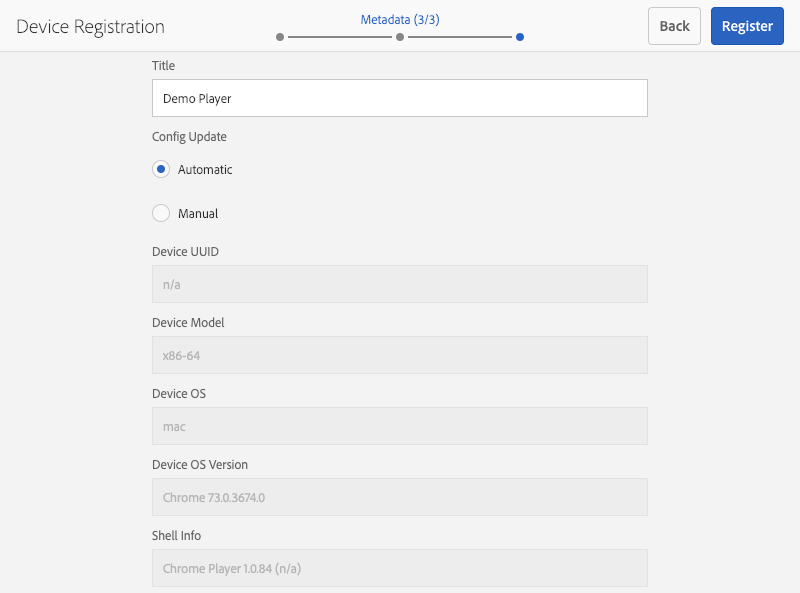
Click Register to complete the process and further in the completion dialog click Finish.
Congratulations! Your device is now registered in AEM. A green checkmark now indicates that your device has been successfully connected and is currently up and running.
In this exercise you are going to make a player available to serve content.
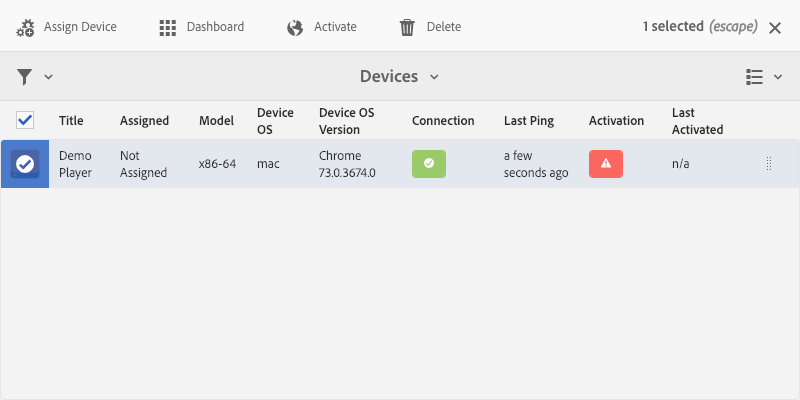
Open your project again and enter the Device Manager through the Devices folder.
In the list you see your device which you registered in the previous exercise. Select it and click Assign Device in the toolbar.
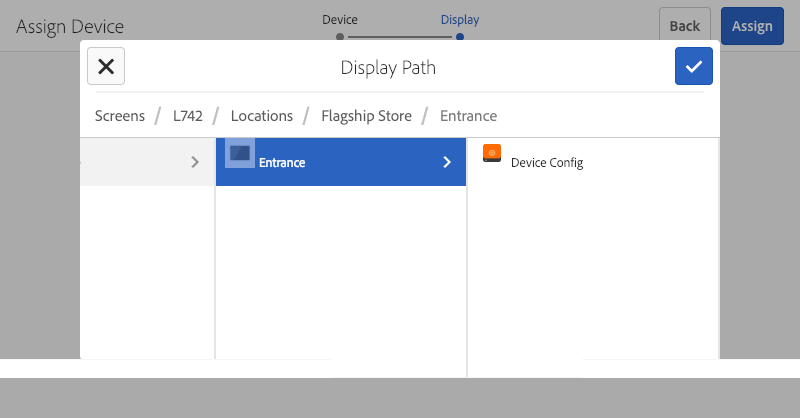
On the first step of the wizard, open the display picker. Within the dialog browse your project, go to Locations > Flagship Store and select Entrance.
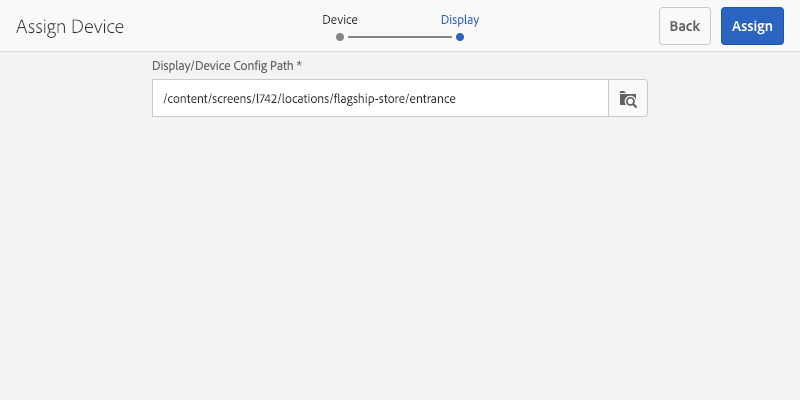
Click Assign and close the confirmation dialog to complete the assignment of a registered player to a display.
Fantastic! You have setup and registered a new player. Your player is now showing your previously created experience.
In this exercise, you will learn how get more information about a particular player and how you can control it remotely.
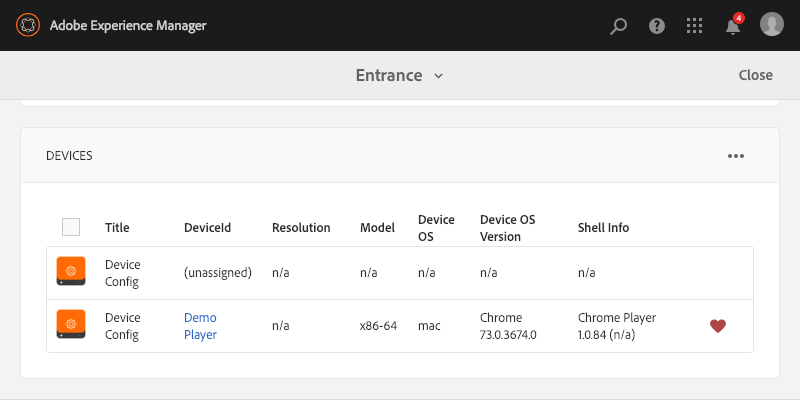
Navigate back to your display dashboard of Entrance.
In the list of assigned devices, click on the deviceId to open the device's dashboard.
On the dashboard you see details about the hardware and its status.
Try to refresh the screenshot to see the current content on the player.
Learn how targeted experiences are built in AEM Screens.
How ContextHub is used to configure segments.
How cross-device communication helps you identifying people around the Screen.
In this lesson, you will learn how you can leverage a mobile (loyalty) app to trigger targeted experiences on AEM Screens. Furthermore, how you can create and configure targeted experiences in AEM and simulate them with ContextHub.
In order to get started, we will need to setup a personalization project first.
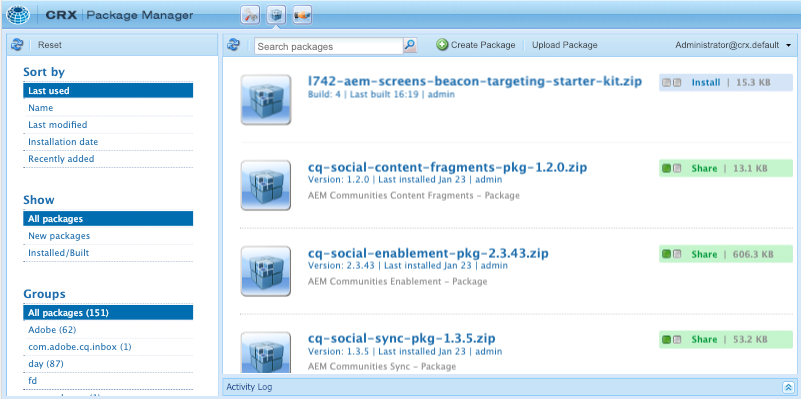
Get the starter kit archive l742-aem-screens-beacon-targeting-starter-kit.zip.
Open http://localhost:4502/crx/packmgr/index.jsp in your browser to open the package manager and click Upload Package.
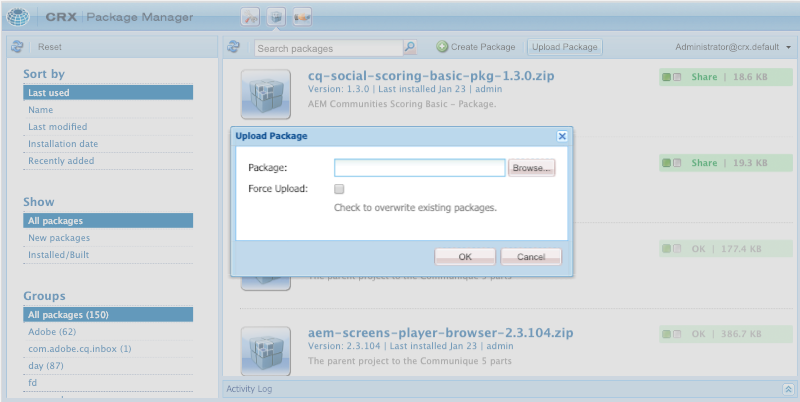
Choose the starter kit and complete the upload.
To complete the installation click on install and follow the dialog.

In this exercise, we are going to configure a ContextHub so we can consume the information which profile is currently closest to the beacon.
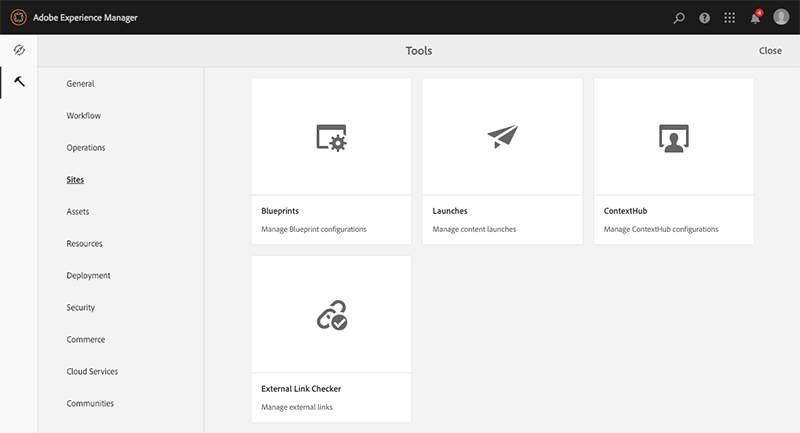
Open the main menu of AEM.
On the left side activate the Tools tab, choose Sites in the list and click on ContextHub.
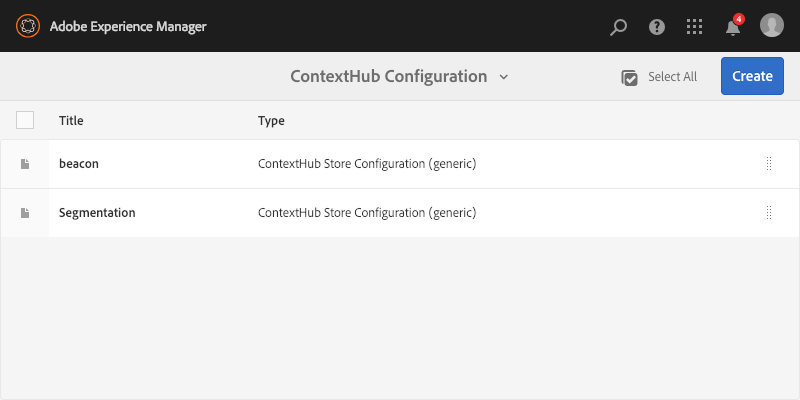
Open the L742 configuration container and browse through the folders till you reach a folder with a beacon configuration entry. The ContextHub configuration beacon retrieves data from a remote server to enable the resolution of audience segments.
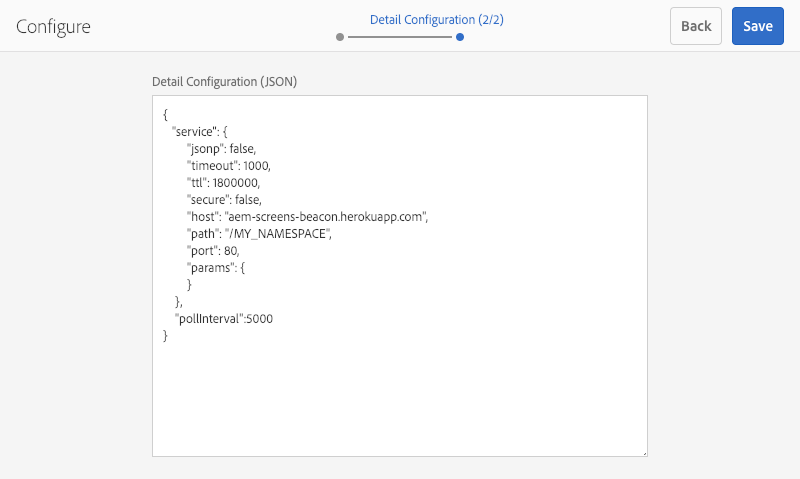
Click on the title beacon and proceed to the second step in the wizard. You now see a configuration which connects to a public server to retrieve the current targeting data. Change the path property to a uniqe name for your setup. E.g. /MY_NAMESPACE and click save to complete.
In this exercise, we are going to setup several audiences to be addressed with targeted content.
Open the main menu again and click on Personalization and then Audiences.
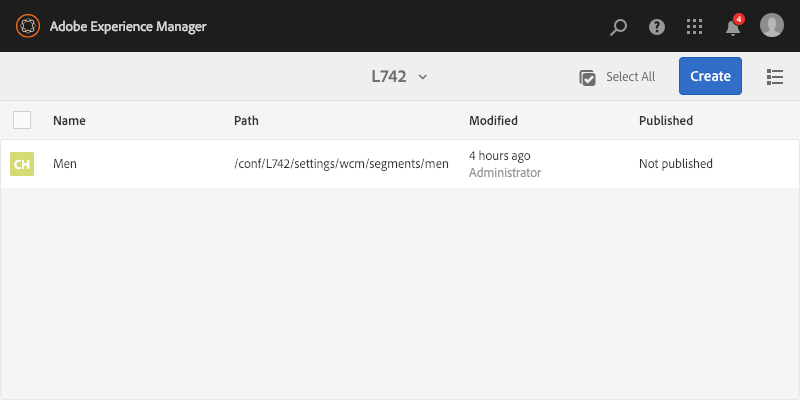
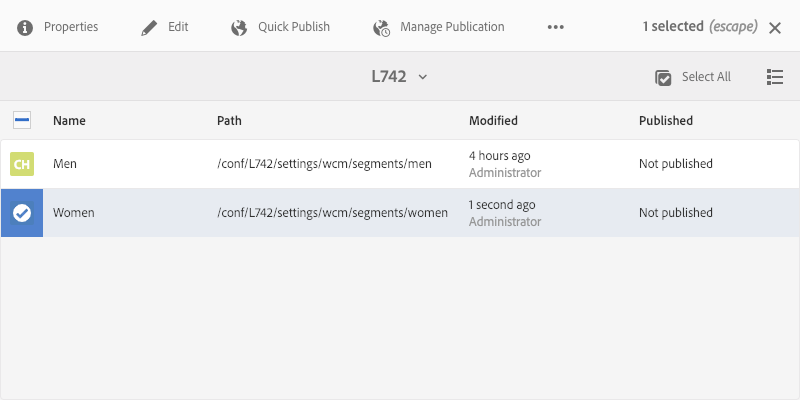
Open the L742 audience folder to see all existing pre-defined audiences of the starter kit.
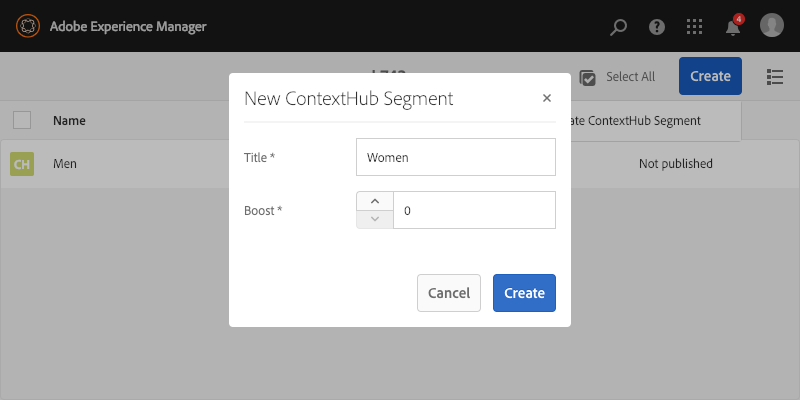
Click create and then Create ContextHub Segment to add another segment. In the dialog enter the title Women.
Select the newly created audience Women to see the toolbar.
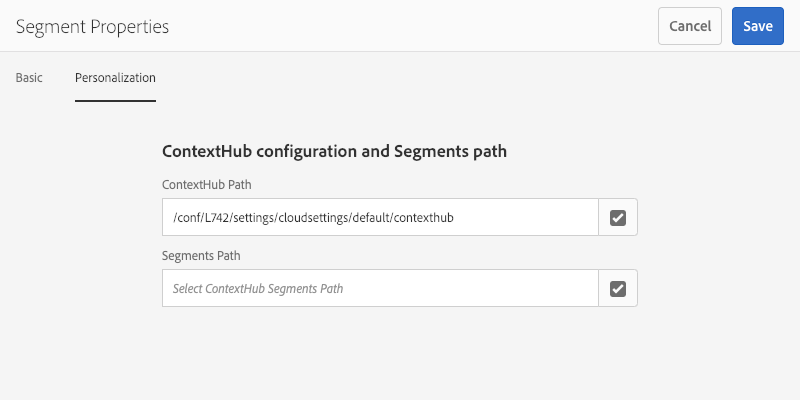
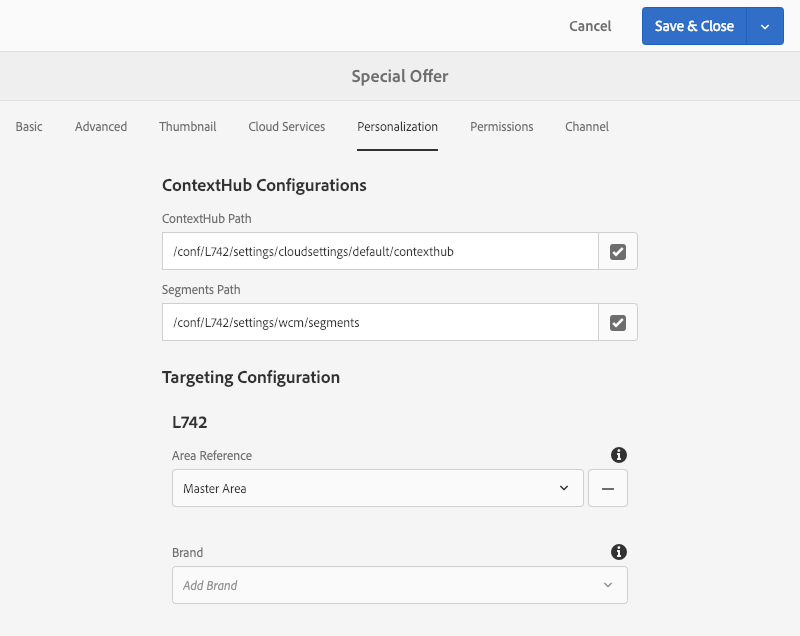
Click on Properties in the toolbar and then select the Personalization tab in the form. Open the picker from the ContextHub Path field and select the folder for the following path: /conf/L742/settings/cloudsettings/default/contexthub Complete this step with Save.
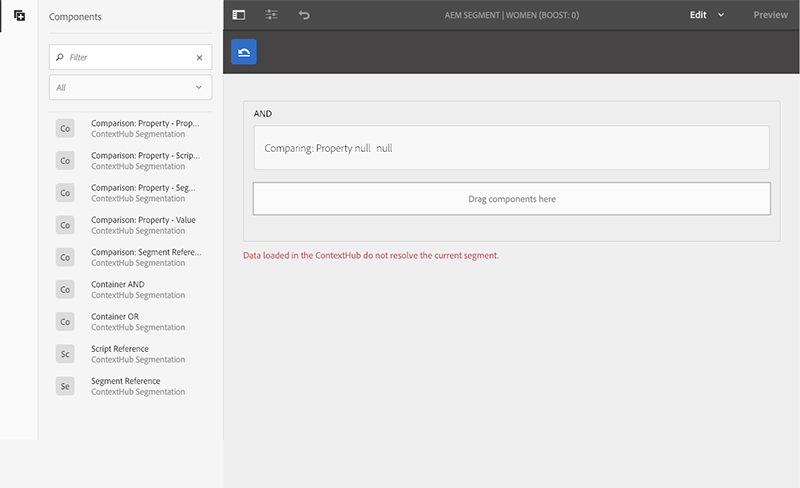
Select the Women audience and click on Edit to open the segment in a new tab in AEM's editor.
In the editor, we can combine complex rules by dragging in comparators from the left sidepanel onto the page. Since we want to create an audience for Women we keep it simple and drop the Comparison: Property - Value component onto the container in the middle.
Select the newly added rule and in the toolbar click on the wrench icon to configure the rule.
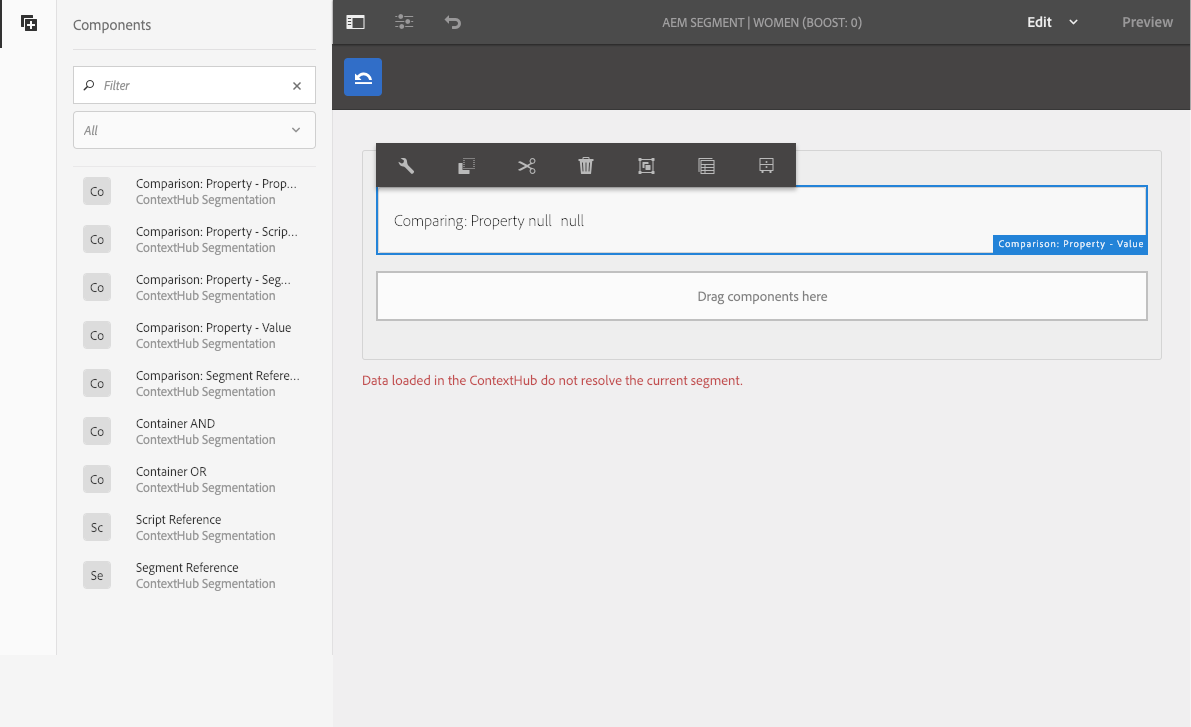
The property name field of the dialog already detects all fields provided by the remote data store configured with ContextHub.
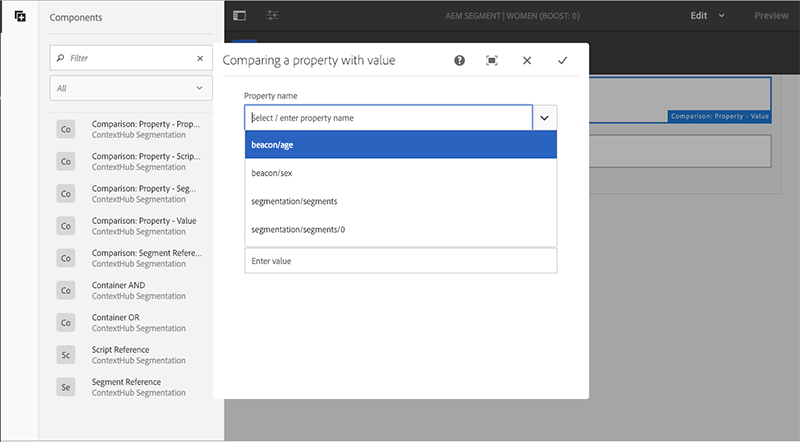
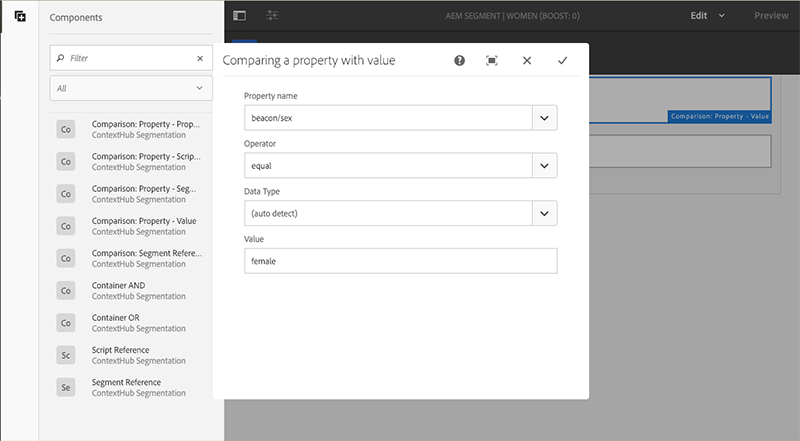
Fill out the dialog accordingly to define the rule and click on the checkmark button to save your configuration.
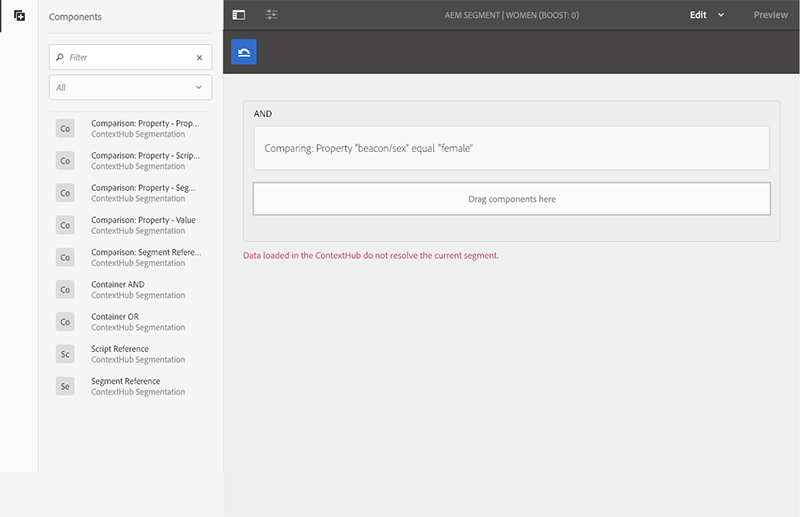
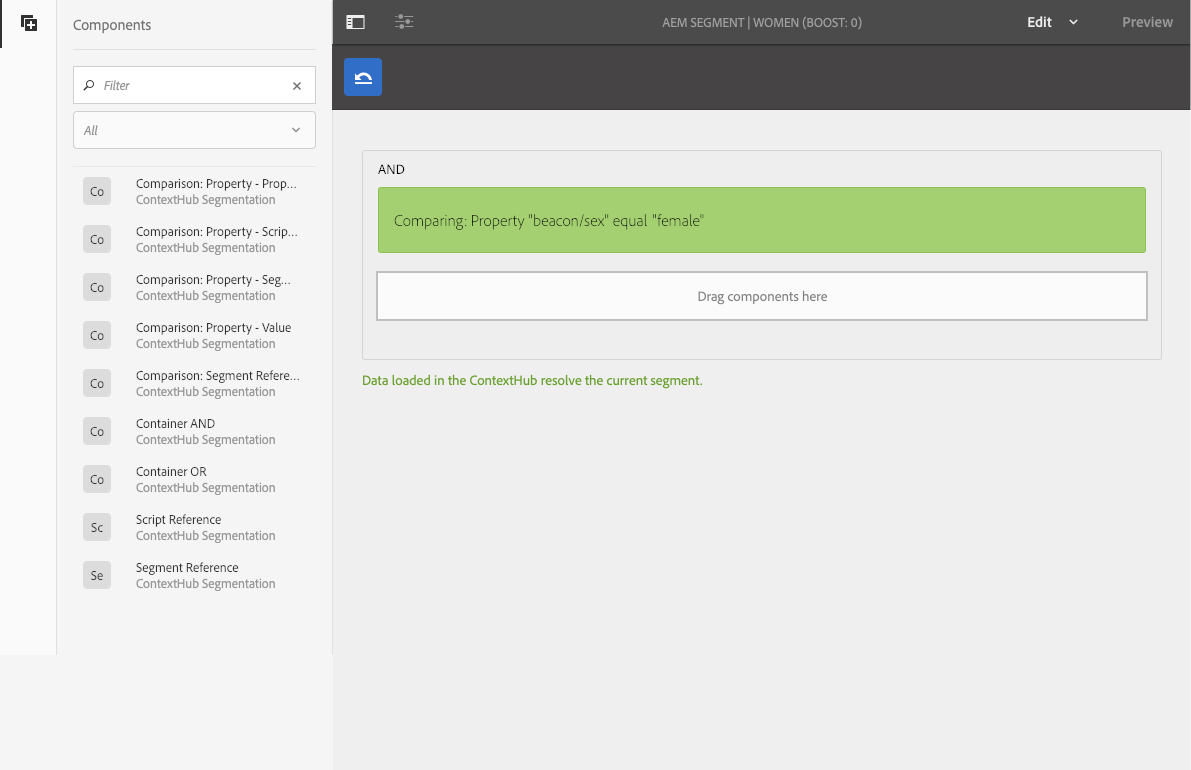
Depending on if the current value retrieved by ContextHub matches your audience the view will indicate if the configuration would currently trigger an experience to be shown.
Congratulations! Now you setup another Audience to be addressed with targeted experiences.
It is now time to create a campaign for your targeted experiences.
Open the main menu again and click on Personalization and then Activities.
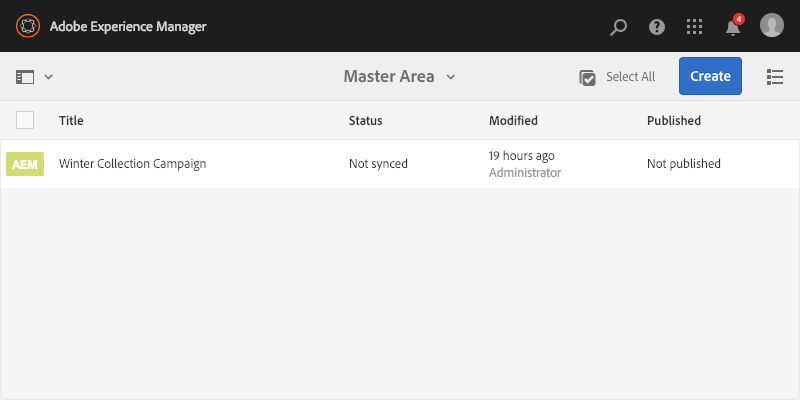
Open the L742 activities folder and following the master area. There you find an already predefined campaign. There click on the create button to define your new activity.
In the wizard give your campaign a title and a unique name.

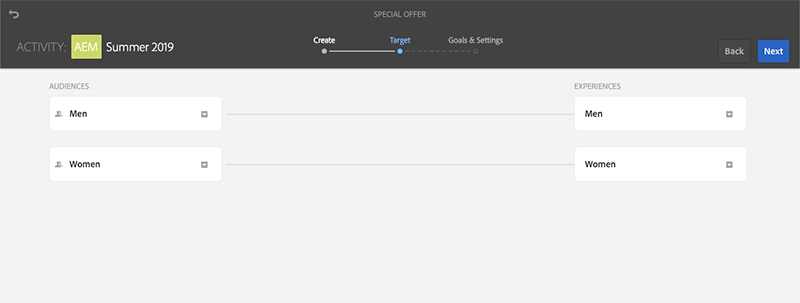
In the second page click on Add Experience and choose the audiences created in the previous exercise.
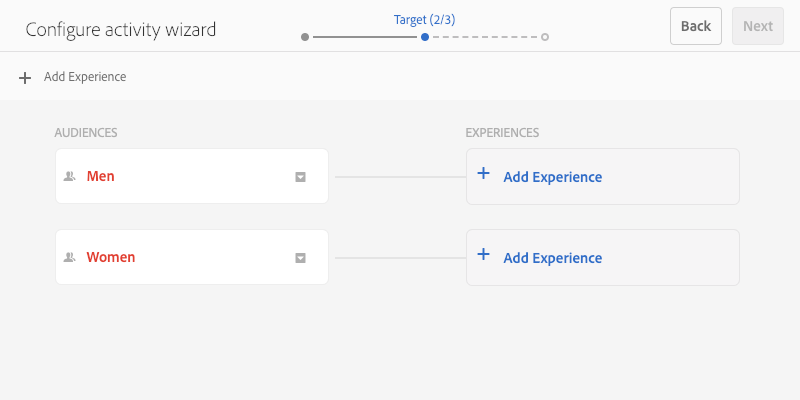
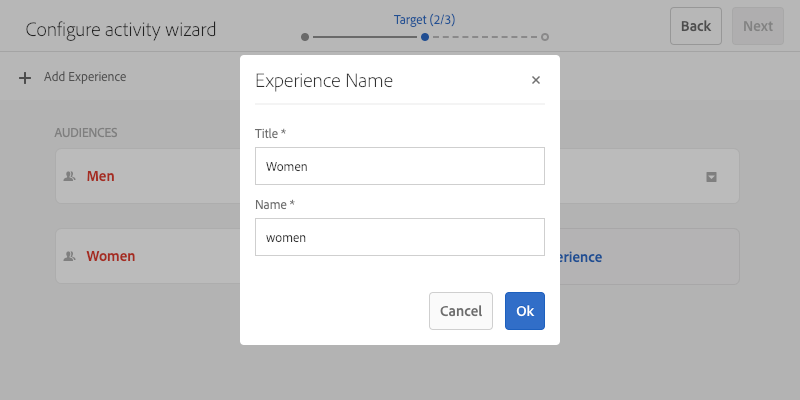
Audiences must be mapped to experiences. For each audience, click on the Add Experience button next to it to define a title and a unique name. These may match the audience name.
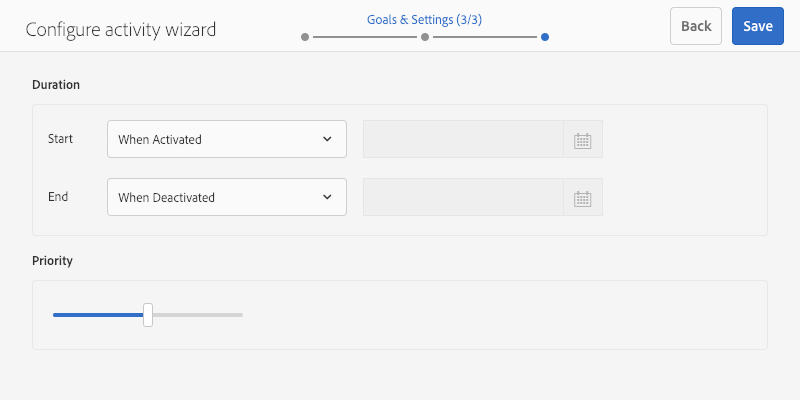
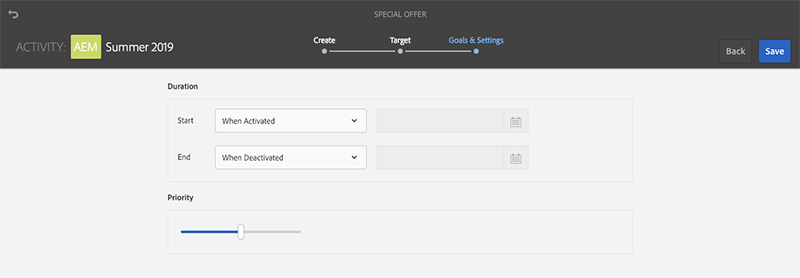
Save your activity on the last step.
Great! You are now ready to configure your content for your activity.
In this exercise the channel's content will be configured to target certain audiences dynamically.
Navigate to your channel and select it. Click Properties to be able to configure the personalization input.
Open the Personalization tab and make sure the paths match the following configuration before you save.
Open the Personalization tab and make sure the paths match the following configuration before you save.
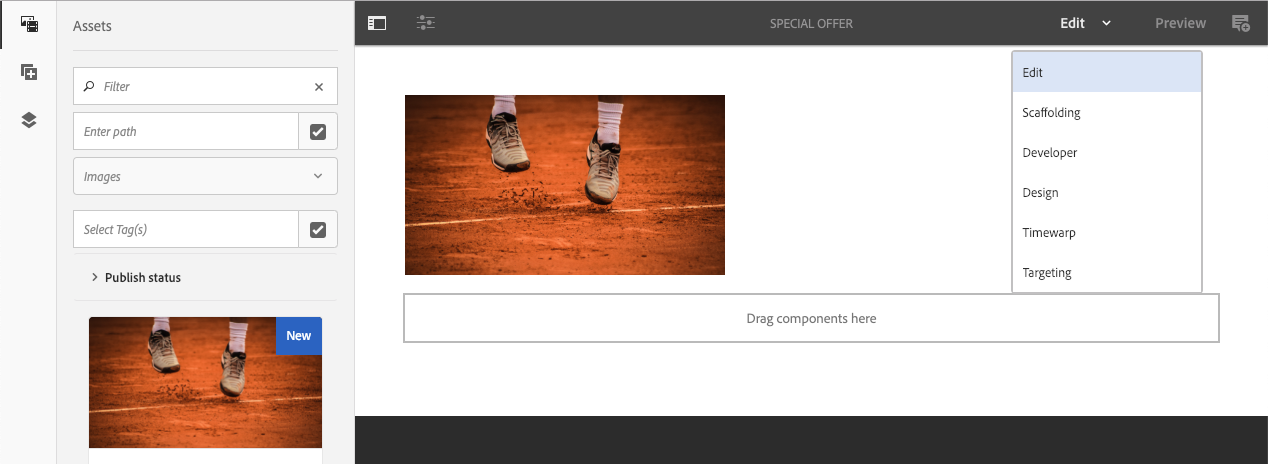
Afterwards select your channel again and click Edit to open it in the editor.

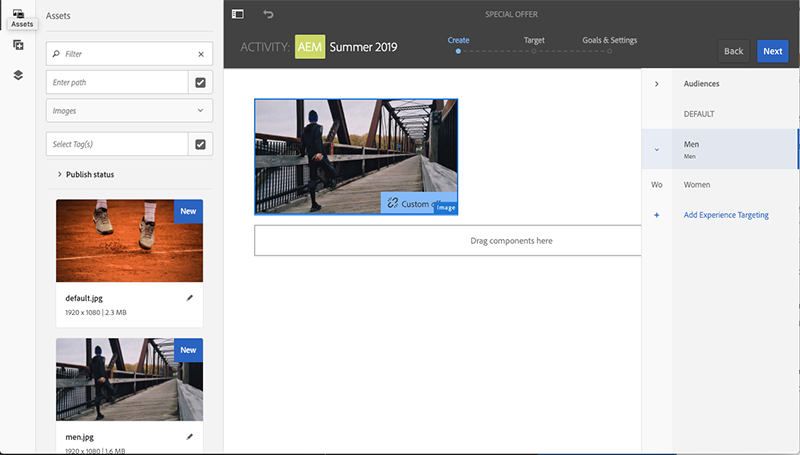
On the right top you can switch the Edit mode into the Targeting mode.
Click on the Start Targeting button and select your already added image. The outer left button activates that your image can react on audiences and provide different experiences.
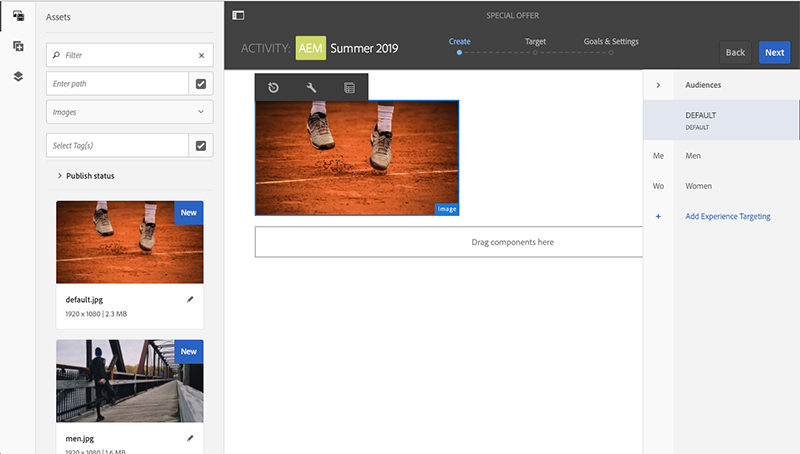
In the right panel you see all your different audiences. Select one to start changing its experience.
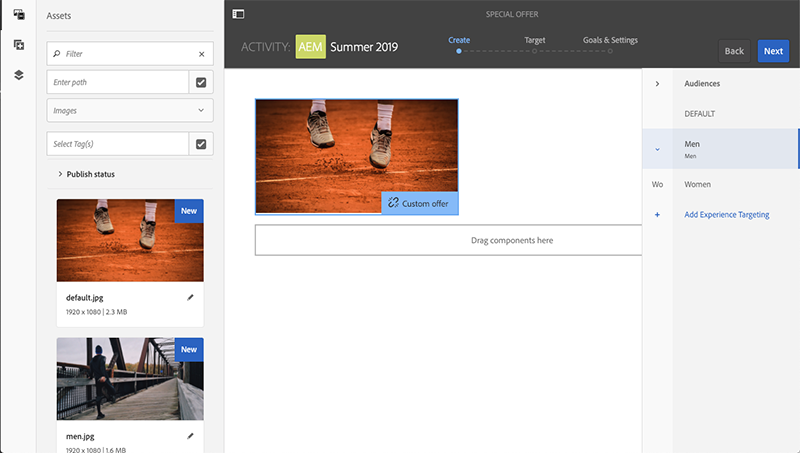
Select the audience of your choice and drop a different image on your component. Continue doing that with all audiences you would like to target.
Proceed by clicking next and following the last two steps of the wizard.
That's it! Your channel is now ready to be used. Click on Preview to see already a result.
Use the opportunity in the lab to experience real cross-device experience. Install the loyality demo app from the AppStore/PlayStore and configure your fictional profile. Make sure Bluetooth is turned on and approach one of the beacons in the room to change the segment on your screen.