
FaaS (function as a service) is an emerging technology trend also called Serverless by the industry. Serverless computing refers to the concept of building and running applications that do not require server management. Adobe I/O Runtime is Adobe’s serverless platform that allows you to quickly deploy custom code to respond to events and execute functions right in the cloud. With your code running on top of our cloud infrastructure, I/O Runtime allows you to build custom solutions in close proximity to the content and data, bringing Adobe services together with APIs.
In this lab, you will learn:
This workshop is intended to cover the following topics:
GOAL: In this section, we are going to set up a new Integration on Adobe I/O Console that creates a new Runtime namespace.
Open your Terminal and run the follow commands
$ cd Desktop
$ openssl req -x509 -sha256 -nodes -days 365 -newkey rsa:2048 -keyout private.key -out certificate_pub.crt
Fill in the information as prompted for your certificate

Navigate to Adobe I/O Console at https://console.adobe.io in your browser
Lab Administration administrator credential that are provided on the front page. 
Select Integrations, and you should see the following screen 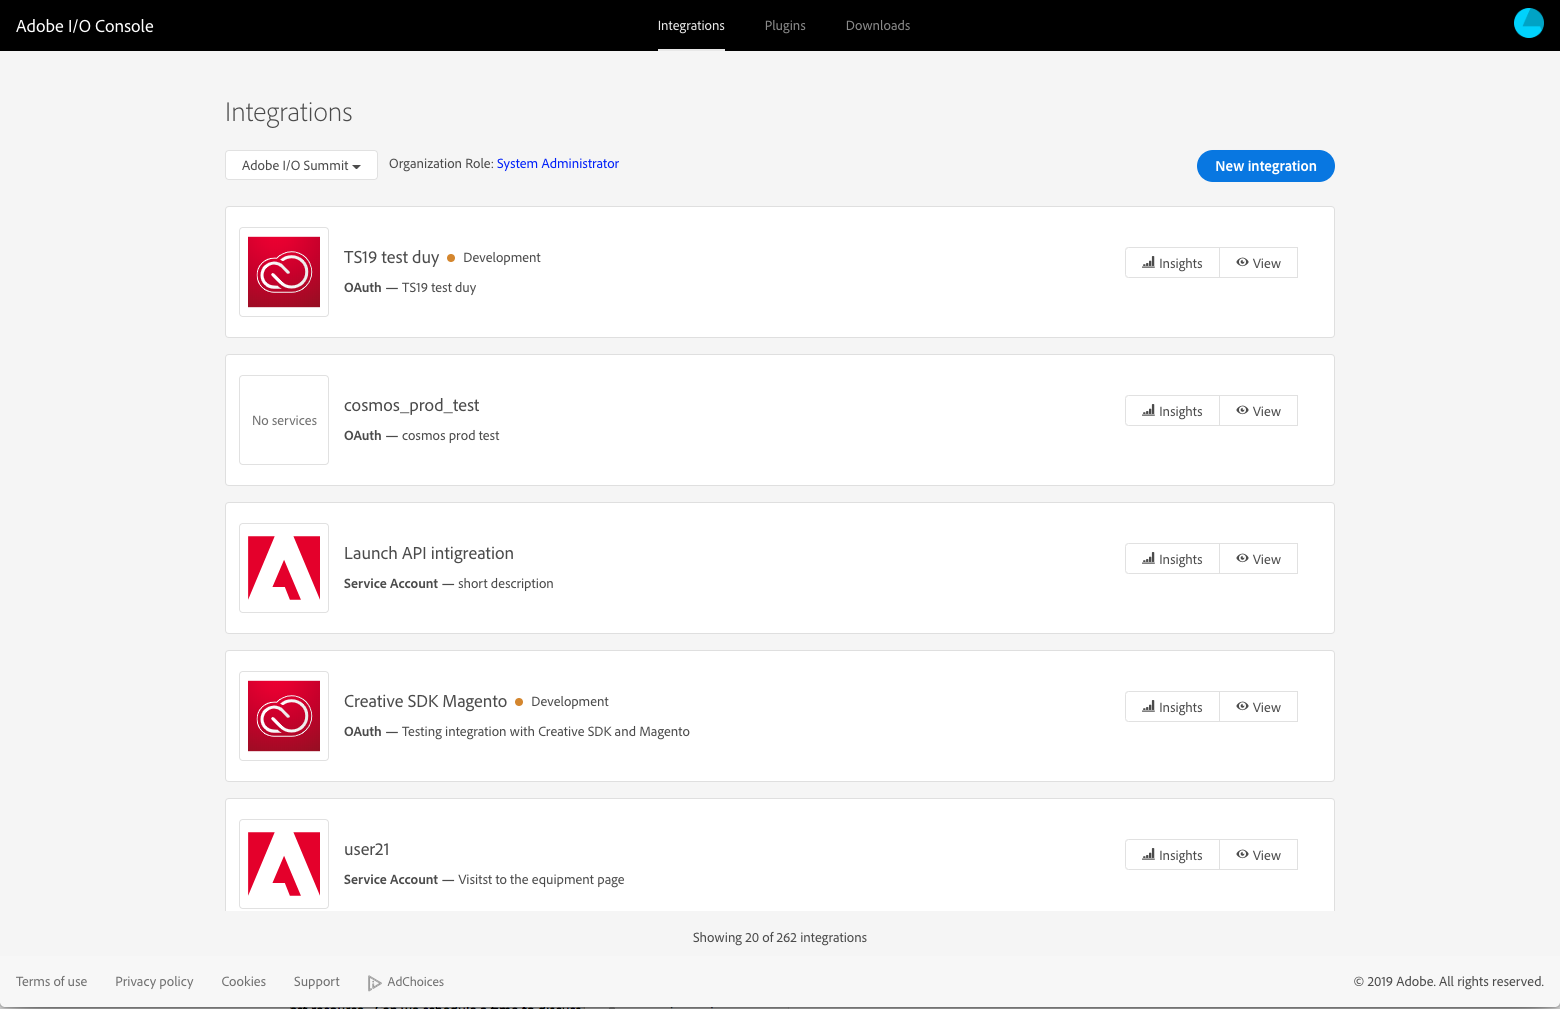
Select New Integration, then Deploy serverless actions and click Continue 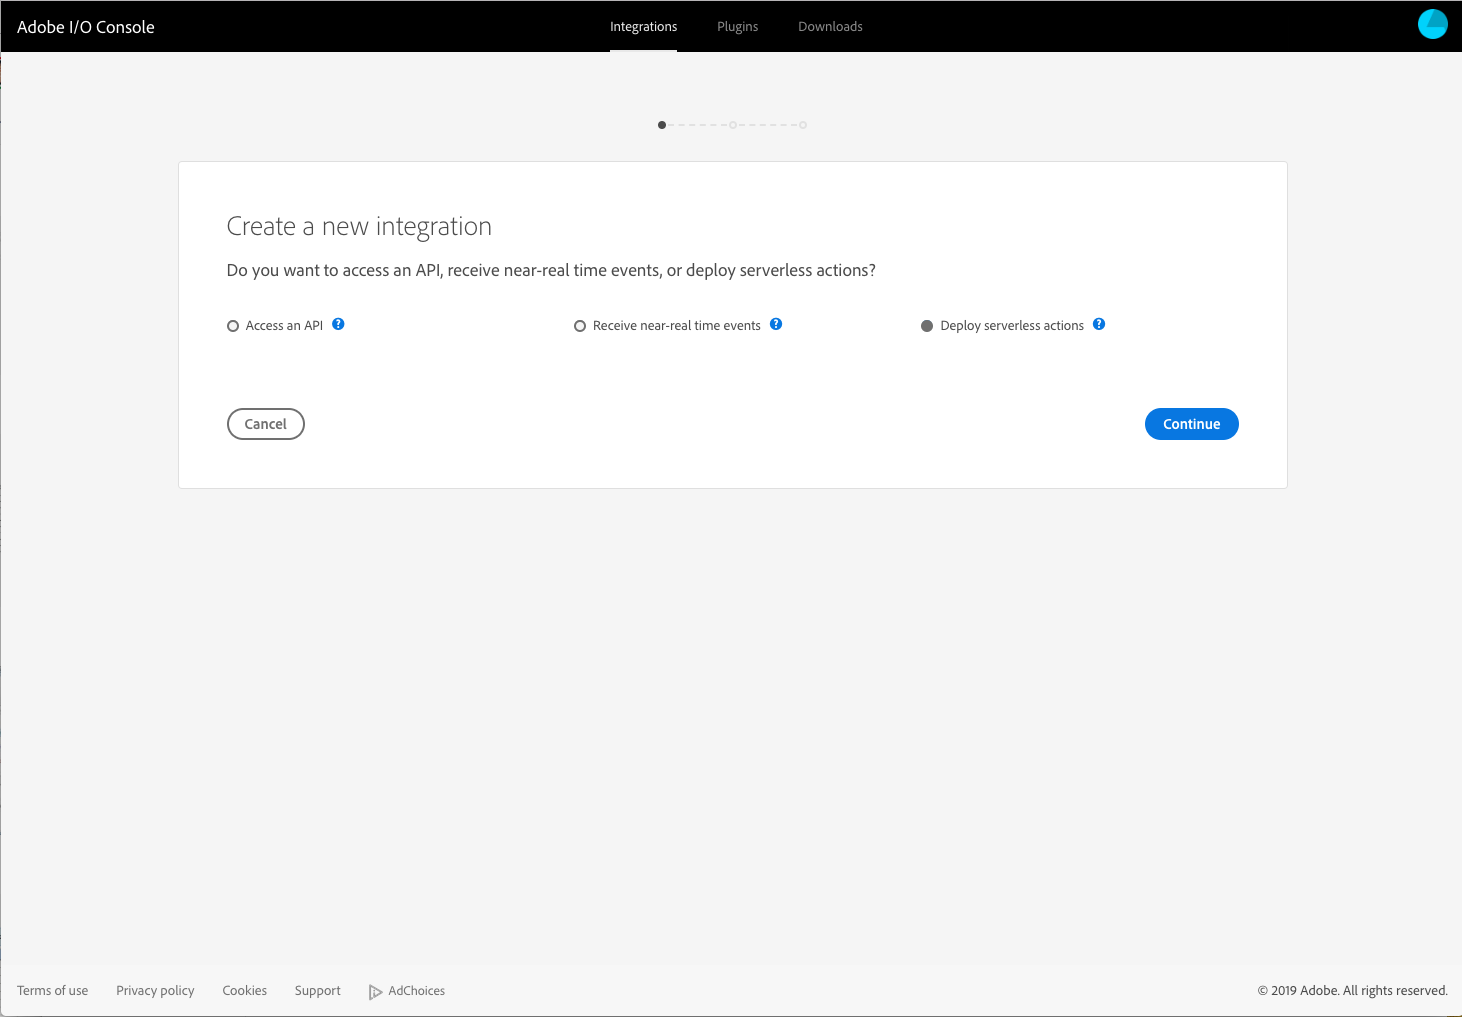
Select Service Account and click Continue 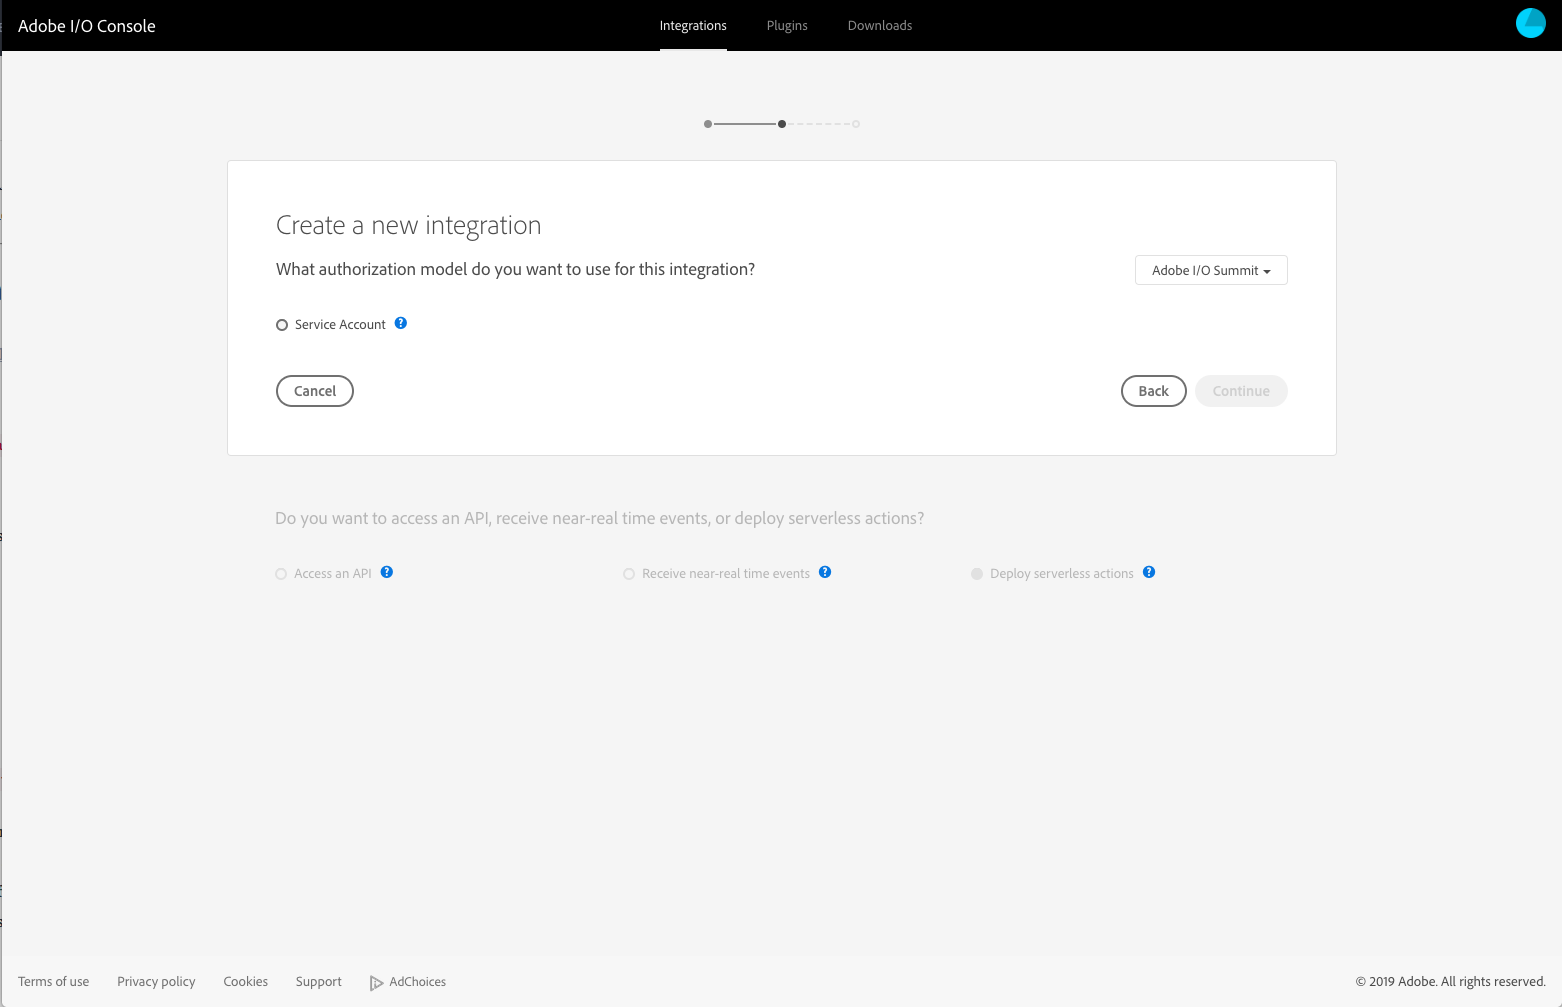
Fill in your Name and Description on this page, please use L745- + YourName (e.g. L745-SarahXu) as the name for your integration. 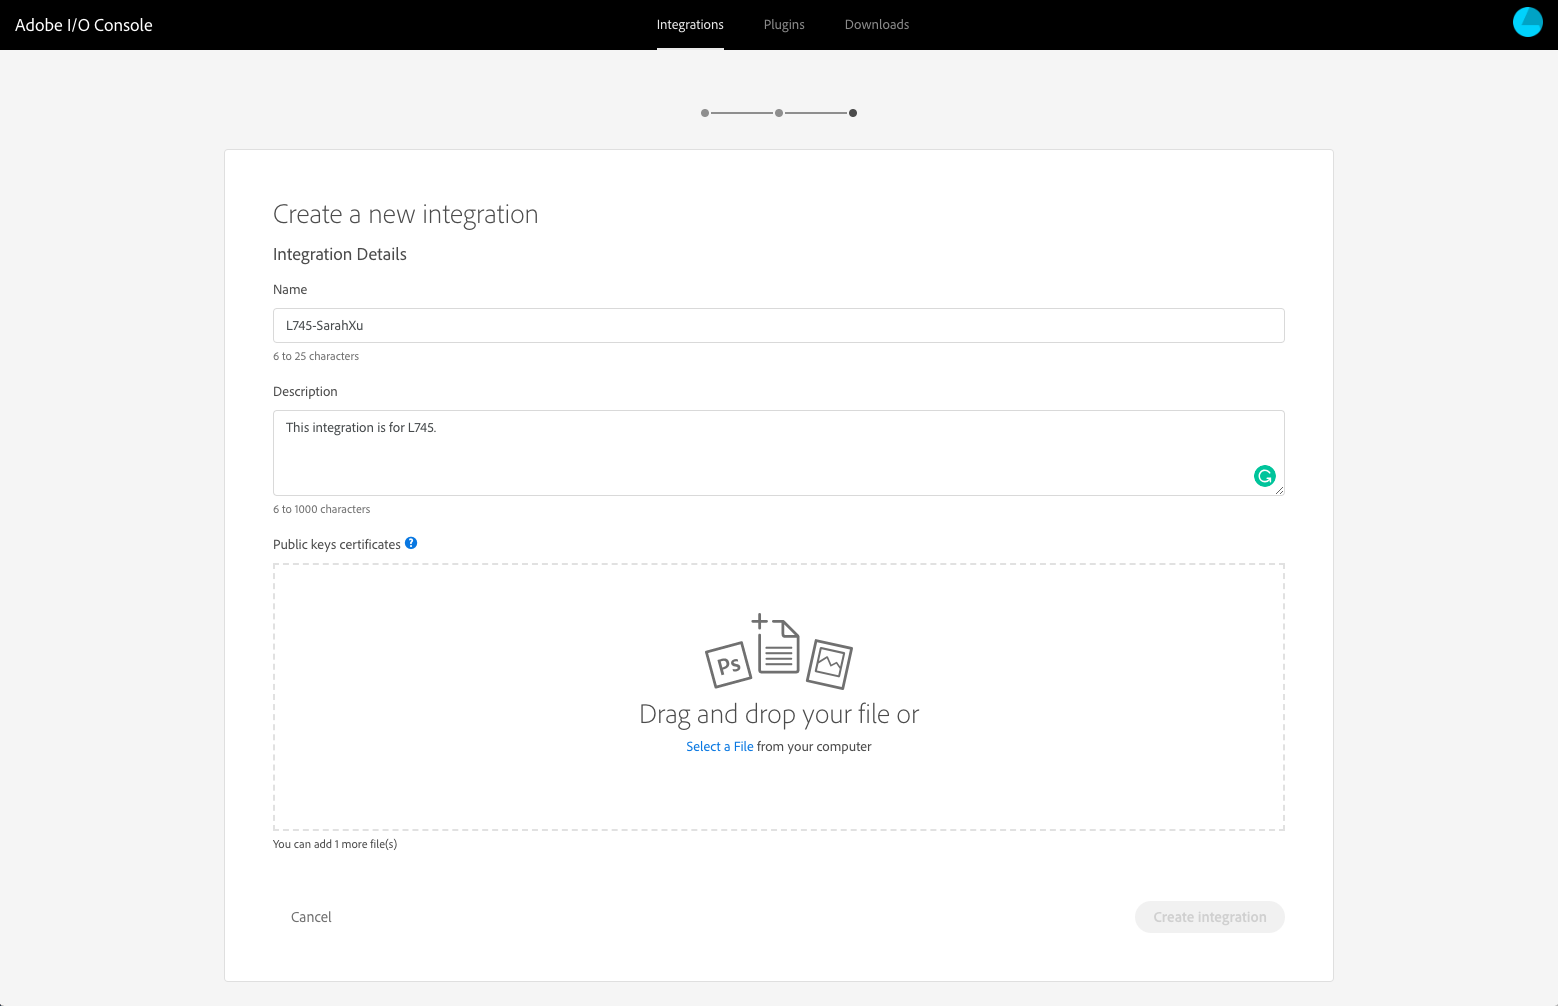
From the first part, you should now see 2 new files on your Desktop, certificate_pub.crt and private.key. Upload the certificate_pub.crt file in your browser to create your Integration 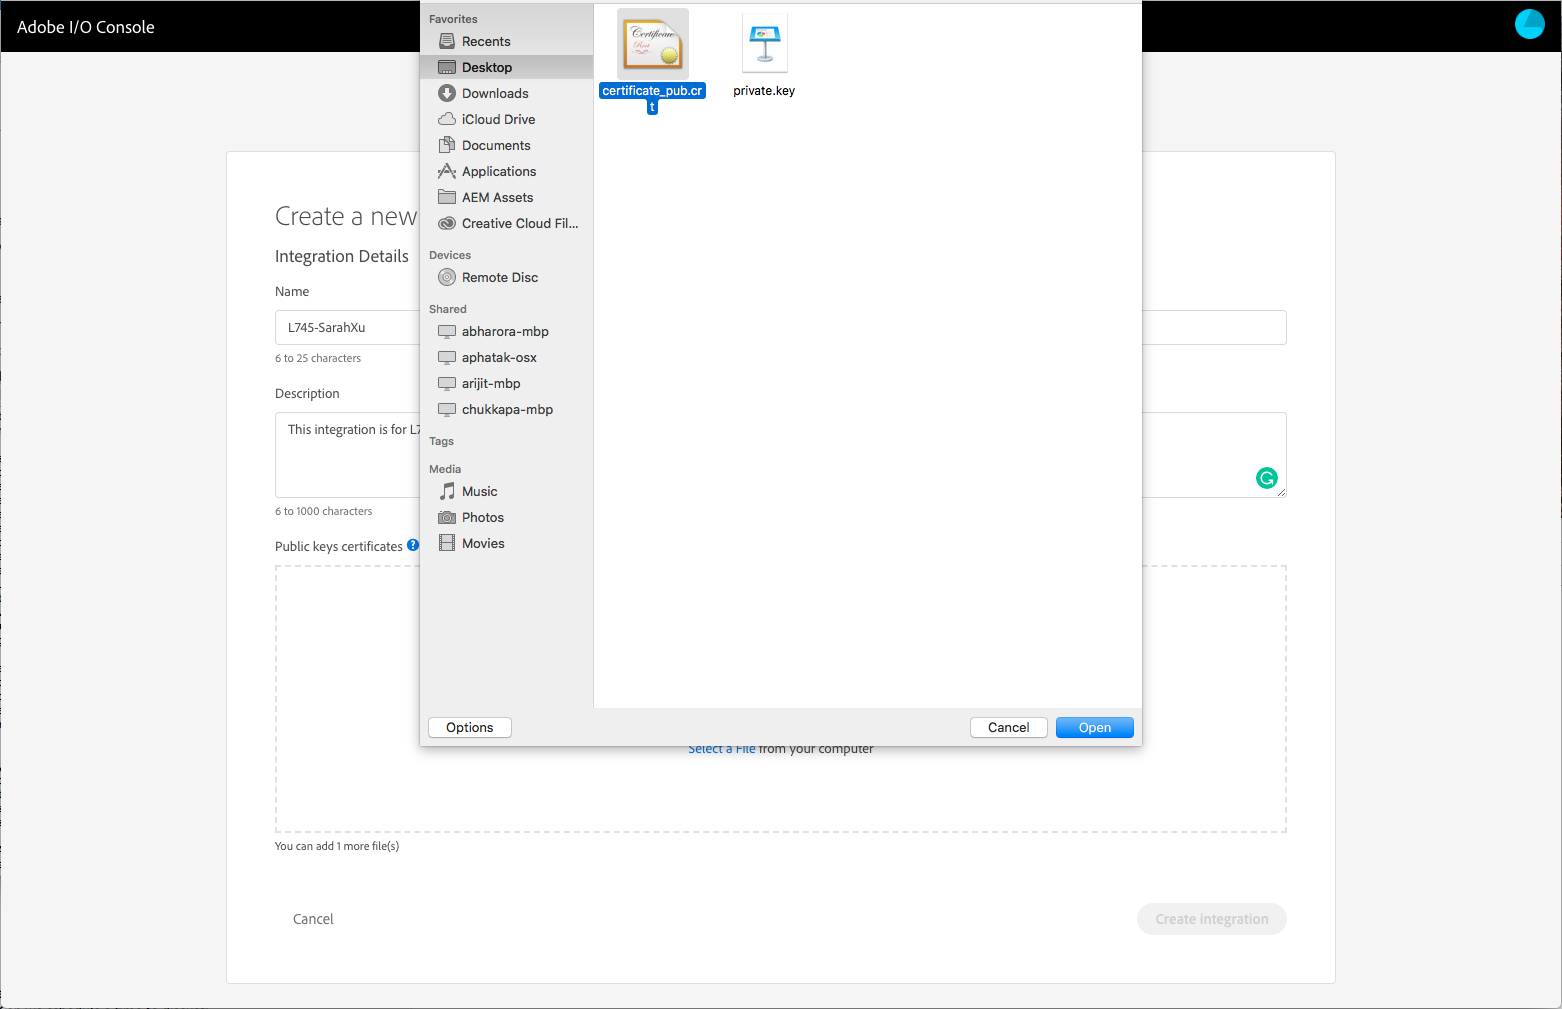
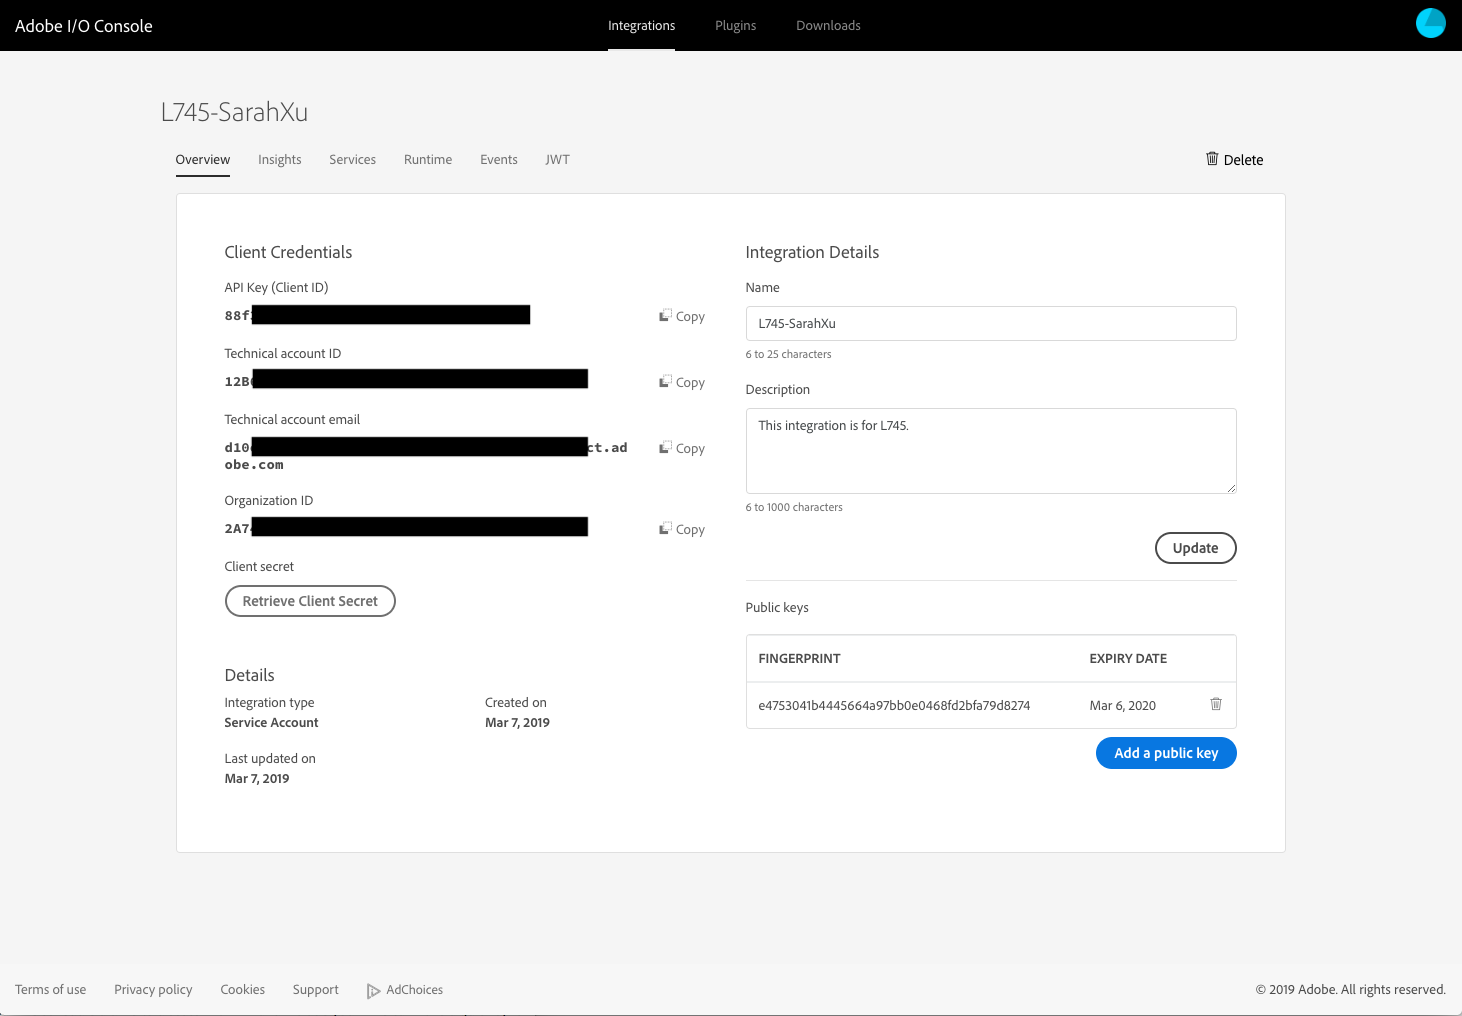
After creating your integration, you will be able to view the details of your integration. Your screen should look similar to this.
GOAL: In this section, we are going to set up Adobe I/O CLI that allows you to interact with your Runtime namespace.
Find a config.json file on your Desktop. We are going to fill in the details based on the Integration you just created.
{
  "client_id": "value from your Console Integration (String)",
  "client_secret": "value from your Console integration (String)",
  "jwt_payload": { value from your Console integration (JSON Object Literal) },
  "token_exchange_url": "https://ims-na1.adobelogin.com/ims/exchange/jwt",
  "console_get_orgs_url":"https://api.adobe.io/console/organizations",
  "console_get_namespaces_url":"https://api.adobe.io/runtime/admin/namespaces/"
}
Open the Integration you just created, from the Client Credentials list, copy the value of API Key (Client ID) to replace the client_id in config.json, and Client secret to replace the client_secret.
Navigate to the JWT tab on your Integration, you should see the JWT payload block, copy it to replace the jwt_payload line in config.json. 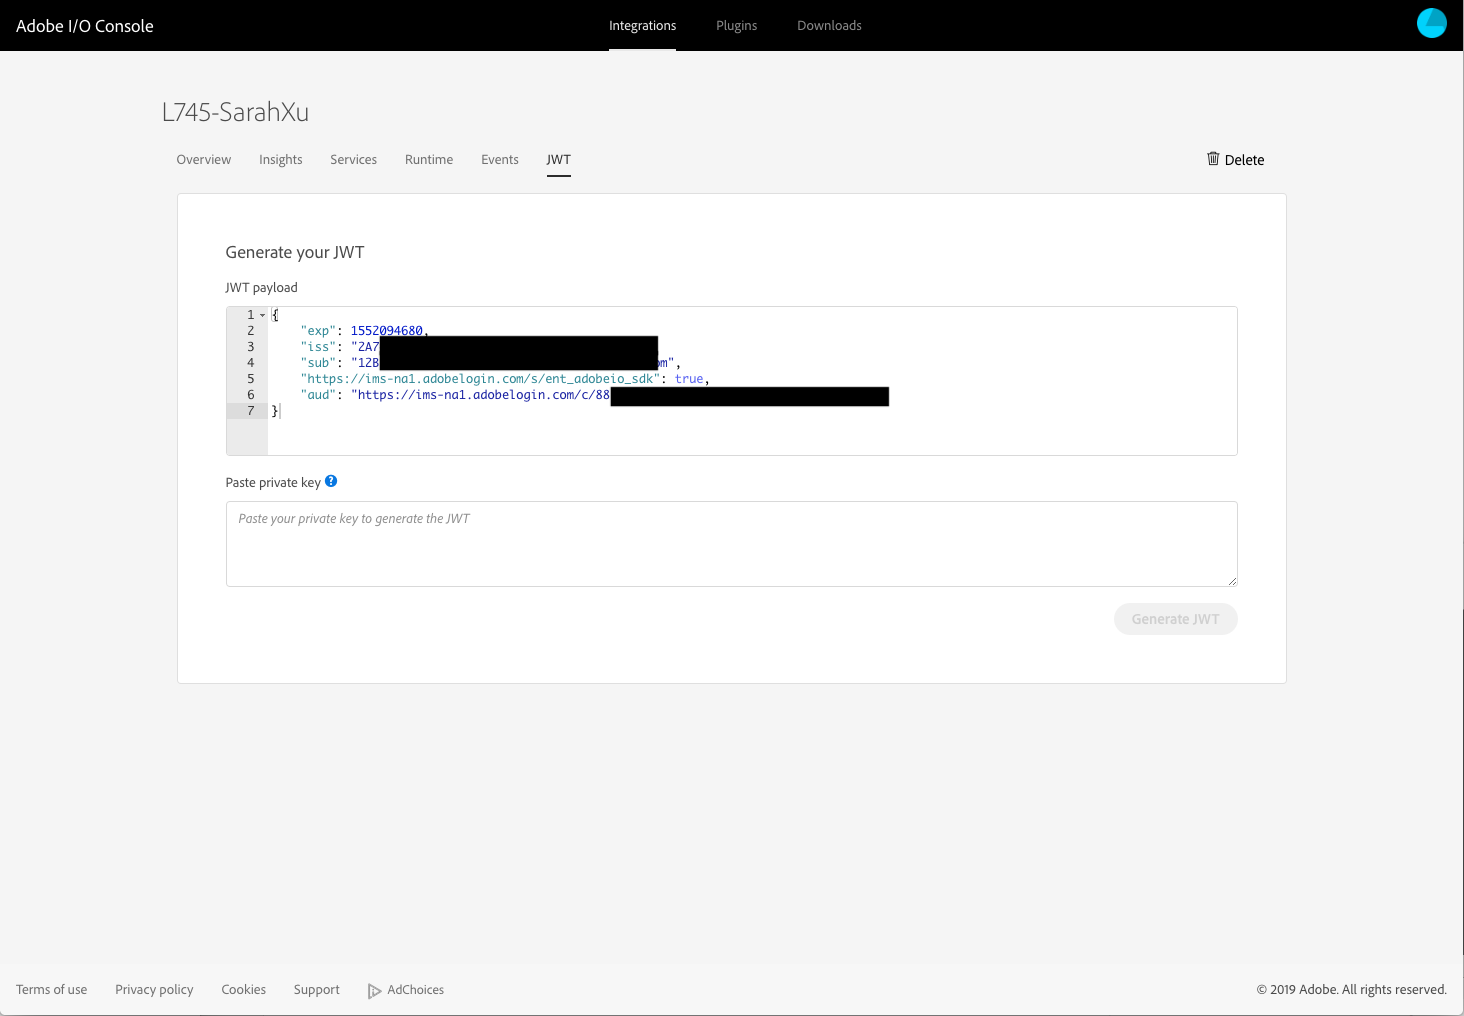
Save all your changes and your config.json should look something like this:
{
  "client_id": "88f3xxxxxxxxxxxxxxxxxxxxx",
  "client_secret": "68fabxxxxxxxxxxxxxxxxxxxxx",
  "jwt_payload": {
    "exp": 1552094680,
    "iss": "2A74xxxxxxxxxxxxxxxxxxxxx@AdobeOrg",
    "sub": "12Bxxxxxxxxxxxxxxxxxxxxx@techacct.adobe.com",
    "https://ims-na1.adobelogin.com/s/ent_adobeio_sdk": true,
    "aud": "https://ims-na1.adobelogin.com/c/88f37bcfxxxxxxxxxxxxxxxxxxxxx"
  },
  "token_exchange_url": "https://ims-na1.adobelogin.com/ims/exchange/jwt",
  "console_get_orgs_url":"https://api.adobe.io/console/organizations",
  "console_get_namespaces_url":"https://api.adobe.io/runtime/admin/namespaces/"
}
To configure your Adobe I/O CLI, open your Terminal and run the following commands:
$ aio config set jwt-auth Desktop/config.json --file --mime-type=application/json
$ aio config set jwt-auth.jwt_private_key Desktop/private.key --file --mime-type=application/x-pem-file
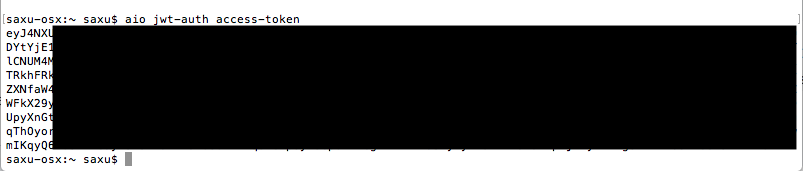
Your Adobe I/O CLI is now configured for your Organization. You can run the following command to validate:
$ aio jwt-auth access-token
should return an Access Token that looks like
Now that your Adobe I/O CLI is configured, you can use it to select your Integration. Run the following command:
$ aio console list-integrations
this command returns a full of integrations in your Organization
Success: Page 1 of 1, Showing 2 results of 2 results.
<OrgID_IntegrationID> : <Integration Name 1>
<OrgID_IntegrationID> : <Integration Name 2>
Find your Integration from this list. You can use the following command to look to the next page if you need to:
$ aio console list-integrations --page=2
Once you identified your integration, use the <OrgID_IntegrationID> to select it
$ aio console select-integration <OrgID_IntegrationID>
This step tells your CLI that now you want to interact with the Runtime namespace tied with this Integration.
You can validate this by typing in the following command:
$ wsk property get
which should return your Runtime credentials
whisk auth      0ae3xxxxxxxxxxxxxxxxxxxxxxxxxxxxxxxxxxxxxxxxxxxxxxxxxxxxxx
whisk API host      https://adobeioruntime.net
whisk namespace     43611_xxxxx
GOAL: In this section, let's familiarize with Runtime and the Adobe I/O CLI. Interacting with Adobe I/O Runtime currently requires the CLI (Command Line Interface). If you've completed the set up steps, you should have access to your own Runtime namespace.
Feel free to play with the CLI while I walk you through a few key concepts in Runtime.
Once you've configured the CLI, you can create your first function to make sure it's working.
Start by creating a file called hello.js on your Desktop with the following content
function main(params) {
  return {msg:  'Hello World!'};
}
Next, create the action on Runtime:
wsk action create hello Desktop/hello.js
If it's successful, you should see
ok: created action hello
Time to invoke the function:
wsk action invoke hello --result
You should see the following output:
{
  "msg": "Hello World!"
}
You can also find out more about your activation by checking the activation log. Let's invoke it again.
wsk action invoke hello
Upon invocation, you should also see an output that looks a bit like
ok: invoked /your-namespace/hello with id <id>
Copy the ID and let's read the full activation log at
wsk activation get <id>
Now that you've created and invoked your first action, let's try to update it to take in dynamic input. Beginning with modifying your hello.js file.
function main(params) {
  // log the parameters to stdout
  console.log('params:', params);

  // if a value for name is provided, use it else use a default
  var name = params.name || 'stranger';

  // if a value for place is provided, use it else use a default
  var place = params.place || 'somewhere';

  // construct the message using the values for name and place
  return {msg:  'Hello, ' + name + ' from ' + place + '!'};
}
then update your action using
wsk action update hello Desktop/hello.js
Now that we have an updated action that takes params, try invoking your action again, first without parameter to see the default response
wsk action invoke hello --result
You should see the following output:
{
  "msg": "Hello, stranger from somewhere!"
}
Time to pass in some parameters!
wsk action invoke hello --result --param name "Sarah" --param place "Canton"
You should see the following output:
{
    "msg": "Hello, Sarah from Canton!"
}
Sometimes it is helpful to invoke an action in a blocking style and receiving the activation record entirely instead of just the result. Try it:
wsk action invoke hello --blocking
You should see the full activation log
ok: invoked /43611_56921/hello with id 352f8bf3eb3f4619af8bf3eb3f5619fc
{
    "activationId": "352f8bf3eb3f4619af8bf3eb3f5619fc",
    "annotations": [
        {
            "key": "limits",
            "value": {
                "concurrency": 1,
    ...
}
Web actions are OpenWhisk actions annotated to quickly enable you to build web based applications. Let's now turn the action we built into a web action. Open hello.js and update the code as below
function main(params) {
  // log the parameters to stdout
  console.log('params:', params);

  // if a value for name is provided, use it else use a default
  var name = params.name || 'stranger';

  // if a value for place is provided, use it else use a default
  var place = params.place || 'somewhere';

  // sample object returned in a web action
  var returnObject = {
    statusCode: 200,
    headers: {
        'Content-Type': 'application/json'
    },
    body: {msg:  'Hello, ' + name + ' from ' + place + '!'}
  };

  // construct the message using the values for name and place
  return returnObject;
}
Update your hello action again, but with the --web true flag to indicate that this is a web action
wsk action update hello Desktop/hello.js --web true
Now, let's grab the url that we can use to call this actiON
wsk action get hello --url
This should return something that looks like https://adobeioruntime.net/api/v1/web/<NAMESPACE>/default/hello
Let's paste this url into your browser and see what you receive. It should be the same json response!
// 20190307183813
// https://adobeioruntime.net/api/v1/web/<NAMESPACE>/default/hello

{
  "msg": "Hello, stranger from somewhere!"
}
Challenge: Can you figure out how to modify the url so that the response says "Hello, Dragos from Iaschi!"
GOAL: OpenWhisk supports a special kind of action called a "sequence". These actions are created using a list of existing actions. When the sequence is invoked, each action in executed in a sequence. The input parameters are passed to the first action in the sequence. The output from that function is passed as the input to the next function and so on. The output from the last action in the sequence is returned as the response result. In this section, you will learn how to build a simple sequence in Runtime.
Using sequences is a great way to develop re-usable action components that can be joined together into "high-order" actions to create serverless applications.
For example, what if you have serverless functions to implement an external API and want to enforce HTTP authentication? Rather than manually adding this code to every action, you could define an "auth" action and use sequences to define new "authenticated" actions by joining this action with the existing API actions.
Find the file (sequence.js). This file contains three simple functions, split, reverse and `join.
function split(params) {
  var text = params.text || ""
  var words = text.split(' ')
  return { words: words }
}

function reverse(params) {
  var words = params.words || []
  var reversed = words.map(word => word.split("").reverse().join(""))
  return { words: reversed }
}

function join(params) {
  var words = params.words || []
  var text = words.join(' ')
  return { text: text }
}
Let's create the following three actions in Runtime to see what they do. In the previous chapter, we created actions based on js files. Here, we are using the same js file to define three different actions. Using the --main flag, we can define a different entry point for each action.
wsk action create split Desktop/sequence.js --main split
wsk action create reverse Desktop/sequence.js --main reverse
wsk action create join Desktop/sequence.js --main join
Time to test the actions.
wsk action invoke split --result --param text "Hello world"
{
    "words": [
        "Hello",
        "world"
    ]
}
wsk action invoke reverse --result --param words '["hello", "world"]'
{
    "words": [
        "olleh",
        "dlrow"
    ]
}
wsk action invoke join --result --param words '["hello", "world"]'
{
    "text": "hello world"
}
Can you figure out what these three actions are doing?
Now that we have three working actions, let's create an action sequence that uses all three actions to reverse the characters in each word in a phrase.
wsk action create reverse_words --sequence split,reverse,join
Time to test
wsk action invoke reverse_words --result --param text "hello world"
you should get a reversed string, like
{
    "text": "olleh dlrow"
}
Adobe I/O Runtime is currently in beta and going GA in the Summer. Come talk to the lab instructor to discuss joining the beta progran and stay tuned on adobe.io!