
New to Experience Manager? This introductory session highlights its support for fluid experiences. Highlights: • Introduction to Connected DAM in Experience Manager • Assets integration with Adobe Stock and custom tagging • Using workflows for fluid experiences...
In this lesson , we will learn how to use content fragments in AEM, and explore their benefitss. We will create content fragments using an underlying schema conten defined in the content fragment model. We will also explore variations and a few other features of content fragments.
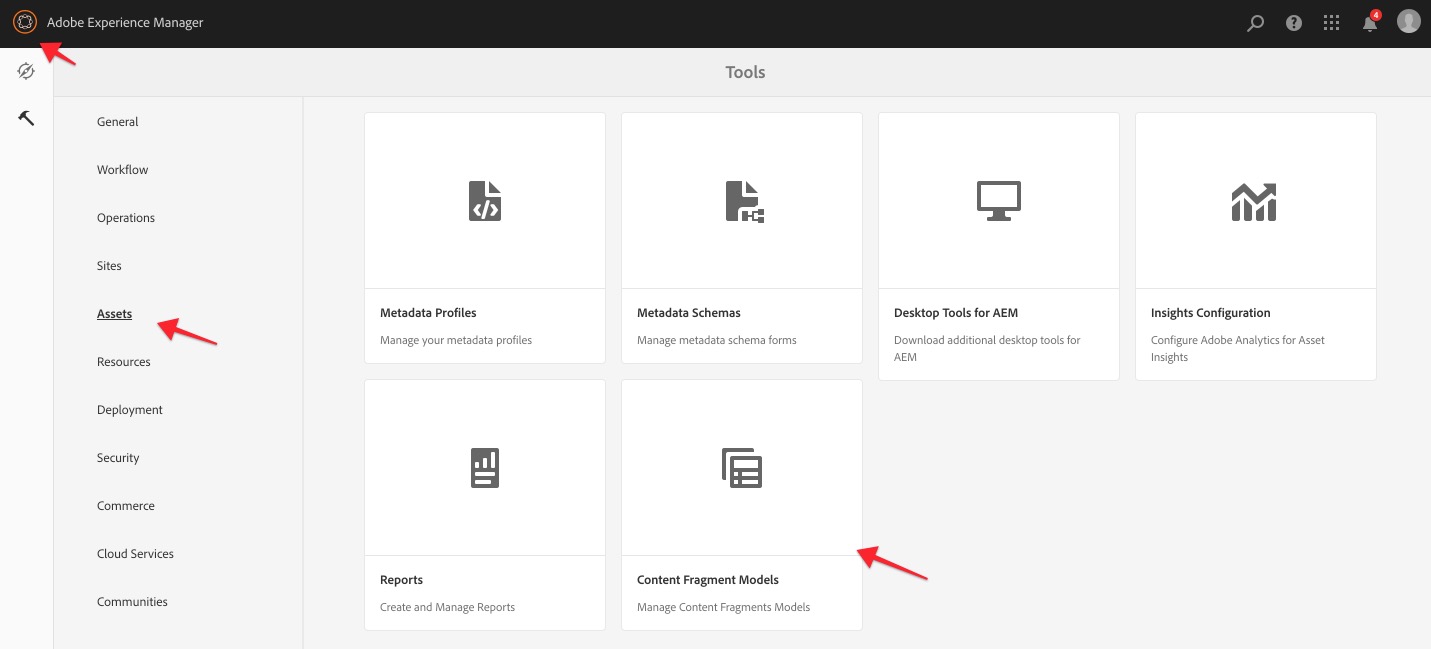
In this exercise we will create an initial Content Fragment Model .
Go to AEM > Tools > Assets > Content Fragment Models
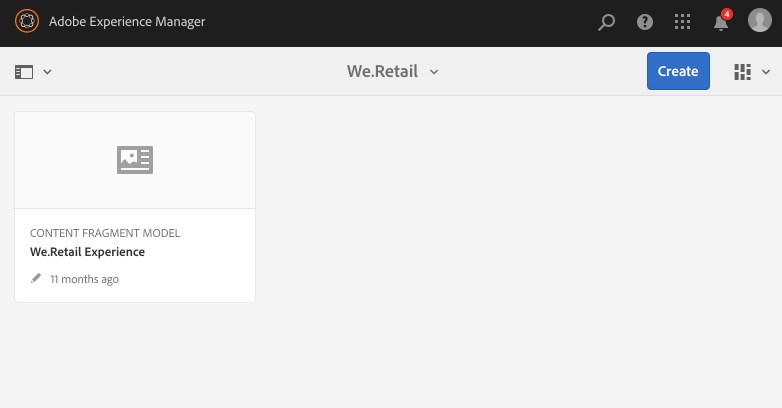
Double click to open the We.Retail folder.
Press the Create button to create a model
Provide model details
Press Create Button and you should get a success message.
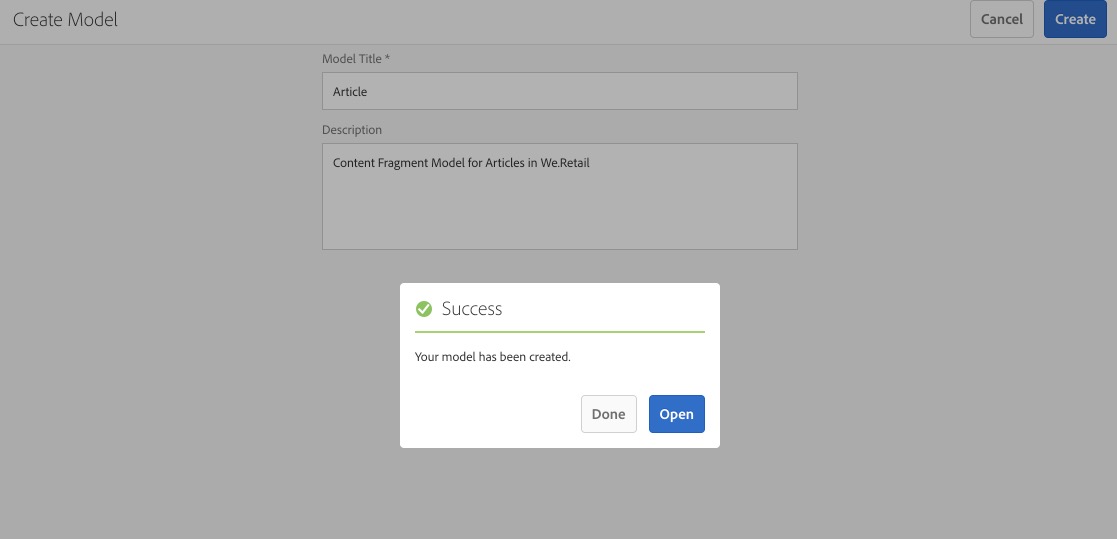
Press Open button in success message.
In this exercise we will add fields to the Article Content Fragment Model.
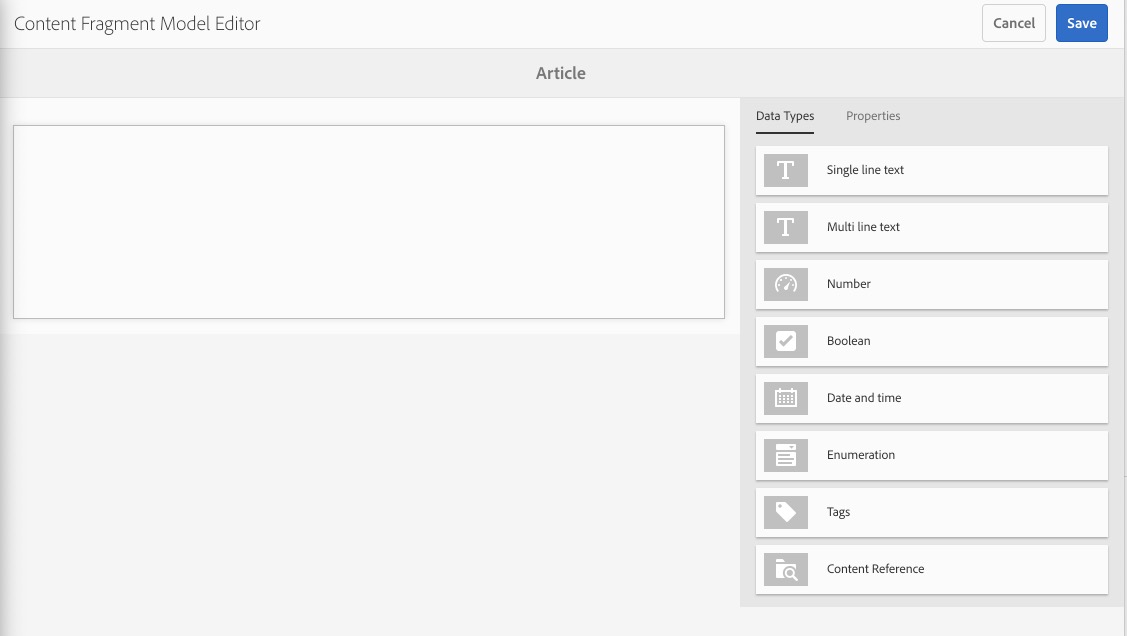
Click on Single line text data type and drag it on canvas to add it.
Go to Properties tab and add following details
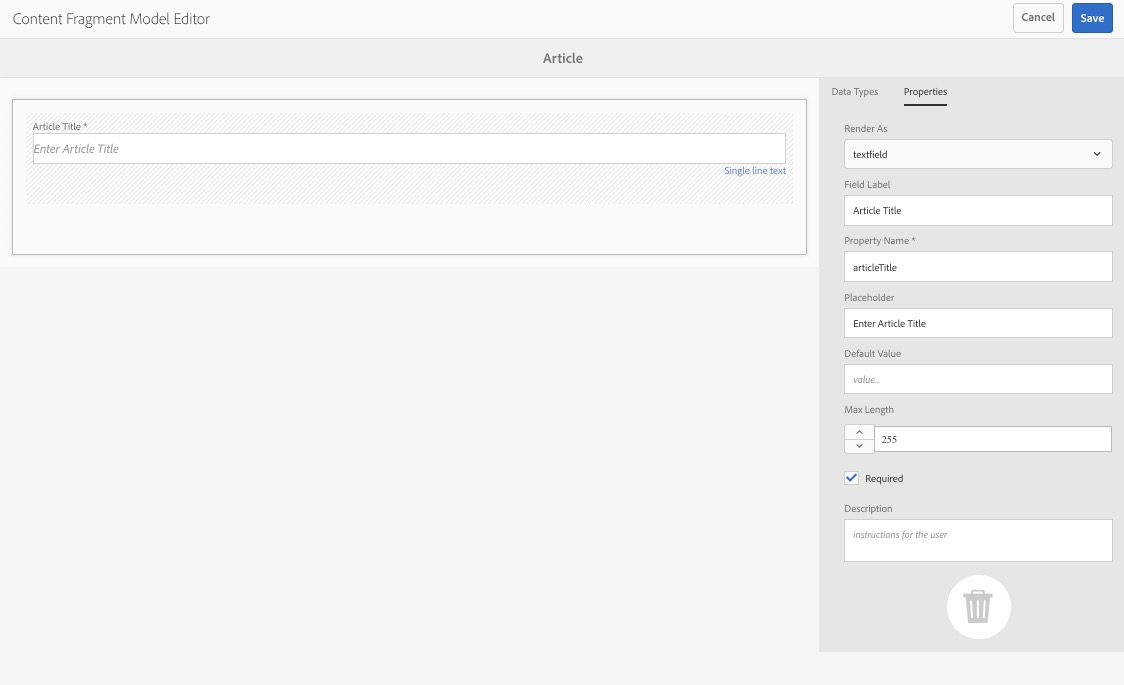
Select Data Types to return to the field selection area. Add another Single line text to the canvas with the following properties
Add Multi line text to the canvas with following properties

Now that we have a content fragment model, we will use it to create a content fragment.
Go to AEM > Assets > Files > We.Retail > English
Create a folder by pressing Create btton and provide title as CF.
Open CF folder
Press Create Button > Content Fragment . You should see a list of available content fragments.
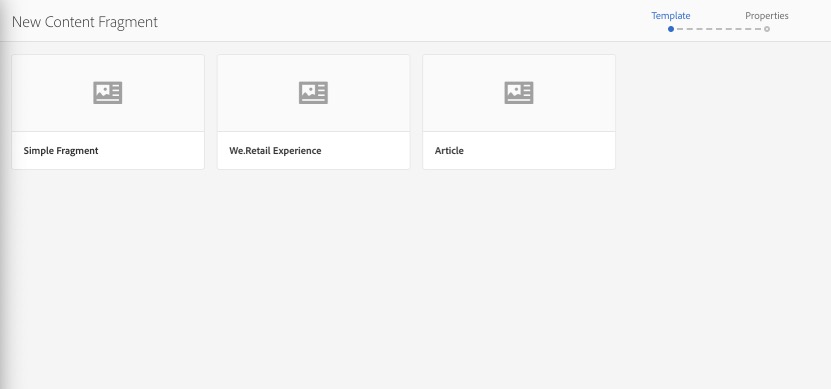
Click on Article template or content fragment model and Press Next button.
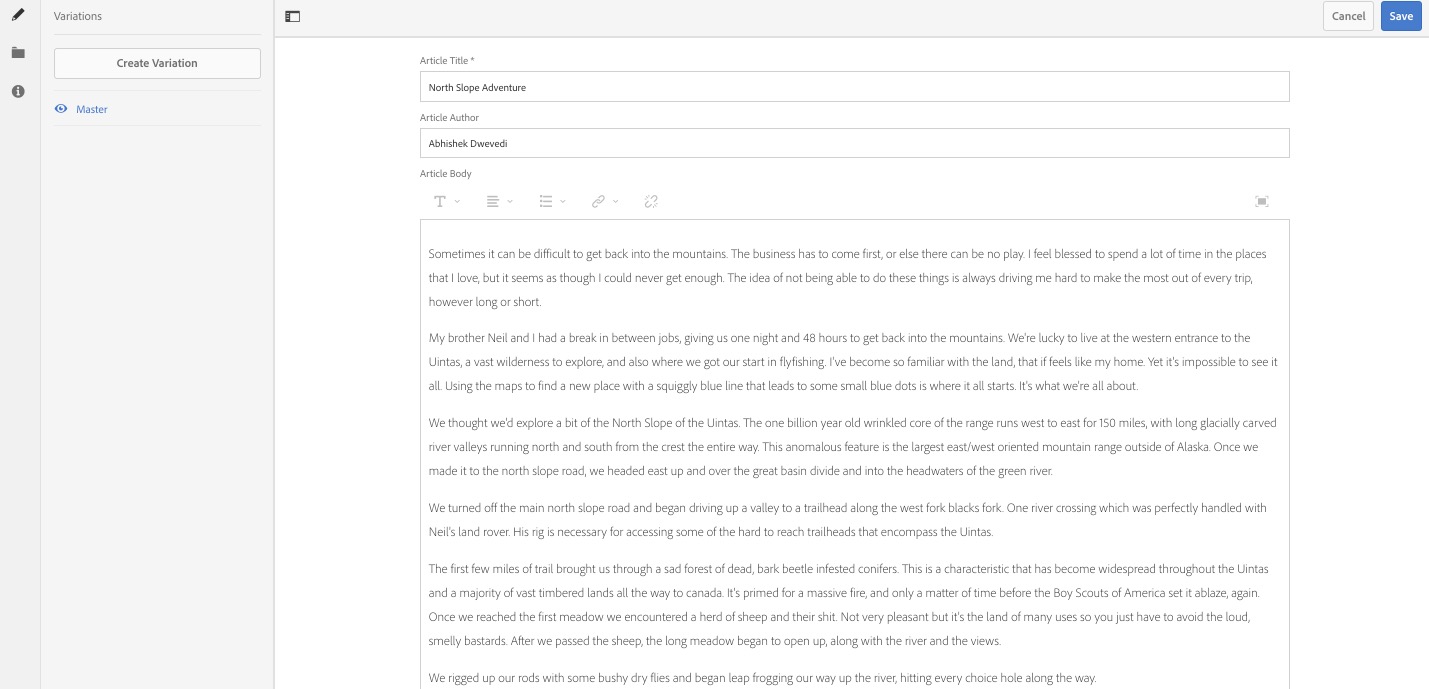
Provide title for the content fragment as North Slope Adventures.
Press Create Button and you should get Success Message. Press Open button in success message modal-window.
Now you should see a form with all data types we provided in article content fragment model. In this exercise we will be adding content to the content fragment Model
As content owner , we also want to create content fragment variations for other channels and requirements.

We will be using OOTB summarization feature for content fragments to summarize the article.
Click in Article Body box and select maximize icon 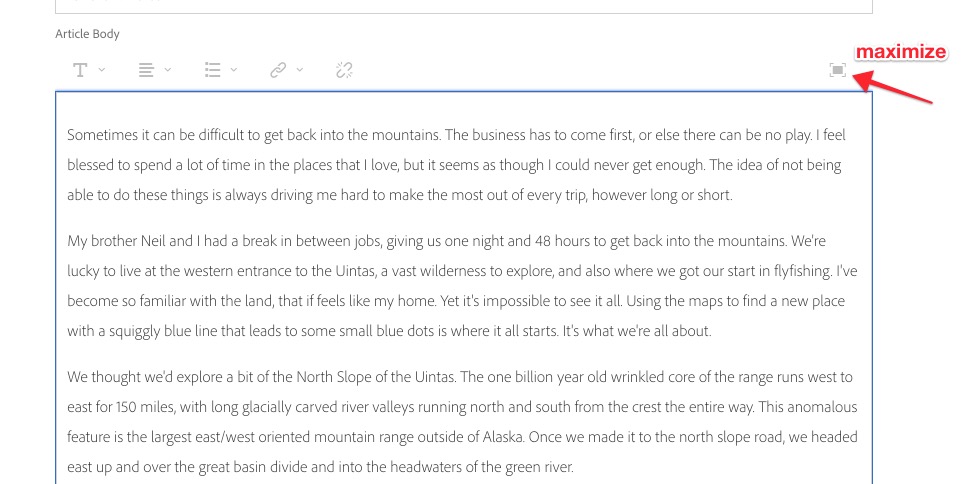
In maximize window, Press Summarize Text Button 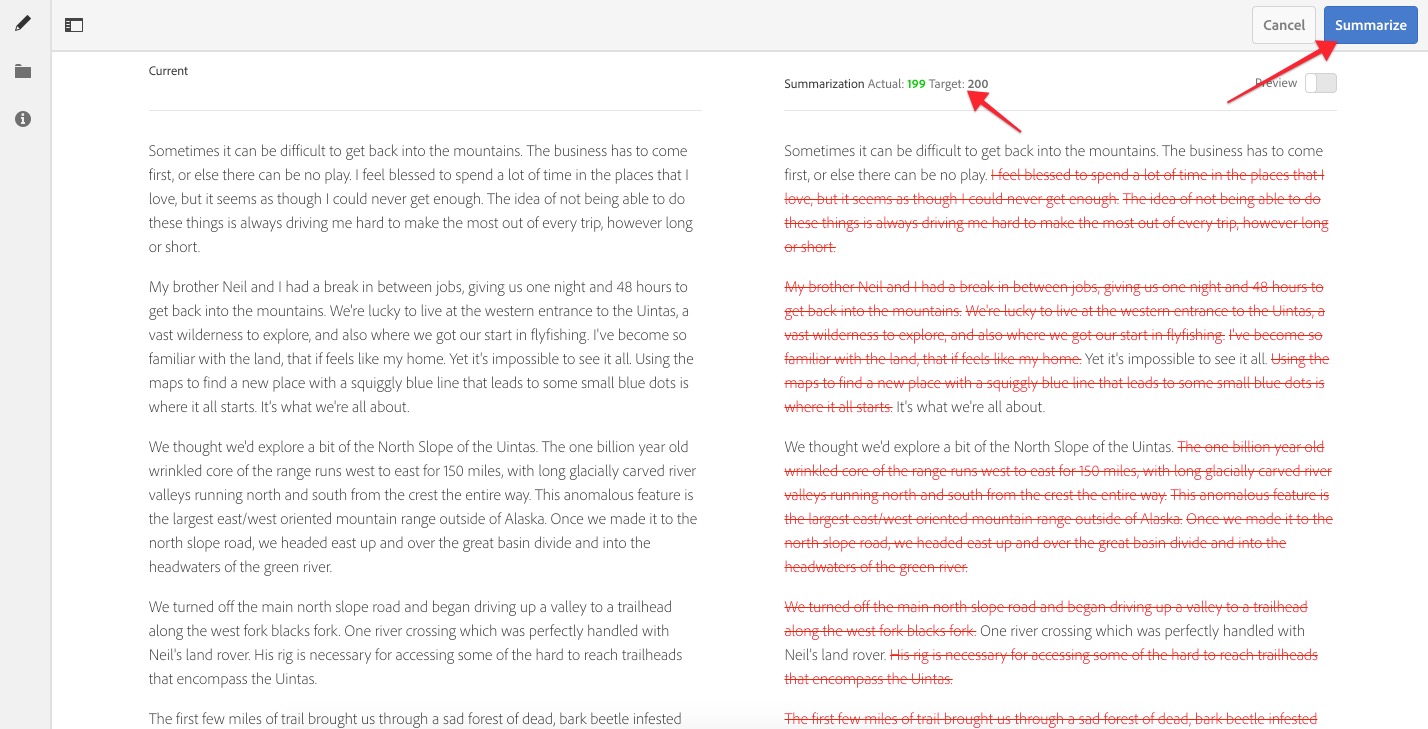
Provide Target words as 200
Review the summarized results and Press Summarize Button to confirm final Summarization.
Select the text area and press minimize icon.
Press Save button to save summary.
Navigate to the content fragements in AEM Assets
Click Download to download the content fragments and choose elements 
Open the zip file and examine the content
Click into a content fragment and choose a multi line text field.
Select the annotate field in order to set up collaboration with other authors 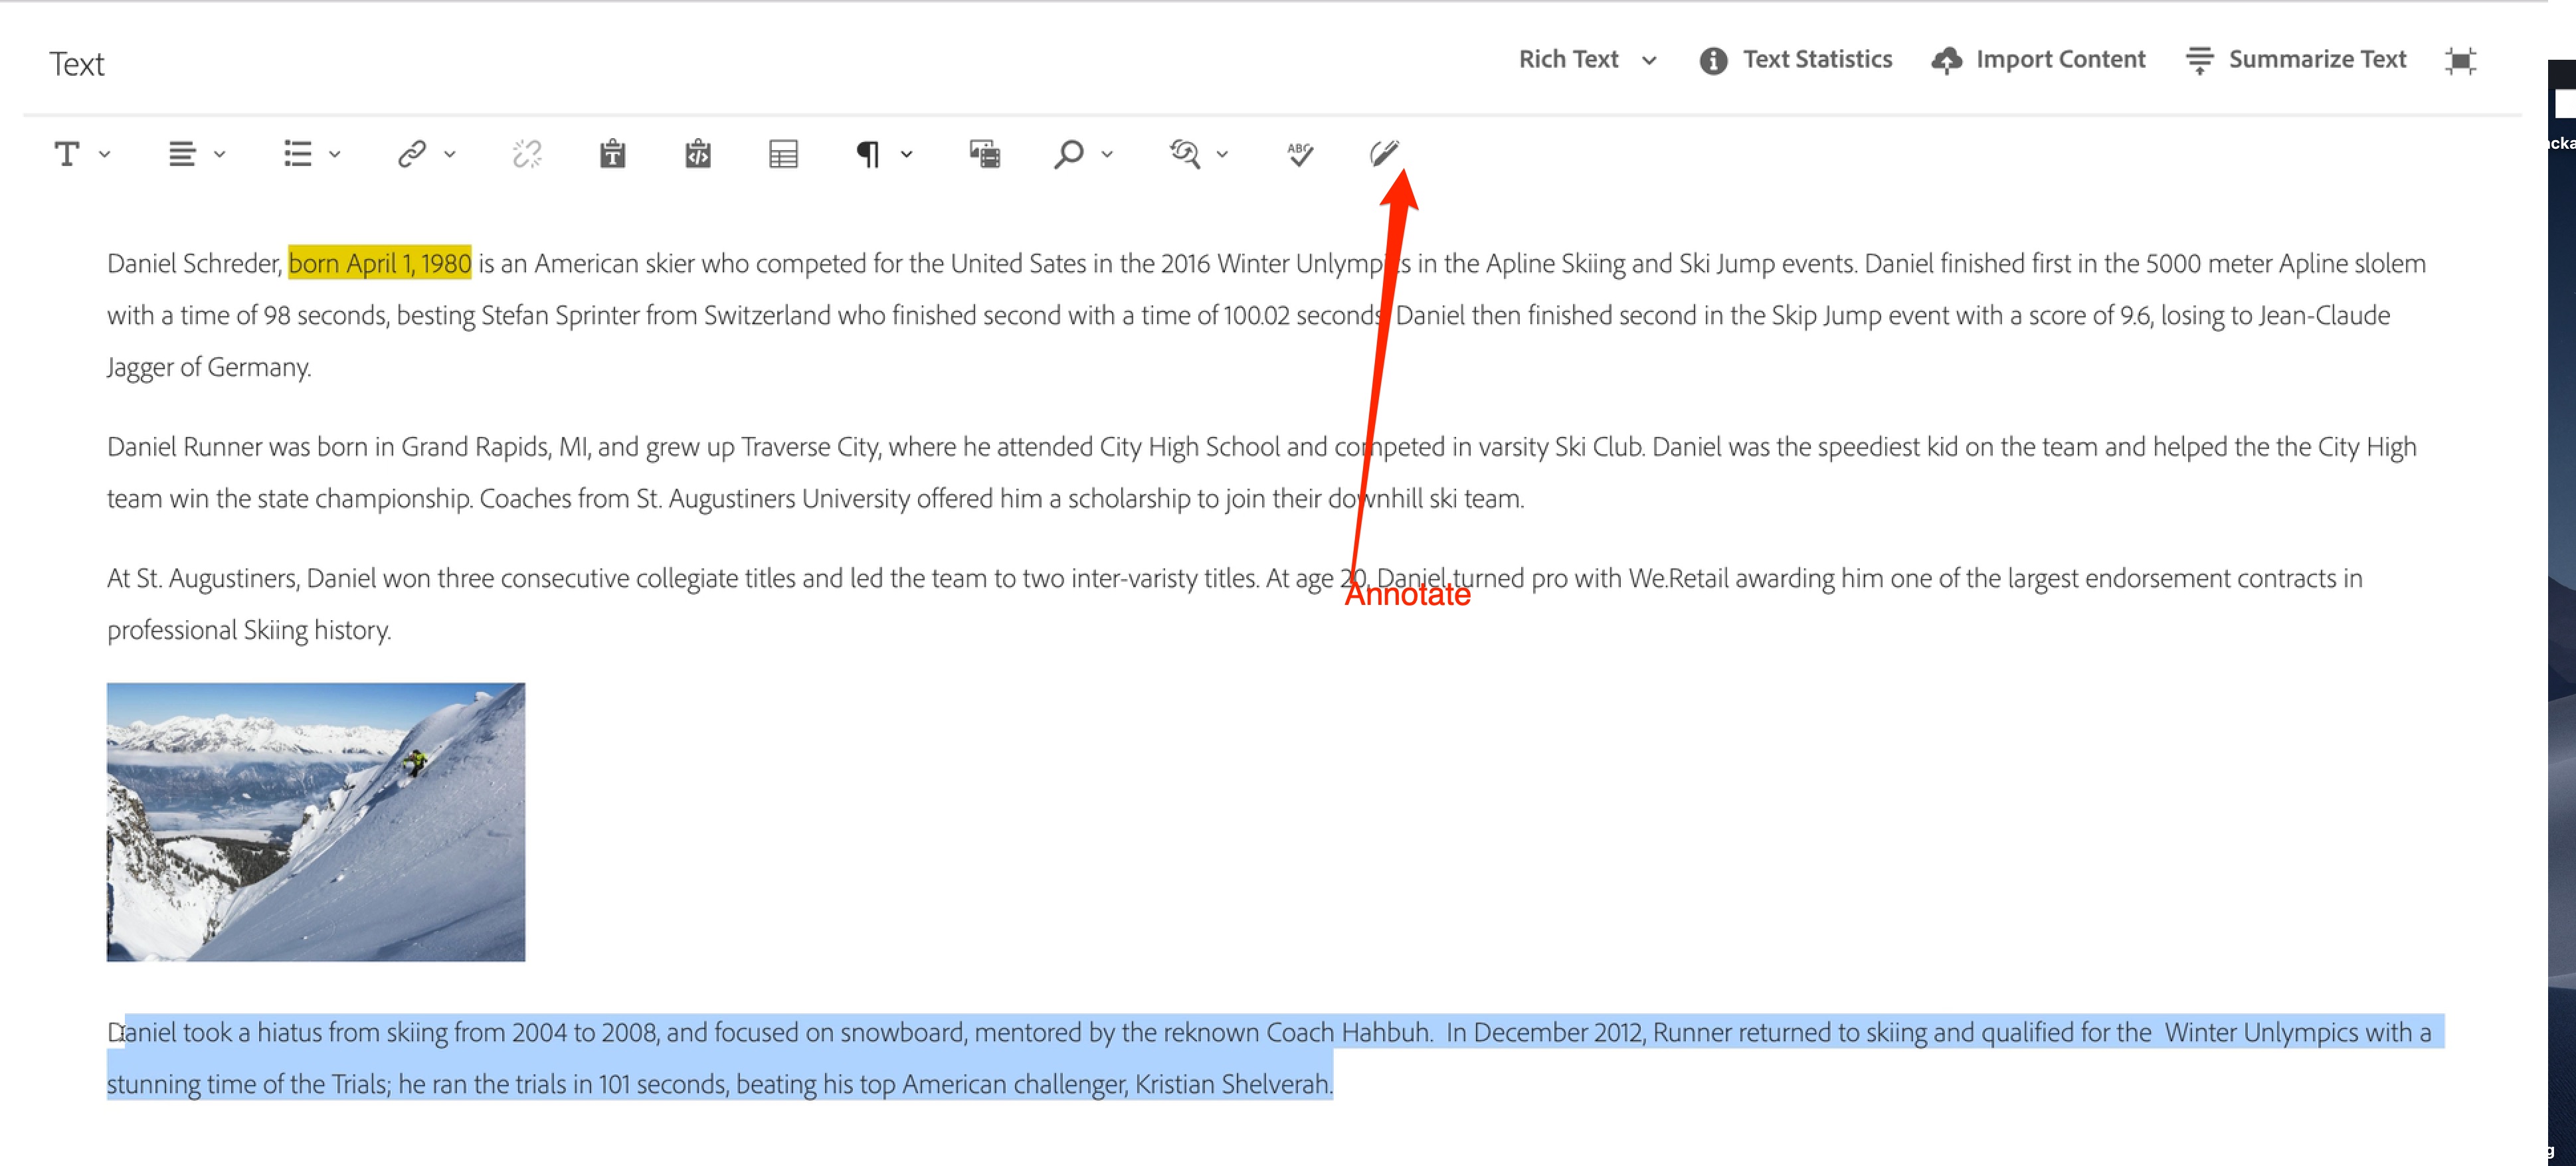
Add a annotation
Open a content fragment and choose timeline to compare. 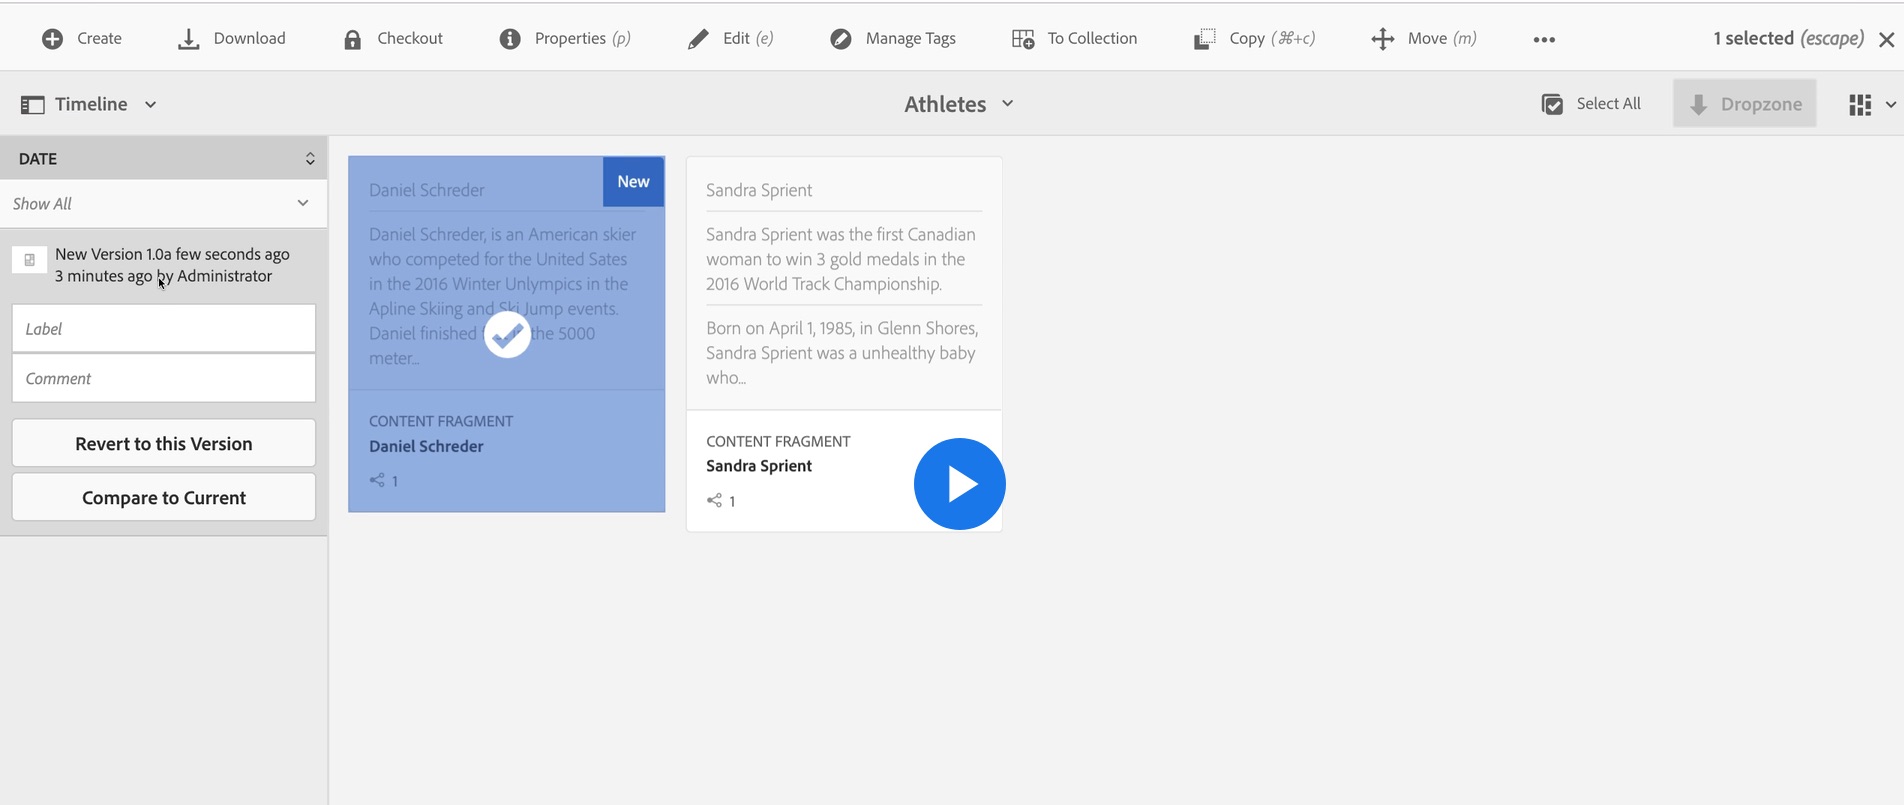
Go to the North Slope Adventures Content Fragment.
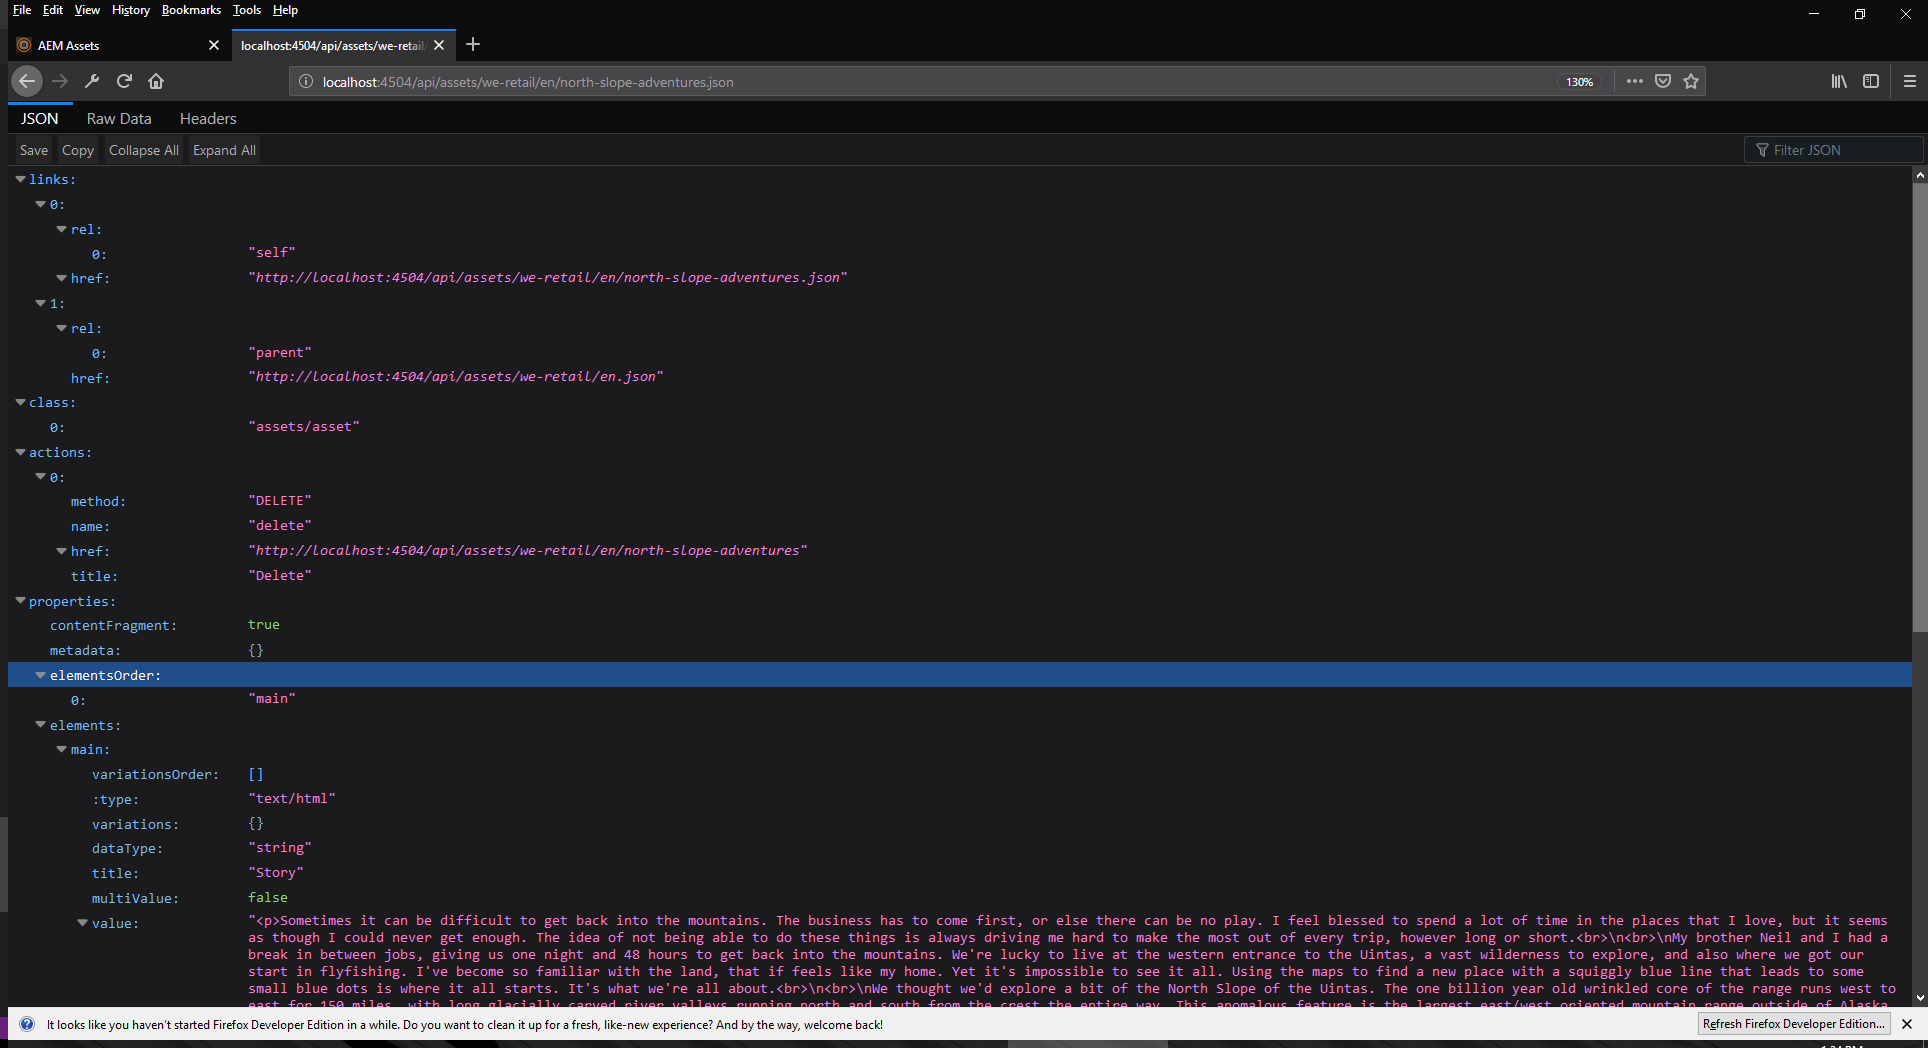
Change the URL to look something like http://localhost:4502/api/assets/we-retail/en/north-slope-adventures.json
Hint: Replace /content/dam in the CF URL with /api/assets and add .json as the extension. /api/assets/.json invokes the AEM Assets HTTP API
You should get CF as json on the page
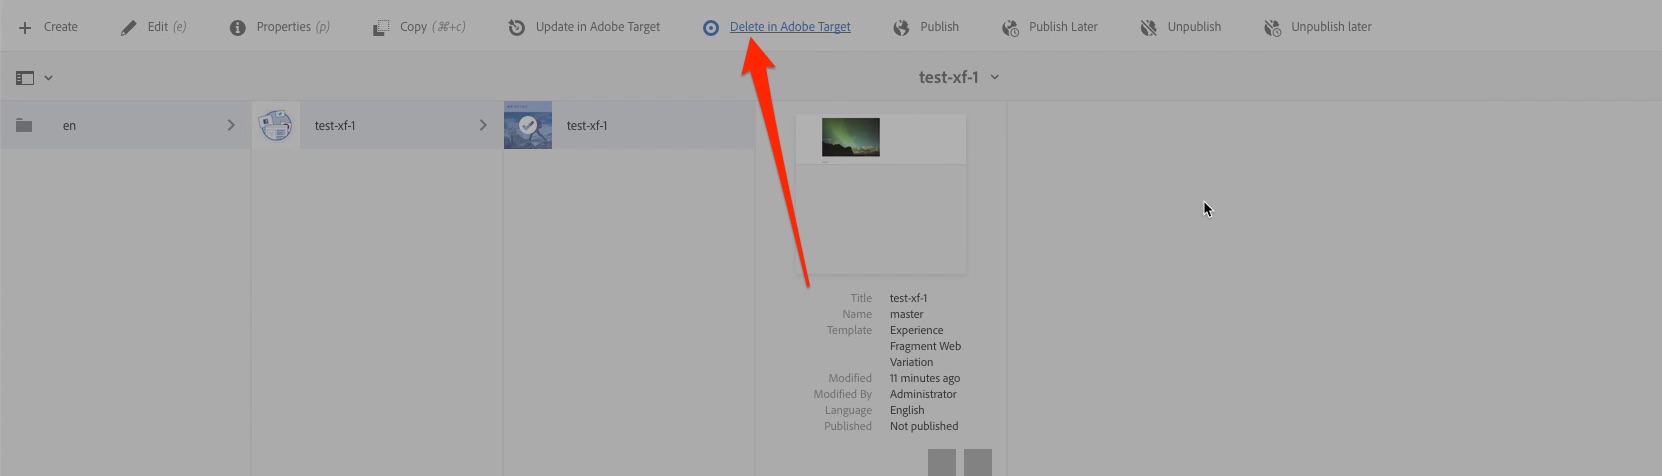
Experience Fragments allows content authors to reuse content across channels including sites pages and 3rd party systems.
Go to AEM Navigation > Experience Fragments.
Create two language folders with following titles
Select en folder and Press Create > Experience Fragments. This will list OOTB templates for Experience Fragment Creation.
Experience Fragment templates are like Page Templates.
Select ** We.Retail Experience Fragment Web Variation** template.
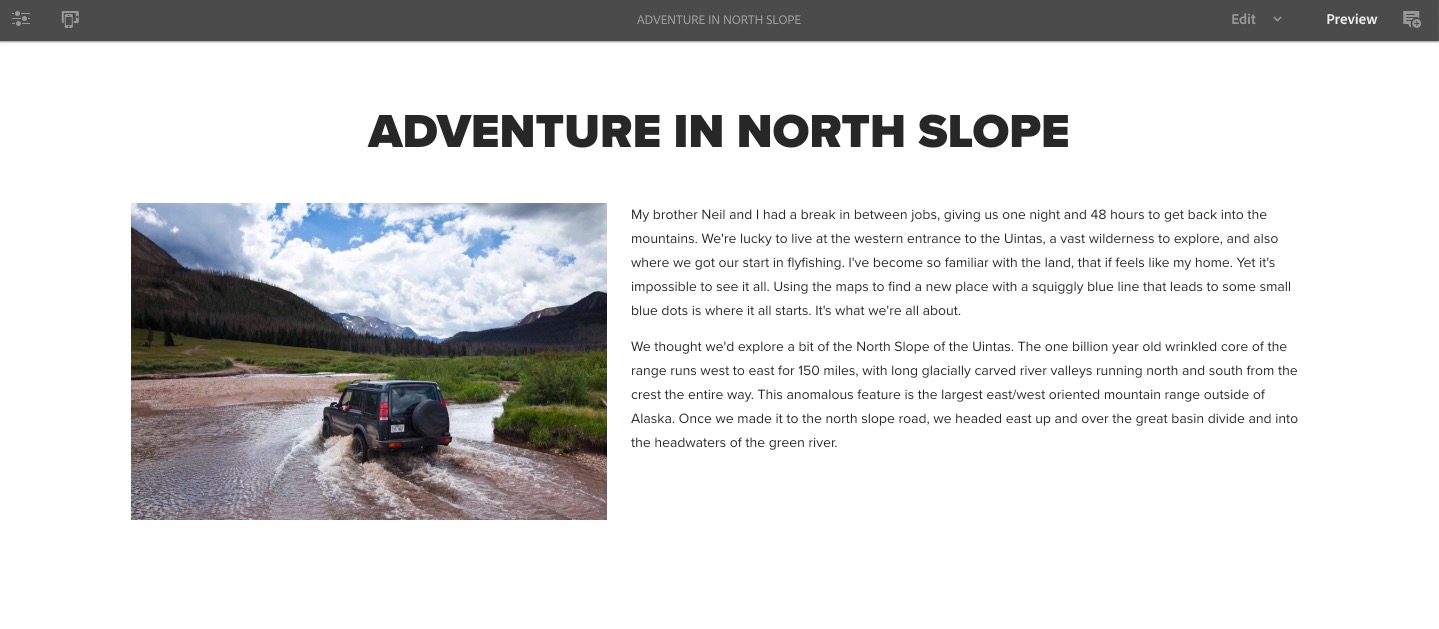
Press Next button and provide Title of experience fragment as Adventure in North Slope
Press Create button and Press Open in success message.
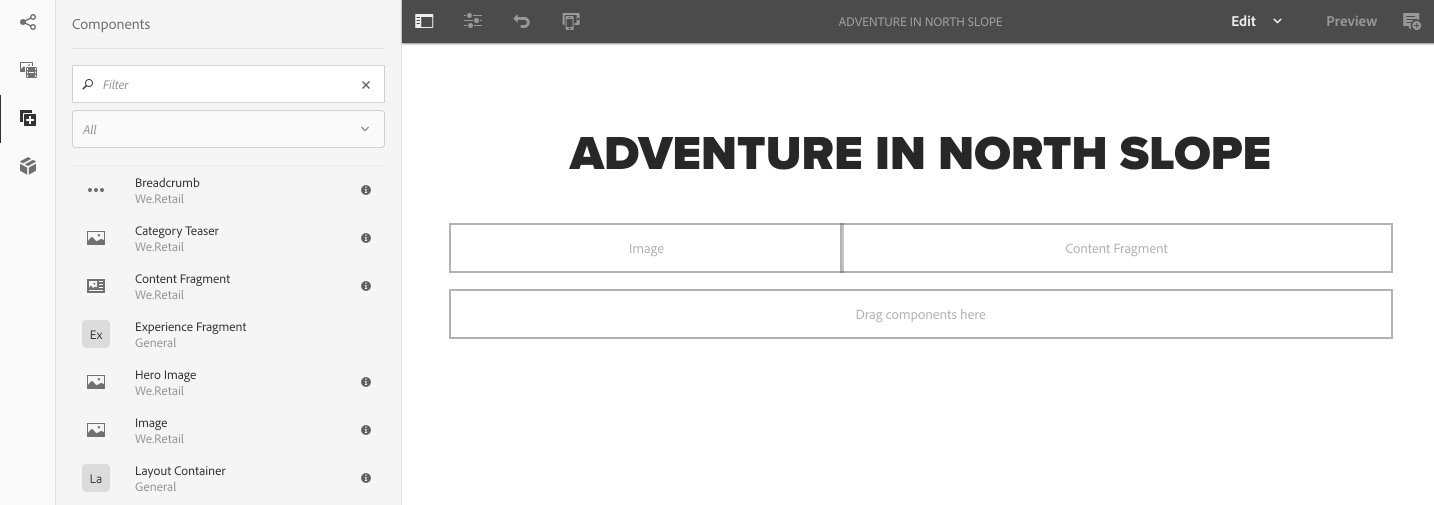
You should see a Experience Fragment Page Editor, it is quite similar to AEM Page Editor.
Add following components to the Layout Container :
Resize Image Component and Content fragment to get them in same row.
Now add an image to image component
In Asset browser , filter the list by Content Fragment
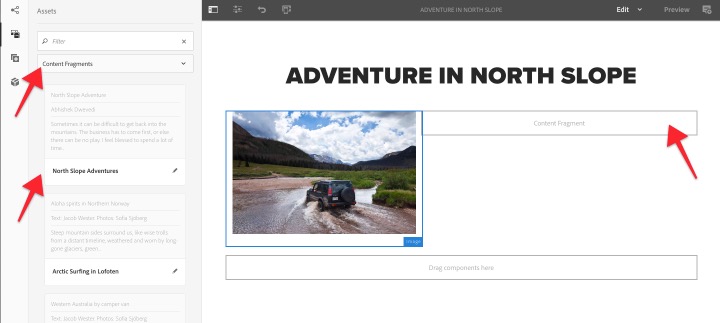
Now drag the content fragment on content fragment Component on Page.
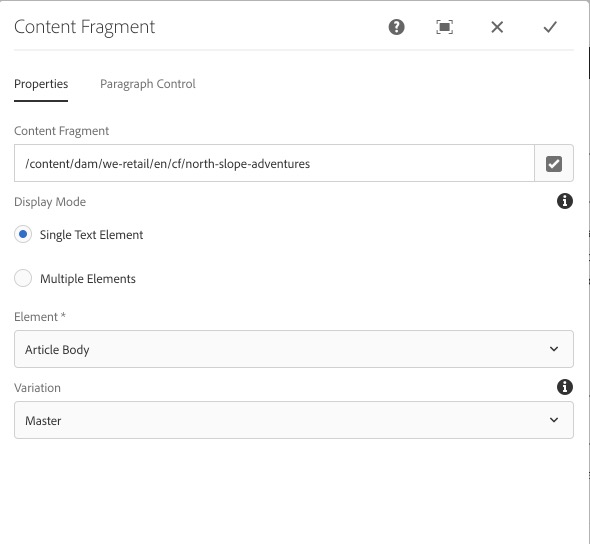
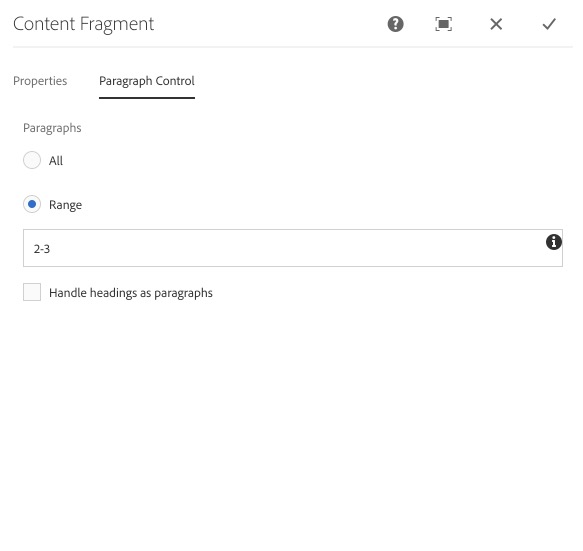
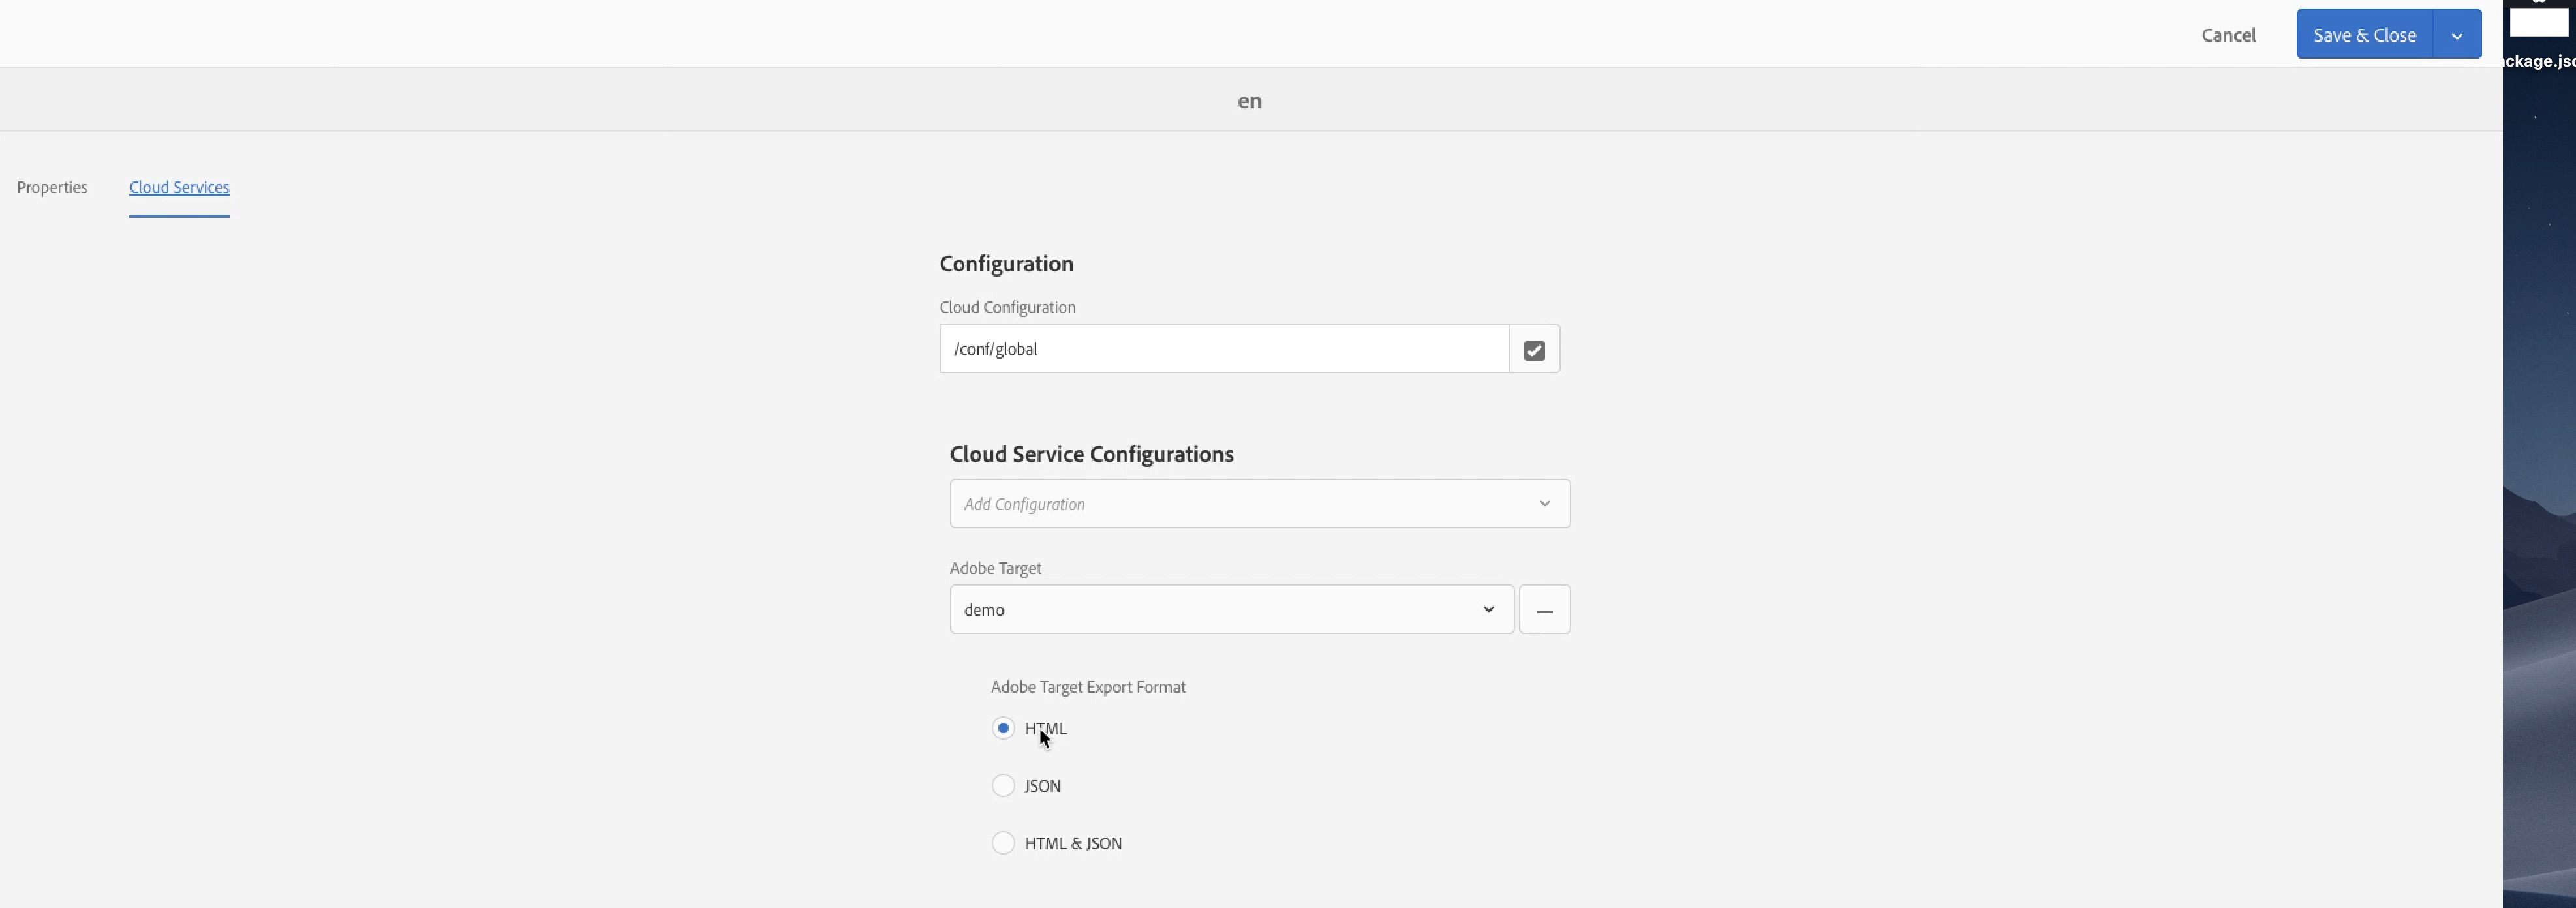
Double click to open dialog box of content fragment.
Configure Content Fragment Dialog box
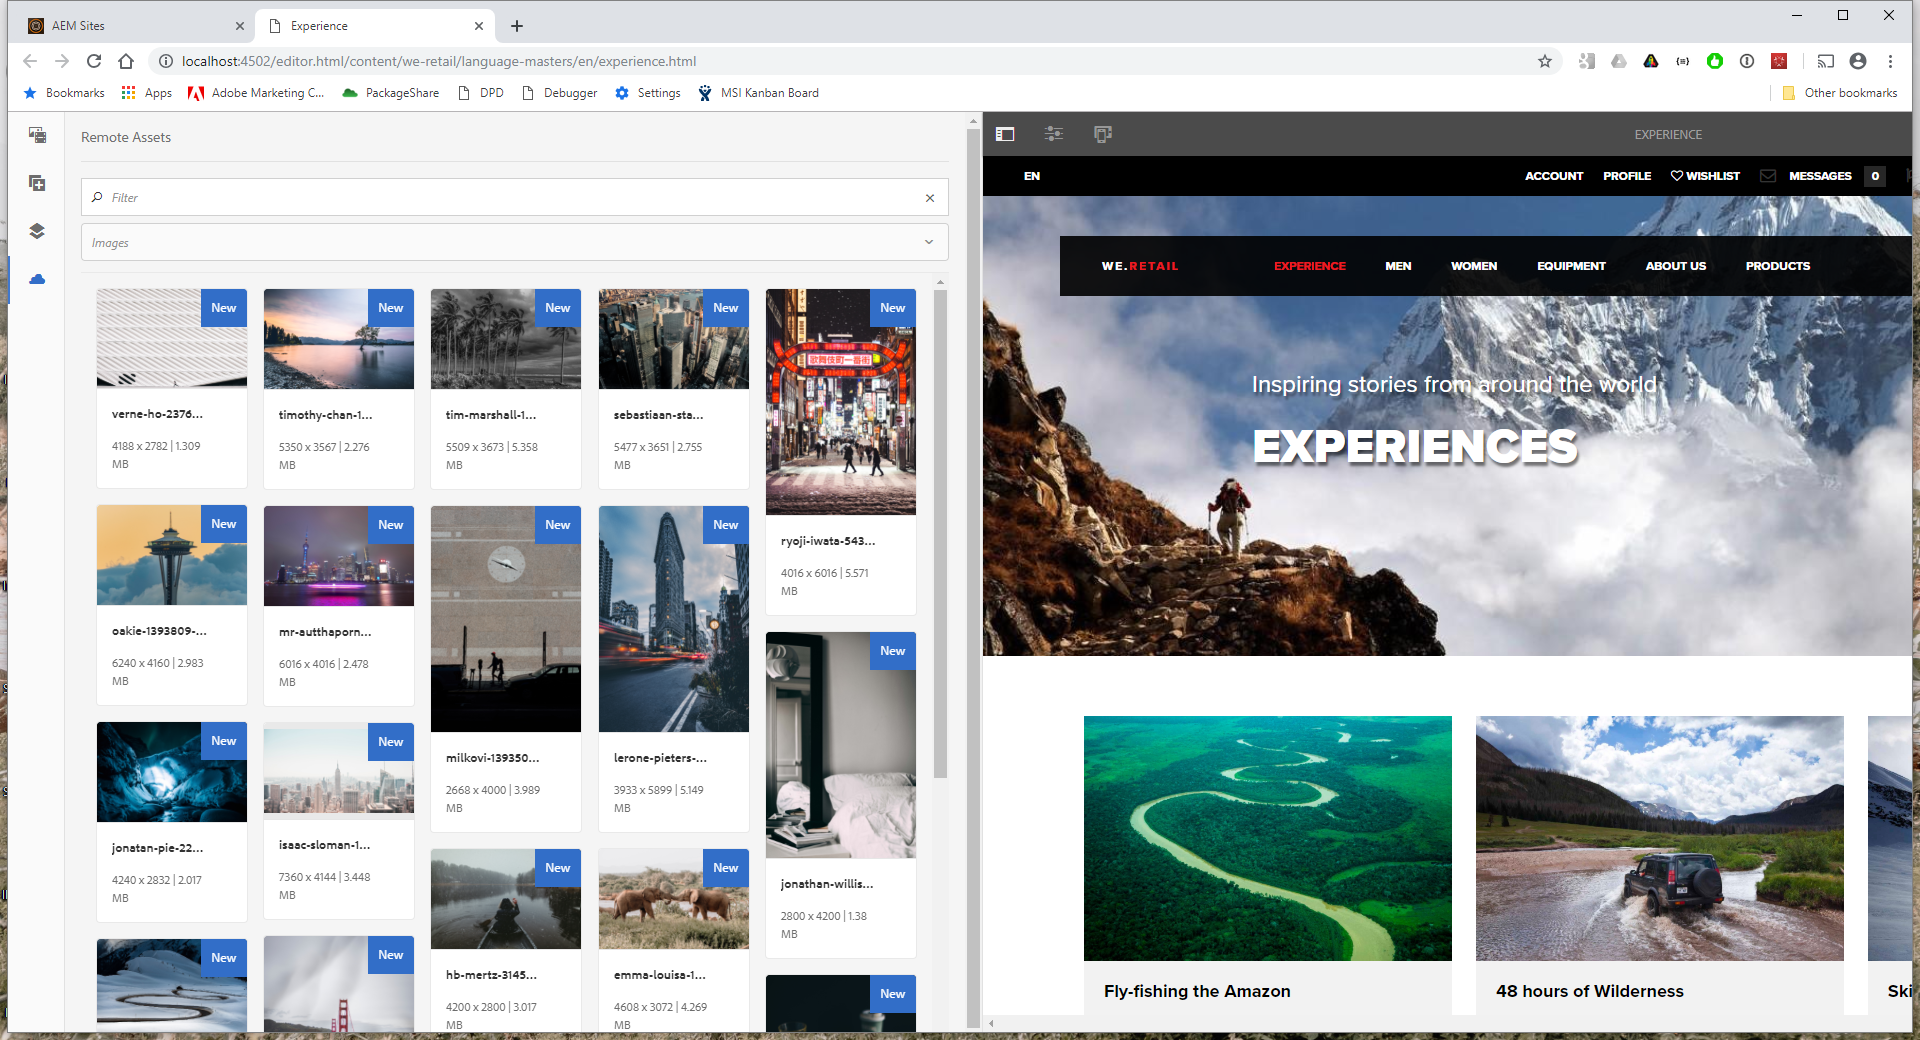
Integrate a local instance of AEM Sites with a different instance of AEM Assets
AEM now provides the capability to use assets from a DAM repository in websites created on separate AEM instances. While editing pages in Page Editor, authors can seamlessly search, browse, and embed assets from a different AEM Assets instance.
You can also integrate your local instances of AEM Sites with a different (remote) instance of AEM Assets. Your authors can browse, search for, and use assets just as they do for a local instance of Assets. AEM Administrators create an integration between the two instances once and then users can continue to use it seamlessly thereafter. This article details the prerequisites required for this task and lists a few of the limitations you should be aware of.
For the Sites authors, the remote assets continue to be available and behave as read-only local assets.
Start AEM 6.5 Assets Instance on port 4504.
Log on to the Assets Instance using Admin credentials.
Go to Tools > Operations > Web Console.
Look for the Adobe Granite Cross-Origin Resource Sharing Policy configuration. (HINT: You can use Ctrl+F to search for and find it.)
Set the Allowed Origins property to http://localhost:4502 (Sites Instance) 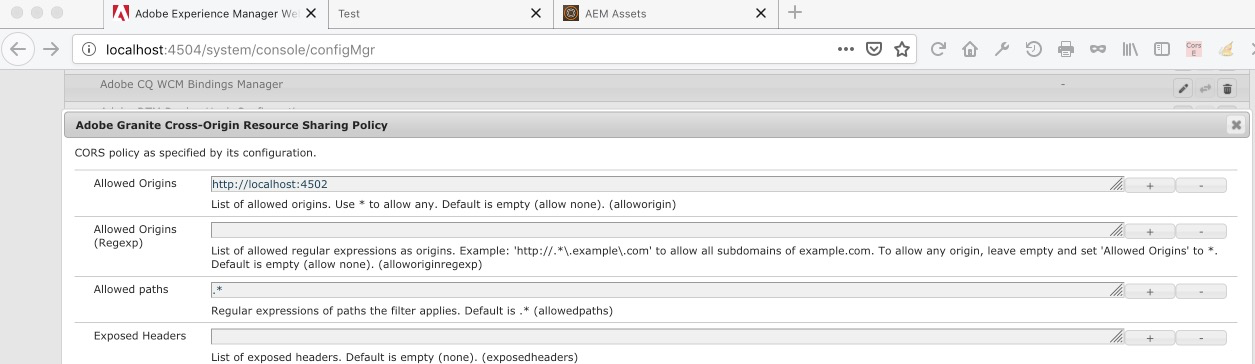
Click Save.
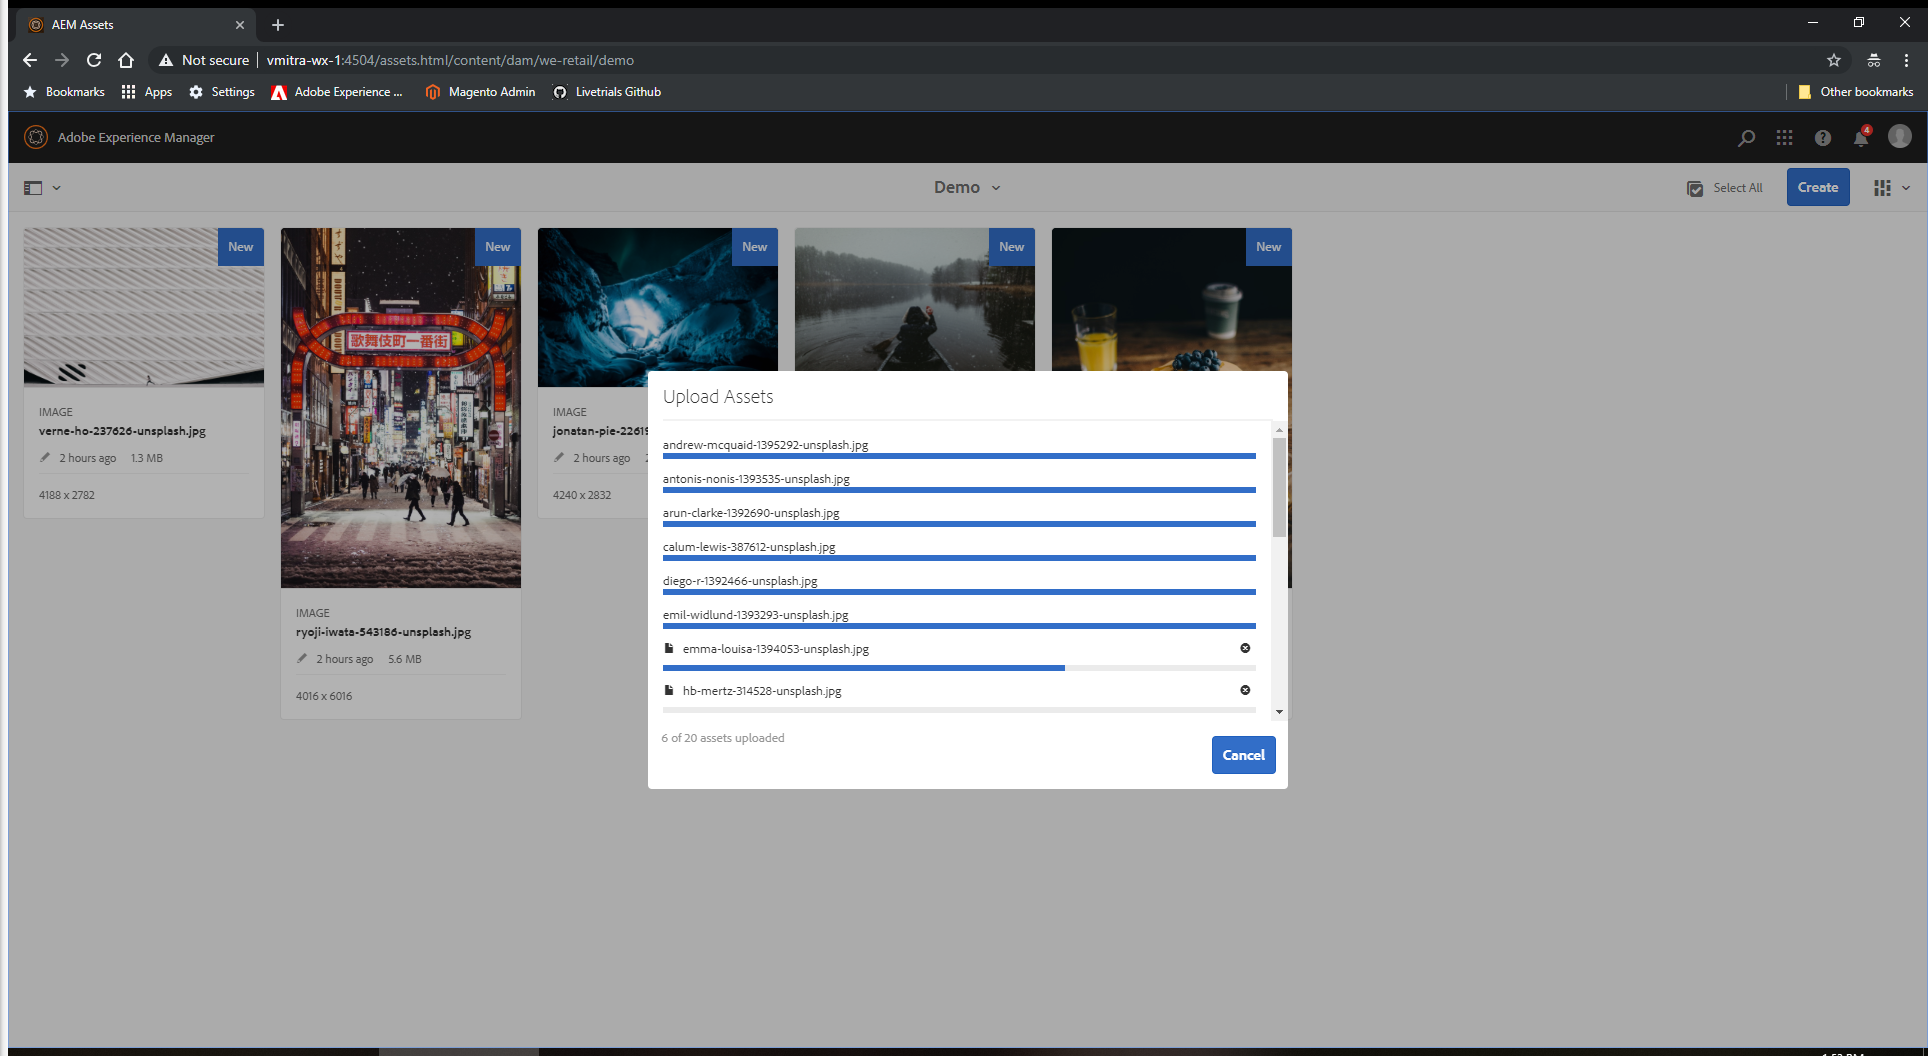
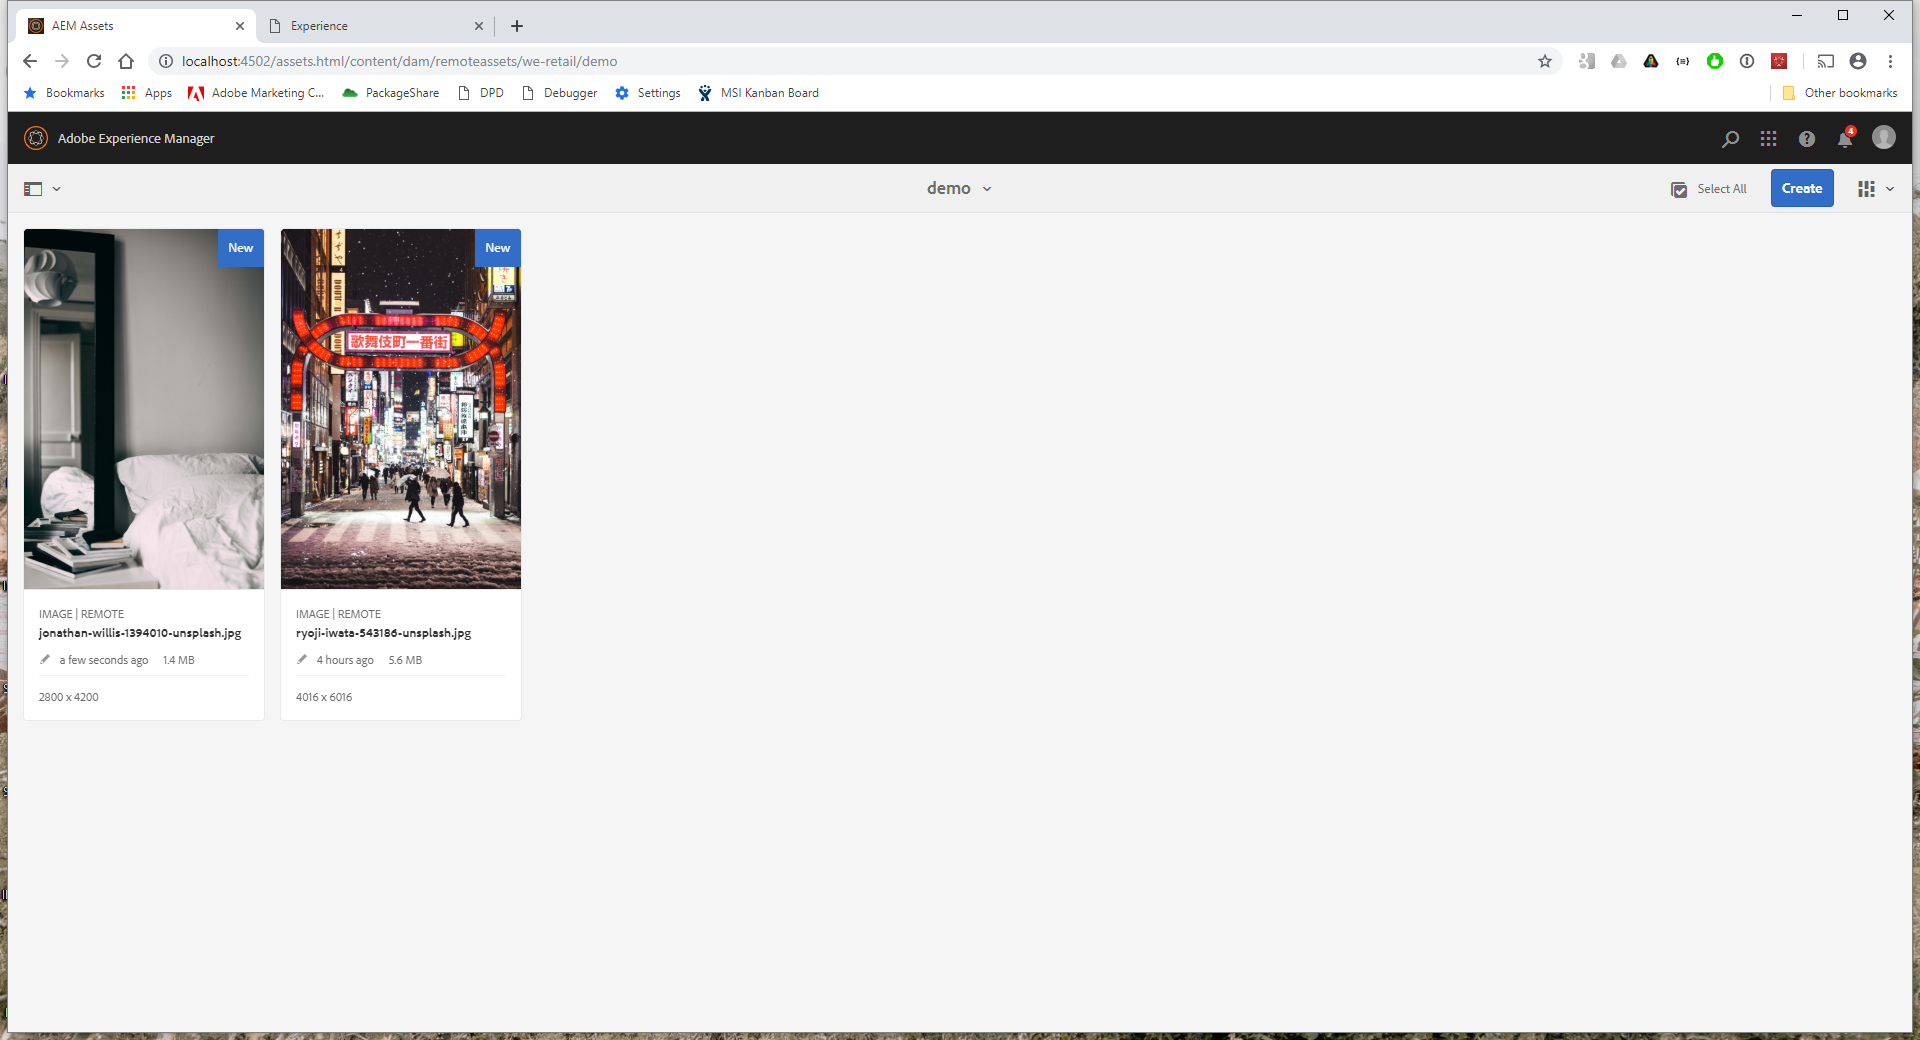
Click the Adobe Experience Manager logo in the upper-left corner to display the navigation screen and go to Assets > Files > We.Retail.
Create a new folder and upload a few images.
Test.Save.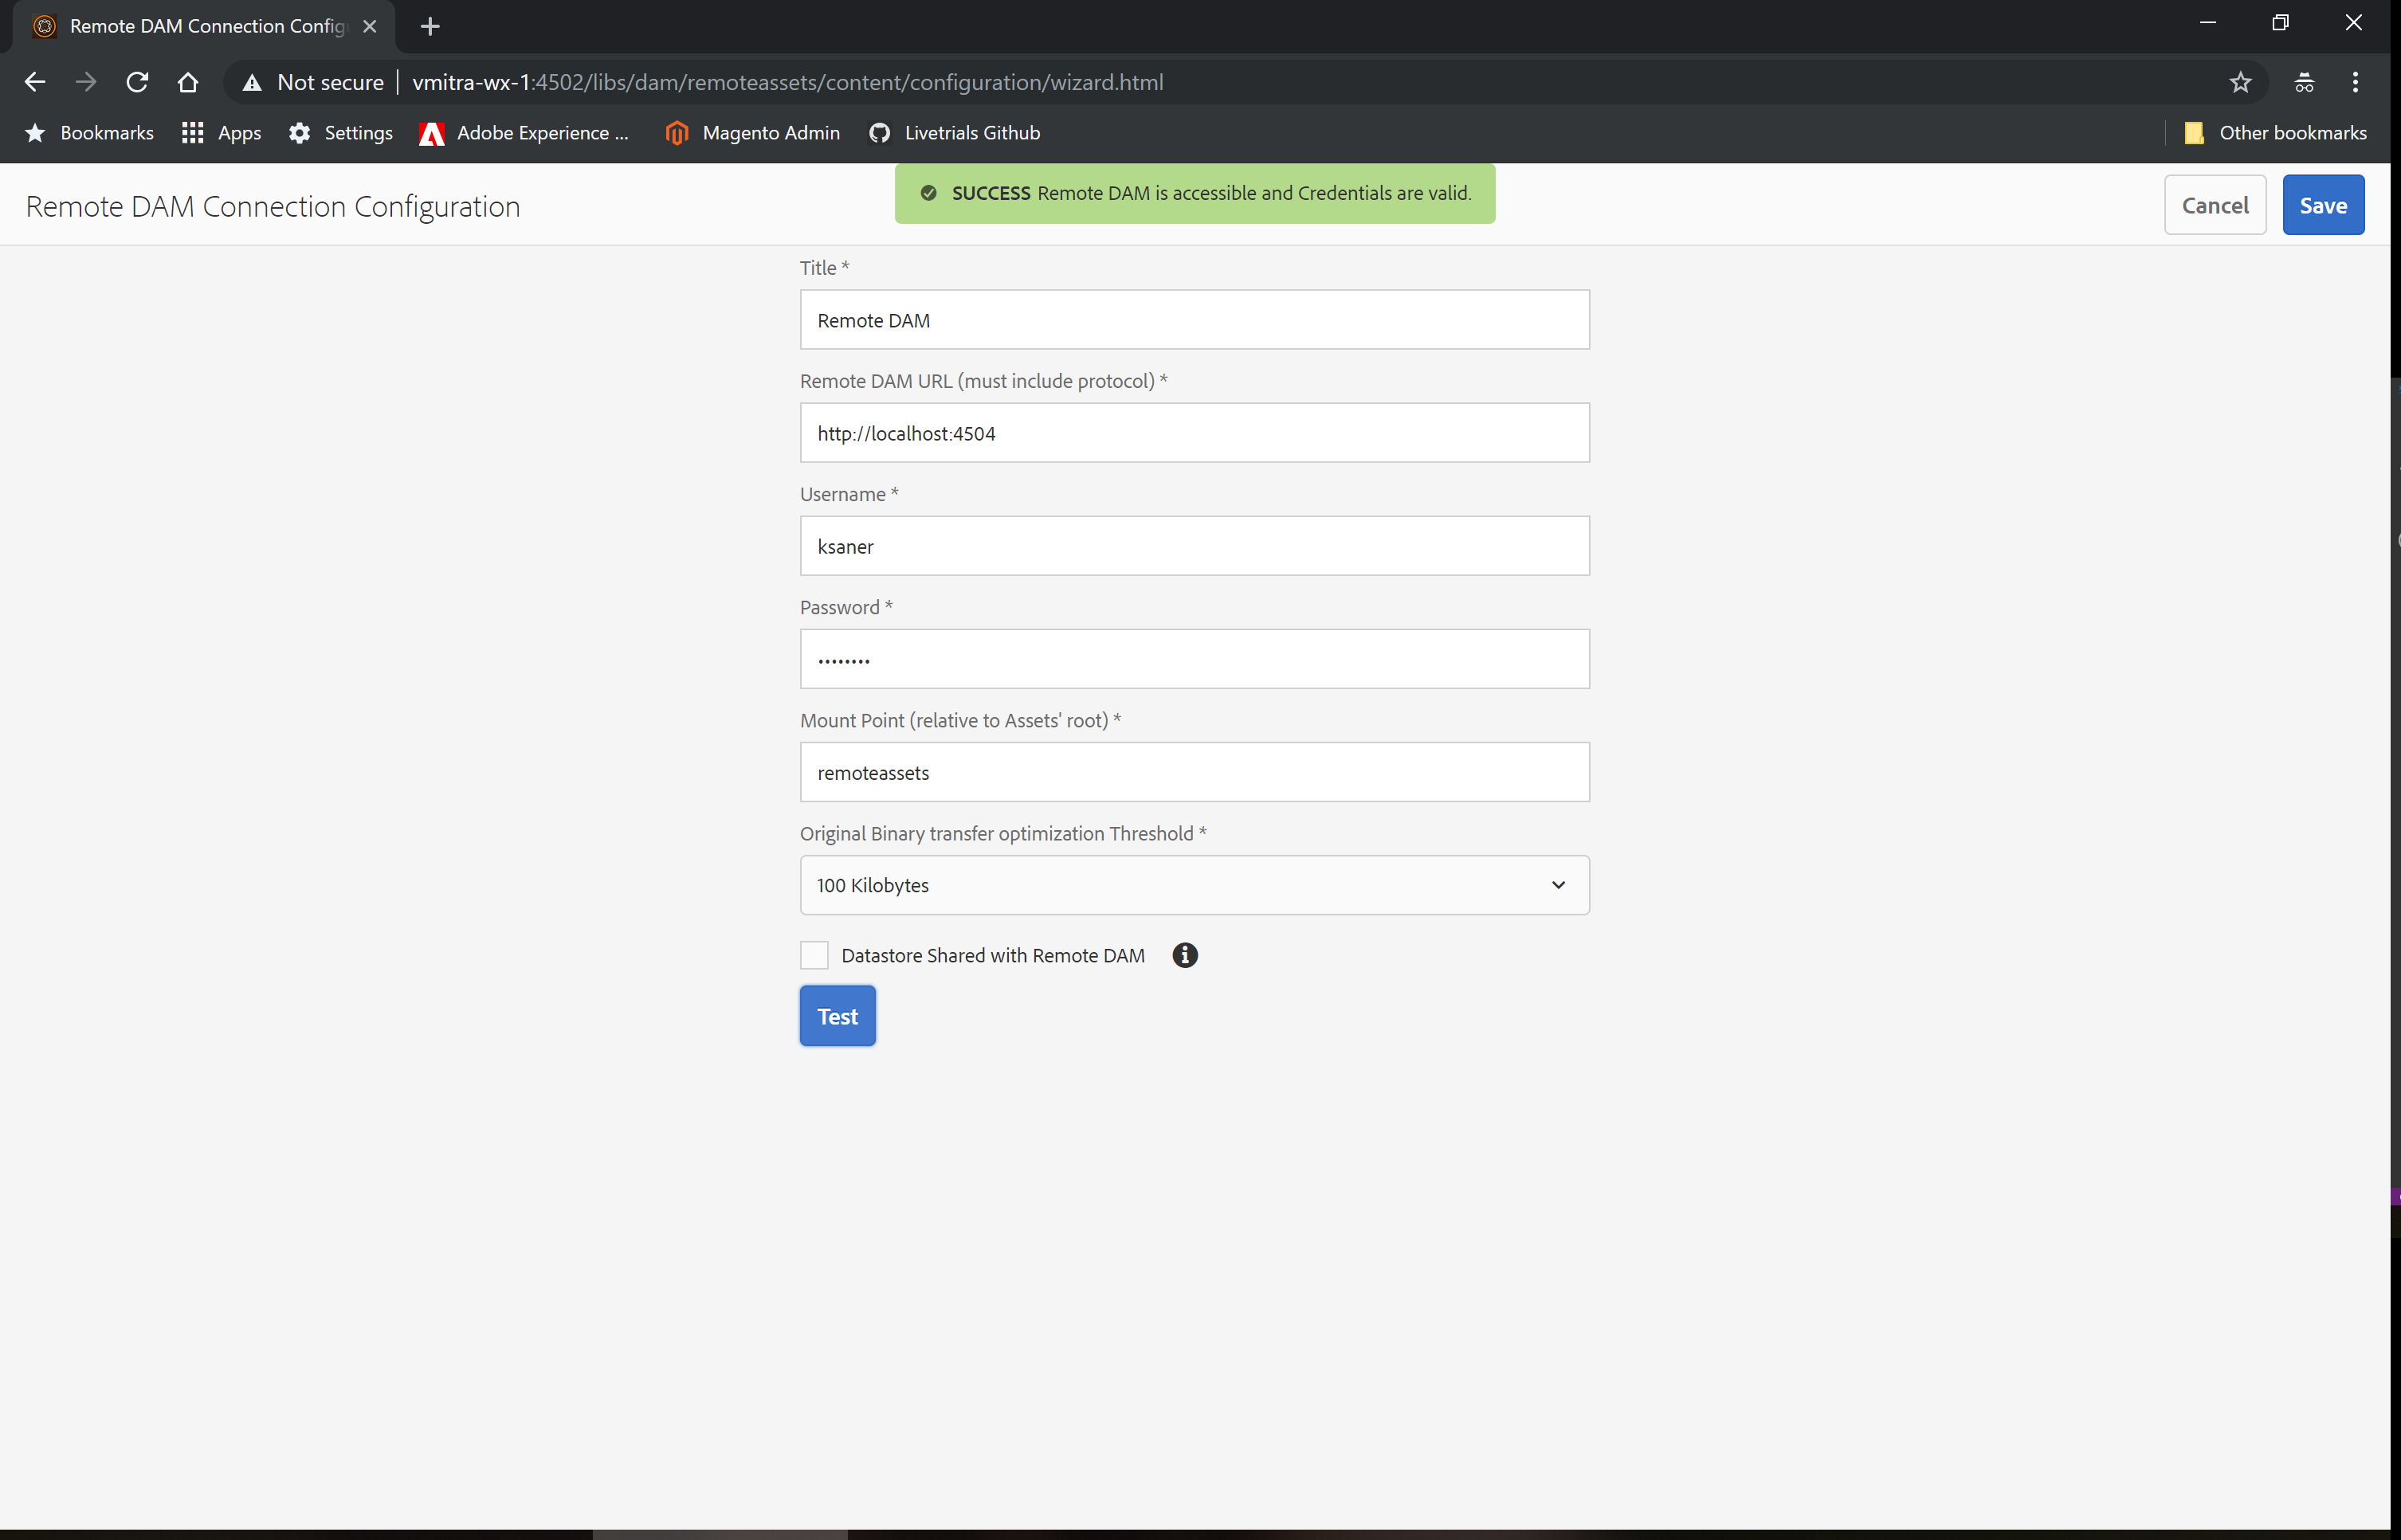
This user has authoring permissions on both of the AEM instances.
![]()
While the fetched assets are read-only, you can modify the options allowed by your Sites components to edit the asset used in the Sites component. Assets that are used on the Page will be stored im the remoteassets folder on the Sites Instance.
AEM 6.5 provides users the ability to search, preview, save and license Adobe Stock assets directly from AEM. Organizations can now integrate their Adobe Stock Enterprise plan with AEM Assets to make sure that licensed assets are now broadly available for their creative and marketing projects, with the powerful asset management capabilities of AEM.
From the main screen of AEM, choose Assets and select Search Adobe Stock.
Search for hiking in Adobe Stock and select an unlicensed asset.
Examine the options in the toolbar and then select View Similiar from Adobe Stock
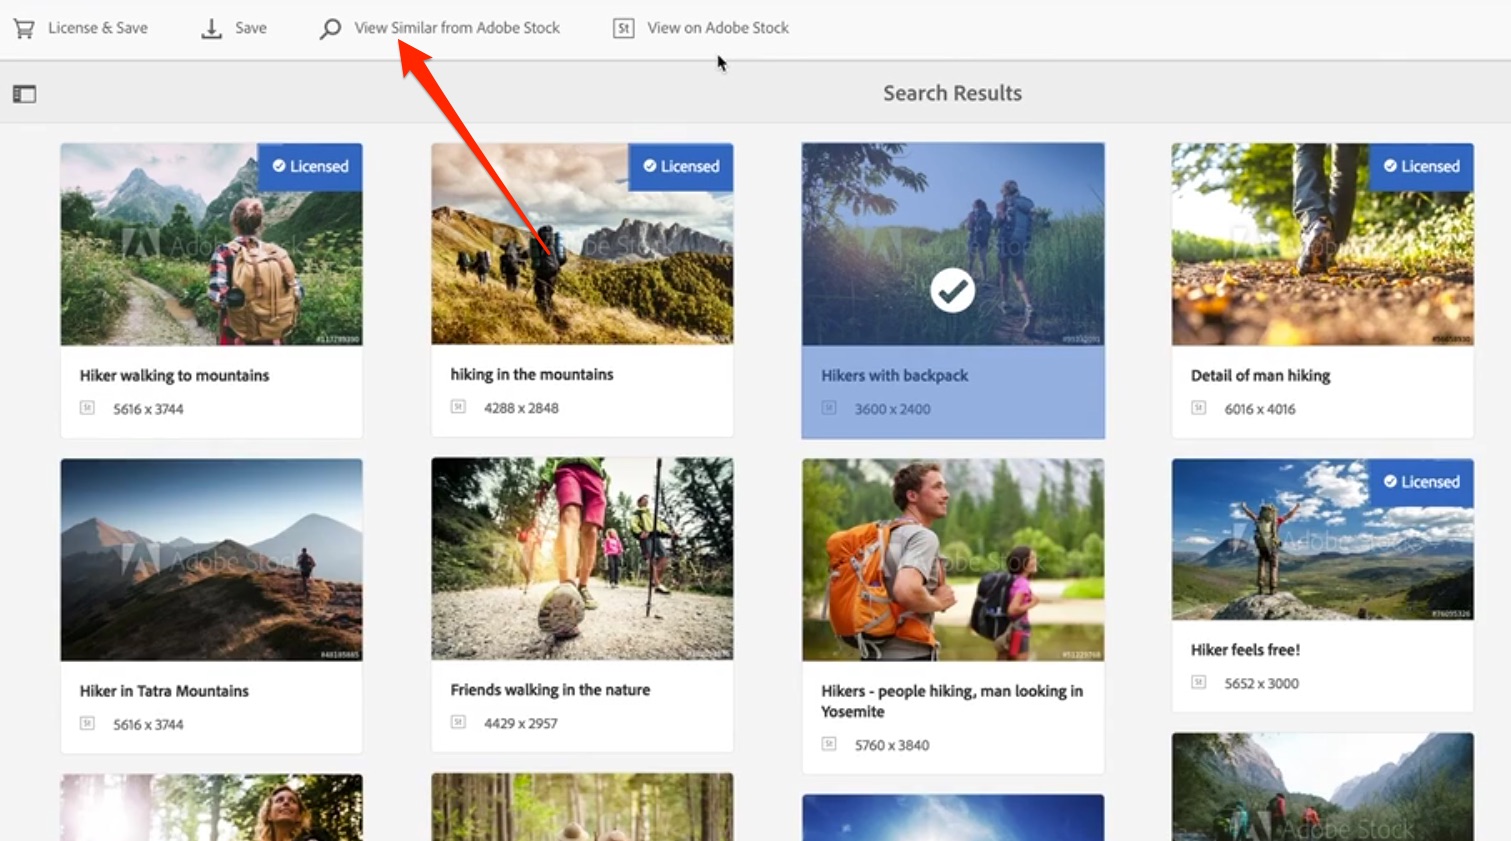
Select an image and choose View in Adobe Stock
Examine the image and explore the options available in Adobe Stock.
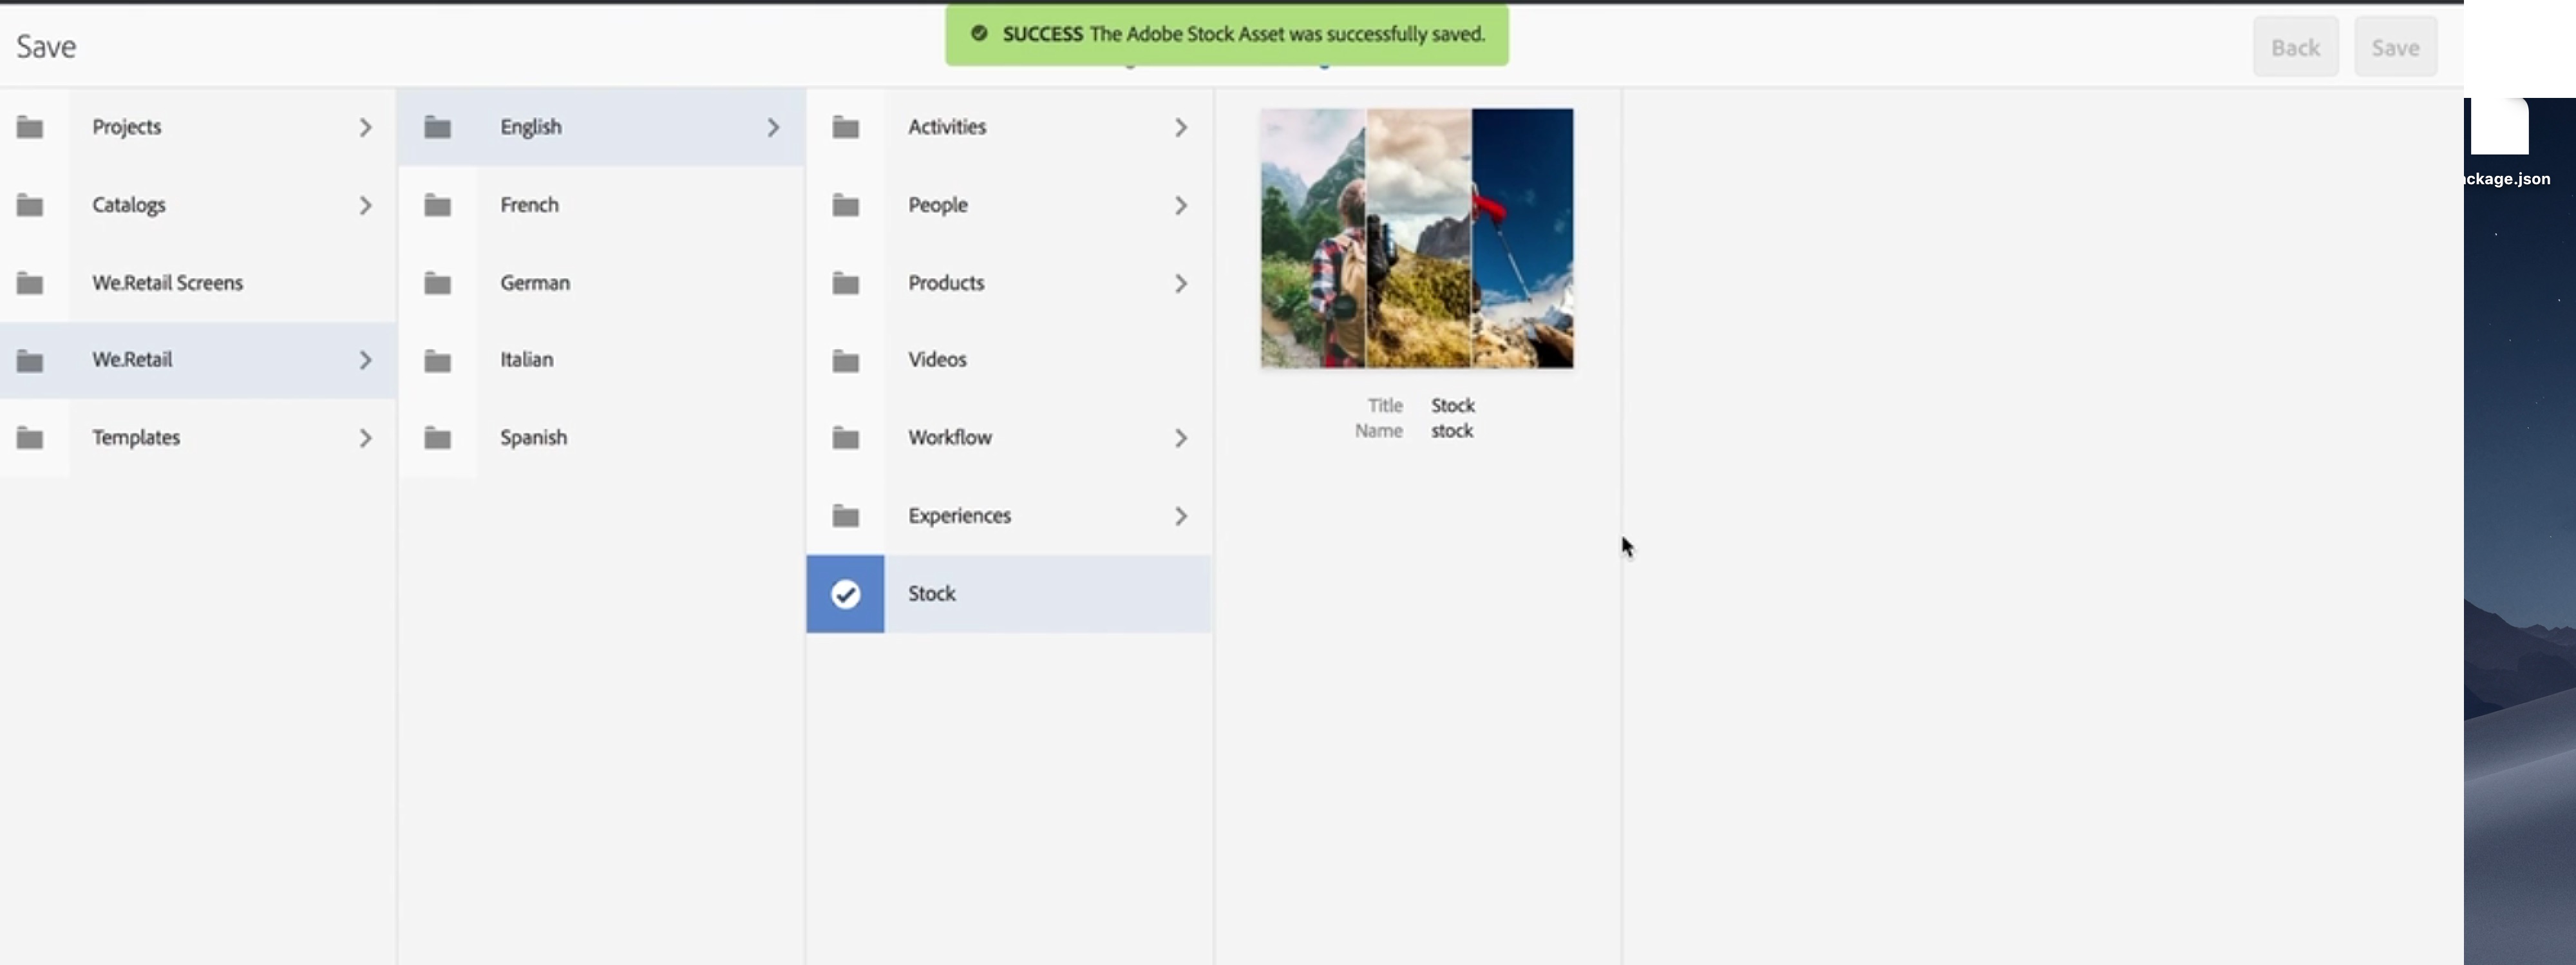
Navigate back to AEM and save the asset by selecting save and choose the folder you wish to save it in.
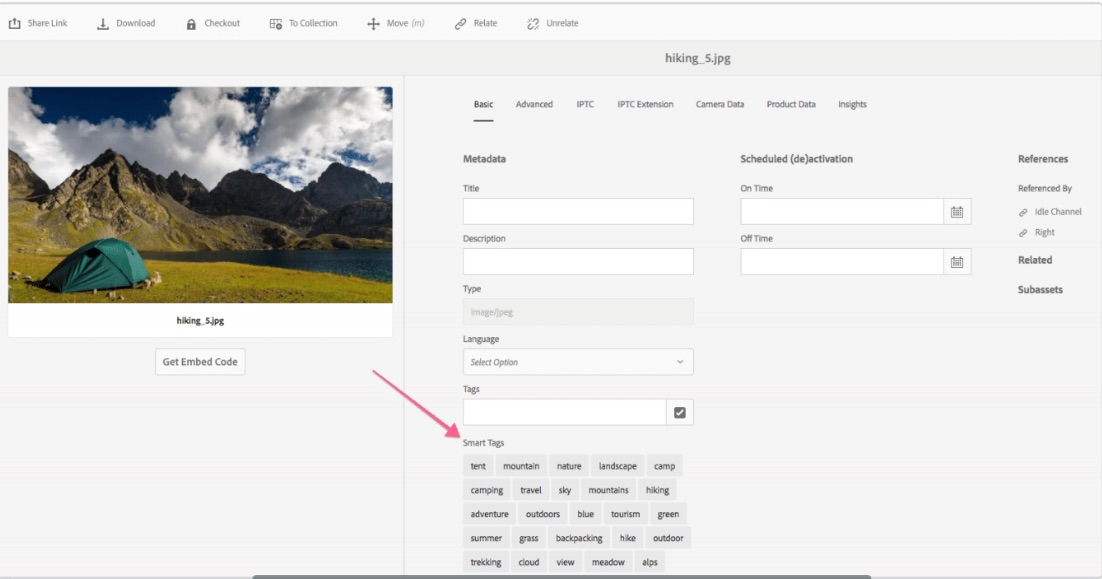
In this exercise, you will use Smart Tagging to automatically tag images
and notice the lack of results
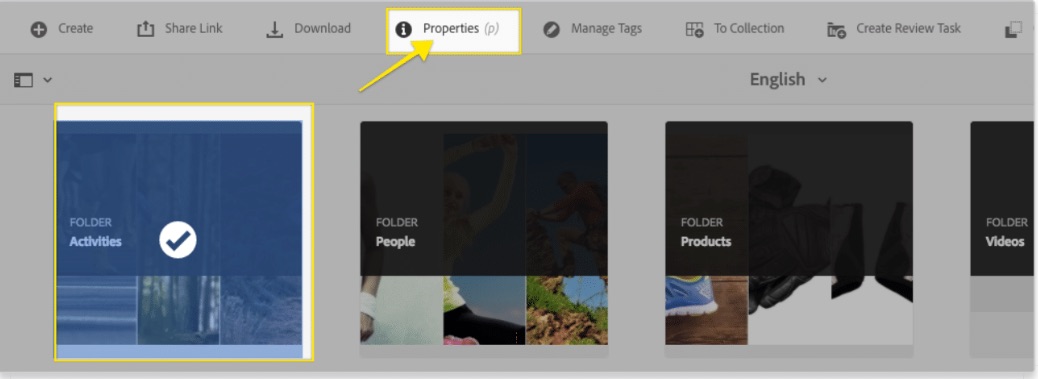
Check the box Enable Smart Tags and save the changes
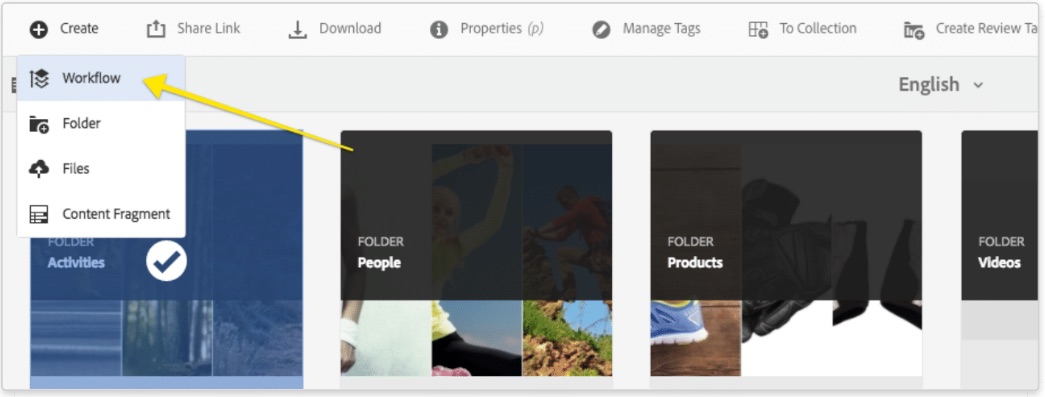
Create a new workflow on the Activities folder and choose the DAM Smart Tag Assets workflow and click Start.
AEM Fluid Experiences for headless usecases
AEM Content Fragments Editorial Capabilities