Speaker : Andrew Hathaway & Alex Thiers
Using a single master asset, workshop participants will learn best practices for creating optimized delivery settings for a range of image sizes and formats for websites and mobile screens. Discover the best way to compress images to optimize both image quality and download speed, balancing compression settings, image fidelity, sharpening options and file format choices. Use Adobe Smart Crop, driven by Sensei, to automatically and intelligently create cropped iterations of image files. Finally, we’ll explore how to leverage these tools on a page built using AEM Sites
You need all these things:
Optimizing image quality can be a time consuming process as many factors contribute to rendering acceptable results. The outcome is partly subjective because individuals perceive image quality differently. Structured experimentation is key.
AEM includes more than 100 dynamic media image delivery commands for tuning and optimizing images and rendering results. The following guidelines can help you streamline the process and achieve good results quickly using some essential commands and best practices.
Image Presets enable AEM Assets to dynamically deliver images at different sizes, in different formats, or with other image properties there are generated dynamically. Each Image Preset represents a predefined collection of sizing and formatting commands for displaying images. When you create an Image Preset, you choose a size for image delivery. You also choose formatting commands so that the appearance of the image is optimized when the image is delivered for viewing.
Administrators can create presets for exporting assets. Users can choose a preset when they export images, which also reformats images to the specifications that the administrator specifies.
You can also create image presets that are responsive. If you apply a responsive image preset to your assets, they change depending on the device or screensize they are viewed on.
You can configure image presets to use CMYK in the color space in addition to RGB or Gray.
This section describes how to create, modify, and generally manage image presets. You can apply an image preset to an image anytime you preview it.
Additional documentation: https://helpx.adobe.com/experience-manager/6-4/assets/using/best-practices-for-optimizing-the-quality-of-your-images.html
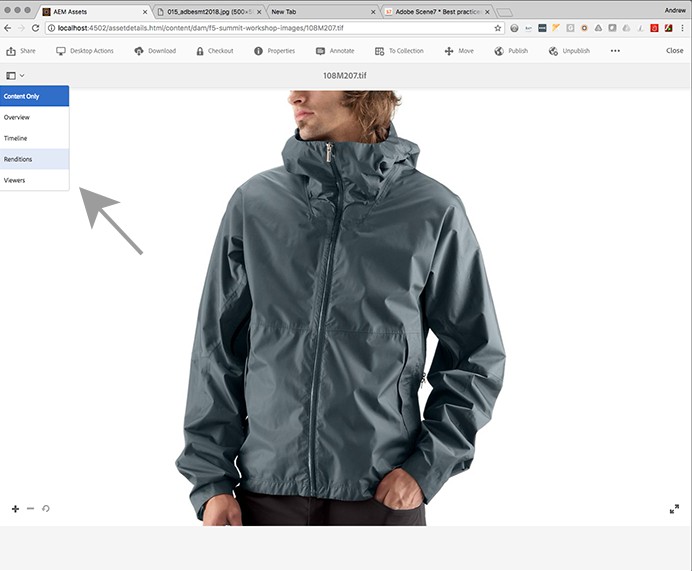
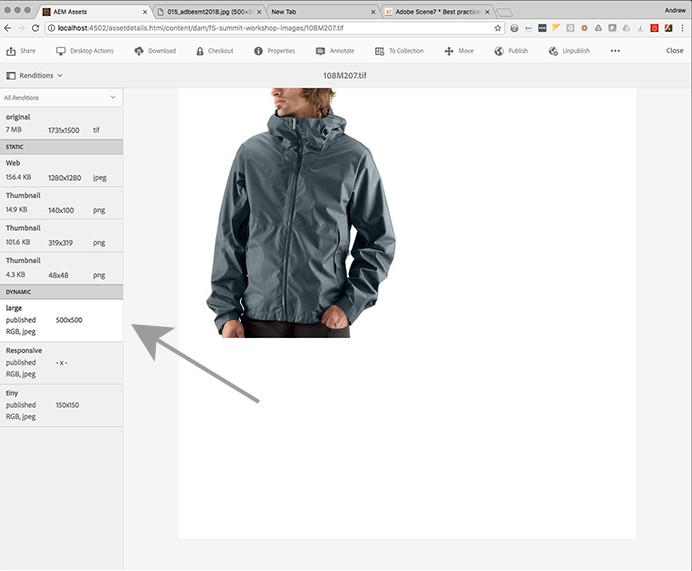
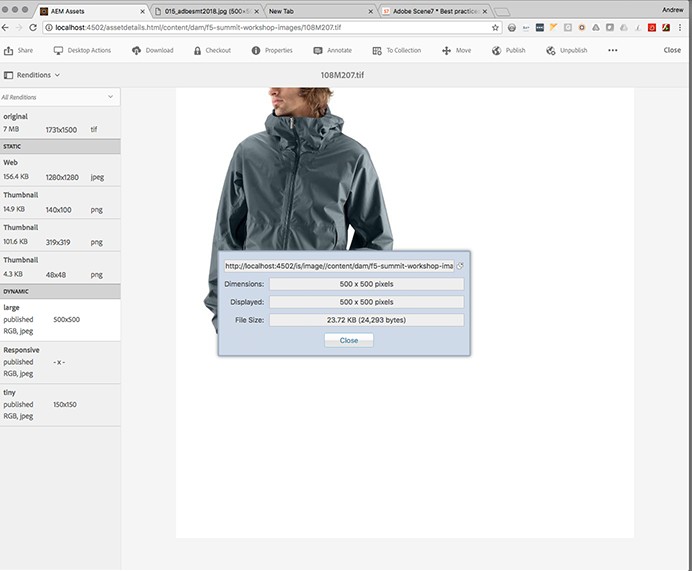
Right Click on the image and View Image Info
Notice the image size in Kilobytes, KB
Note: Adobe Photoshop Save For Web allows for similar controls to affect image size, sharpness and file size, on single images.

Right-Click on image and get image info.
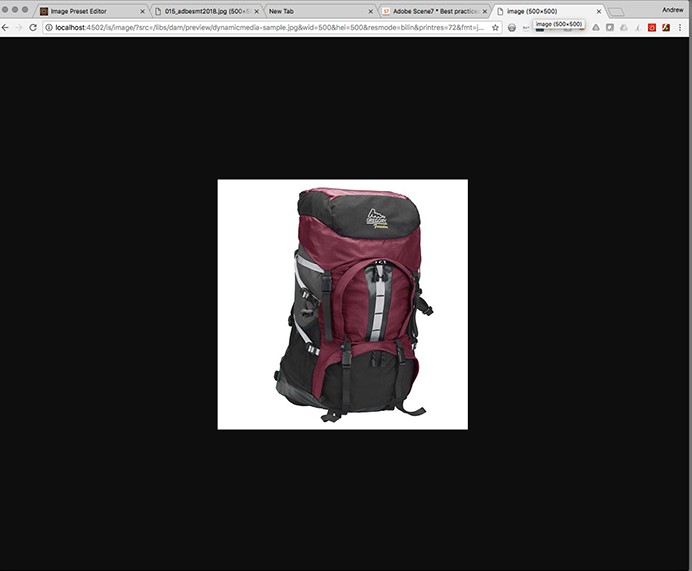
Right-Click on image and Copy Image Address, Paste into new browser window
Exit editing window
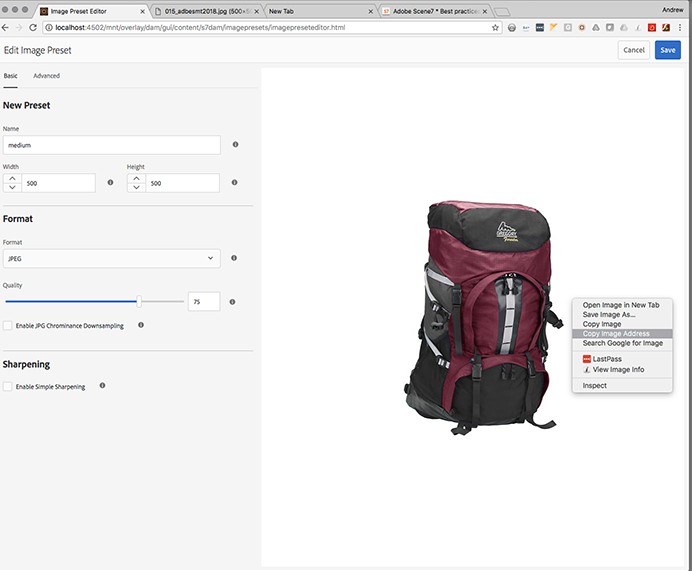
Create a new Image Preset
Name it **Mediumsharp_+*your station number - ***Example: “Mediumsharp_Station_1”
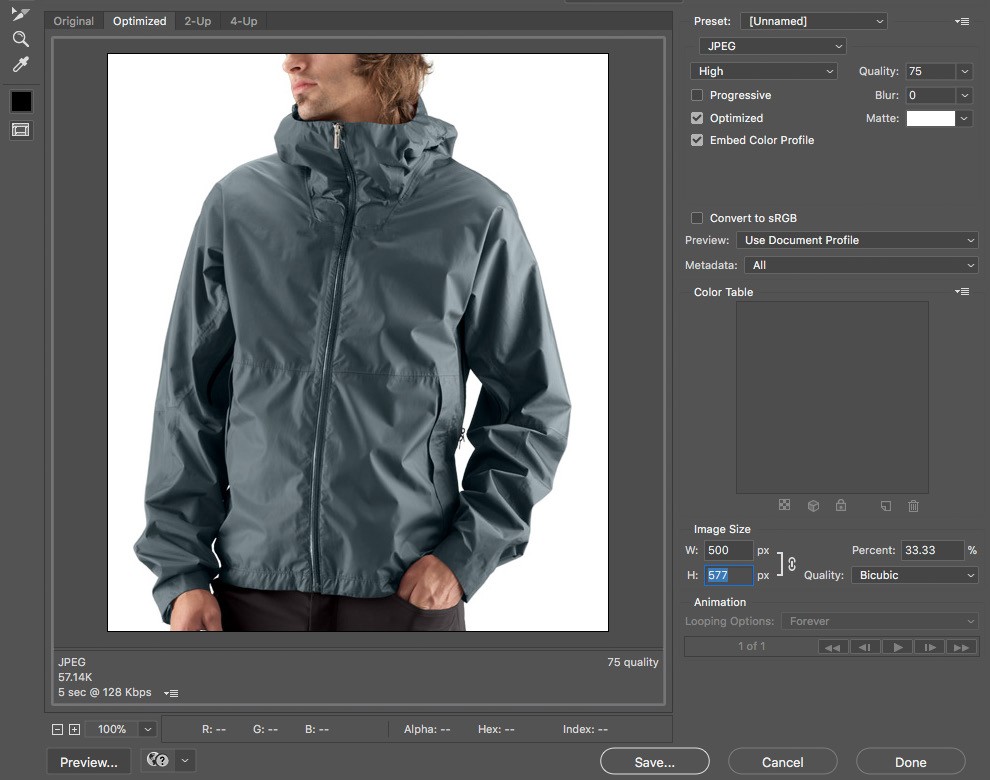
Leave pixels at 500 x 500
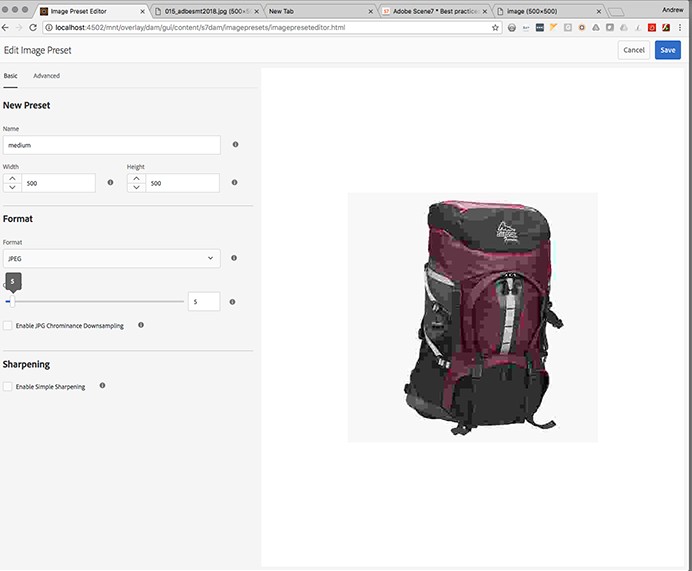
Change Quality to 50
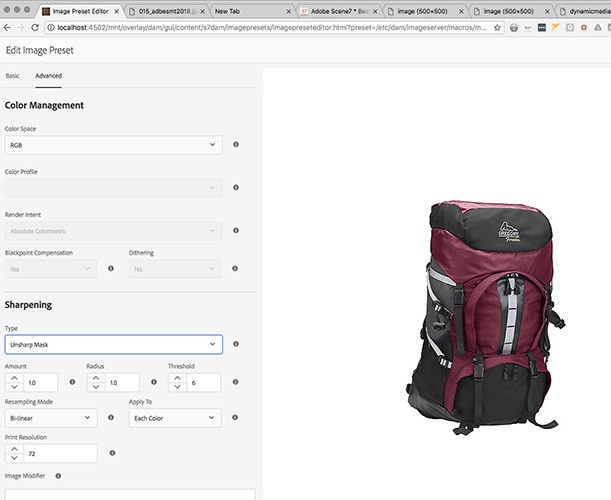
Choose Advanced Tab
Set “Sharpening” to Unsharp Mask
Click Save button
Create a new Image Preset
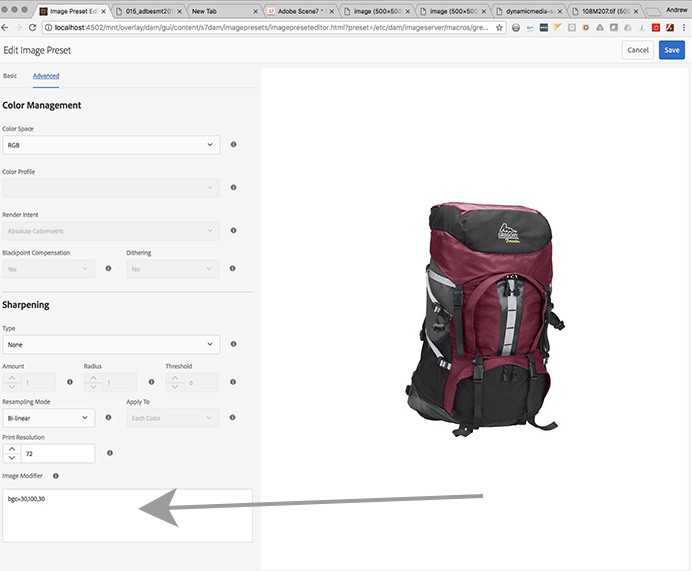
Name it “Greenbkgd_Station-Number” - EXAMPLE: “Greenbkgd_Station-1”
Select “Advanced Tab”, in Modifier field type “bgc=40,100,40”
As a best practice for image format, start with the most common setting &fmt=JPG.
Dynamically reducing image size is one of the most common tasks. It involves specifying the size and, optionally, which downsampling mode is used to downscale the image.
As a best practice for image sizing, use &wid=<value>&hei=<value>&resMode=sharp2 or &hei=<value>&resMode=sharp2
Image sharpening is the most complex aspect of controlling images on your website, and where many mistakes are made.
With AEM, you can sharpen images on ingestion, on delivery, or both. In most cases, however, you should sharpen images using only one method or the other, but not both. Sharpening images on delivery, on a URL, typically gives you the best results.
There are two image sharpening methods that you can use:
Photoshop, simple sharpening applies basic sharpening to the final view of the image following dynamic resizing. However, this method is not user-configurable. The best practice is to not use &op_sharpen unless required.
Keep in mind that the parameters radius and amount work against each other. Reducing radius can be compensated by increasing amount. Radius allows finer control as a lower value sharpens only the edge pixels, whereas a higher value sharpens a wider band of pixels.
This parameter determines how different the sharpened pixels must be from the surrounding area before they are considered edge pixels and the filter sharpens them. Threshold helps to avoid over-sharpening areas with similar colors, such as skin tones. For example, a threshold value of 12 ignores slight variations in skin tone brightness to avoid adding “noise”, while still adding edge contrast to high contrast areas, such as where eyelashes meet skin.
AEM Help topic on Sharpening an image.
Best practices white paper Sharpening images in Adobe Scene7 Publishing System and on Image Server.
AEM also lets you control a fourth parameter: monochrome (0,1). This parameter determines if unsharp masking is applied to each color component separately using the value 0 or to the image brightness/intensity using the value 1.
As a best practice, start with the unsharp mask radius parameter. Radius settings that you can start with are the following:
Gradually increase the amount from 1.75 to 4. If sharpening is still not the way you want, increase the radius by a decimal point and run the amount again from 1.75 to 4. Repeat as necessary.
Leave the monochrome parameter setting at 0. Best practices for JPEG compression (&qlt=)
As a best practice for JPG compression use &qlt=85,0. Best practices for JPEG sizing (&jpegSize=) jpegSize is a useful parameter if you want to guarantee that an image does not exceed a certain size for delivery to devices that have limited memory.
This parameter is set in kilobytes (jpegSize=<size_in_kilobytes>). It defines the maximum allowed size for image delivery.
&jpegSize= interacts with the JPG compression parameter &qlt=. If the JPG response with the specified JPG compression parameter (&qlt=) does not exceed thejpegSize value, the image is returned with &qlt= as defined. Otherwise, &qlt= is gradually decreased until the image fits in the maximum allowed size, or until the system determines it cannot fit and returns an error.
As a best practice, set &jpegSize= and add the parameter &qlt= if you are delivering JPG images to devices with limited memory.
As a best practice, to achieve a high image quality and small file size, start with the following combination of parameters: fmt=jpg&qlt=85,0&resMode=sharp2&op_usm=1.75,0.3,2,0
This combination of settings products excellent results under most circumstances.
If the image requires further optimization, gradually fine-tune sharpening (unsharp masking) parameters by starting with a radius set to 0.2 or 0.3. Then, gradually increase the amount from 1.75 to a maximum of 4 (equivalent to 400% in Photoshop). Check to see that the desired result is achieved.
If sharpening results are still not satisfactory, increase the radius in decimal increments. For every decimal increment, restart the amount at 1.75 and gradually increase it to 4. Repeat this process until you achieve the desired result. While the values above are an approach that creative studios have validated, remember that you can start with other values and follow other strategies. Whether the results are satisfactory to you or not is a subjective matter, therefore structured experimentation is key.
As you experiment, you may also find the following general suggestions helpful to optimize your workflow:
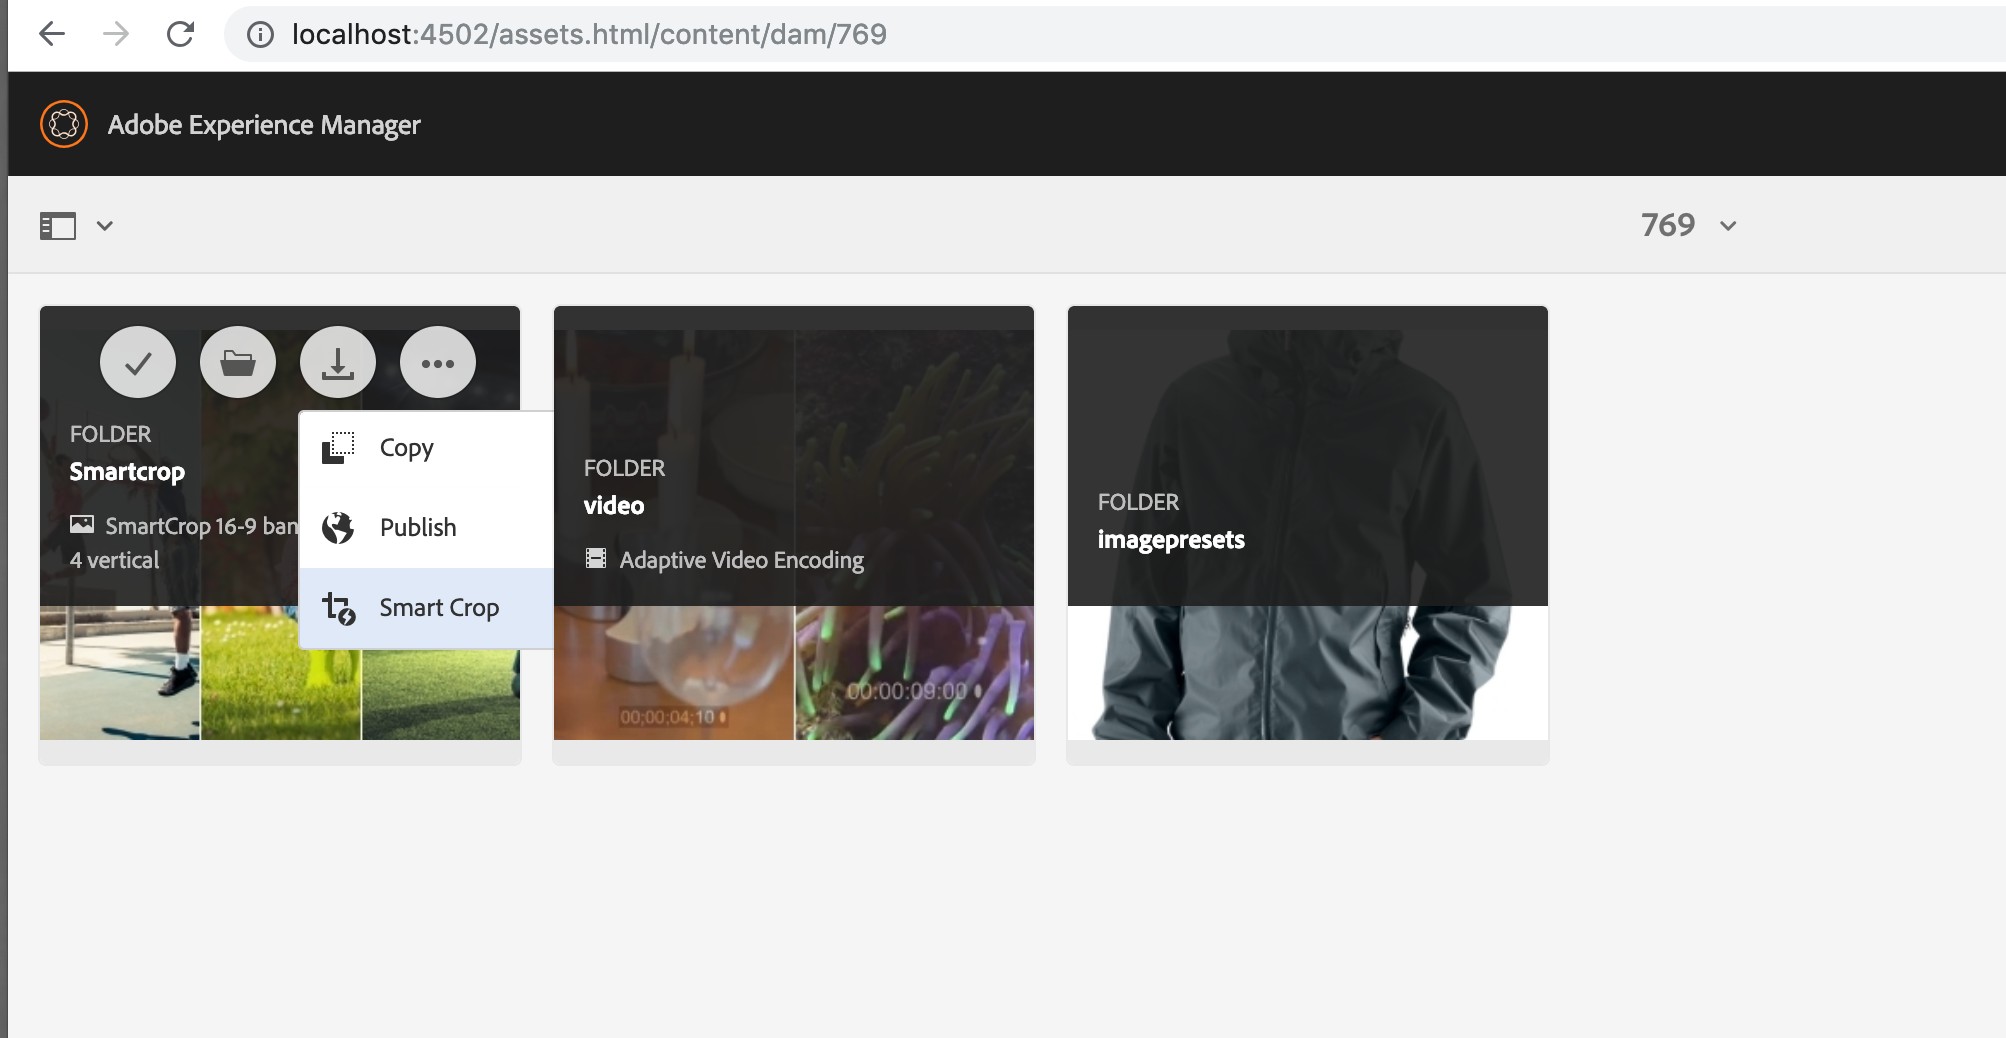
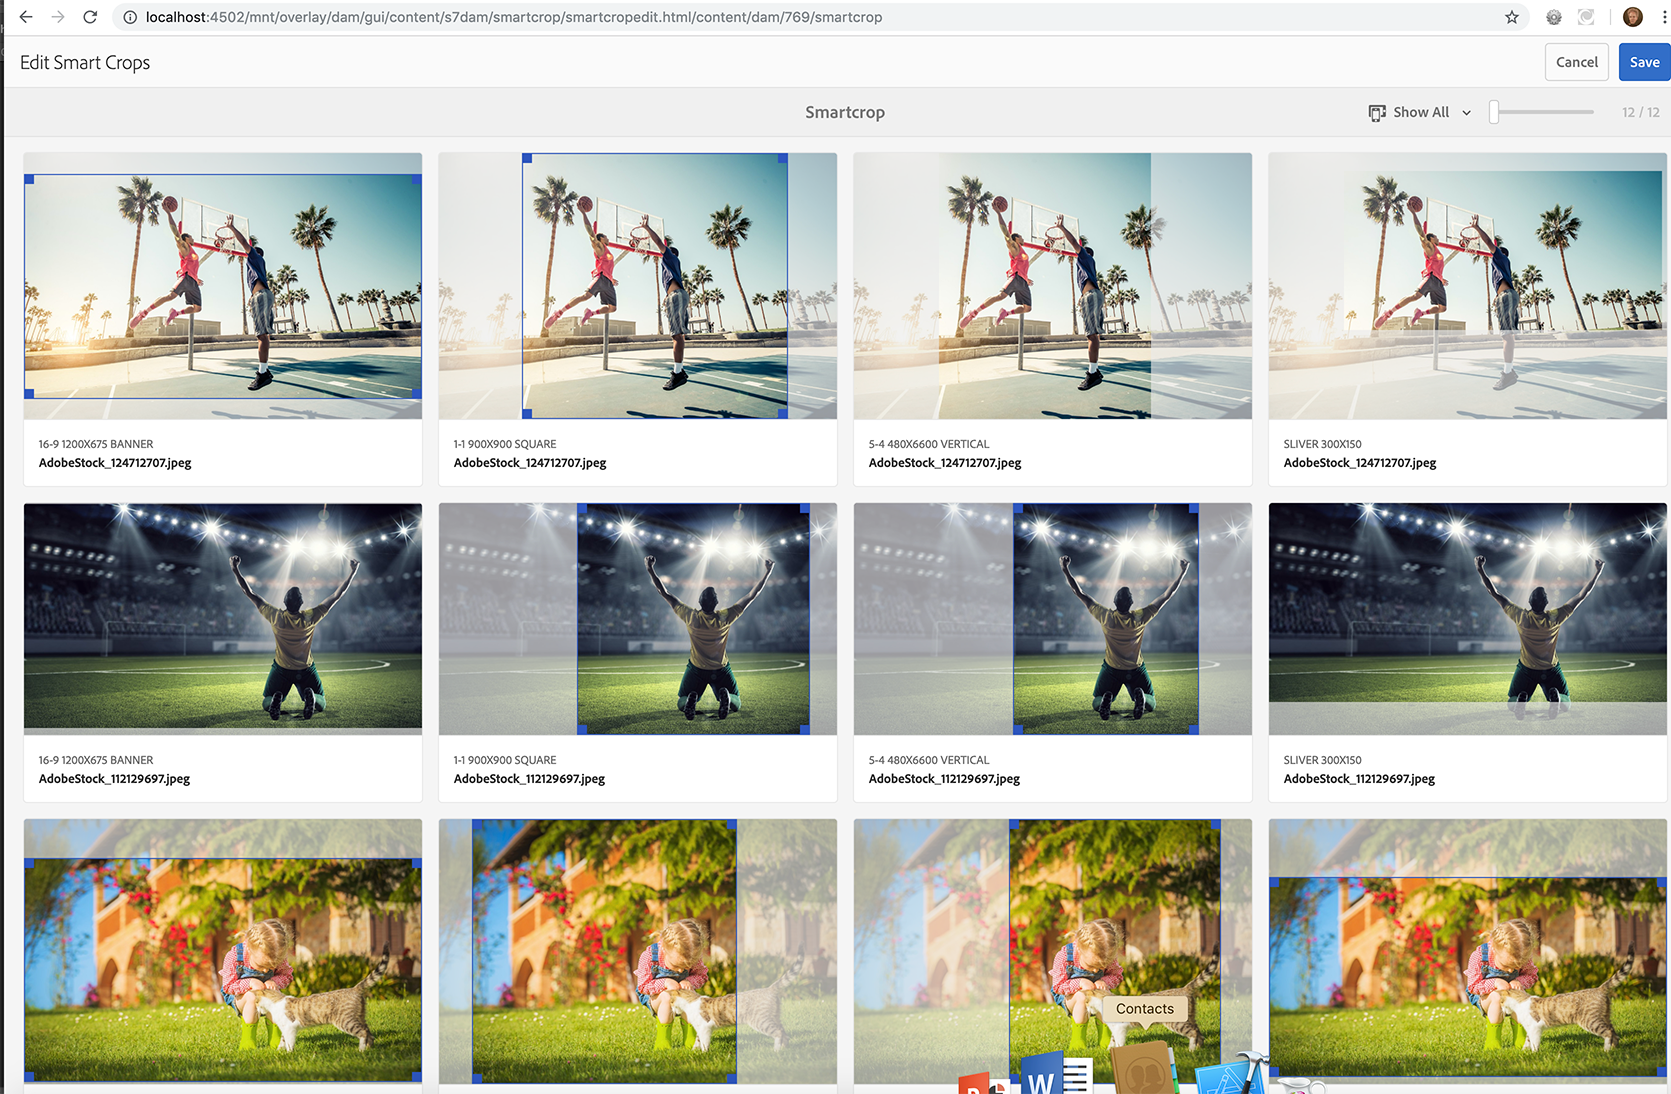
Smart Crop generates different crop treatments of images when added to a folder configured for Smart Crop. In this lesson, we’ll review some assets that have already been cropped with Smart Crop, and then configure a folder for Smart Crop and add new image assets to use with Smart Crop.

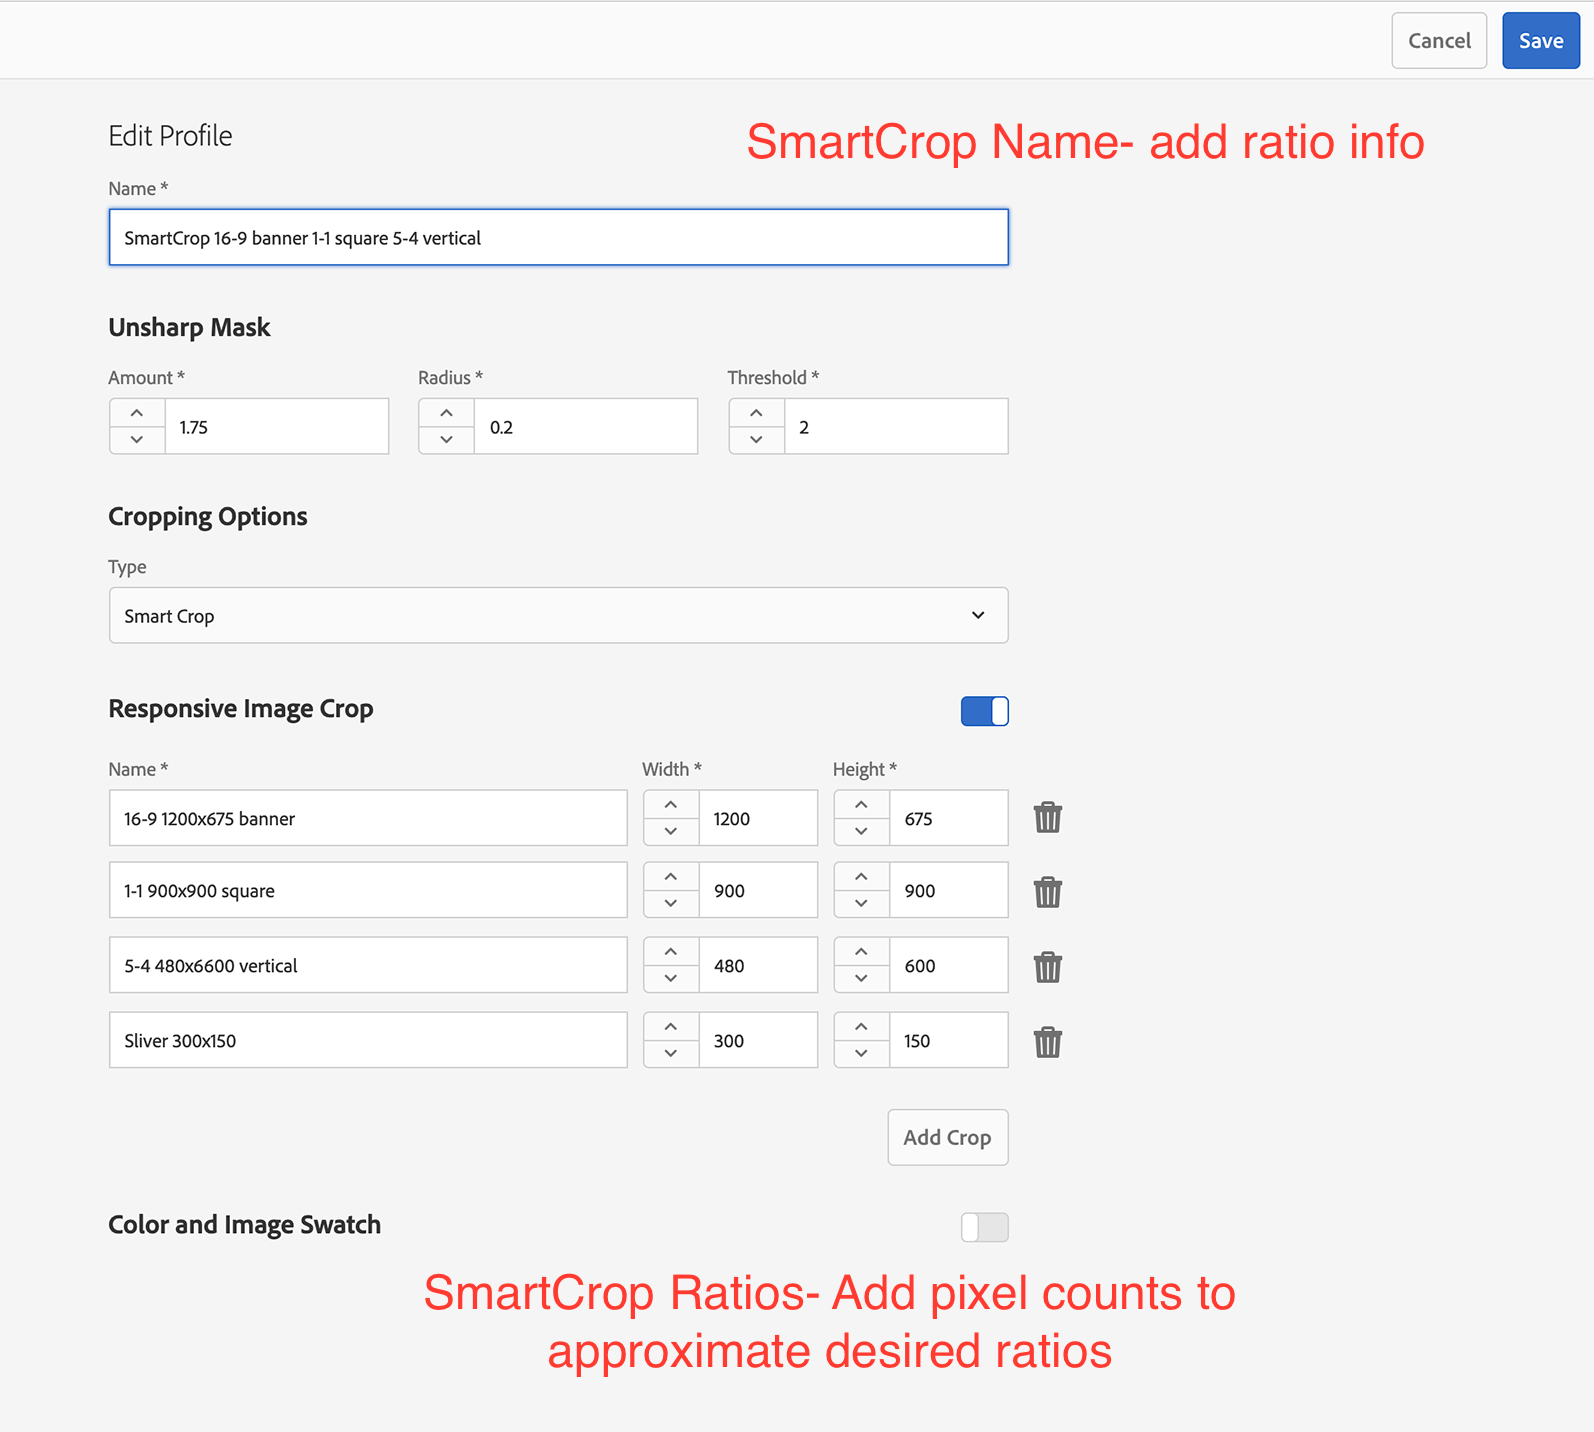
with a helpful name and generate, in this example, 4 different cropped versions of any image added to the folder. NOTE: Don’t forget to add your station number to your profile name to prevent overwriting!
Create a new folder. Select the folder. Choose Properties, Image Profile, Select your Smart Crop Image profile from the list to assign it to the folder.
Open the folder. Add Images to the folder.
Review Smart Crop results.
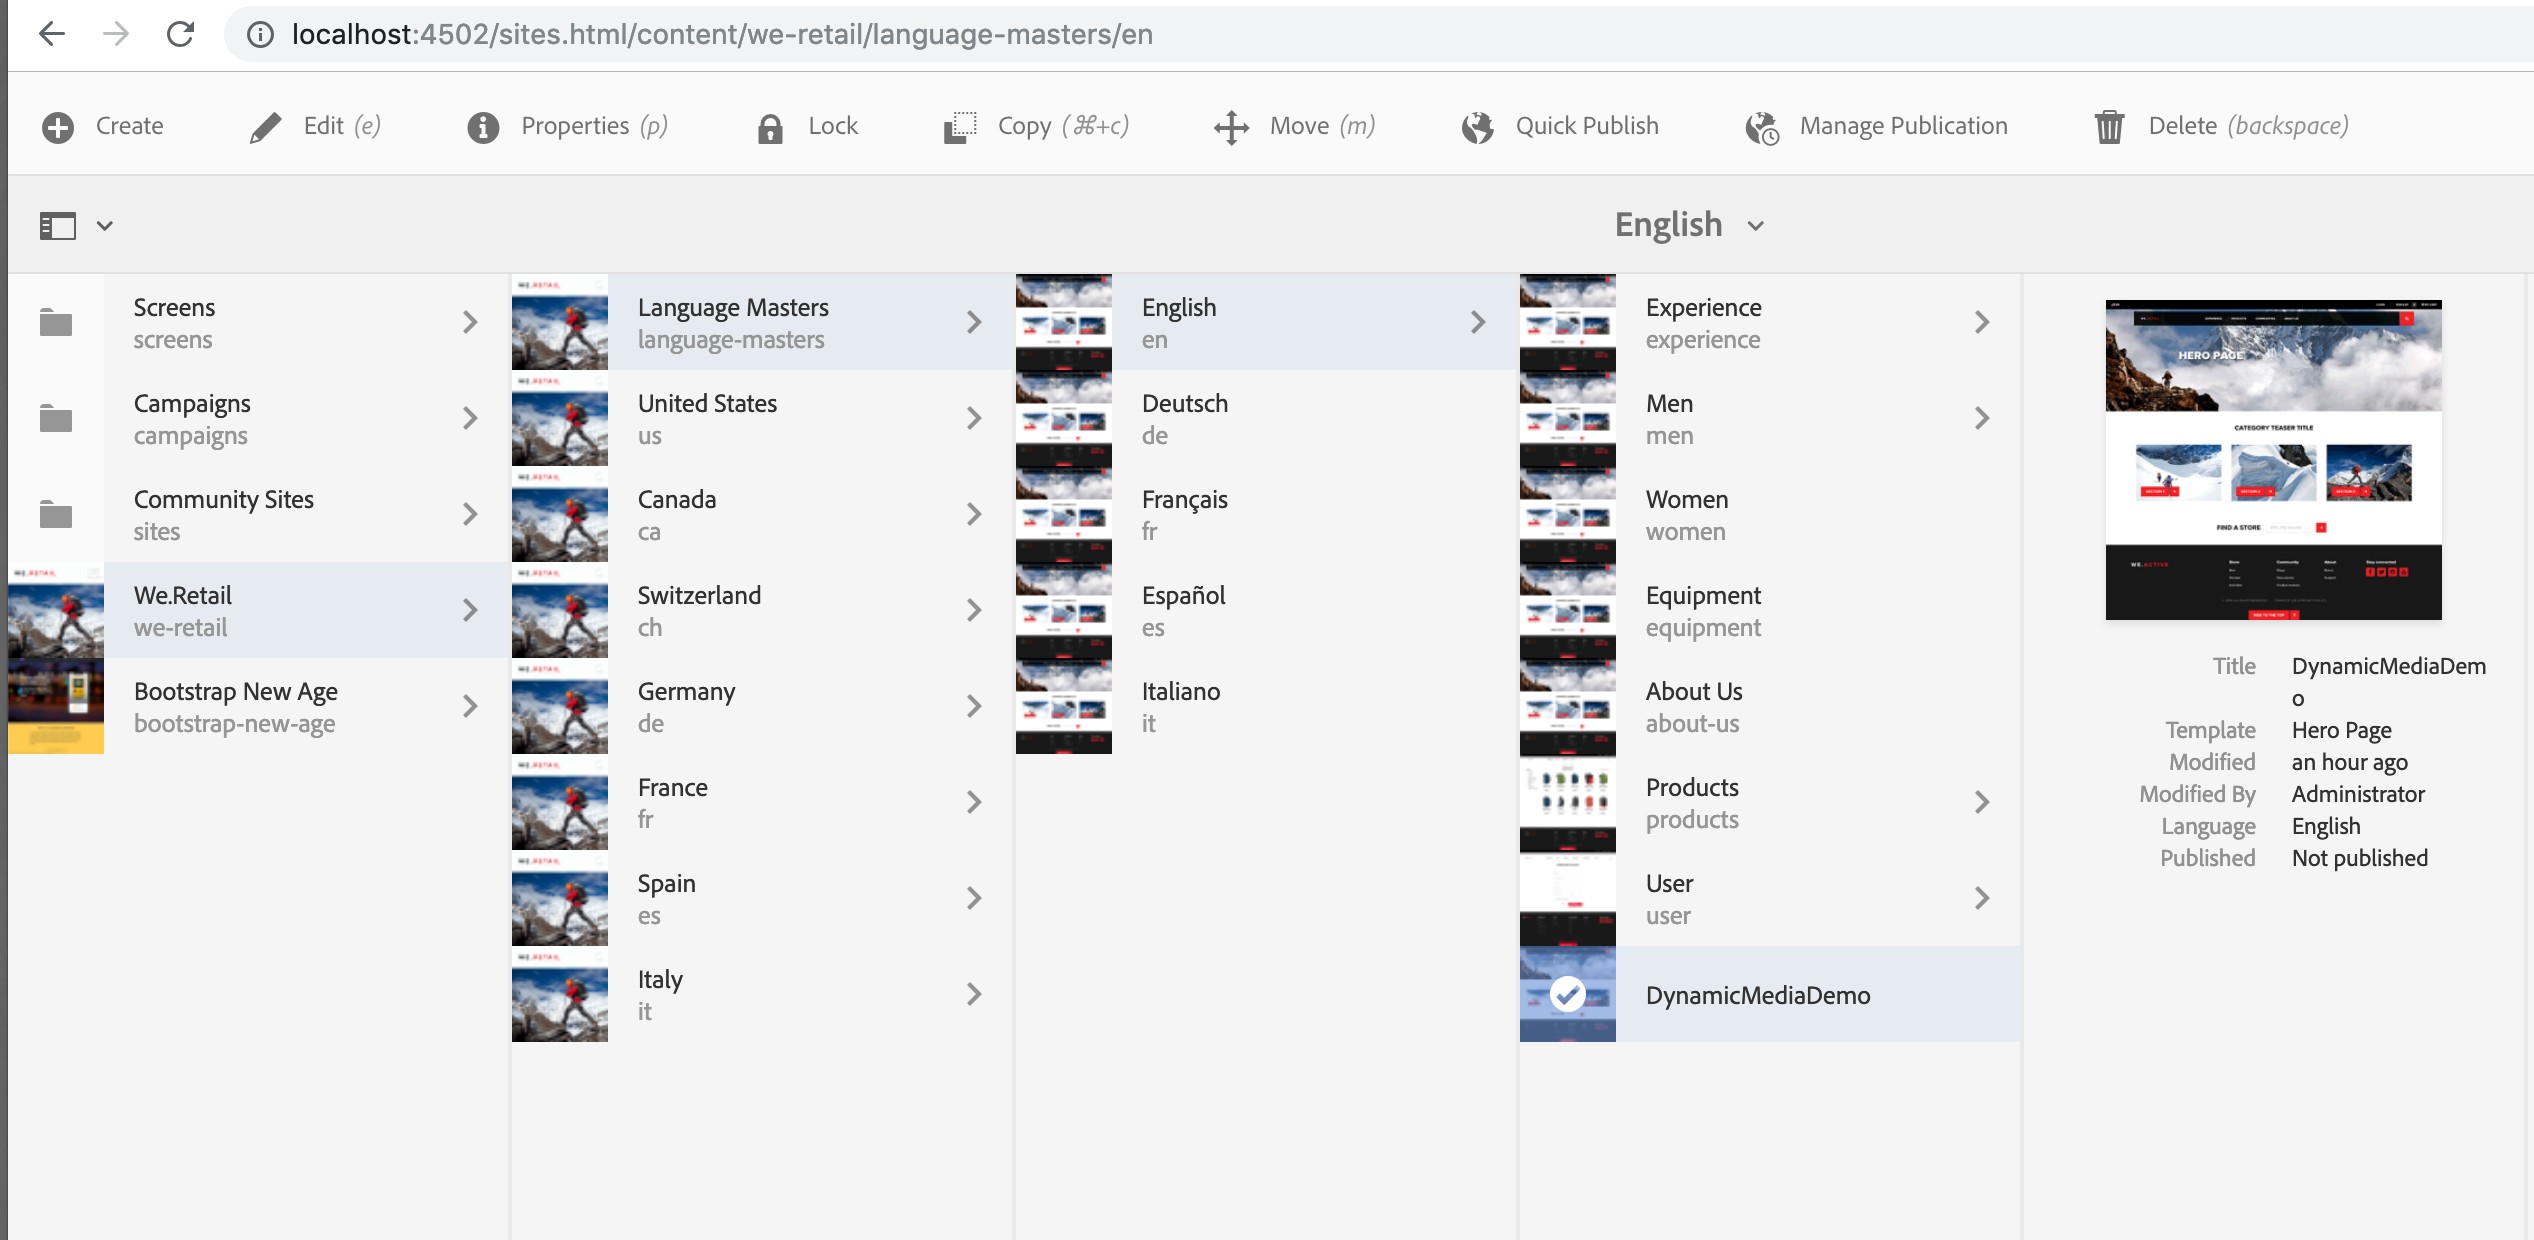
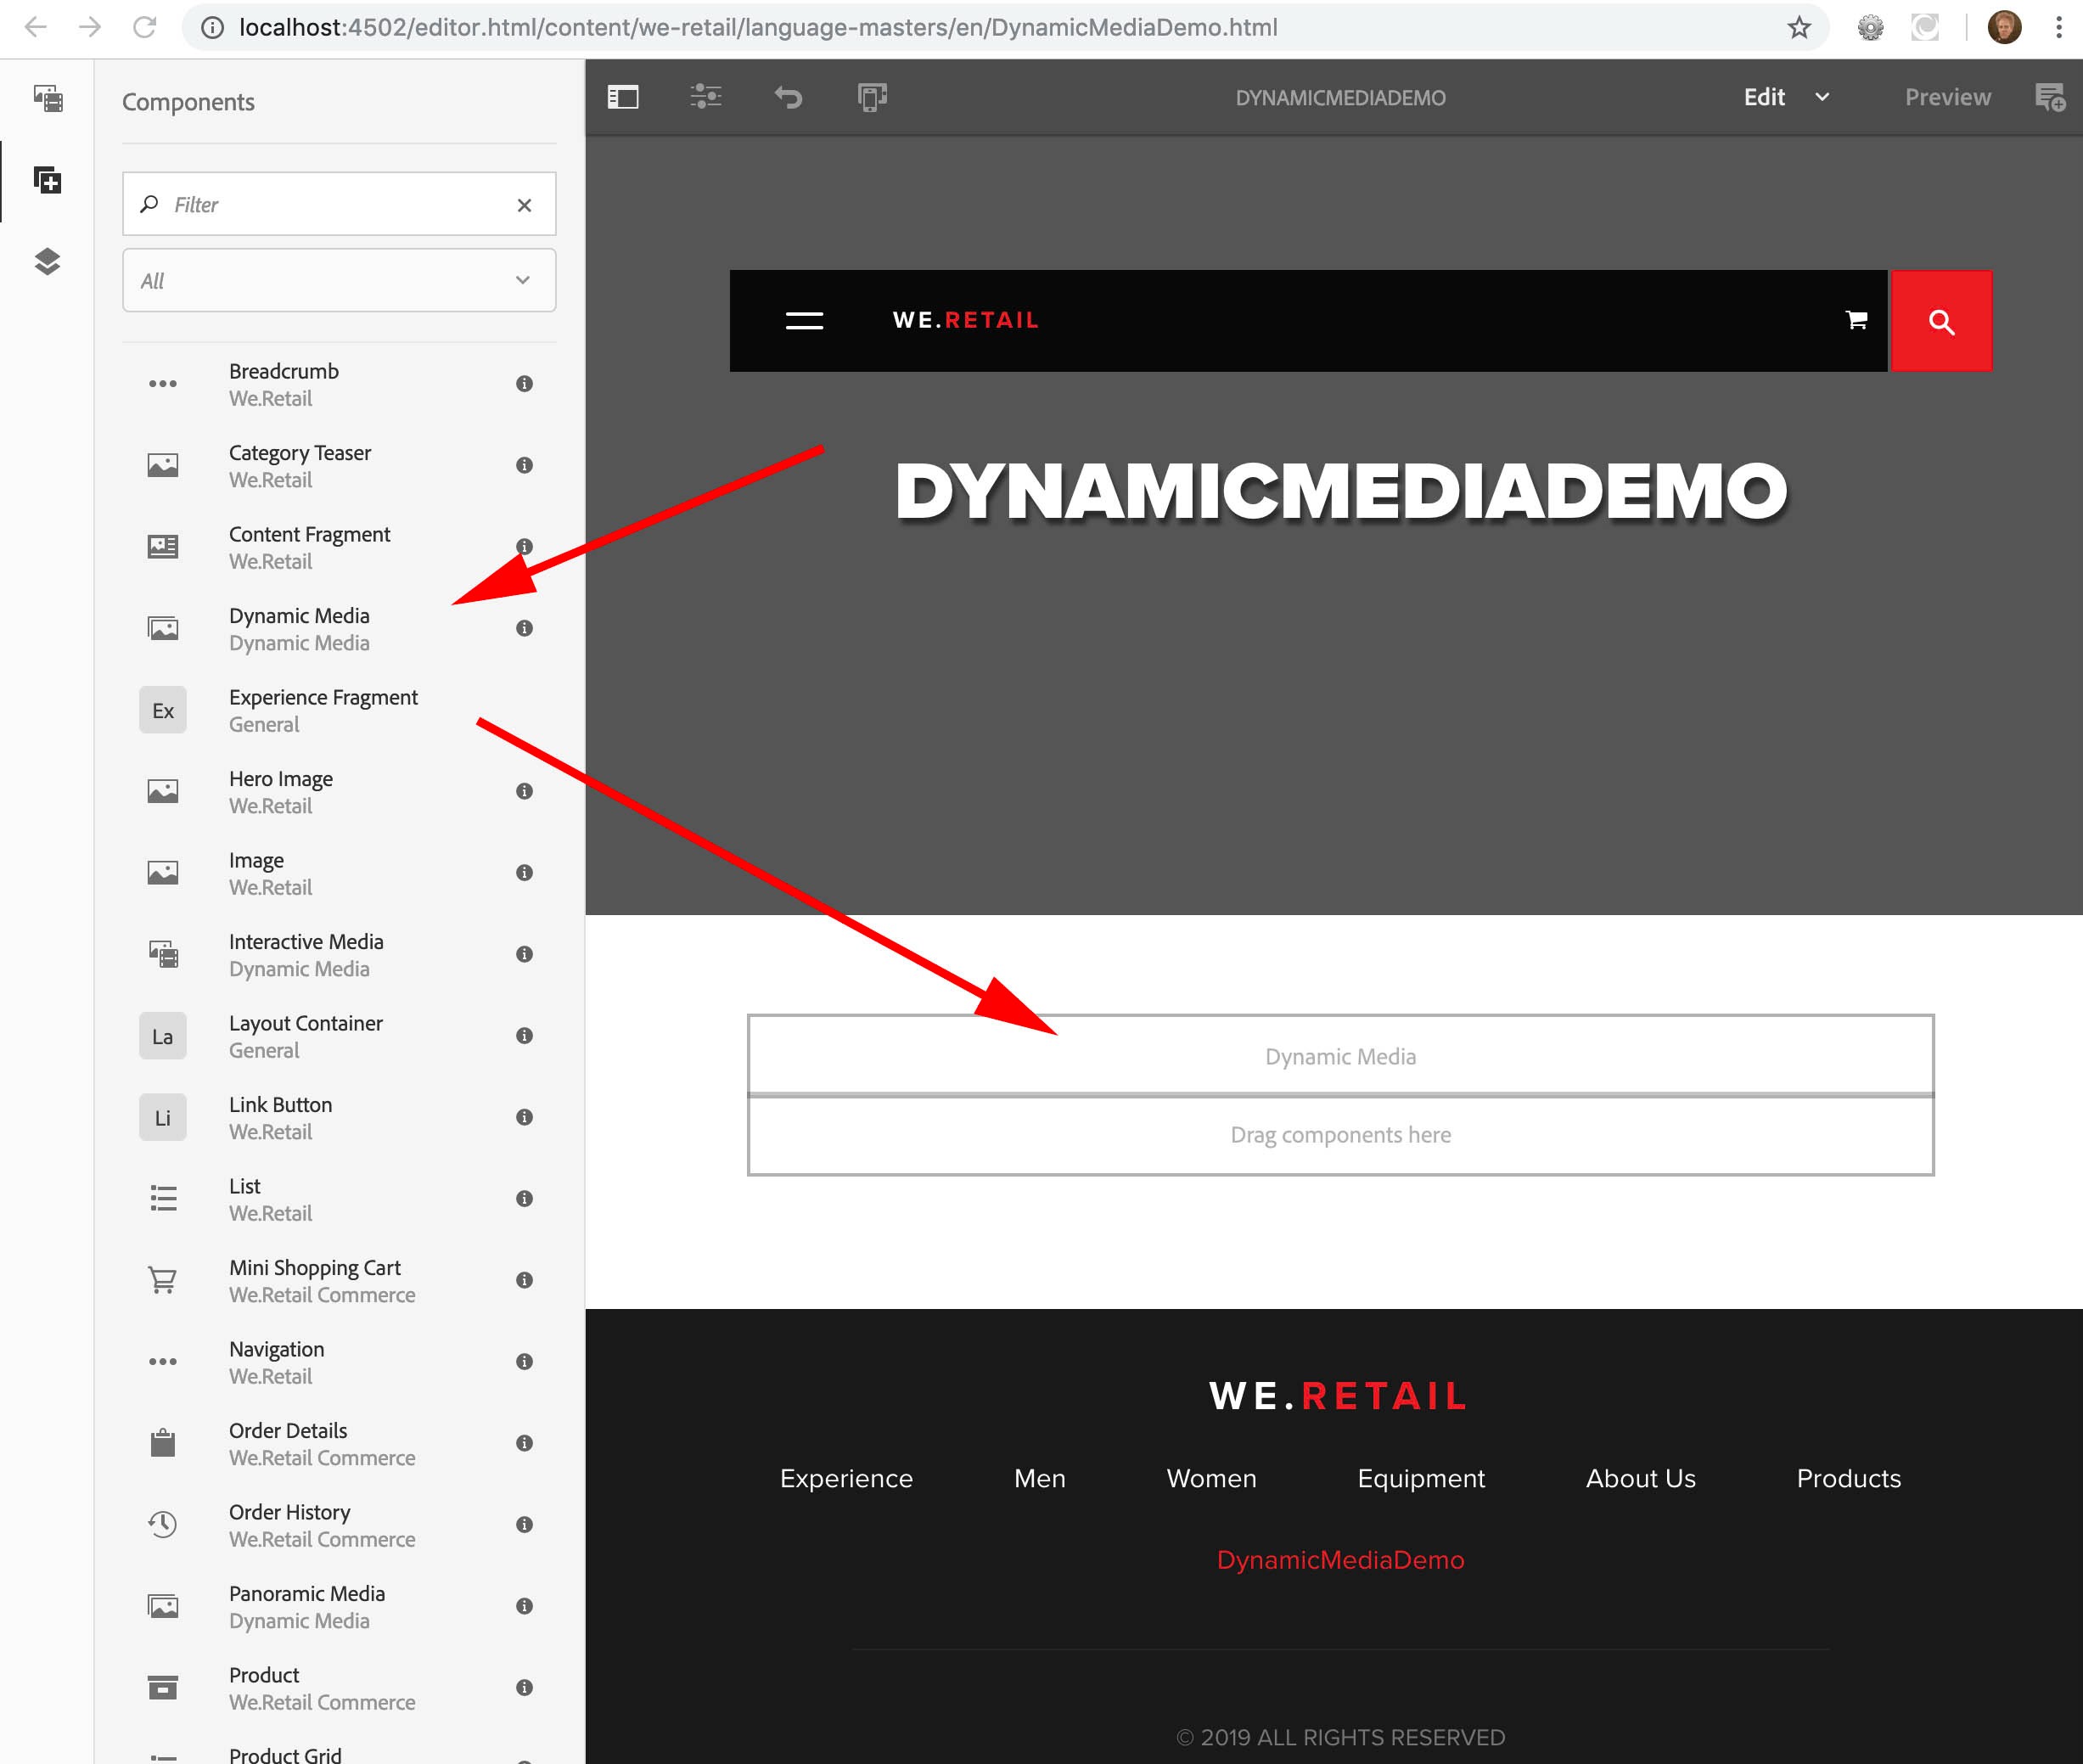
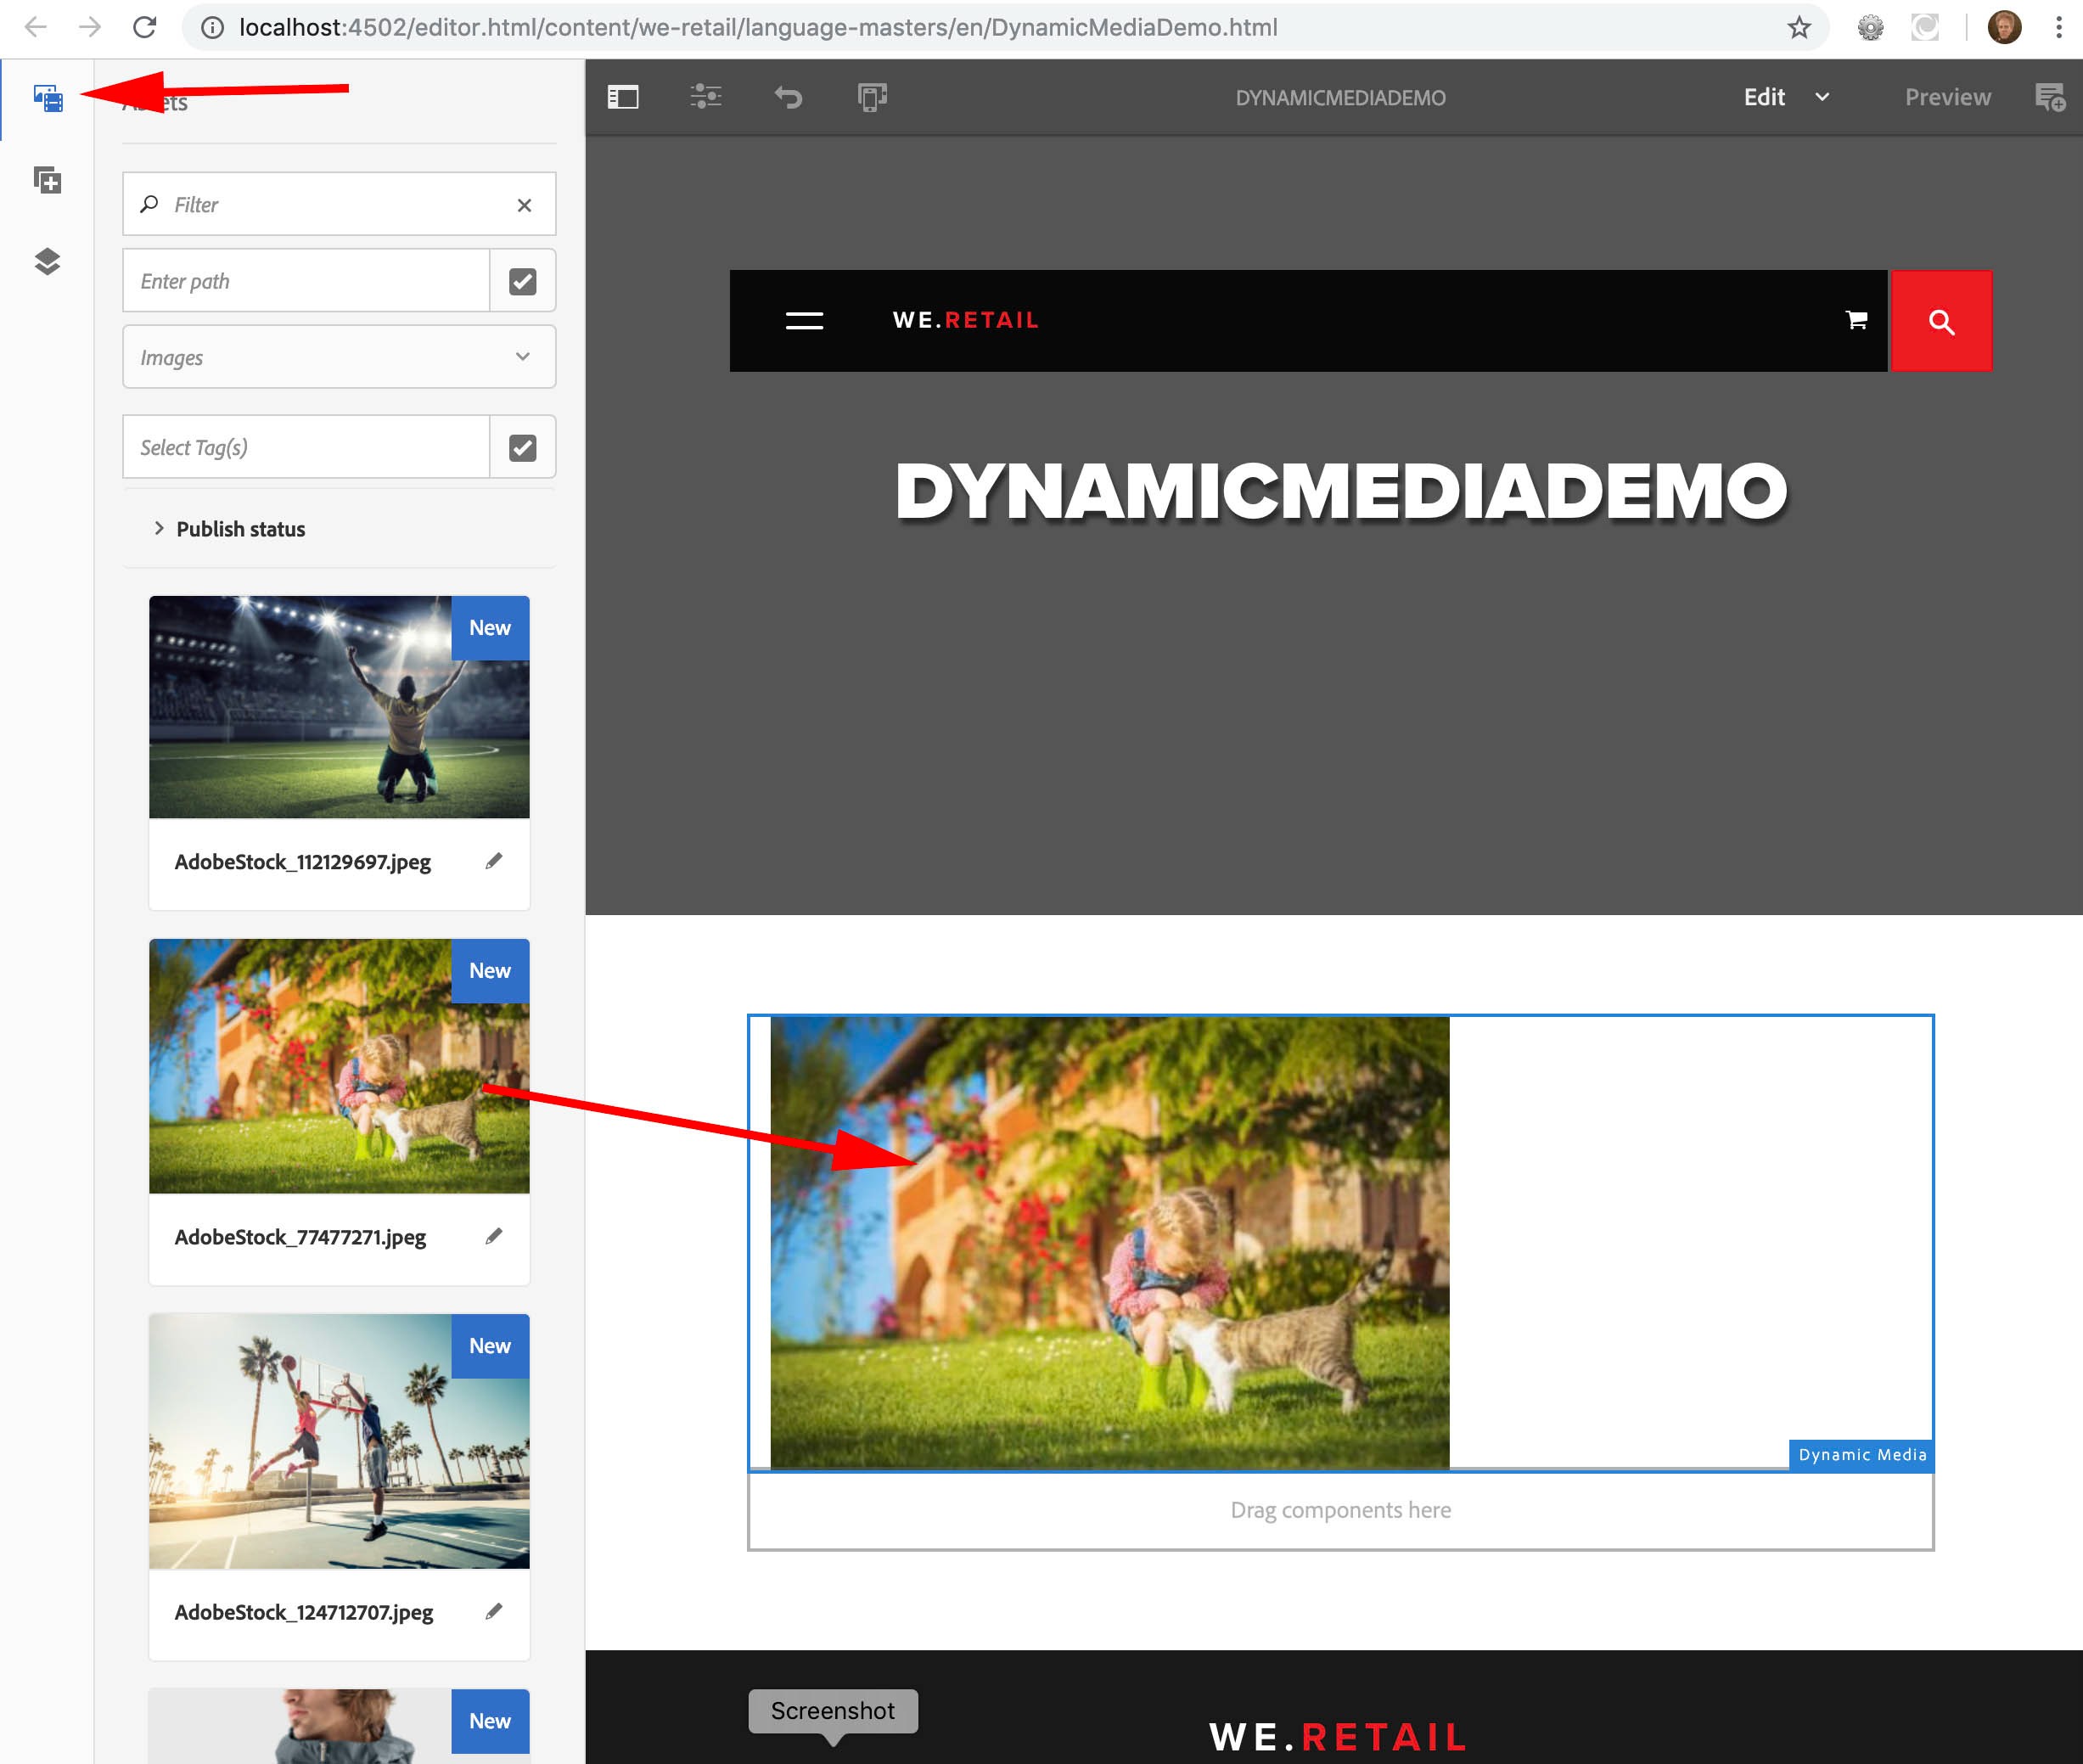
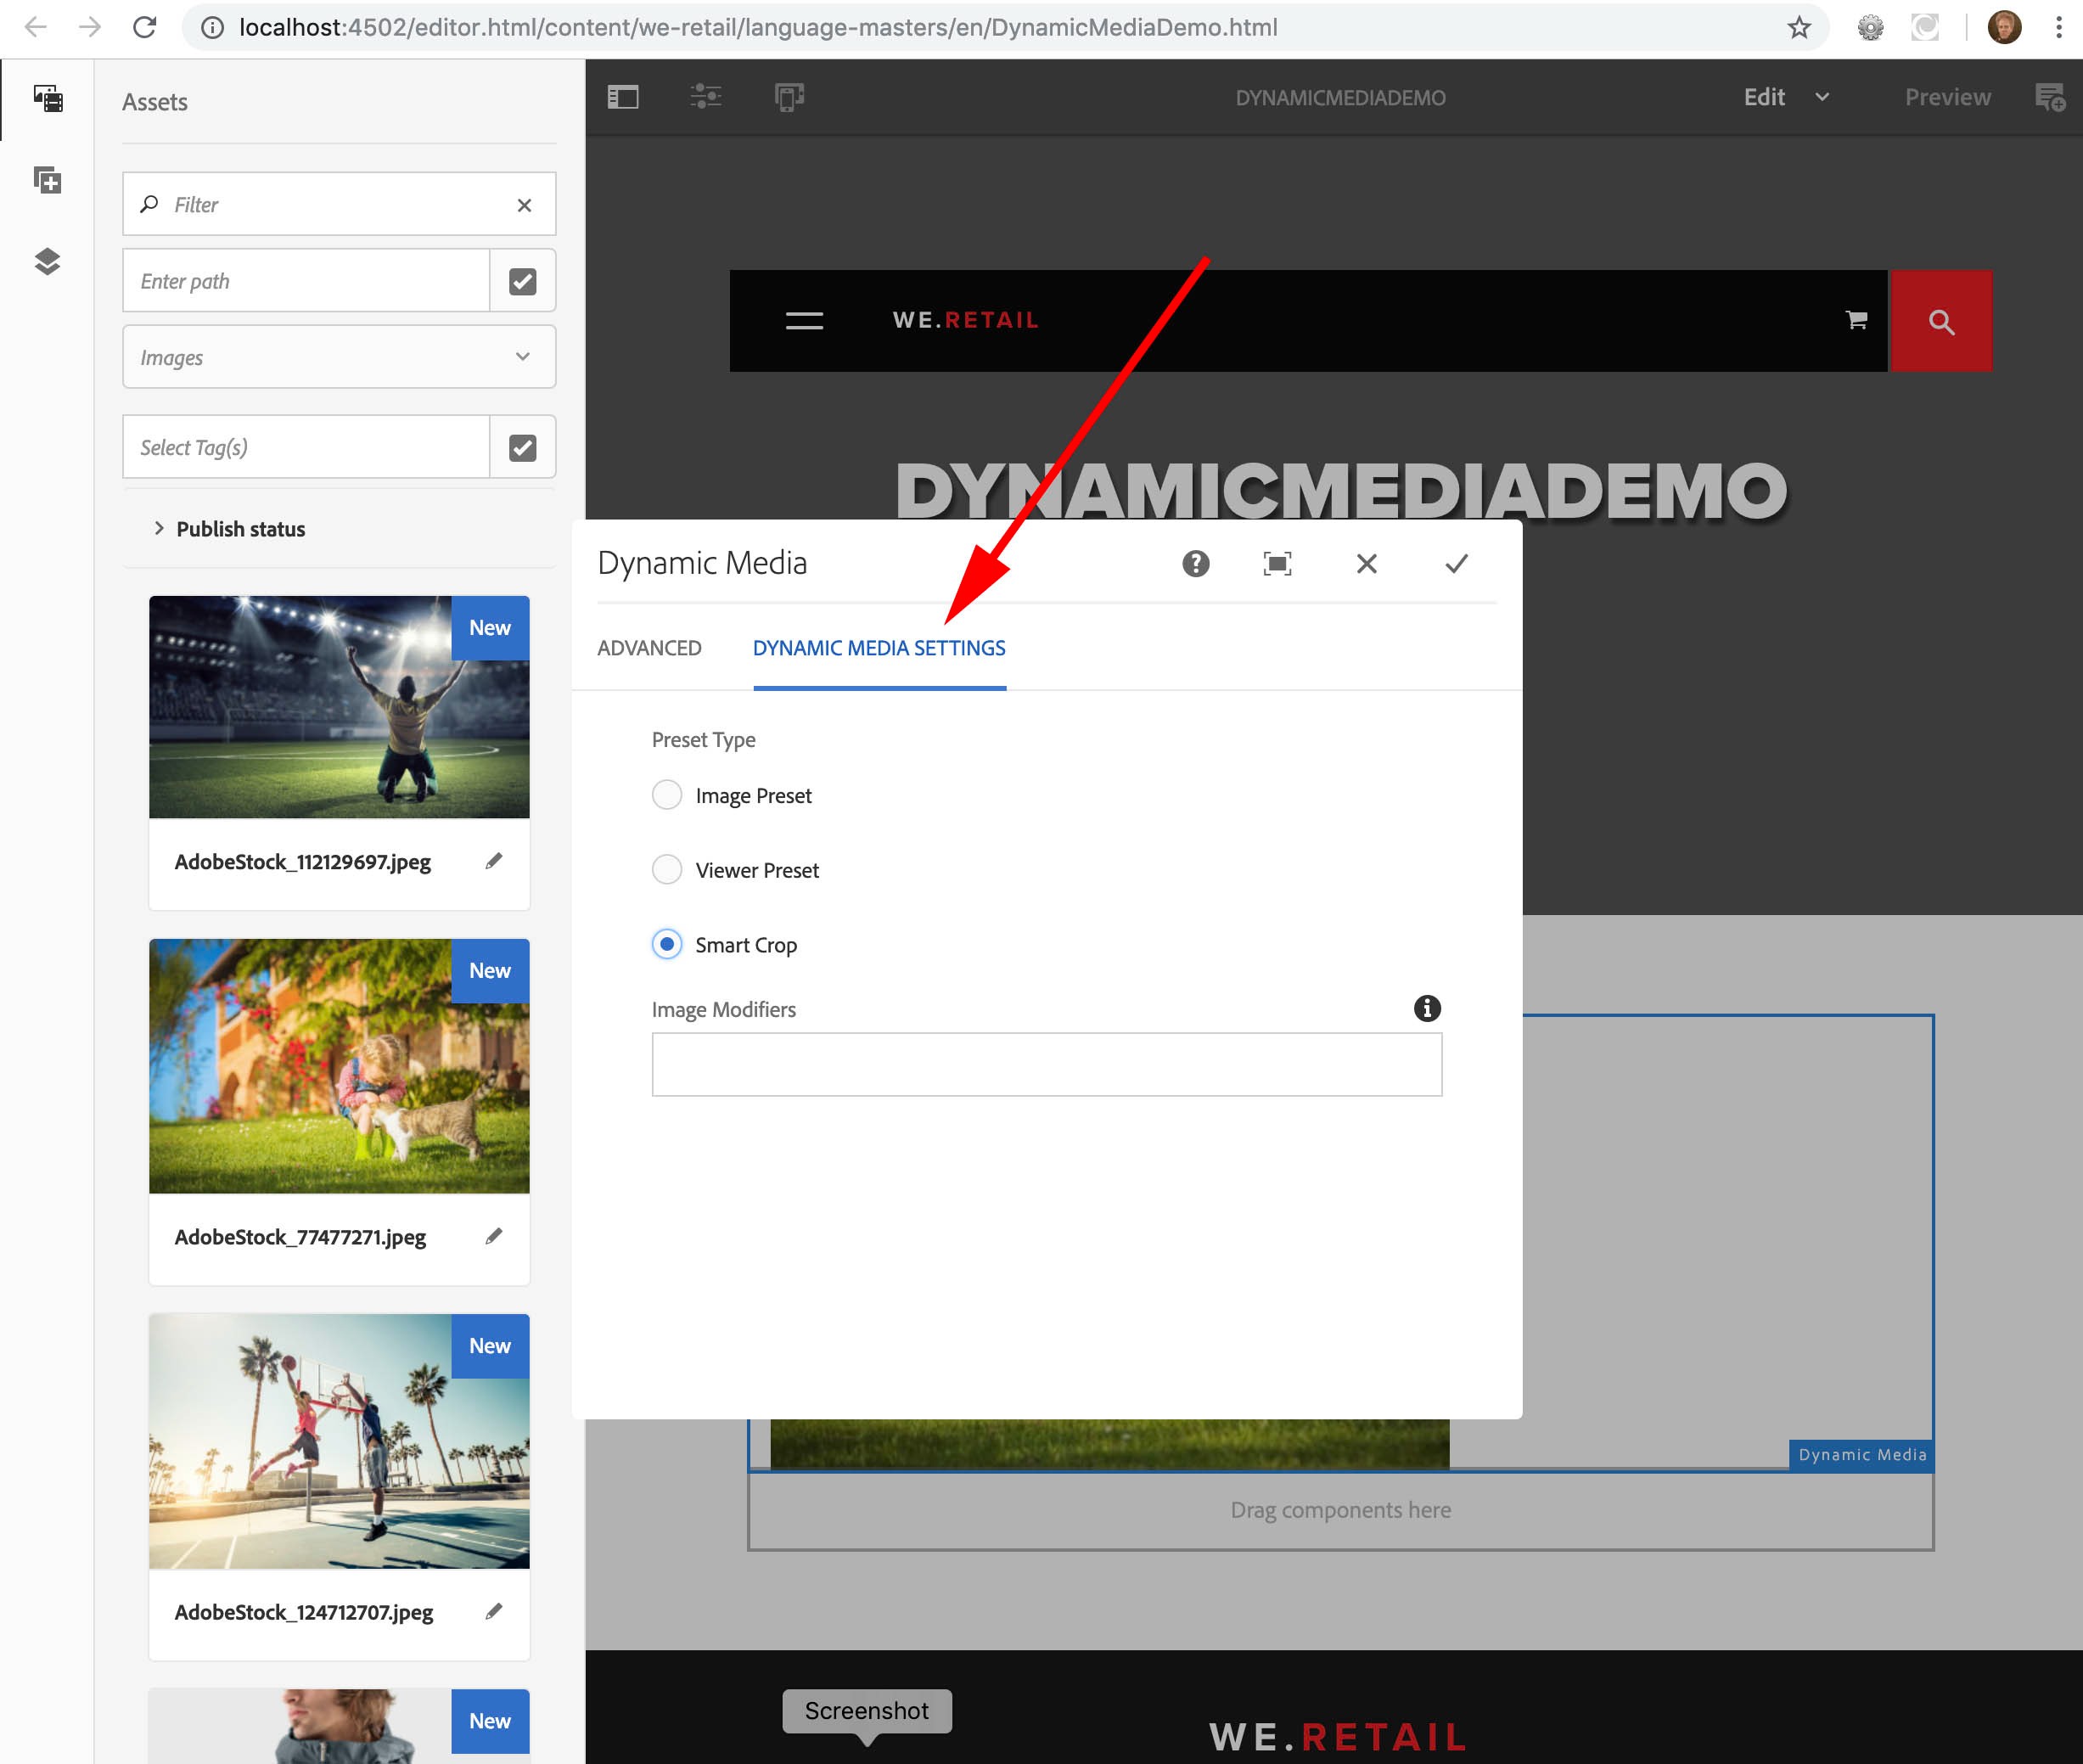
Here, we will explore how to use the built-in Dynamic Media Component on a page created with an AEM Sites. This component leverages Dynamic Media features without the need for coding URLs manually; the Smart Crop profile we set up earlier with our
sample assets will be used here to power a responsive layout for a page.
Now that you are familiar with some of the tools used to optimize image & video delivery, explore additional exciting new features available in Dynamic Media at https:// www.adobe.com/marketing/experience-manager-assets/dynamic-media.html.
If you currently use Dynamic Media Classic and would like to learn more about upgrading to AEM+Dynamic Media please see additional resources at http://exploreadobe.com/dynamic-media-upgrade/