
In this hands-on session, attendees will be introduced to Adobe Premiere Rush, the first all-in-one, cross device, video editing solution that makes creating and sharing online content easier than ever.
Head of Product Management, Steve Forde will provide a brief product positioning and use case definition for Premiere Rush to set context for the session. This will include a brief demo of key features.
Rush makes creating videos simple and fun. But before you start using the application, it’s useful to consider these guiding principles:
Go through this process every time you conceive a video and you will be in good stead.
We will be starting on the desktop machines and exploring Rush workflows on iOS later.
Your machine should already be logged in. If not, please log in to your lab machine. The username and password for each machine are on the screen in front of you.
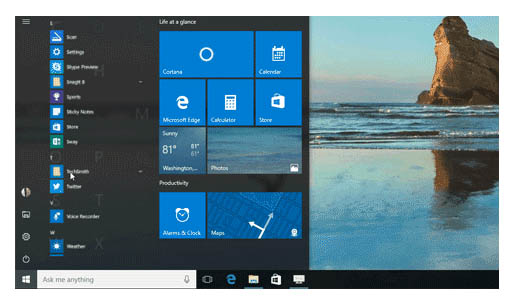
Once you have logged in, please double click the Rush icon in the application bar at the bottom of the screen. If you cannot see the Rush icon, click on START at the bottom left, then then type Rush into the search bar. Click on the Rush icon that is presented.
You will be met with a ‘splash screen’ as the application loads.
Now, let’s take a look at Rush….in fact, literally. I want you to spend 10 minutes trying to work it out yourself. Just launch the app and have a go.
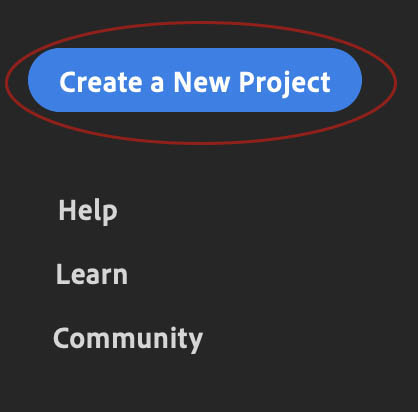
You will be met with a largely blank screen. Click on the Create New Project icon in the upper left side of the screen.
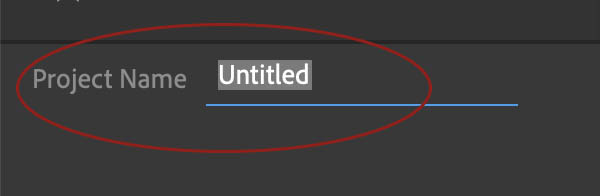
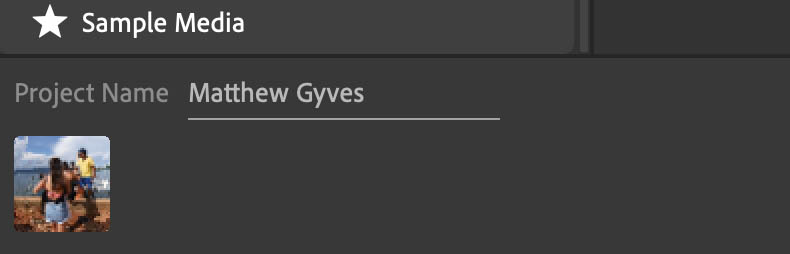
Give your project a name. In the bottom left of the screen, the Project Name area will be highlighted. Type a suitable name for your project and hit return. It’s useful to follow a naming convention, so that you can find things easily next time. Many follow the convention of: dd_mm_yy_city_topic_creator
Scroll down to the bottom left on the list of file destinations and click on Sample Media.
A series of video thumbnails will appear in the “Media Browser” window. The Media Browser is where you look for and choose footage. Hover your mouse (don’t click) over the footage and move your mouse left and right to preview the footage.
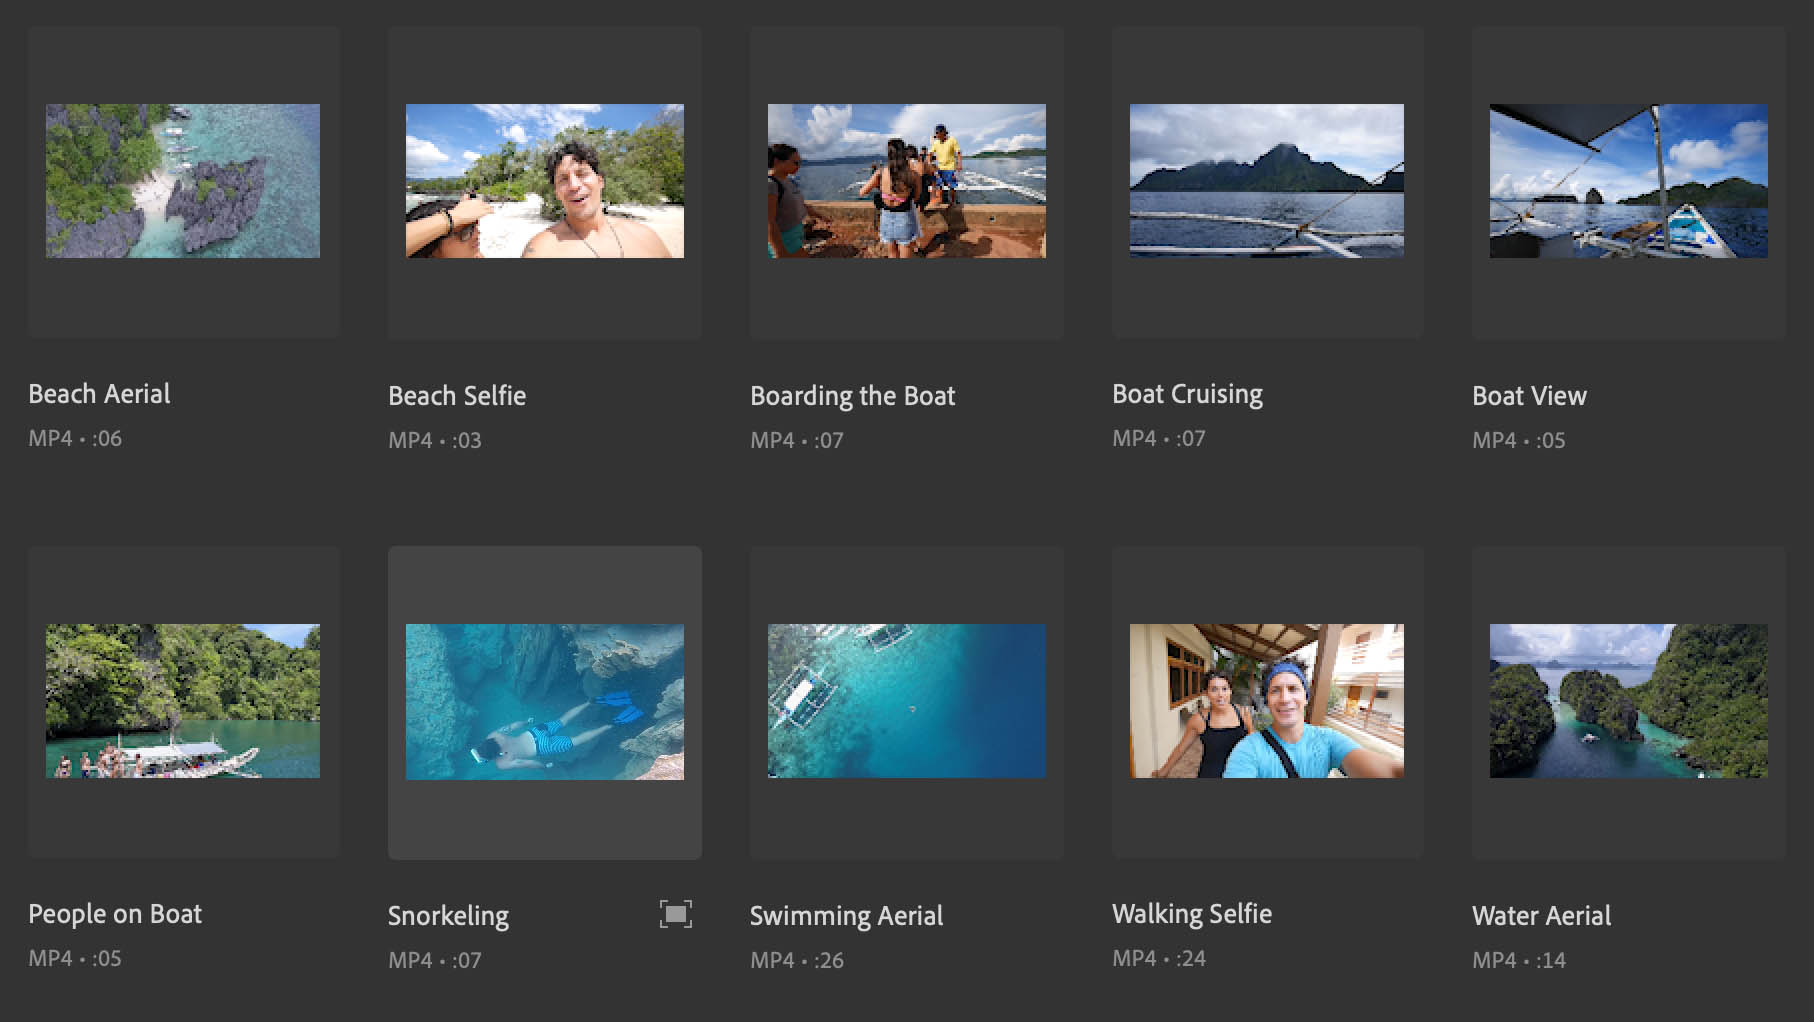
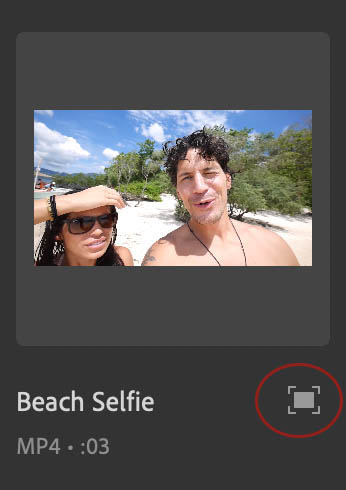
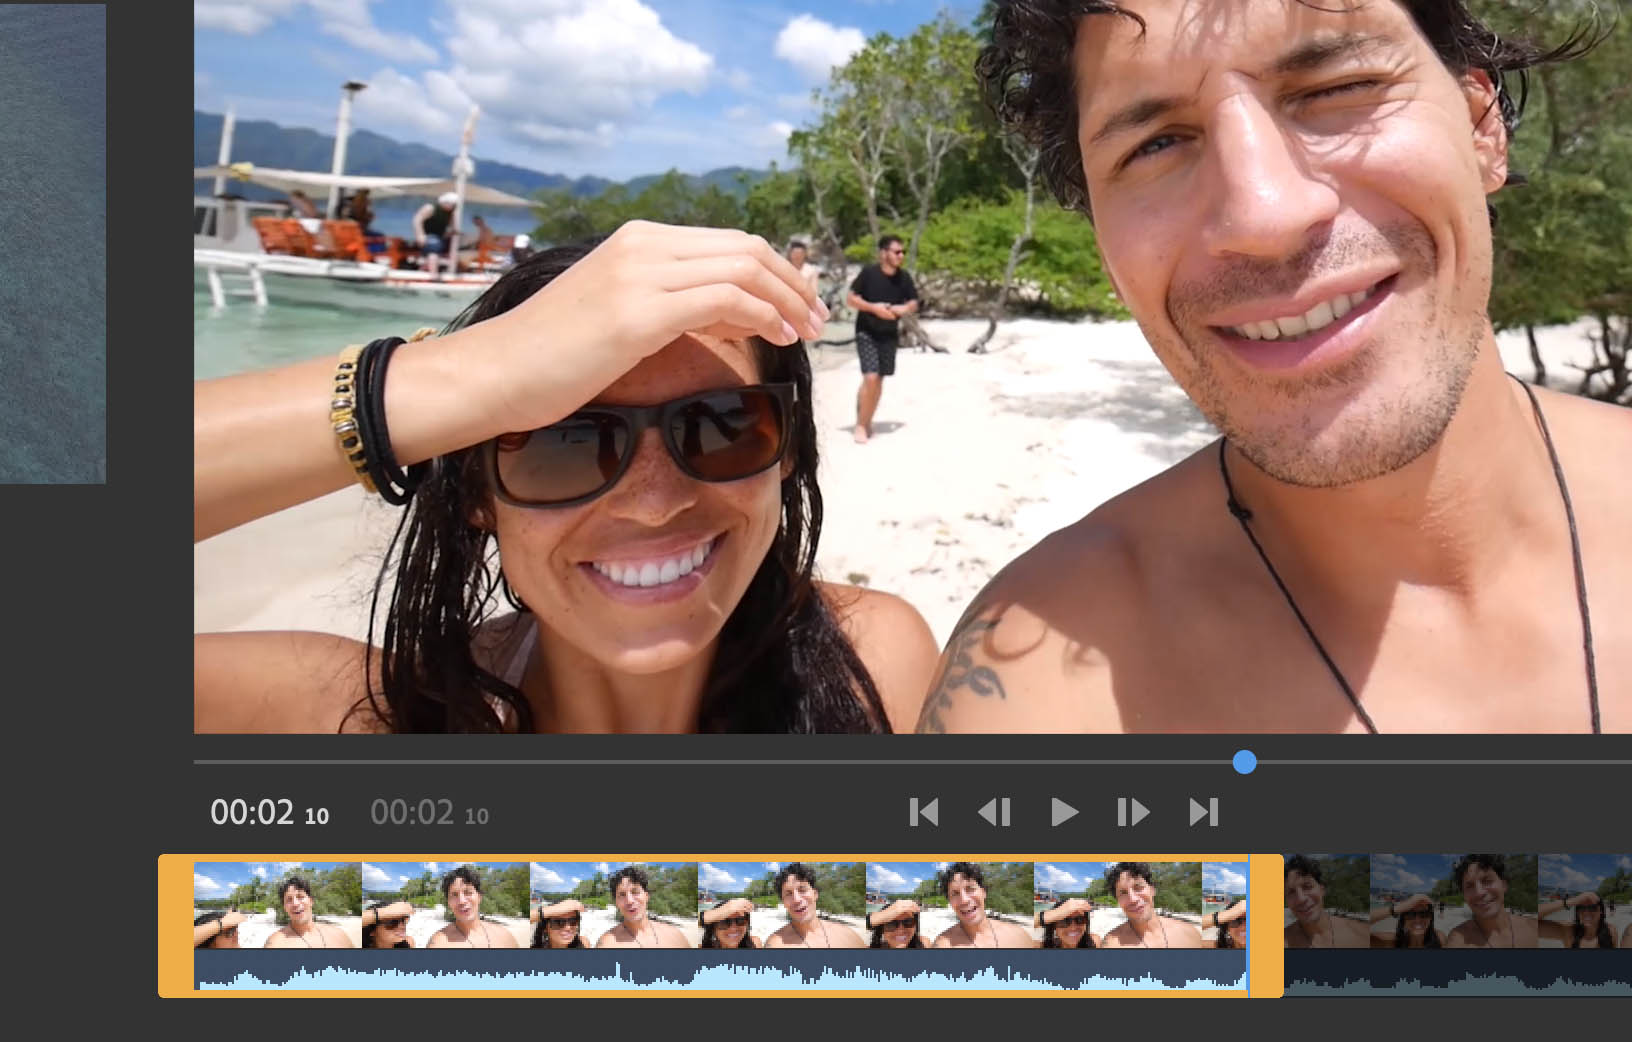
To see a clip in a larger view and to ‘scrub’ through the clip, click on the expand icon in the bottom right of any clip.
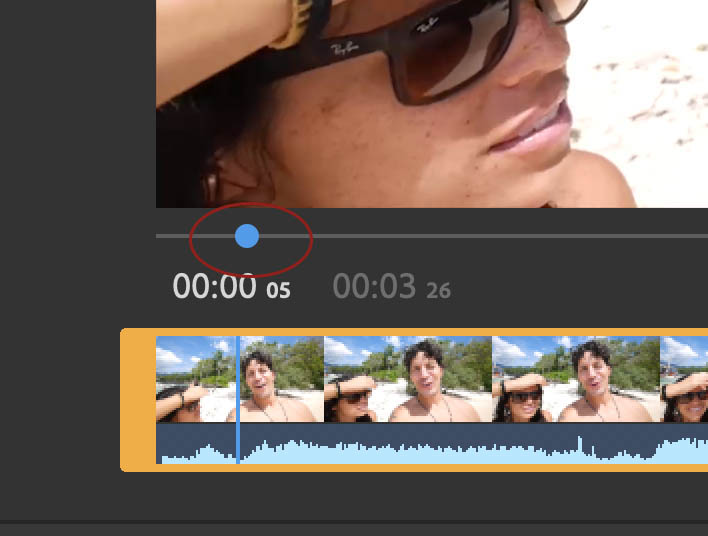
Click and drag the blue dot that sits on the grey line (in-between the footage and the clip). Move the dot left and right along the line to ‘scrub’ through the footage.
If you want to select just a section of the clip to add to your project then move your mouse to the start or end of the clip, into the thicker yellow section, and notice how the indicator turns in to a yellow ‘trim’ icon with an arrow pointing either left or right. Click, hold and drag left or right to trim the footage.
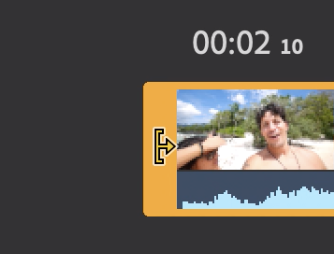
Don’t worry – you are not doing anything to the clip itself, you are just selecting a range to add to your timeline – and you can pull it out later if you need to.
Typically, you would choose a section where someone is about to talk, or some kind of action is about to start. You are doing this now to keep your edit tidy later.
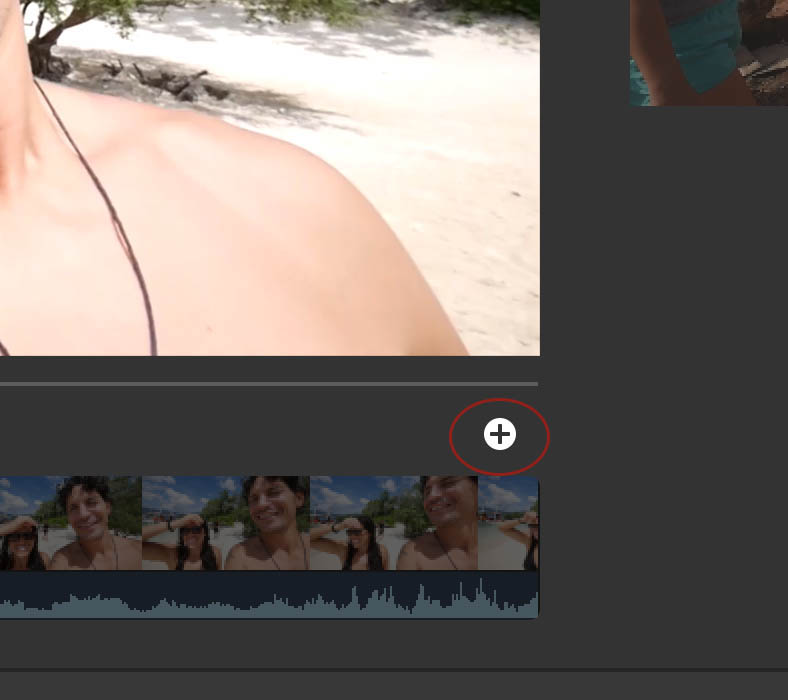
If you wish to add this clip or selection to your project, click on the + sign ‘add to selection’ button on the right-hand side of the window, in-between the footage and the clip. And then click the ‘back to grid view’ icon at the top right of the screen.

If you don’t want to add the footage to the project, simply click the ‘back to grid’ icon at the top right of the screen to return to the previous screen.
If you chose to add the footage to your project you will notice the clip now has a number 1 superimposed over the clip when you come back to grid view. This is saying ‘this will be the first clip in your story’. Don’t worry, you can change the order later.
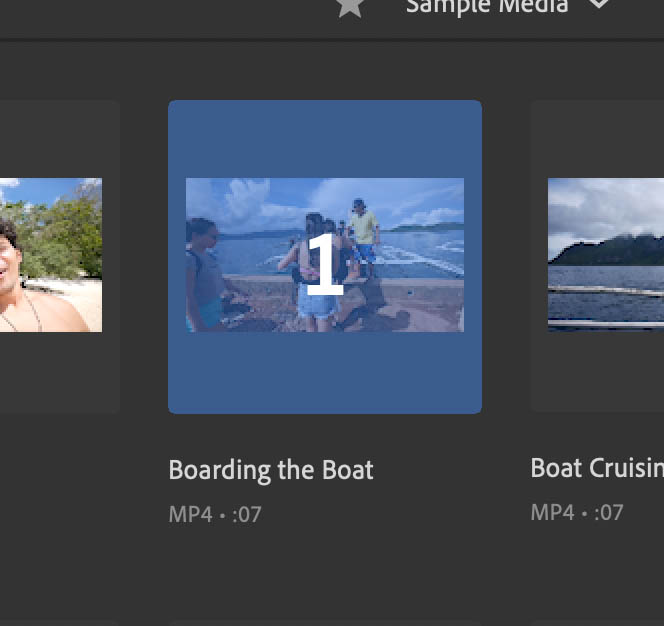
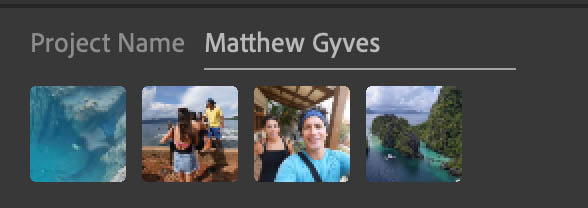
You will also notice that the clip also appears as a thumbnail below your Project Name.
Be aware, you don’t have to expand the clip to add it to a project. You can add clips to a sequence directly from the media browser. To do so, simply click on the clips in the order you want them to appear. You can change the order later. You will notice that the clips appear in the bottom left, underneath your project name. This approach will add the whole clip to the timeline.
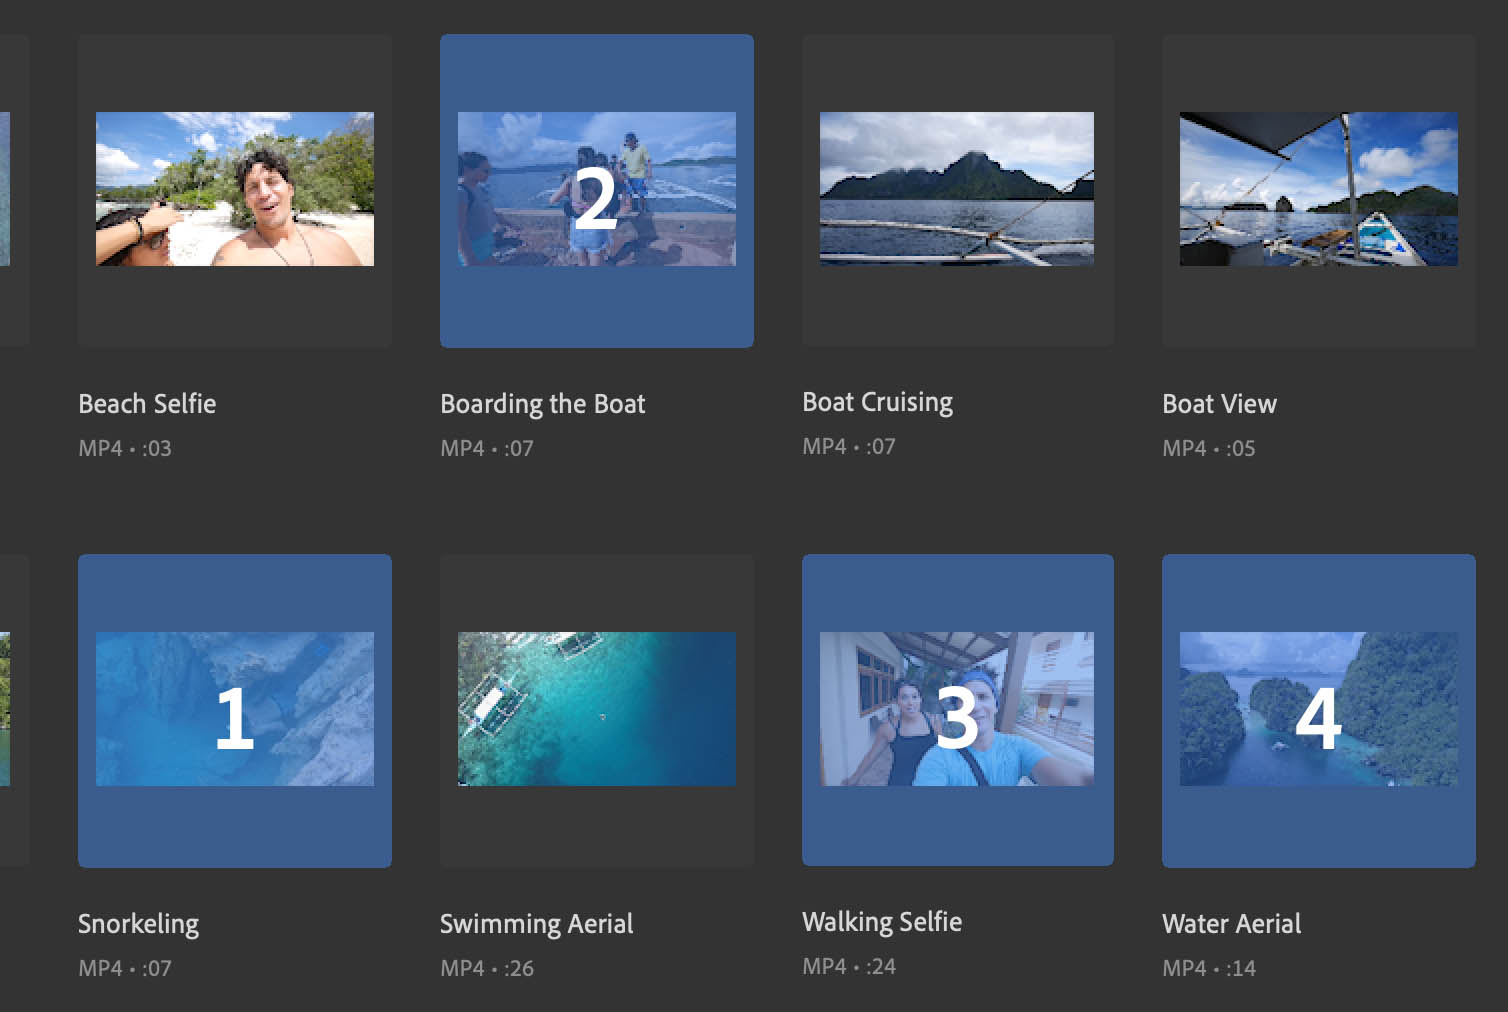

When you have chosen all the clips you want (for now just choose 4 or 5) click ‘Create’ in the right-hand corner.
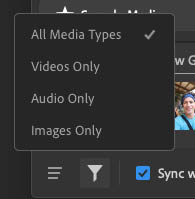
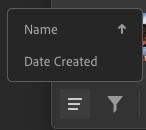
Tip! You can sort and filter your view of the media browser using the view buttons at the bottom of the screen. This allows you to sort by name or creation date and filter by media/footage type.
Tip! Make sure the Sync with Creative Cloud box is ticked if you want to use Rush on other devices, like your phone or tablet. It is on by default. You can leave the Copy Media box unchecked unless you want to store a copy of your files somewhere else on your device (e.g. as a backup). This is off by default.
It’s important to familiarize yourself with the Rush interface. In the middle of the screen is the program monitor, or just ‘monitor’ – this is where your footage is displayed when editing and playing back.
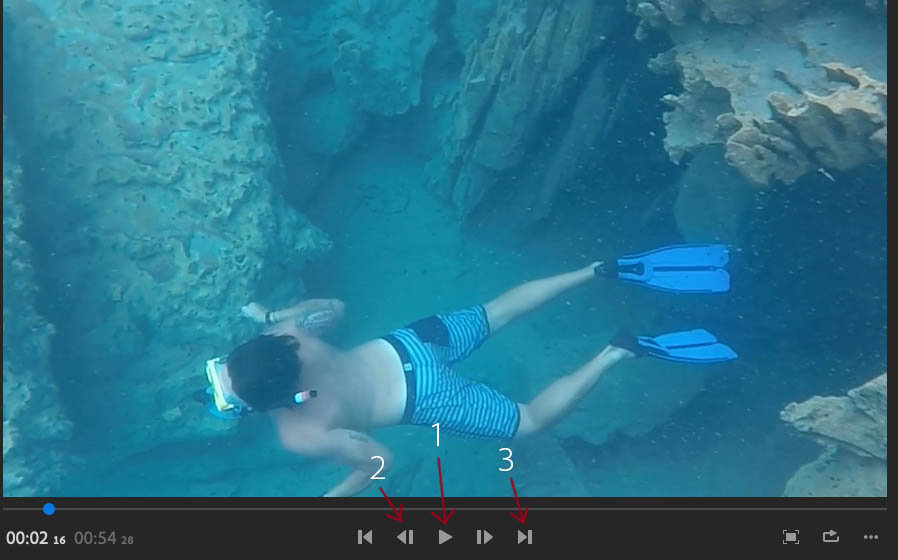
Below the picture are common controls used to play/pause the footage (1), step forward or backwards frame by frame (2) and jump to the next or previous edit point in a sequence (3).
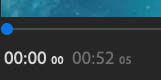
To the left, you will see a time indicator which tells you where you are in the sequence (currently at 00hours 00seconds and 00frames, since I am at the start). The other number, in grey, tells you the duration of your sequence. The blue dot allows you to shuttle through the timeline, when you click and drag left or right.
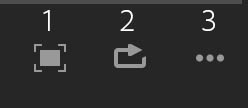
To the right of screen, you will see options to view in full screen (1) and loop video playback (2). We will cover the three dots later on in the lab (3).
You might use the loop function when you are trying to adjust an edit, or you are applying effects or transitions – more later.
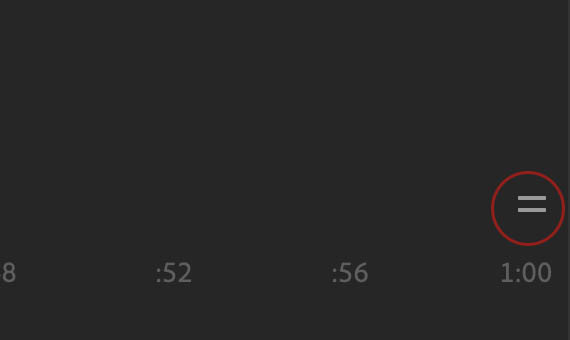
The two horizontal lines to the right edge of the screen allow you to scale/shrink the monitor and the timeline, making one or other bigger or smaller. Click on the two lines and drag up or down to see how the screen size changes.
Below the monitor is the timeline. This is where your clips live, in a sequence. They match the order that you selected in the media browser, earlier on. You can move through the timeline by clicking the play icon  , tapping the space bar or by shuttling through the content - by grabbing the blue line, (or ‘current time indicator’), and dragging it left or right. You can zoom in and out of the timeline by pressing + and – on your keyboard or by pinching on a touch device.

The timeline is the place where most of your editing happens. The fundamental operations that happen here are 1) ordering clips 2) trimming the length of clips 3) cutting/splicing clips.
Click on one of the clips in your sequence. You will notice it highlights in yellow around the clip. Now, click and drag the clip left or right to move it. You will notice how the other clips shuffle around to fill the gap. This is how you order your sequence.
Trimming is a way to shorten or lengthen the top or tail of a clip. Click on a clip and move your cursor to the start or end of a clip. You will notice the cursor turns into the trim tool, like it did in the media browser.

Grab the arrow and drag left or right to trim the length of the clip. Practice moving and trimming a few clips in the timeline.
There will be times when you need to cut a clip in two, perhaps to move one section further down the timeline. To cut a clip, move the blue line/current time indicator to the place where you want to cut, then click on the scissor icon in the toolbar, on the lower left-hand side of the interface. The clip will be cut, allowing you to move (and trim) each part, independently.

Should you want to delete a clip from your timeline, select it and click on the trash can (1).
You can duplicate a clip by highlighting it and clicking the duplicate button (2). Remember, deleting a clip simply removes it from the timeline, it doesn’t delete the clip from the project or your device. More on that later.
Practice cutting, duplicating and deleting clips. If everything goes wrong…just click undo, in the top right corner.

At this point, you should be able to create a project, name it, add footage, arrange the footage in a timeline, trim, cut and delete clips. These are the fundamentals of creating a video.

Now, click on the home button, top left to go back to the start screen.
Now repeat the steps outlined to this point.
When clips are brought in to Rush, they appear in the timeline, but they can also be found in the Project panel. This shows you all off the video, audio, photos and other assets in your current project. To open the Project panel, click the file cabinet icon at the top left of the screen, underneath the + sign.

You will notice all of the clips in your timeline are here in the project panel. Like with the media browser, you can hover scrub over clips, or, via the three dots under the clip you can:
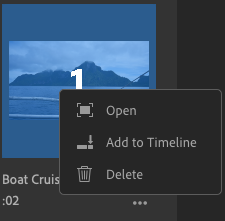
Choose a clip, click on the three dots and choose Open. You will see a similar view to the media browser. From here you can use the Trim workflow to choose the start and end of the clip that you want to add to the timeline. This can be useful if you have shot a clip that has lots of unnecessary footage at the start or end.
When a clip is open, trim the start and end of the clip to a suitable point. Then click Add at the bottom of the screen to put that into the timeline. Only the section you highlighted will be added. Click return to grid to go back to the Project panel.
Click open on another clip. Trim to section you want to add.
Now click and drag the clip (N.B. you need to drag from the main clip image, not from the trim area) over to the Monitor. You will notice half of the monitor turns blue. This allows you to add, or rather insert, the clip before the blue line/current time indicator. If you carry on moving your cursor to the right, the clip will be inserted after the blue line/current time indicator.
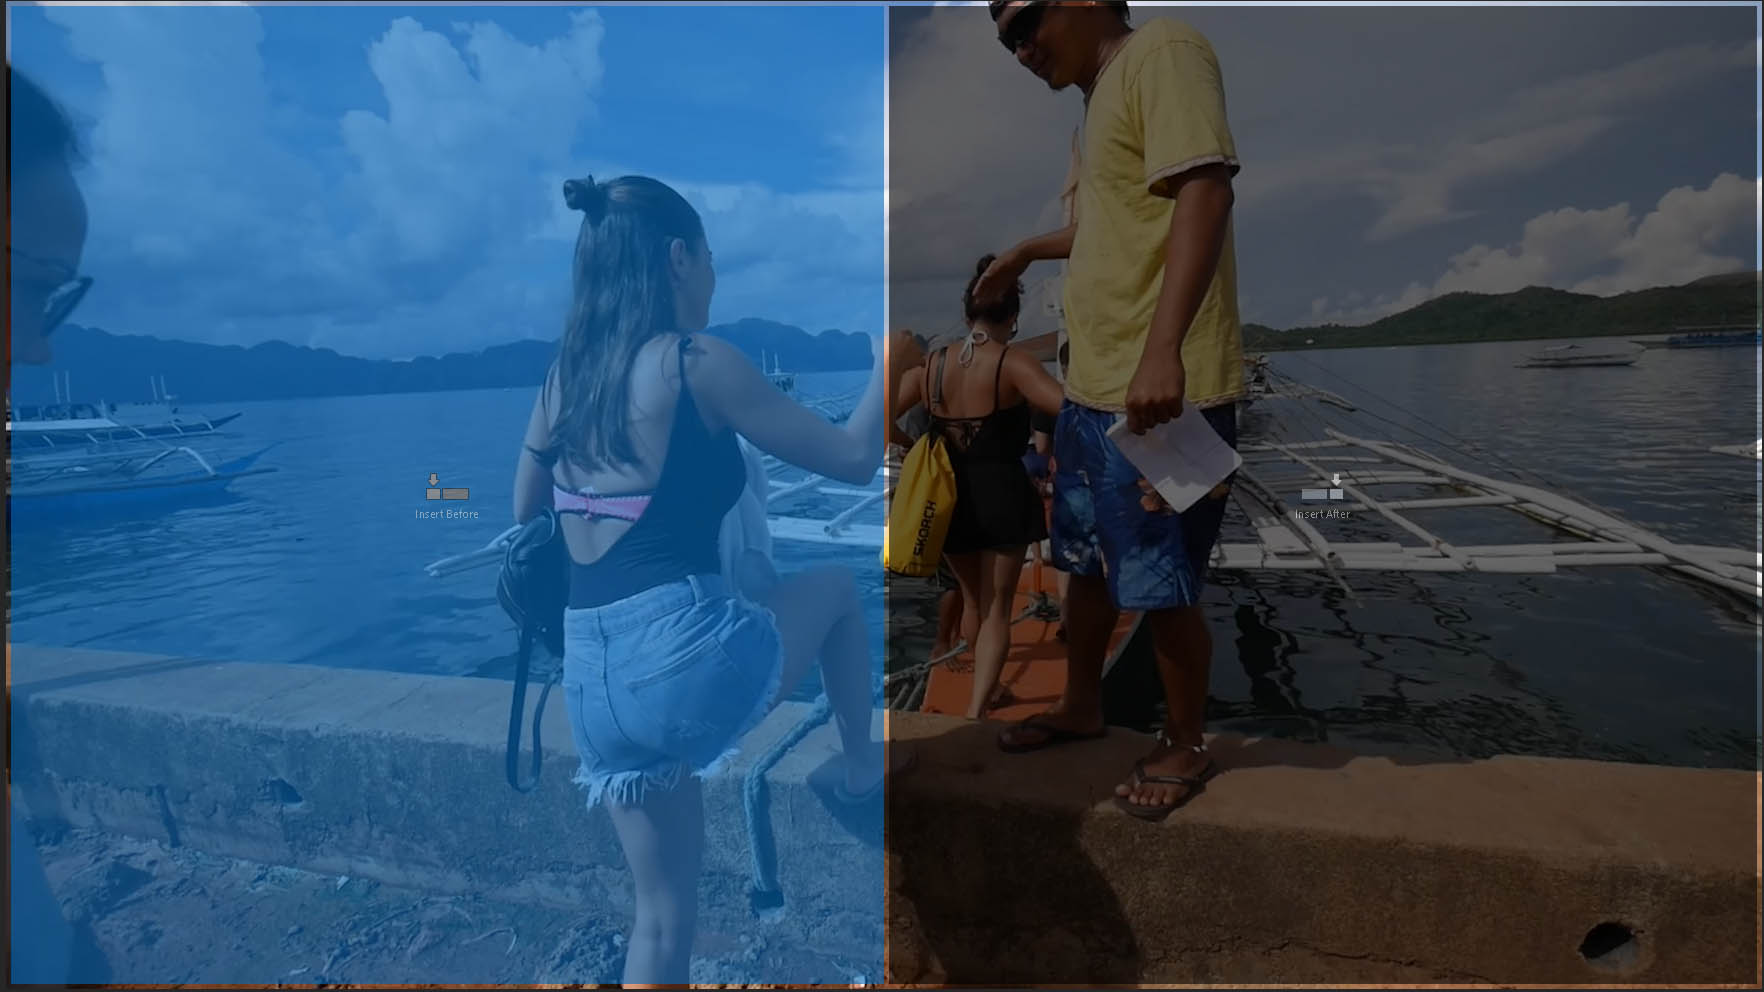
Practice dragging clips to the monitor and adding them before or after an existing clip on the timeline.
You can also drag a clip directly to the timeline. When you drag a clip to the timeline, existing clips will shift around to accommodate the new footage. Try dragging clips directly to the timeline.
If you choose to Delete a clip from the Project panel, it will be removed from your project and will have to be imported again, if you want to use it. A clip cannot be deleted from the project panel if it appears in the timeline.
Tip! The same filter and sort options found in the media browser are also available in the Project panel.
From the Project panel, you also have the option to create additional sequences/timelines. You can have multiple sequences in a single project. This is useful for various versions of the same content or different messages, under the same theme.
Click on a clip in the project panel. In the bottom left you will see a New Sequence Icon. Click it.

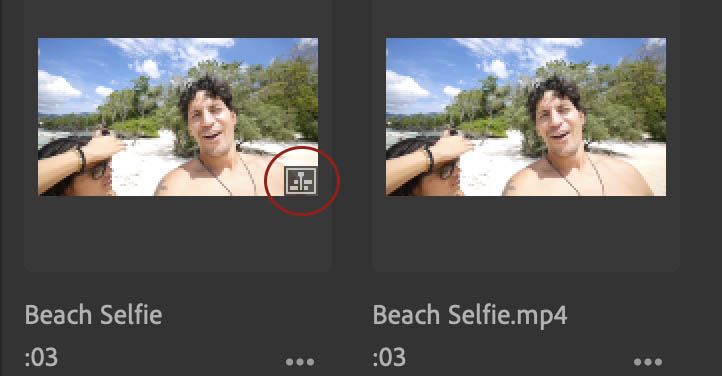
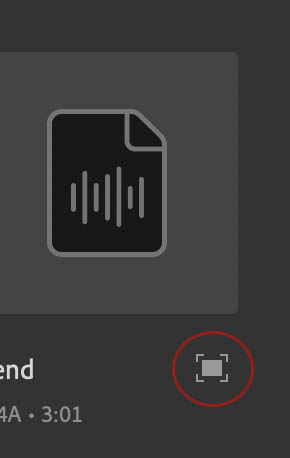
A dialogue appears asking you to name the new sequence. Give it a name and click create. Go back to grid view and you will see your new sequence. You will notice a sequence has a small sequence Icon bottom right that helps distinguish it from a clip.
Click on the Project panel icon to close the project panel.
At the top left of the interface click the blue dot with a plus sign inside it.

Click on Media. This will open the Media Browser, allowing you to find content on your device. You can click the back arrow or use the drop-down menu to navigate to storage on your machine.

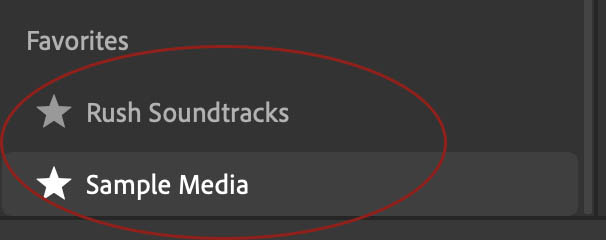
Rush comes with some sample media and sample soundtracks, found under the Favorites section.
Tip! You can make a storage area a favorite by clicking on it, then choosing to highlight the star icon next to its name at the top of the Media Browser.
Click on Sample Media. You will be met by a now familiar interface. Choose some clips and click Add.
Click the blue dot with a white cross inside it, once more. Click the microphone/voiceover icon.
Notice the track control has opened up (see below) and a Red Dot is to the left of Track 1.
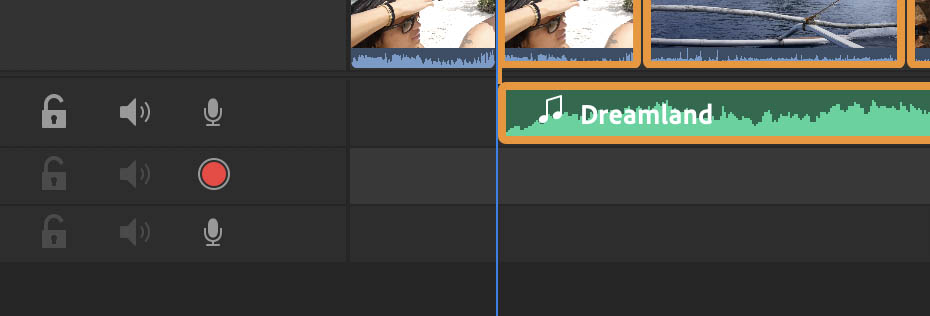
Click on the red dot and notice how a countdown begins. Get ready to record some voice over. For now, you can say anything you like. The voice over gets recorded directly to the timeline. For obvious reasons, record any real voice over in a quiet place!
Click the blue dot with a white cross inside it, once more. Click the word/icon Title. A title is added to your video monitor. Without clicking anywhere, type your name. Your name appears where the word TITLE was.
Click on the maroon title clip in the timeline and drag and drop it above a video clip in the timeline, if it isn’t already. Your text is now superimposed over your video.
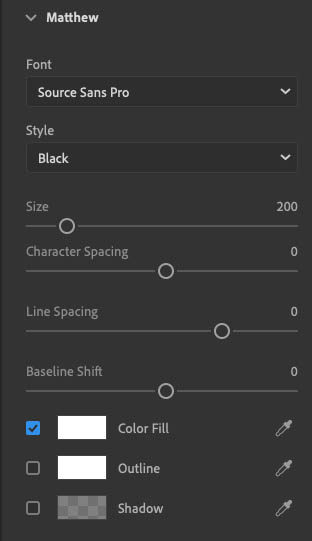
Notice that the Titles editor opens automatically on the far-right hand side of the screen.
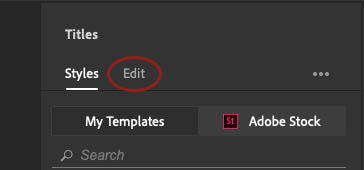
Click the word Edit.
Here you will find common text editing sliders, fonts, etc. that you can use to change and enhance your text. If necessary, twirl down the menu next to your name.
Highlight your text in the monitor by double clicking it. Experiment with some of the sliders and controls in the text editor to see the results.
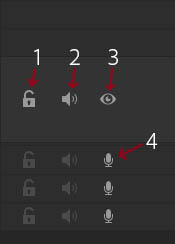
Create a sequence in a timeline if you do not have one open already. In the bottom left hand corner, click on the Control Tracks icon (1)

This will open up the tracks display. These track control options allow you to
This is an alternative way to add voice over and can use useful if you want to place voice over on a specific track. Create a sequence with a few clips in it if one does not exist. Click on the microphone icon in the control tracks area. It turns to a red dot. Click on the red dot. You will see a countdown appear. At zero, start talking. You will be recording a voice over directly into the timeline. Press space or click the red dot /record button to stop recording.
In Rush, audio and video are locked together. However, there are times when you might want to trim audio independently. Create a sequence and add some clips to the timeline, if you do not have any already. Highlight a clip which has talking or other audio on it.
Click on the Expand Audio icon (2).
Now grab the head or tail of just the audio and drag left or right to trim the audio, independent of the video. You will notice the trim icon is now red. Practice trimming some audio using the expand audio workflow.
Rush has many ways to finesse and polish your videos. The controls for these live on the right-hand side of the interface.

Add some clips to a timeline if you don’t have one open already. Click on a clip in the timeline. Now, click on the Color icon (3). Notice a series of built-in color presets appear. Experiment by clicking on the presets and see how they change the look of your video clips. When you have found a look you like, click on Edit, which is next to Presets.
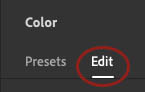
This reveals a series of controls that should have familiar names. Experiment with the sliders to see how they change your video. There is no real right or wrong. Create a look that you think works well. If you really like it, you can save it as a preset by clicking the three dots at the top of the window and giving your preset a name.
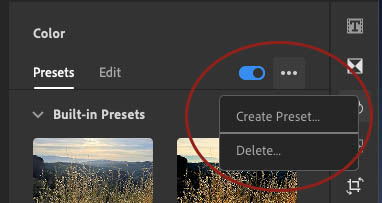
Now this preset will appear in ‘Presets’ for you to use, next time. To delete a preset, click on it, click the three dots and choose ‘delete’.
Click on the color icon to close the color control window.
We have already made a simple title in Rush. However, one of the most important aspects of any branded video is...the branding. Rush allows you to use Motion Graphic Templates or MOGRTS created in Premiere Pro (and soon Aftereffects), on all devices, inside Rush.
Click on the Title Control icon (1).
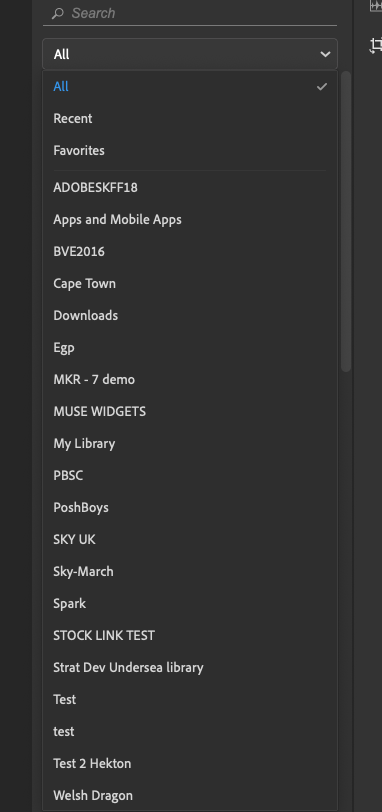
Click on My Templates. If needed, click on the small drop-down arrow and select All.


Scroll down through the various templates to see a range of titles that can be used to brand your video.
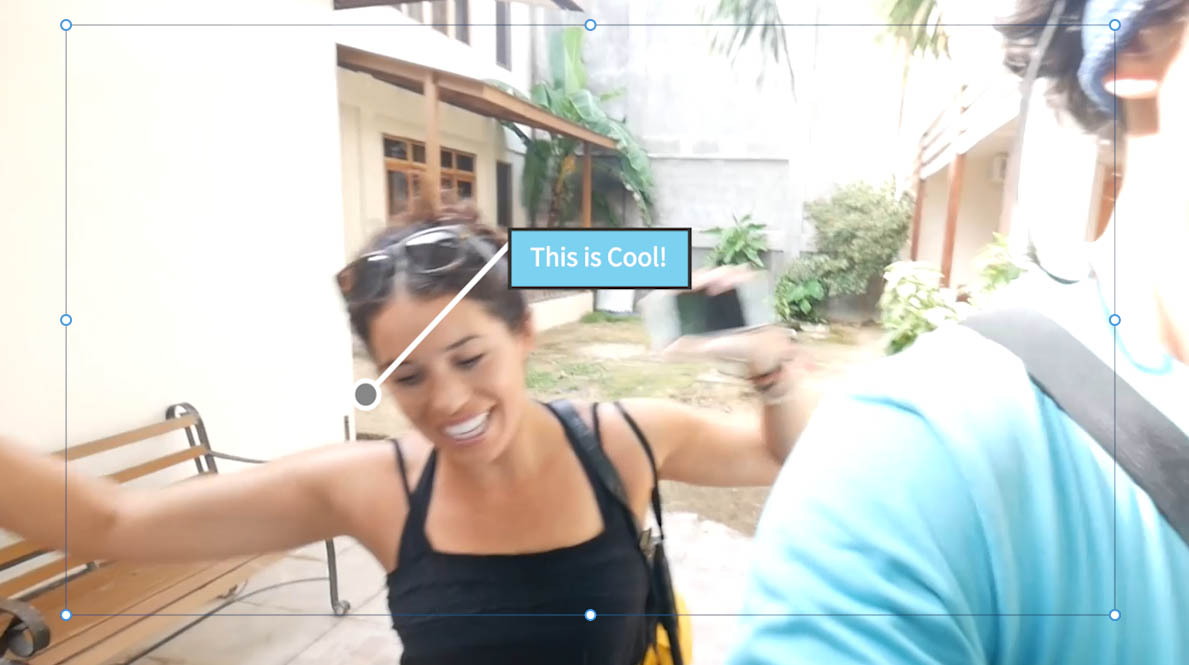
Find the title CALL OUT TOP RIGHT (the templates are listed alphabetically). Drag and drop it into the timeline.
Click Edit (next to Styles) in Titles Control area. Twirl down BRING ATTENTION TO SOMETHING. Type something new into the box (e.g. Happy Birthday).
Twirl down the Shape sections. You can experiment with the colors for the Shape box and Shape Circle and Shape Line. To use the color pickers, click and hold the pipette and sample a color from the interface. Or, click in the color itself and use the sliders to pick a color. For absolute accuracy, type in a color code.
To move the graphic around, select the title clip in the timeline, then click the monitor to bring up blue handles at each corner that allow you to adjust the position and size of the title. You can move it anywhere on the monitor.
To scale the graphic, drag in the handles.
If you cannot find a template you like in the presets, click the Adobe Stock button to browse for templates via the Adobe Stock service.
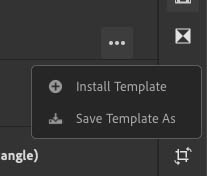
Via the three white dots in the menu you can install your own templates (perhaps shared with you by your graphics teams/agency) or Save Templates with a new name.
Templates can also be accessed via Creative Cloud Libraries. Simply click on the drop down to see all of the Libraries that you are a member of. This powerful workflow allows companies to create and share complex templates which Rush users to consume, across all devices.
Experiment dragging some templates on to the timeline and editing the parameters to your needs.
When you are done, click the Titles icon to close the titles panel.
Add at least 2 clips to a timeline if you do not have one open. Click the Transitions icon (2) as above. Click and drag the Cross-Dissolve transition and drop it on the join where two clips meet.
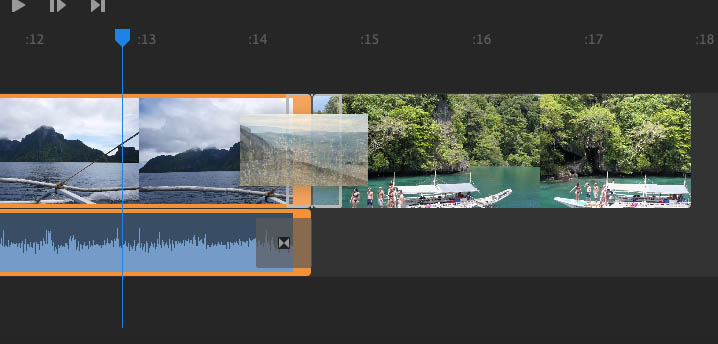
Move the Current Time Indicator/blue line back, to before the transition and play back. You will notice how one clip fades in to the next. You can adjust the duration of the transition by grabbing either end of the dissolve and dragging left or right.
Experiment with the dissolve duration until the transition looks the way you want it to.
Tip! Try not to fade at the very head or tail of a clip. Ideally you fade motion into motion. To achieve this, trim your clips (as you did earlier) to make the shot and the dissolve work nicely together.
Rush also offers the options of Dip to White and Dip to Black. Experiment with applying the three different options as transitions between your shots. Dips to white can work well to smooth jump cuts. Dips to black can indicate a passing of time.
Click on the Transitions icon to close the transition controls when finished.
Add some clips containing audio to a timeline.
Click on the Audio Control Icon (4). You will notice a clip volume slider. Move this up and down to increase and decrease the volume.
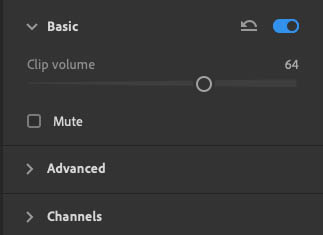
Mute silences the clip by ticking or unticking the box.
Twirl down the Advanced menu.
Notice how Rush automatically recognizes the audio type of a clip. It’s smart and will get it right most of the time…but if it makes a mistake and identifies your background noise as music, you can change it here by clicking Change Type.
Add a clip to the timeline that includes dialogue. The clip named Walking Selfie is good for this. Click on the Audio Control Icon, and twirl down Advanced.
Notice that there are a number of auto controls to improve your audio. Experiment by turning these controls on and off. Typically, for ‘Reduce background noise’ and ‘Reduce echo’ you will want to lower the intensity so that it removes noise but does not impact the quality voice. Make sure you choose the Enhance Speech type for the dominant speaker (Male in the case of Walking Selfie)
Experiment with these controls.
Add three clips to a timeline. The first should contain speaking (use Walking Selfie), the second should be mute (use People on Boat), the third should be speaking again (use Beach Selfie).
Click on the plus sign (white cross inside the blue dot). Click on Media. This will open the Media Browser, allowing you to find content on your device. You can click the back arrow or use the drop-down menu to navigate to storage on your machine.
Find Rush Soundtracks under Favorites and click it. Choose an audio track. It doesn’t matter which one, but Bend works well. You can listen to the tracks by clicking the open icon.
Click and Drag the audio clip to the timeline, to any audio track. Move to the start of the timeline and hit play. Notice how the music is fighting the speech.
Click on the music track. Click on the Audio Control Icon, and twirl down Advanced.
Click on the Auto duck box. Notice how the shade of the music track has changed. Rush is automatically dipping the music under the speech, helping you to balance the audio. Play back the track again. You can control how much the audio is reduced, using the Reduce by slider.
Practice experimenting with auto ducking. Believe me, this will save you lots of time!
Click the Audio control icon to close the audio control.
The last menu item is the Transform Controls. Click the Transform button.
Click on a clip or title in your timeline.
Experiment with the sliders to move, rotate, scale and rotate your clip or title.
Once you have cut, graded, mixed and branded your content, you will probably want to share it. Rush makes this easy to do.
Create a timeline with one clip in it for now.
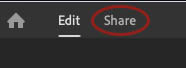
Click the Share menu at the top left of the screen.
Here you will find some common publishing destinations. Turn on the ones you want to publish to. Where necessary, sign in to your accounts.
Here you can adjust the necessary settings for your destination.
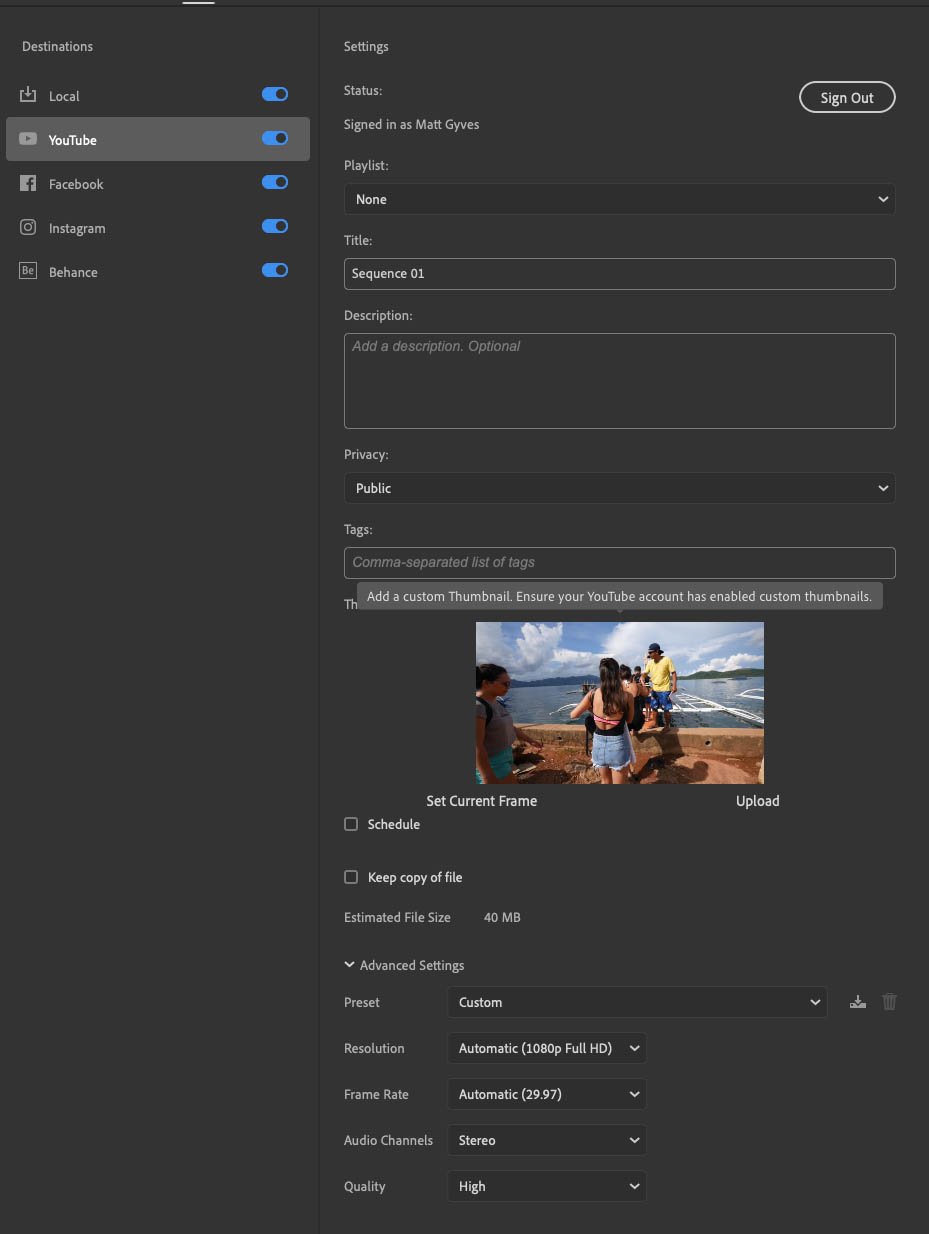
The local option saves the file to a destination you decide. You can pick this clicking on the Save to…destination and choosing an appropriate place.
Under the Advanced Settings of each destination there is the opportunity to pick an export preset.
When you are ready to Export, click Export.
When the Export is complete, you can publish to multiple destinations simultaneously by hitting the publish button. This will upload the file to the destination.
When the publish is complete you can choose to view the file on the destination site, via the URL that is displayed. When you are finished, click Done.
This workflow radically speeds up the process to publish a post to multiple social destinations.
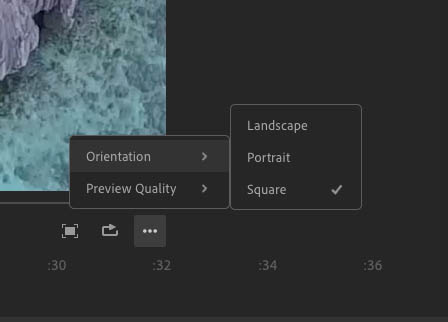
Before you choose to share, you may wish to orientate your video, appropriate to your destination.
To change the view of your video, click on the three dots next to the Loop button, underneath the monitor. Under Orientation, choose from one of the options. See how your video is adjusted automatically. If you need to, you can move, scale, etc. using the Transform controls.
You now have the skills to create, edit, finesse and publish social media videos. As practical exercise run through the whole process from start to finish.
Set yourself a maximum duration target of 60 seconds. Use music and titles. Add color presets and tweak the audio.
The skills you have learnt with Rush Desktop apply equally to Rush mobile. Watch as your instructor demonstrates the shooting, syncing and mobile production workflow in Rush.
As your instructor demonstrated, Rush also has a set of powerful capture features, which are accessible on iOS devices. For more information on how to capture videos on your devices and further information, including an online manual, go to:
https://www.adobe.com/products/premiere-rush.html https://helpx.adobe.com/support/rush.html https://helpx.adobe.com/content/dam/help/en/pdf/premiere_rush_reference.pdf