
This lesson the intial code and for the remaining lessons. Most should already be installed and ready to execute; but validating its state is important to ensure remaining lessons are successful.
Execute these commands to ensure that the code and content package are installed.
Open the Terminal application
Change the working directory to the summit-L784-aem folder:
$ cd ~/Desktop/Summit-2019/summit-784-aem/resources
$ mvn -PautoInstallPackage clean install

$ mvn -PautoInstallPackagePublish clean install
Navigate to the CRX Package Manager and verify that all packages have been successfully installed.
Navigate to http://localhost:4502/crx/packmgr/index.jsp.
Verify the following packages exist.
At this point you are ready to start working on the exercises for the lab.
This lesson covers authoring initial and subsequent state content within the Single-Page Application (SPA) Editor.
Single-Page Application (SPA) - A single-page application (SPA) is a web application or web site that interacts with the user by dynamically rewriting the current page rather than loading entire new pages from a server. This approach avoids interruption of the user experience between successive pages, making the application behave more like a desktop application. (https://en.wikipedia.org/wiki/Single-page_application)
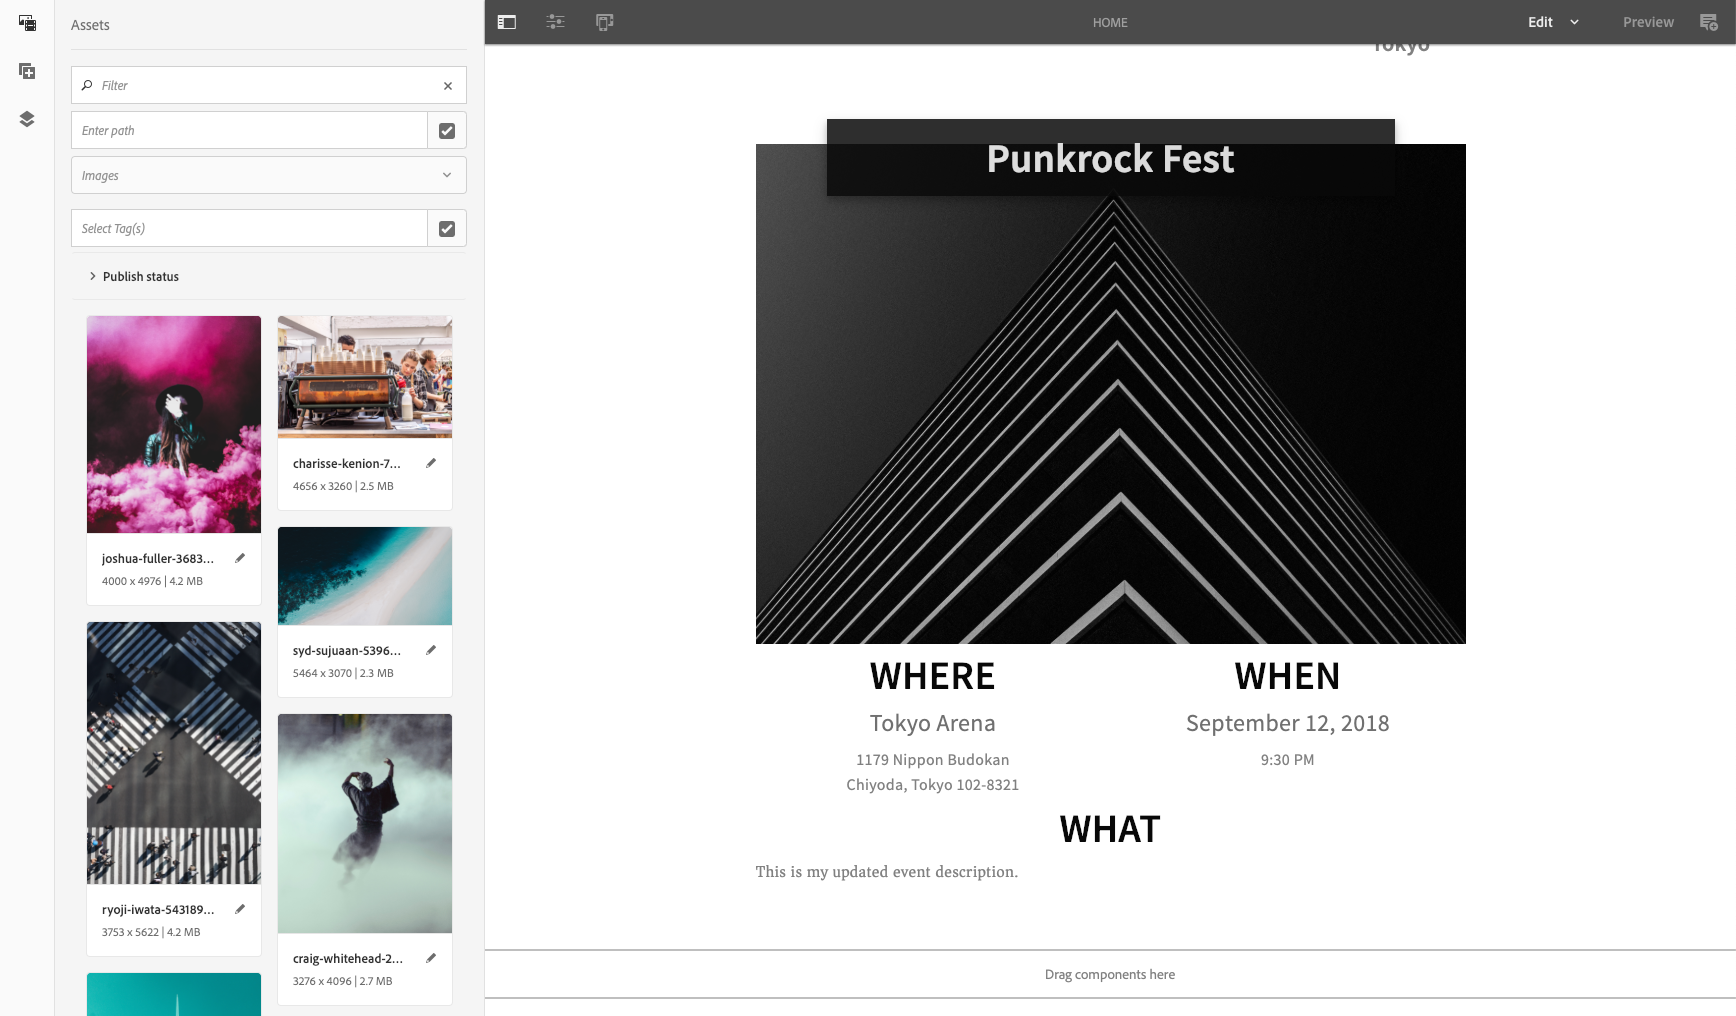
We would like to edit some of the text and images within the SPA, both in the initial and subsequent states.
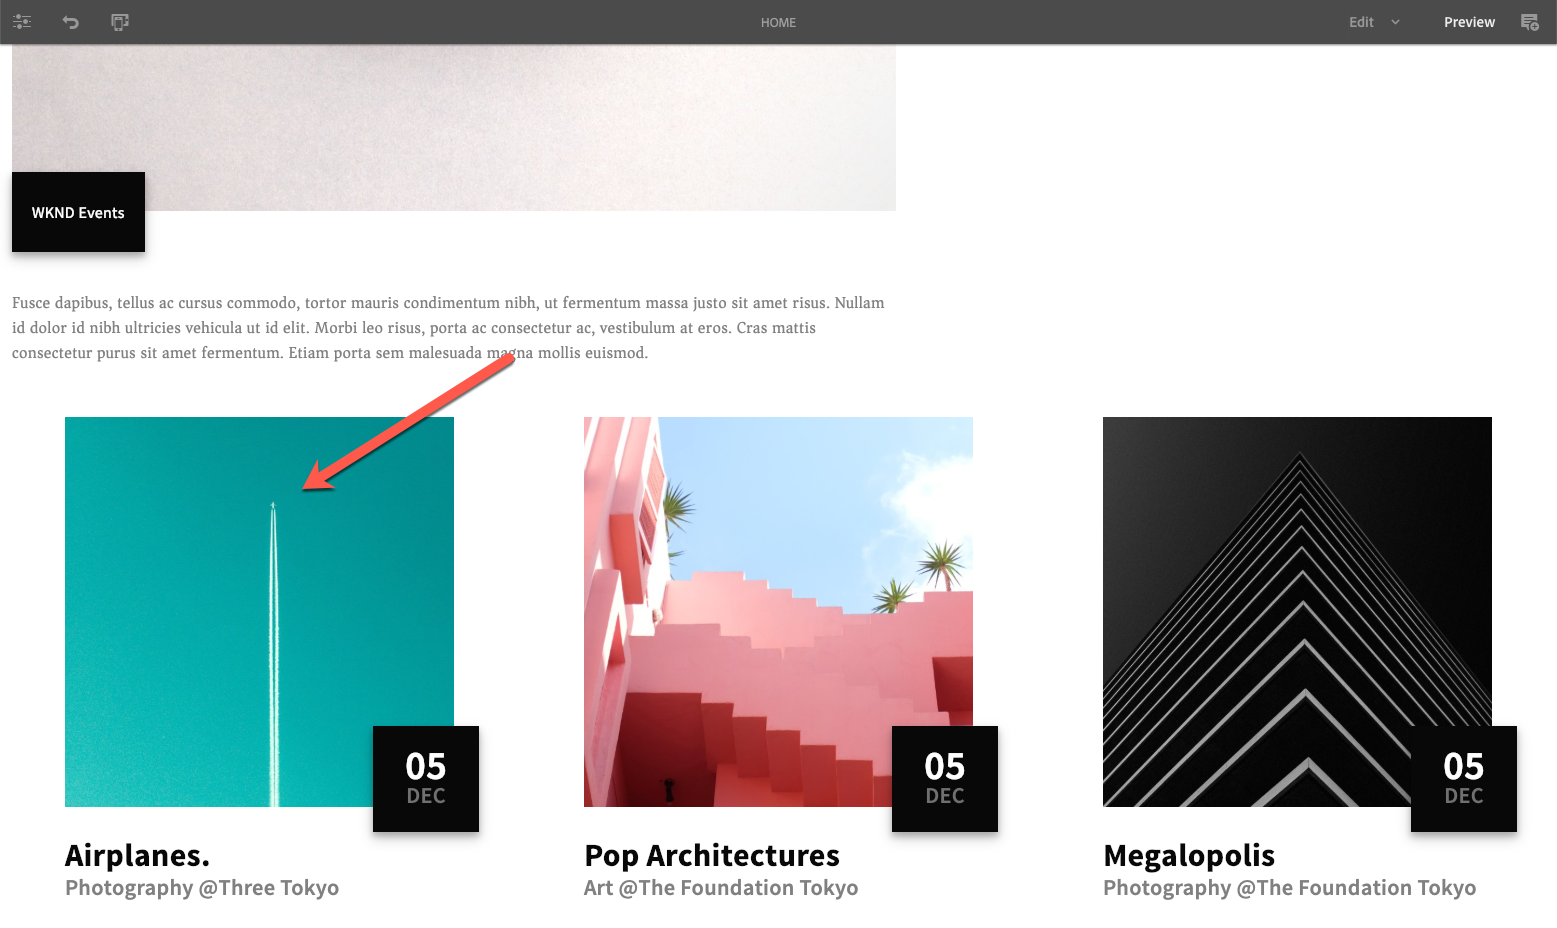
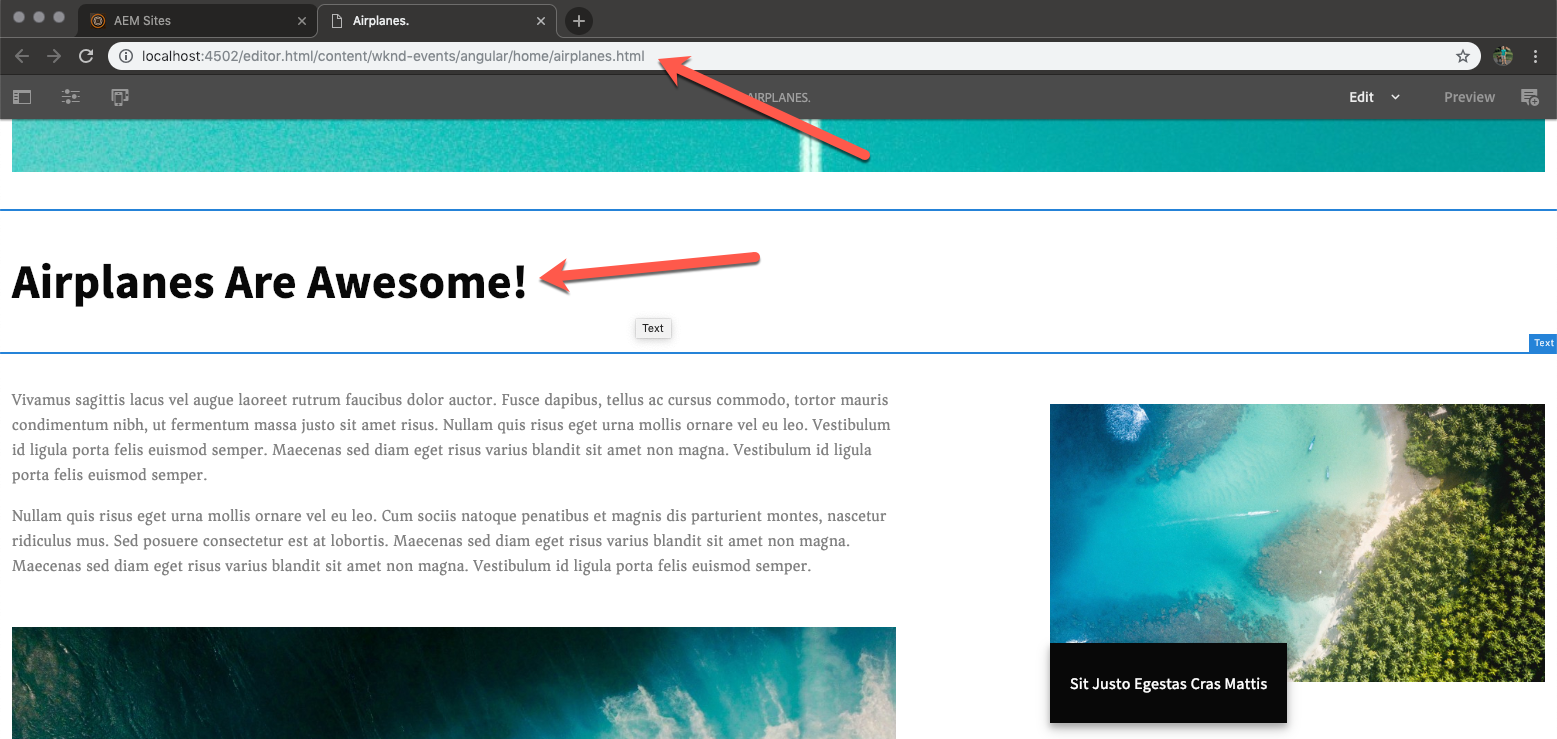
Let's take a look at the initial state of the SPA and see how authoring can be achieved.
http://localhost:4502/editor.html/content/wknd-events/angular/home.html
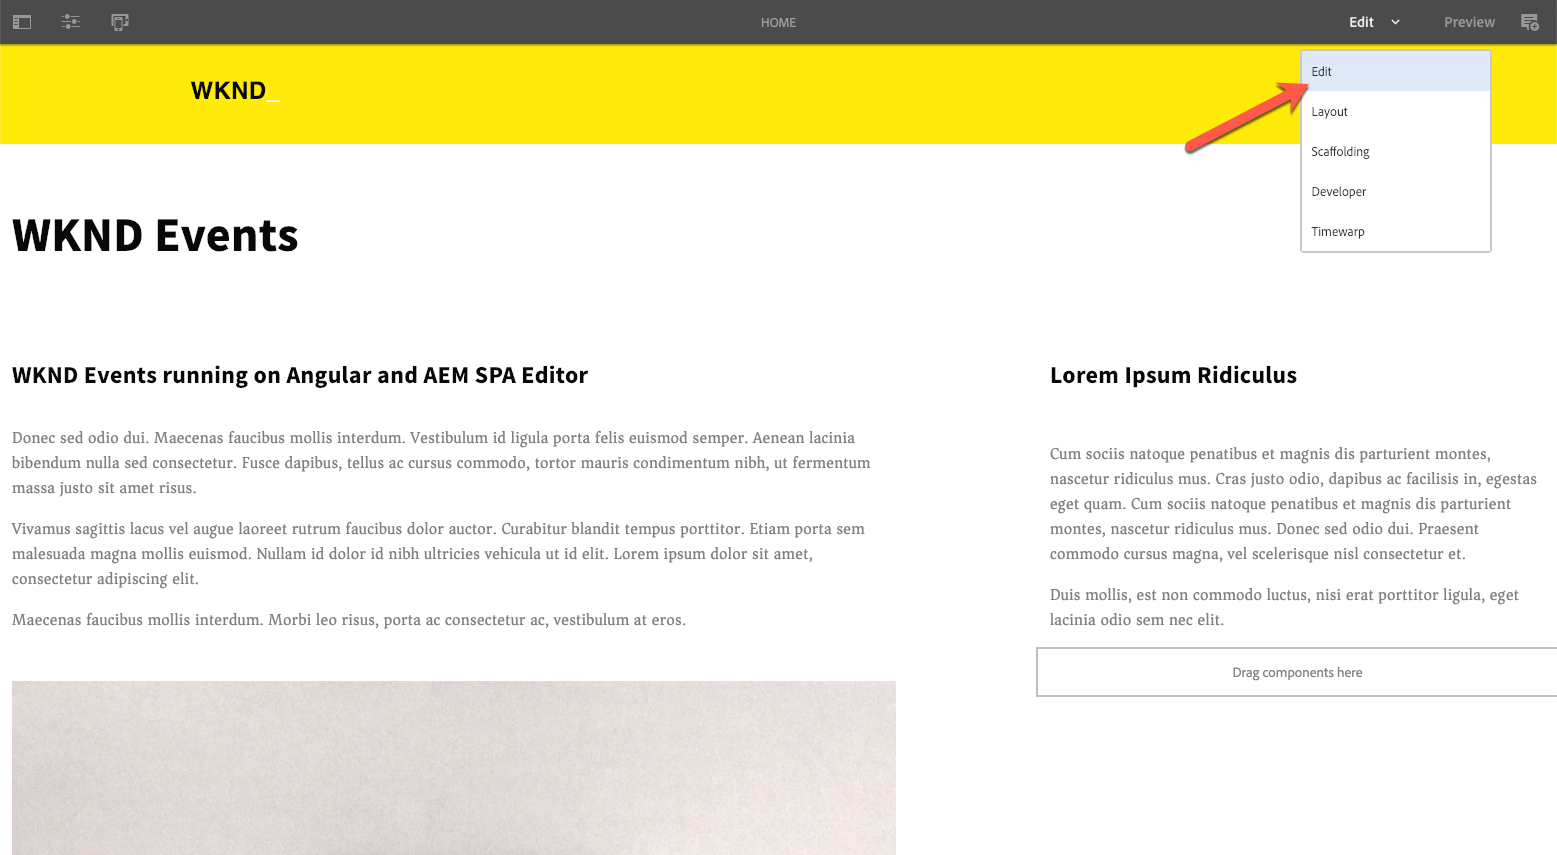
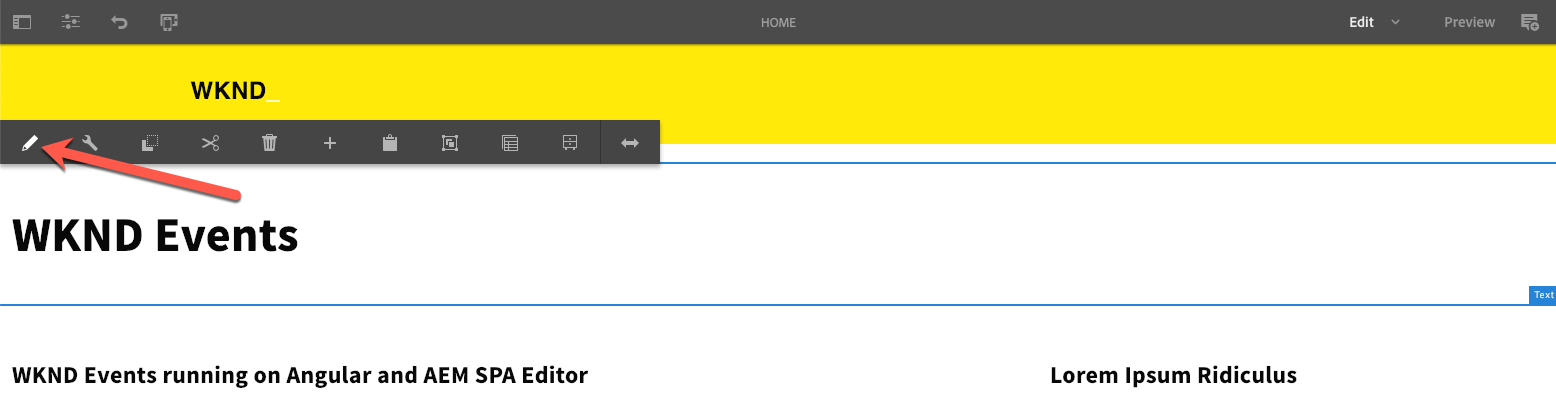
You'll notice authoring the initial state of SPA is very similar to the way you would author a typical MPA.
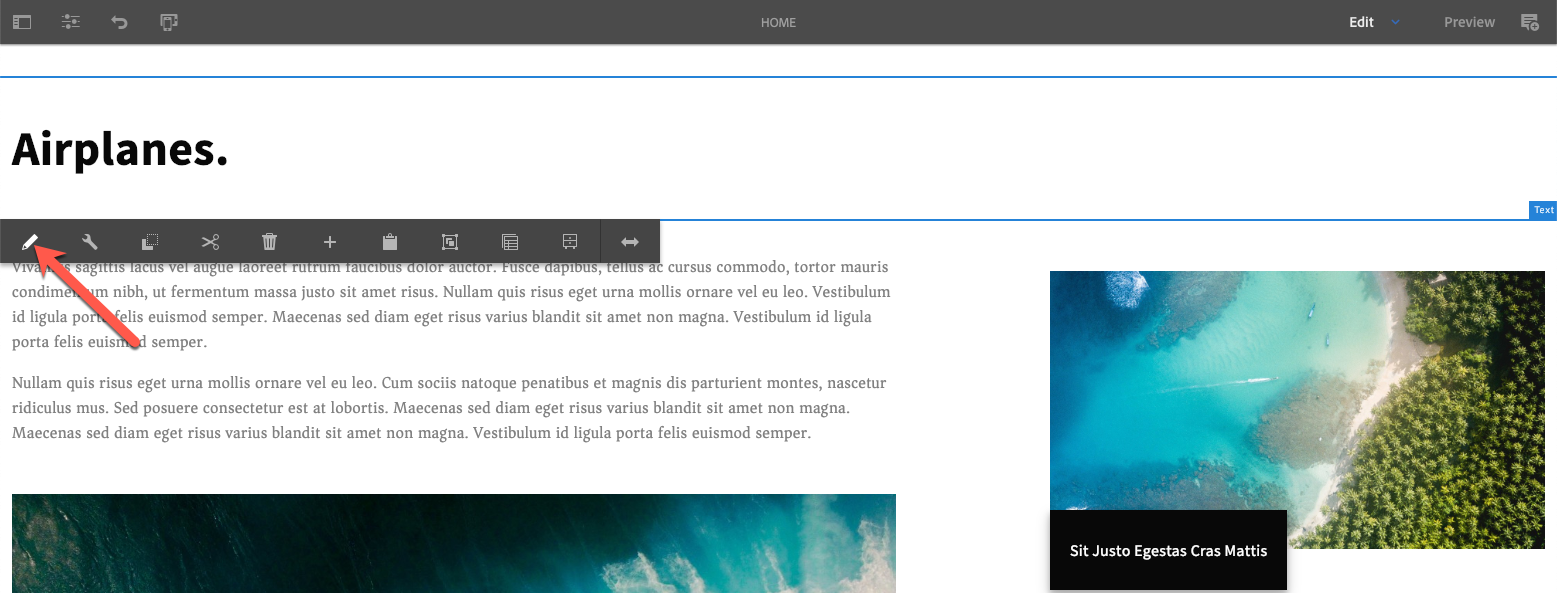
Now let's take a look at authoring content within subsequent states of the SPA.
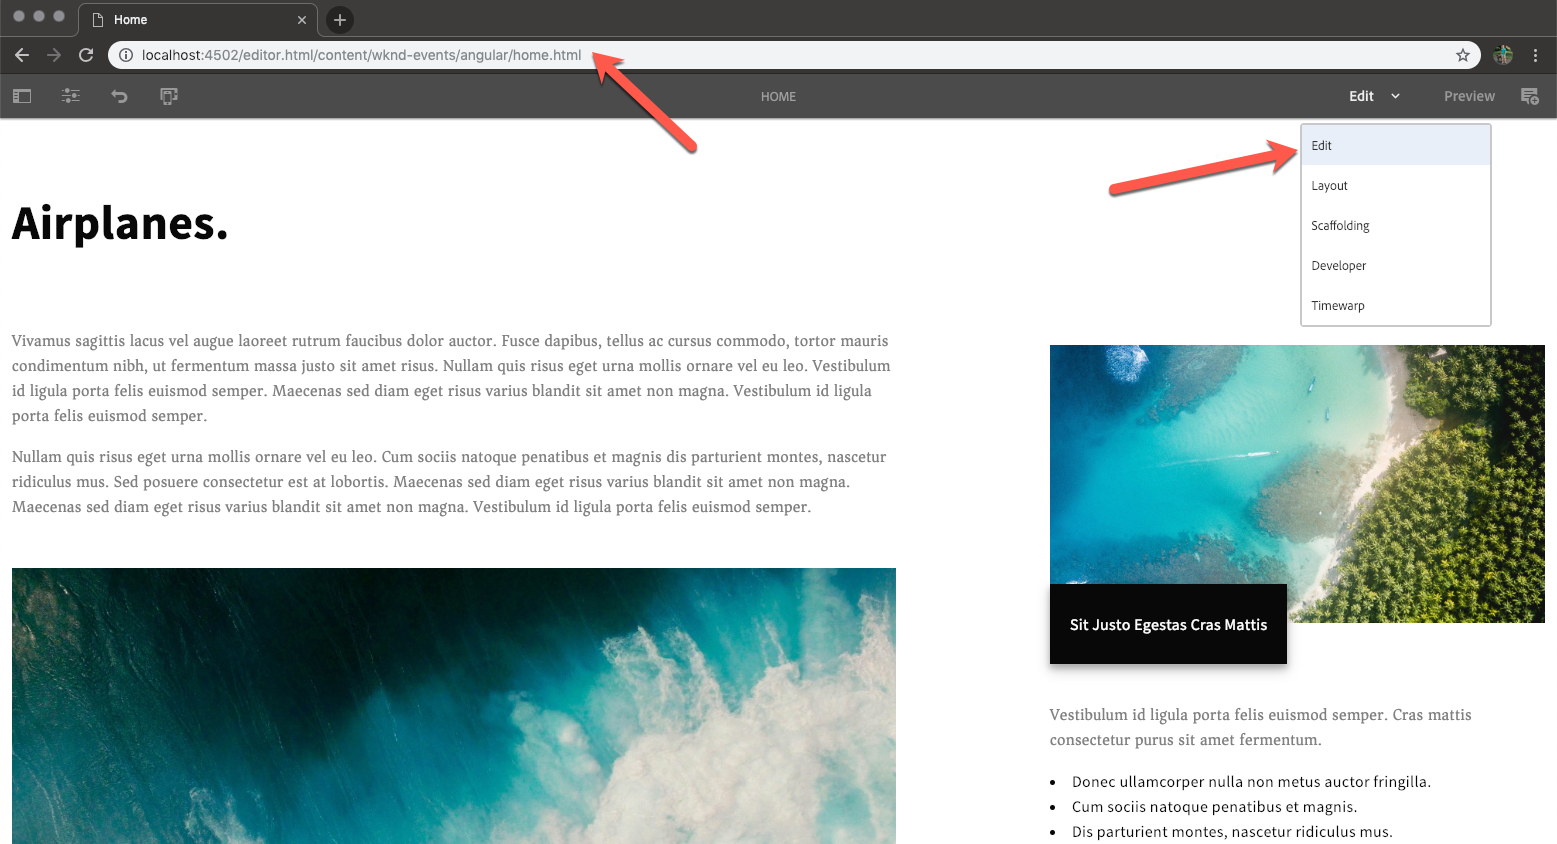
Notice that you are now authoring different content; however, the URL in the editor has not changed.

Make note of the changes you made here as we will verify these shortly.
Open the Sites menu by navigating to:
Navigate to WKND Events > Angular App > Home > Airplanes. (or whichever even you edited).
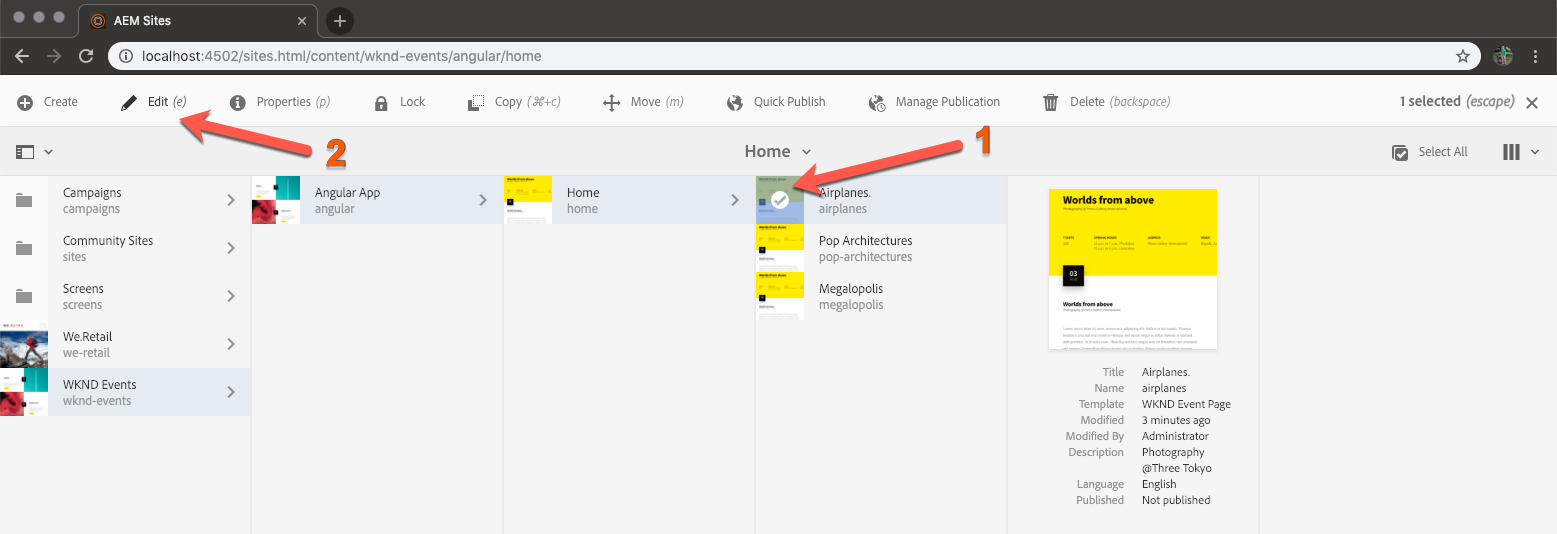
Notice that the same content you edited in Step 4 is present, but the URL is different. This is due to the fact that while authoring separates the content out into pages, all of the content is actually part of a single application when published or previewed.
Now let's take a look at how we can create modular content using Content Fragments.
This lesson covers authoring an Event Fragment (a component which renders WKND Event Content Fragments) as well as editing a Content Fragment Model and its associated Content Fragments.
We would like to structure our content fragments, author them, and render them in our SPA.
In this exercise, we will take a look at how Content Fragments can added to / rendered on the page using the Event Fragment component.
Open the initial state ("Home") of the SPA for editing.
http://localhost:4502/editor.html/content/wknd-events/angular/home.html
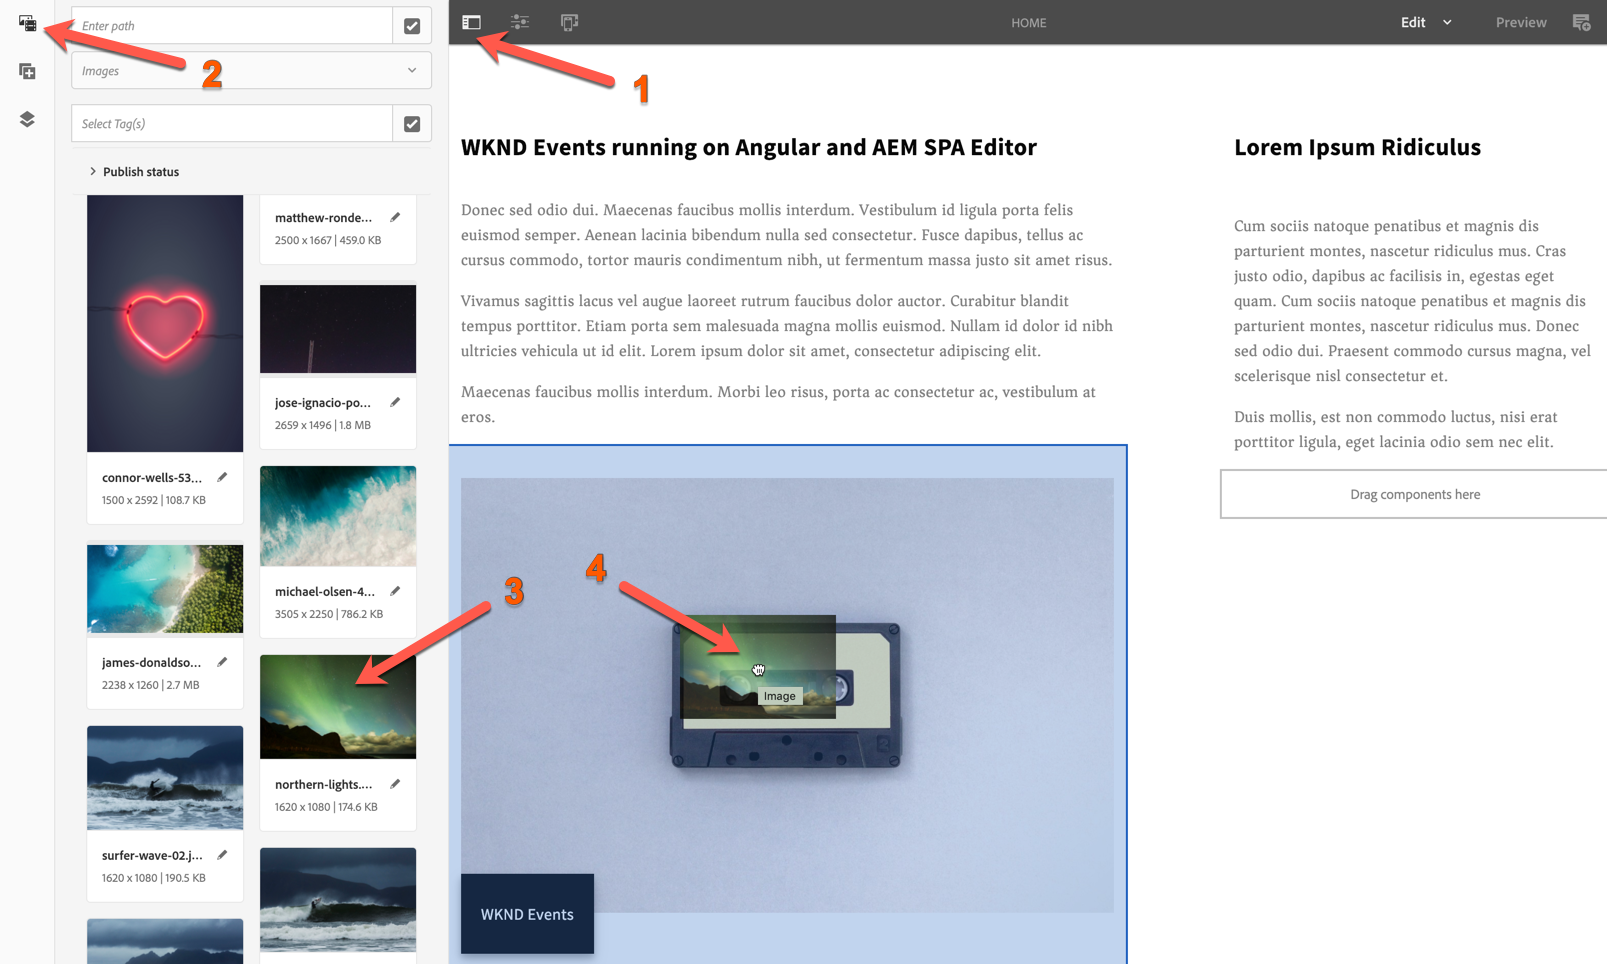
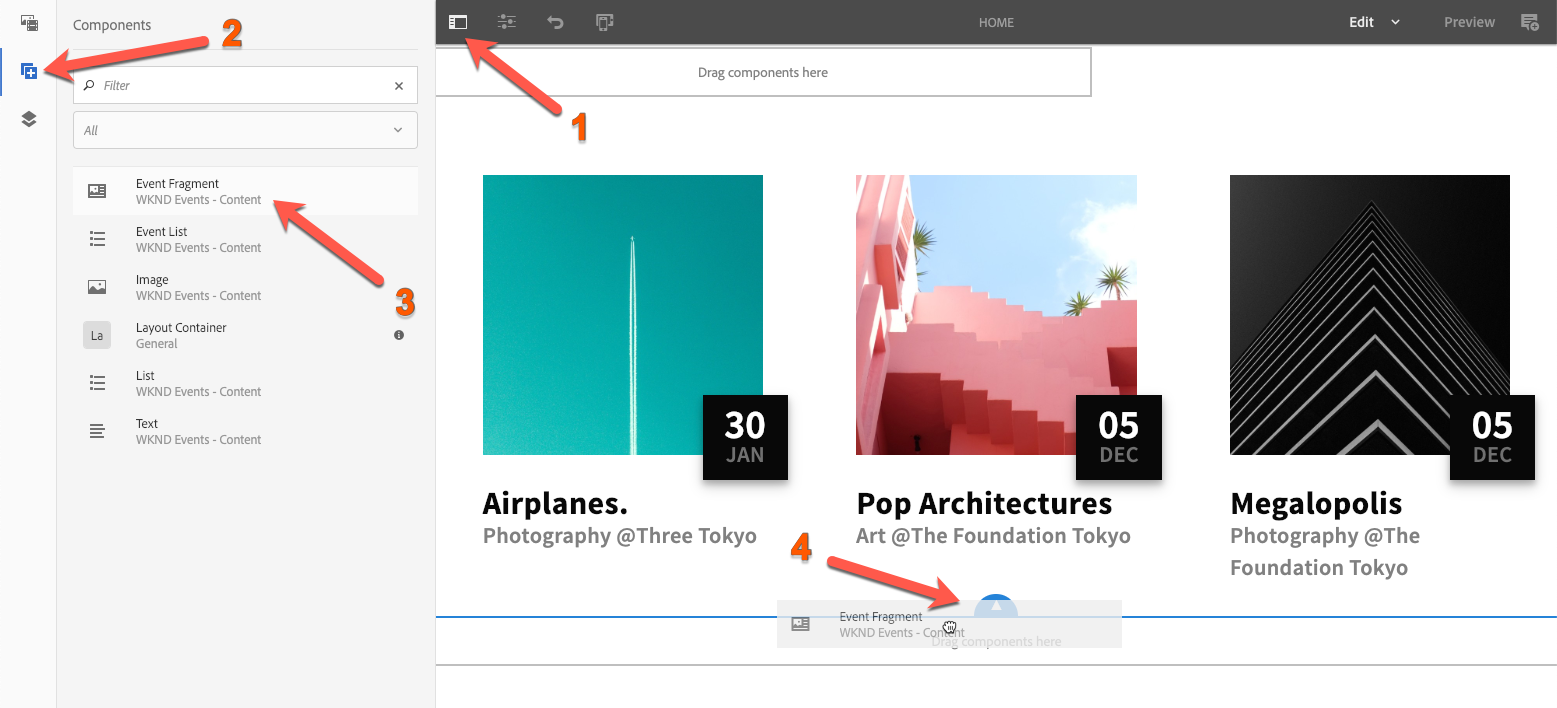
TODO: Insert image of editor open with the sidebar expanded
Open the component browser context within the sidebar and drag an "Event Fragment" component to a layout container on the page.
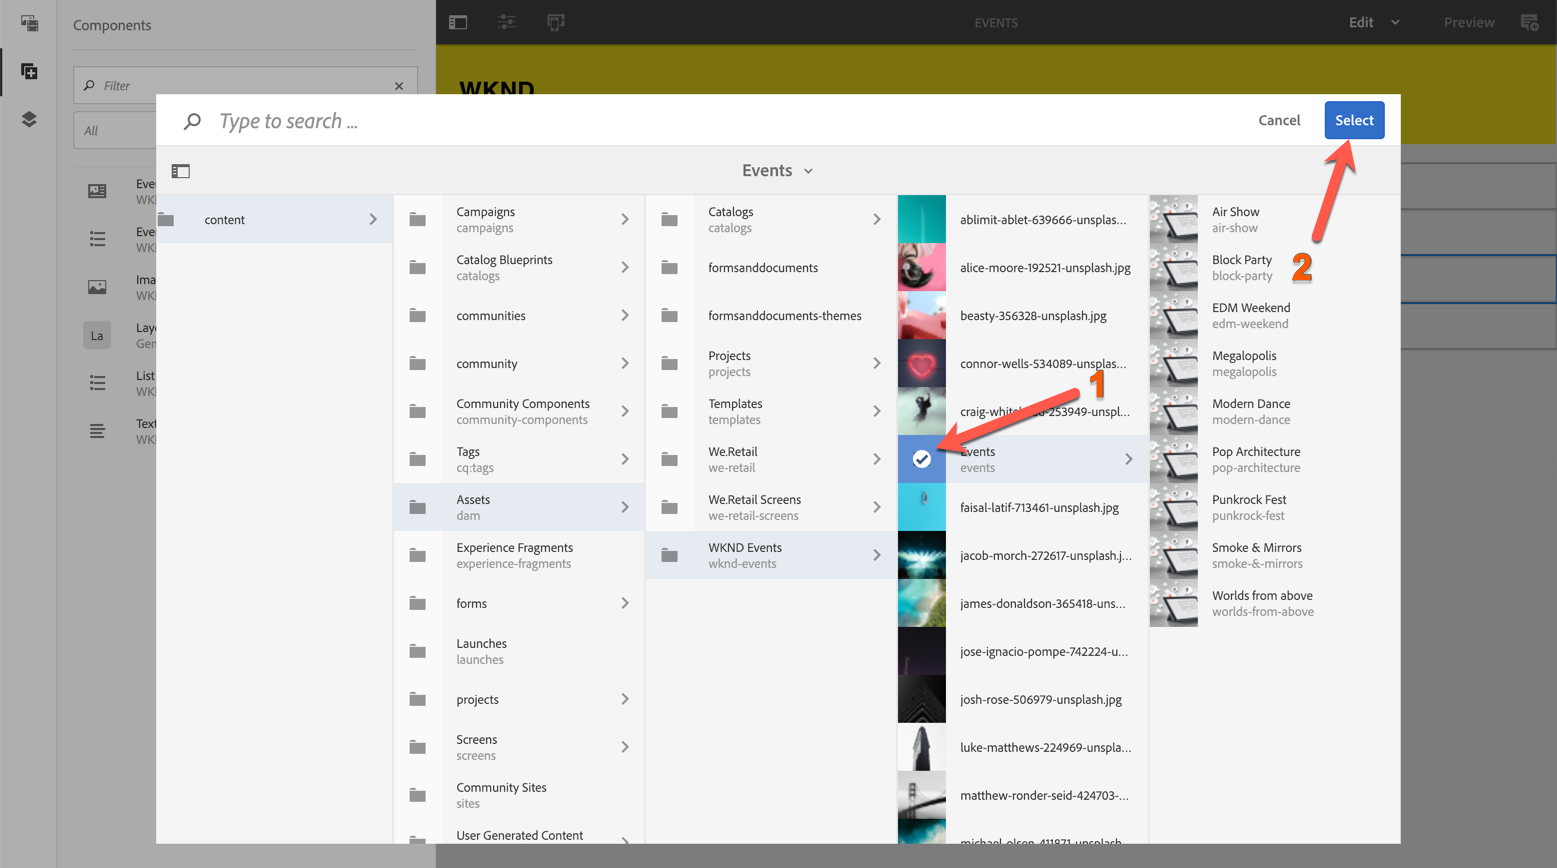
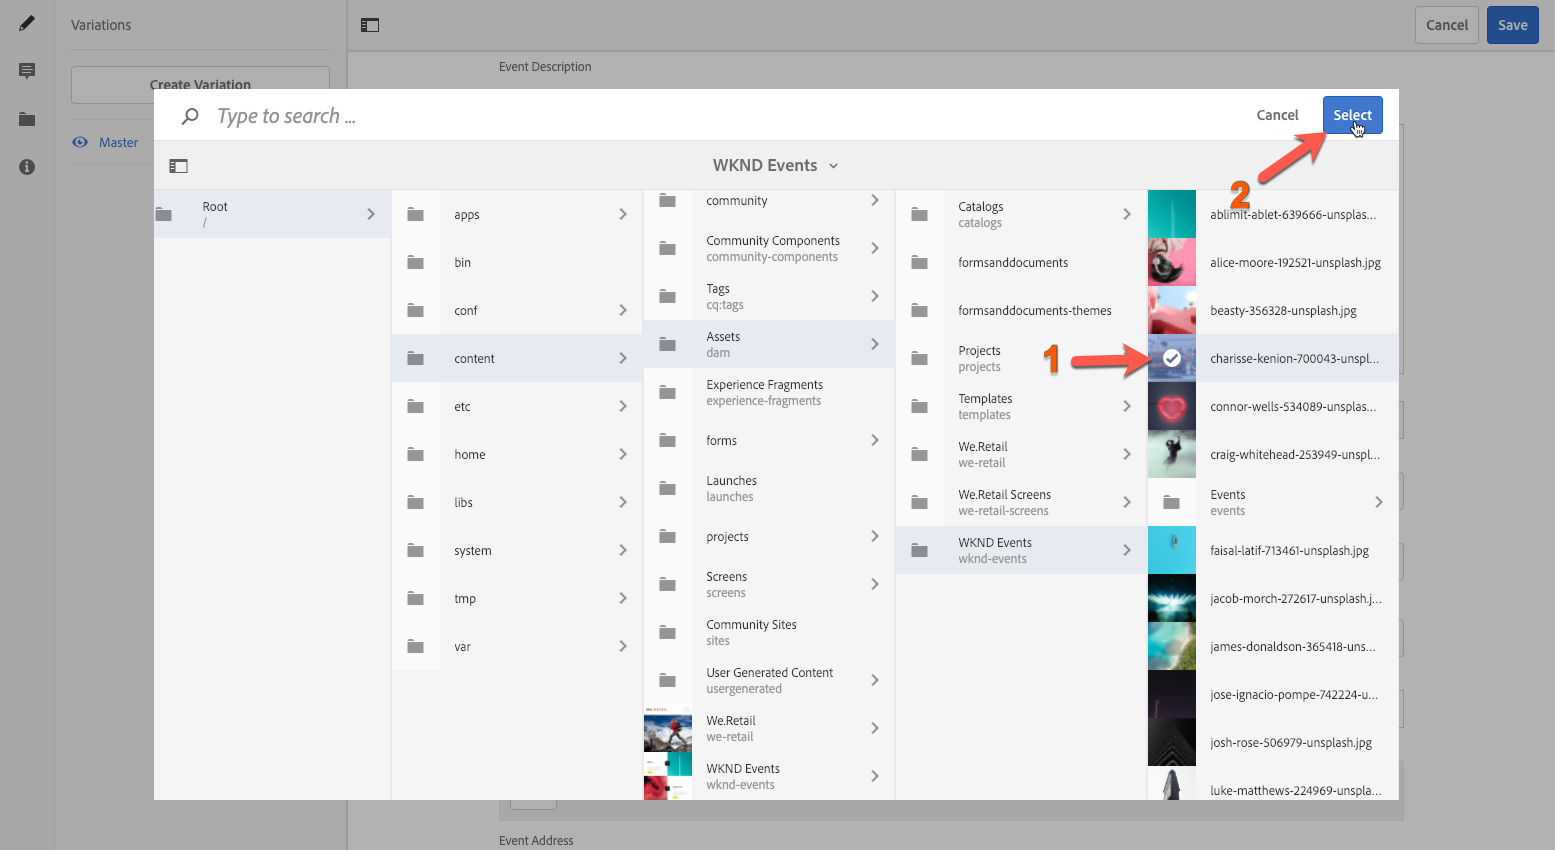
Open the asset finder context within the sidebar. Select "Content Fragment" from the asset type filter. Drag a Content Fragment asset on to the "Event Fragment" component on the page.
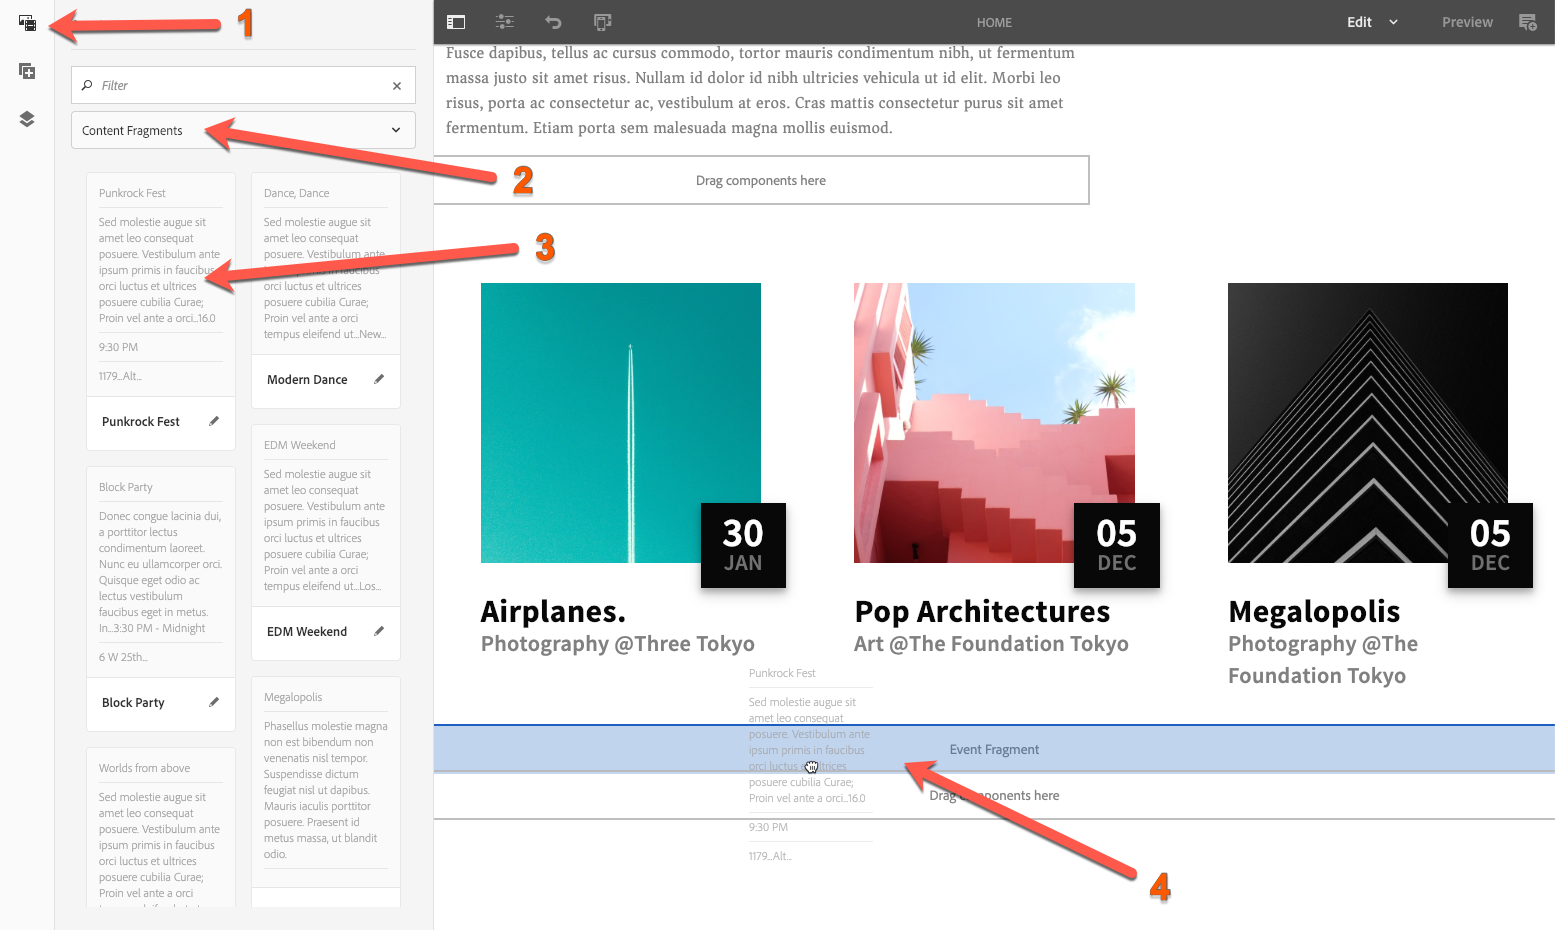
Note the name of the Content Fragment that you have selected as we will be modifying this asset in a later exercise.
In this exercise, we will take a look at how the model for the WKND Event Content Fragment is defined.
To view the WKND Event Content Fragment Model:
Open the Main Menu
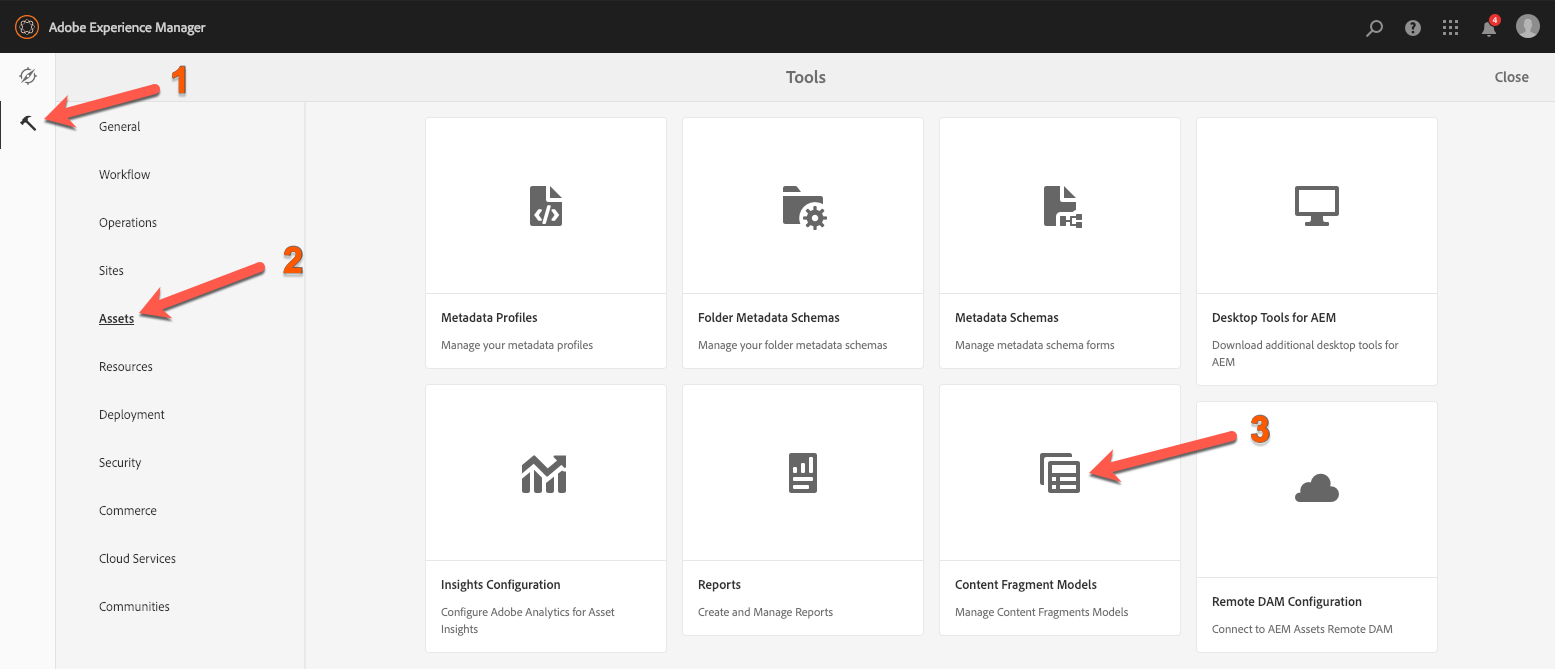
Navigate to "Tools" > "Assets" > "Content Fragment Models"
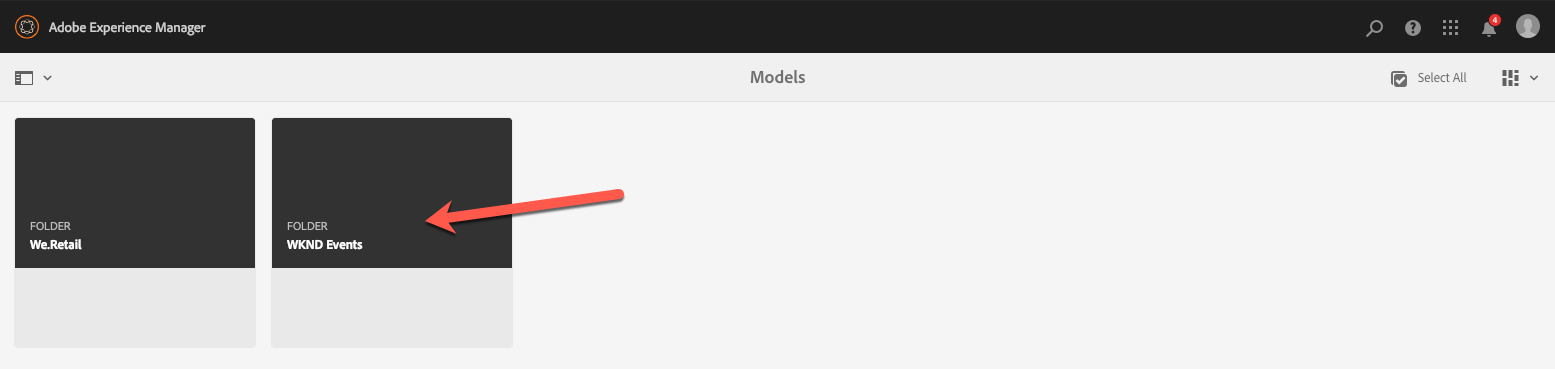
Click on the "WKND Events" folder
Select the "WKND Event" Content Fragment Model and click "Edit"
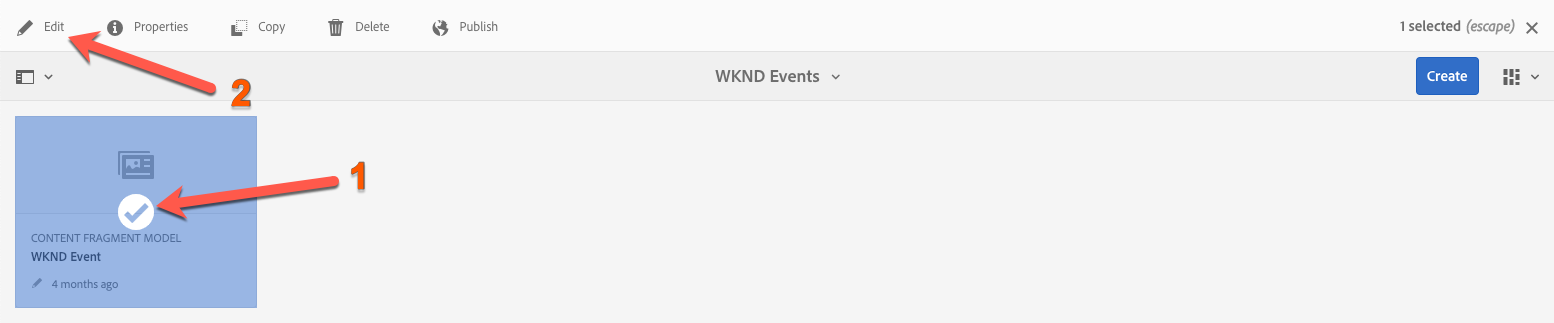
The "WKND Event" Content Fragment Model should now be open in the editor. In the editor, you will notice:
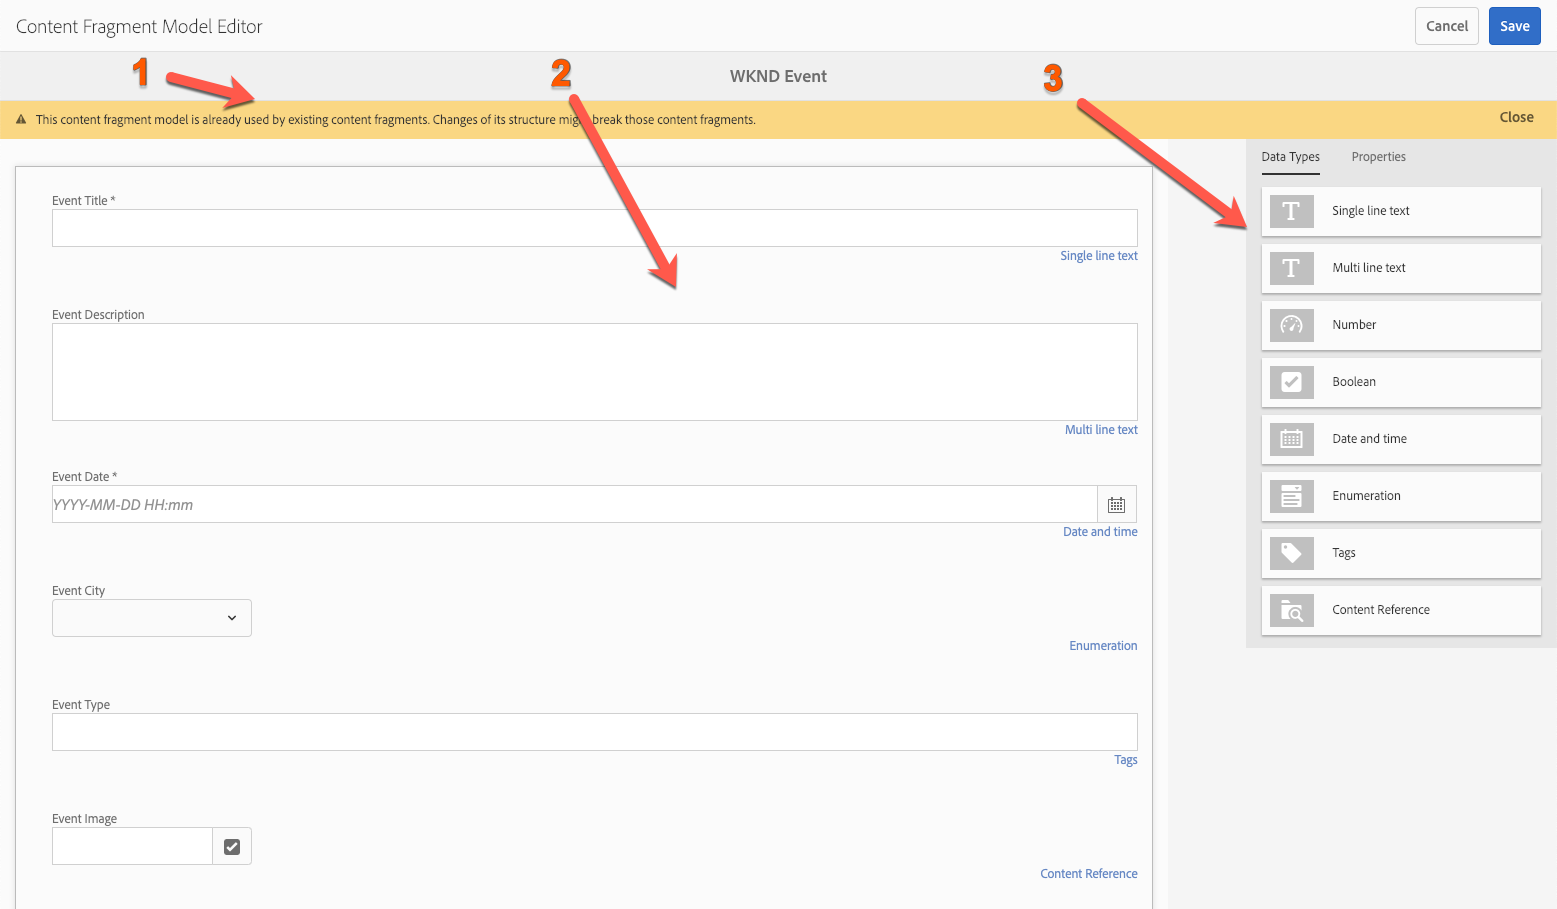
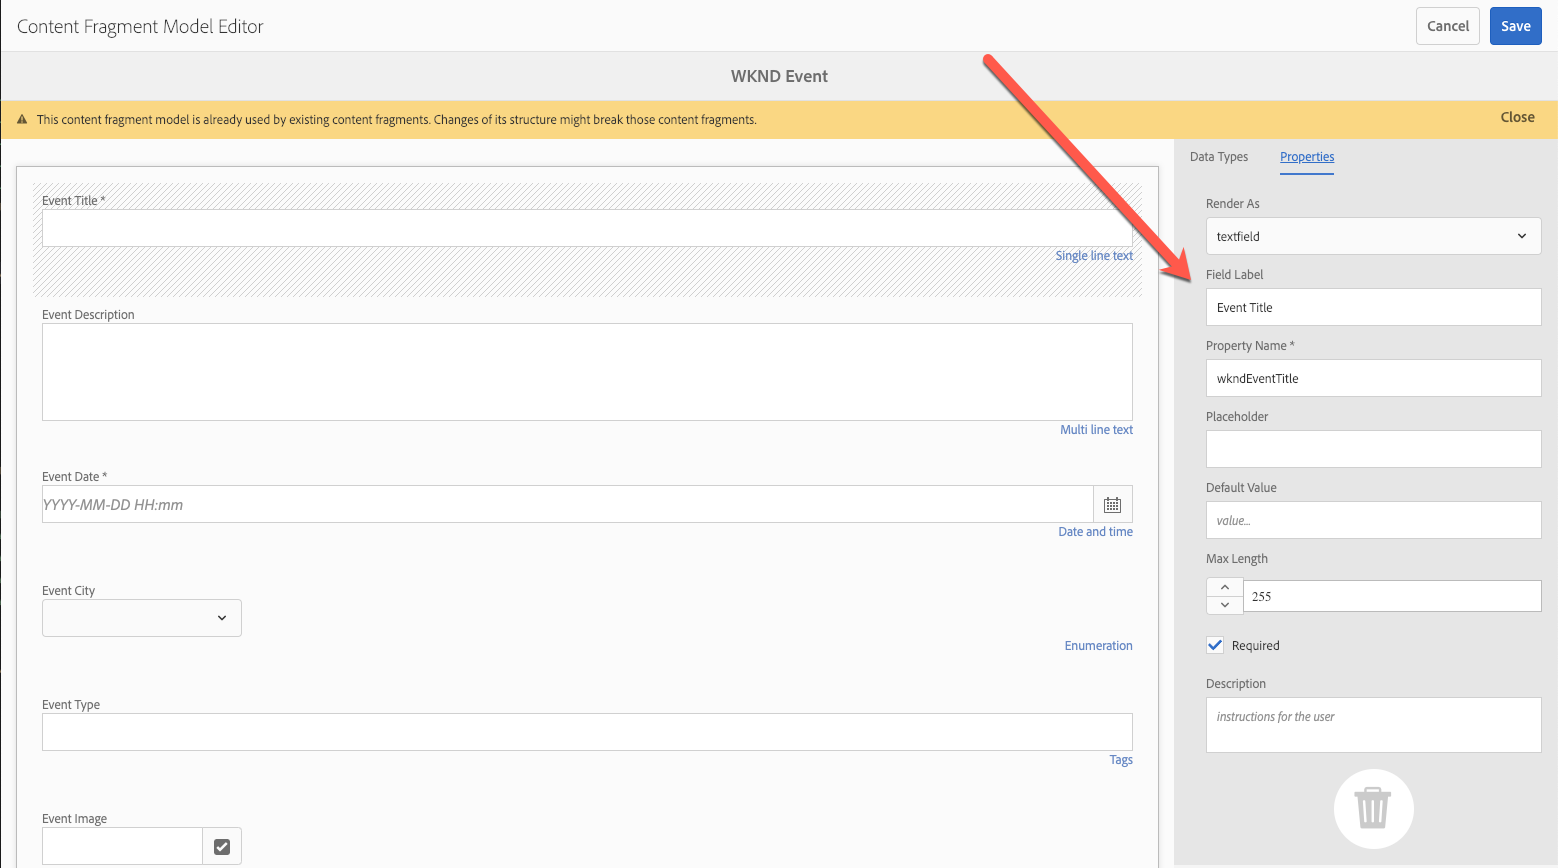
Within this editor, new properties can be added to the Content Fragment Model and configured. In the next exercise, you will see how the Content Fragment Model drives the authoring experience for Content Fragments.
In this exercise, we will take a look at how Content Fragments are edited and how this editing affect existing components / content.
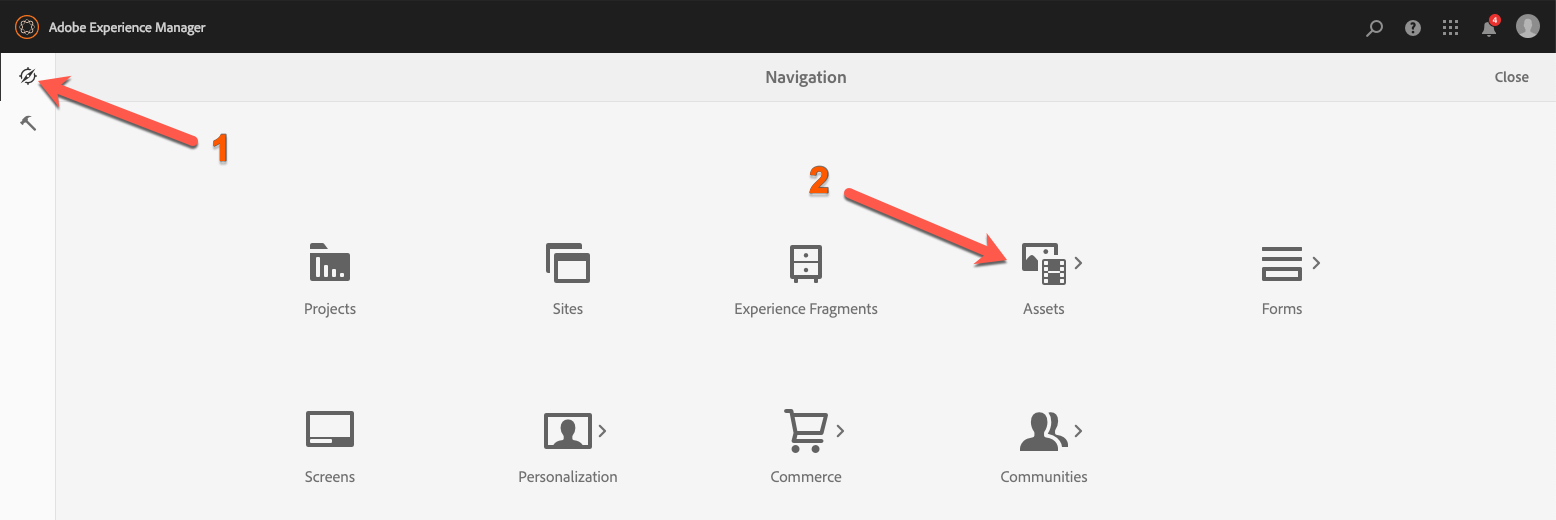
Open the Main Menu.
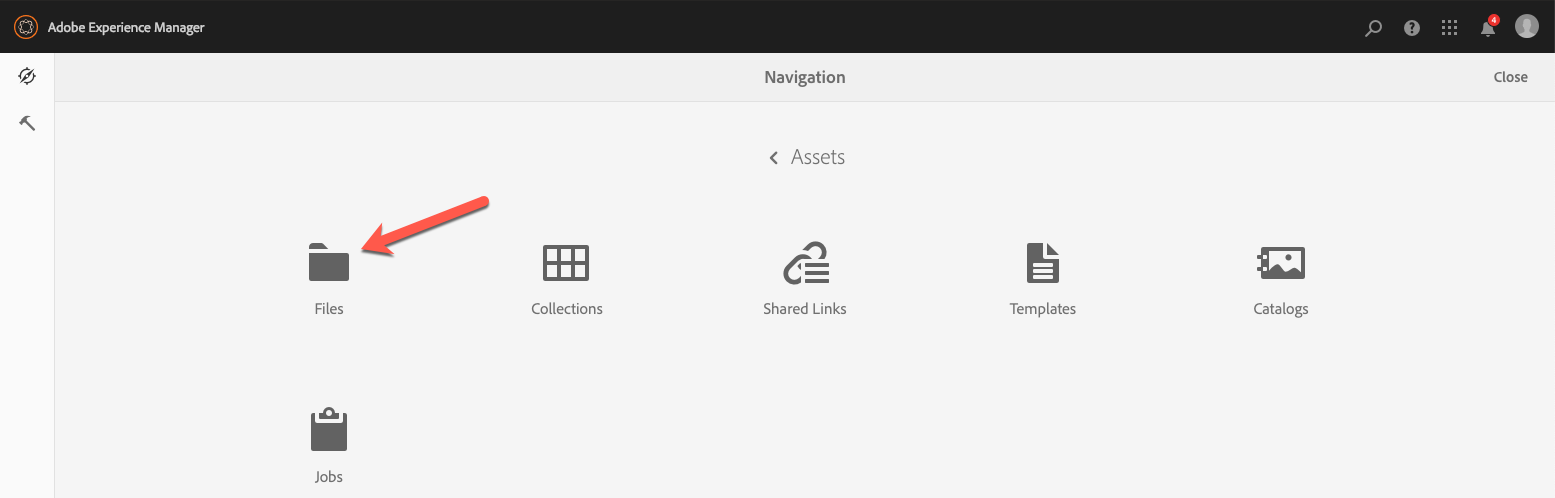
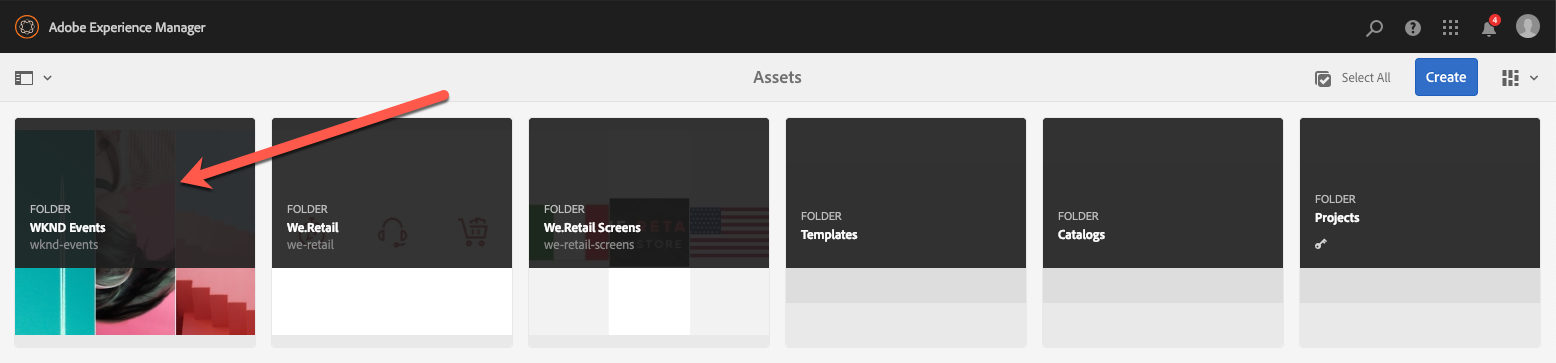
Navigate to "Navigation" > "Assets".
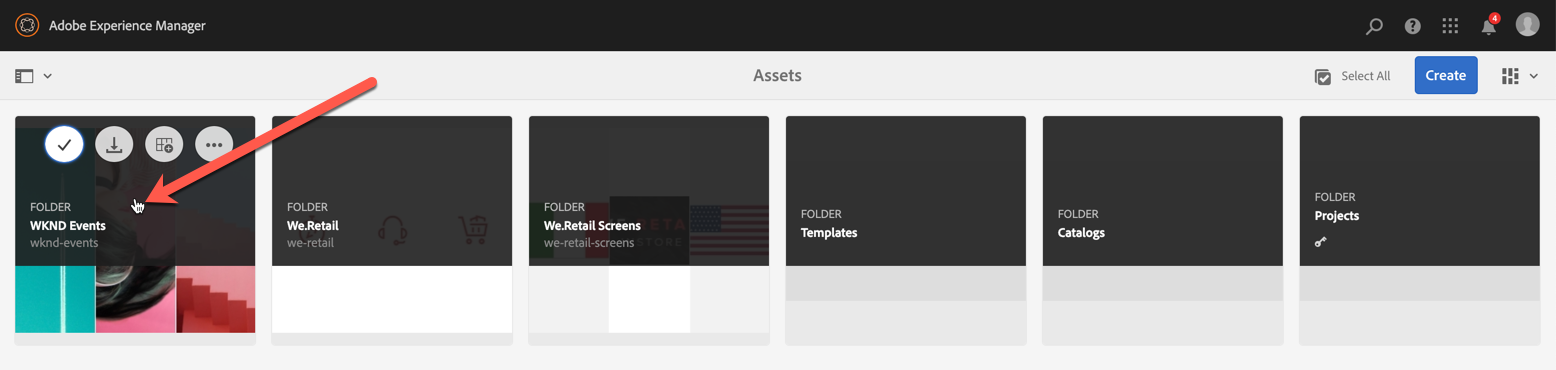
Select "Files".
Click "WKND Events".
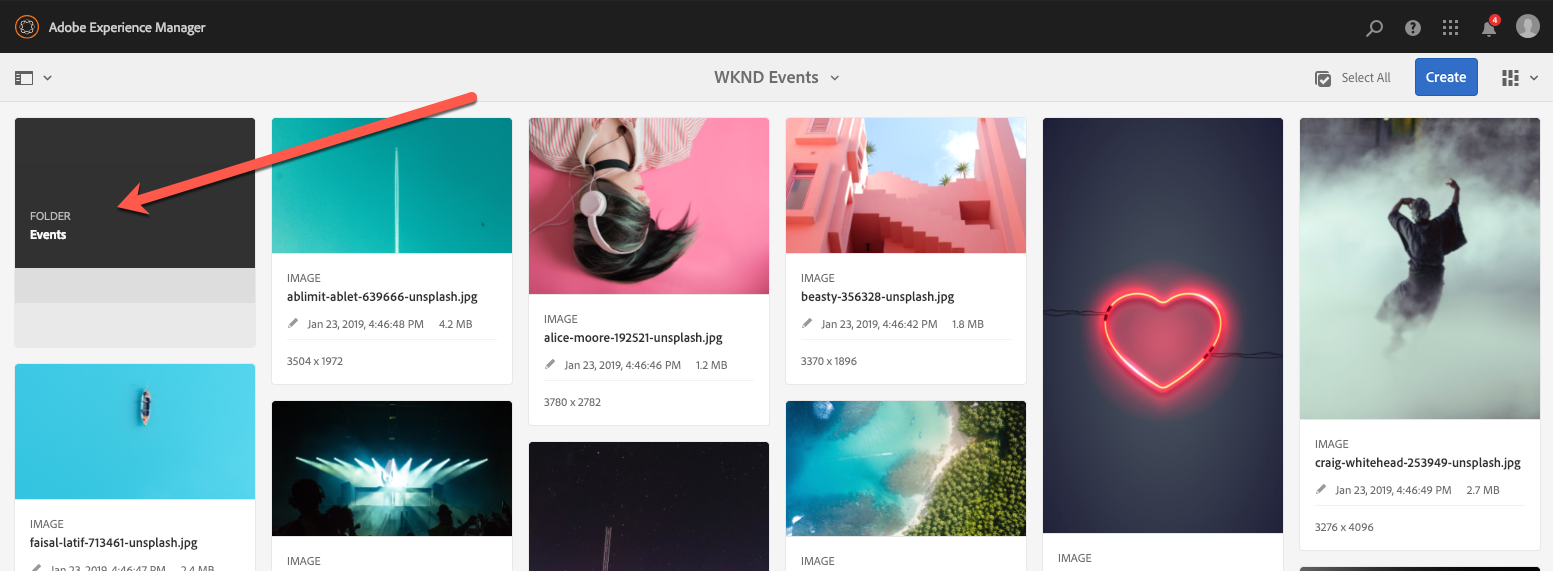
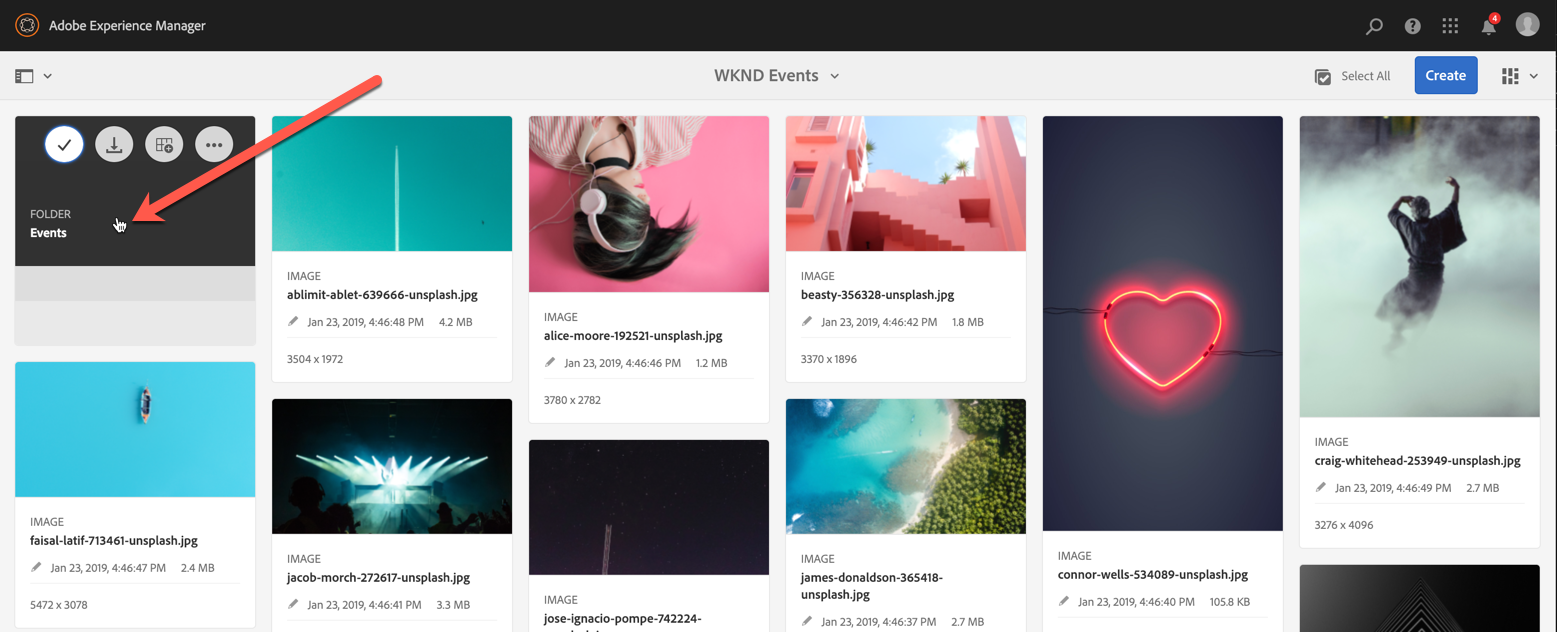
Click "Events".
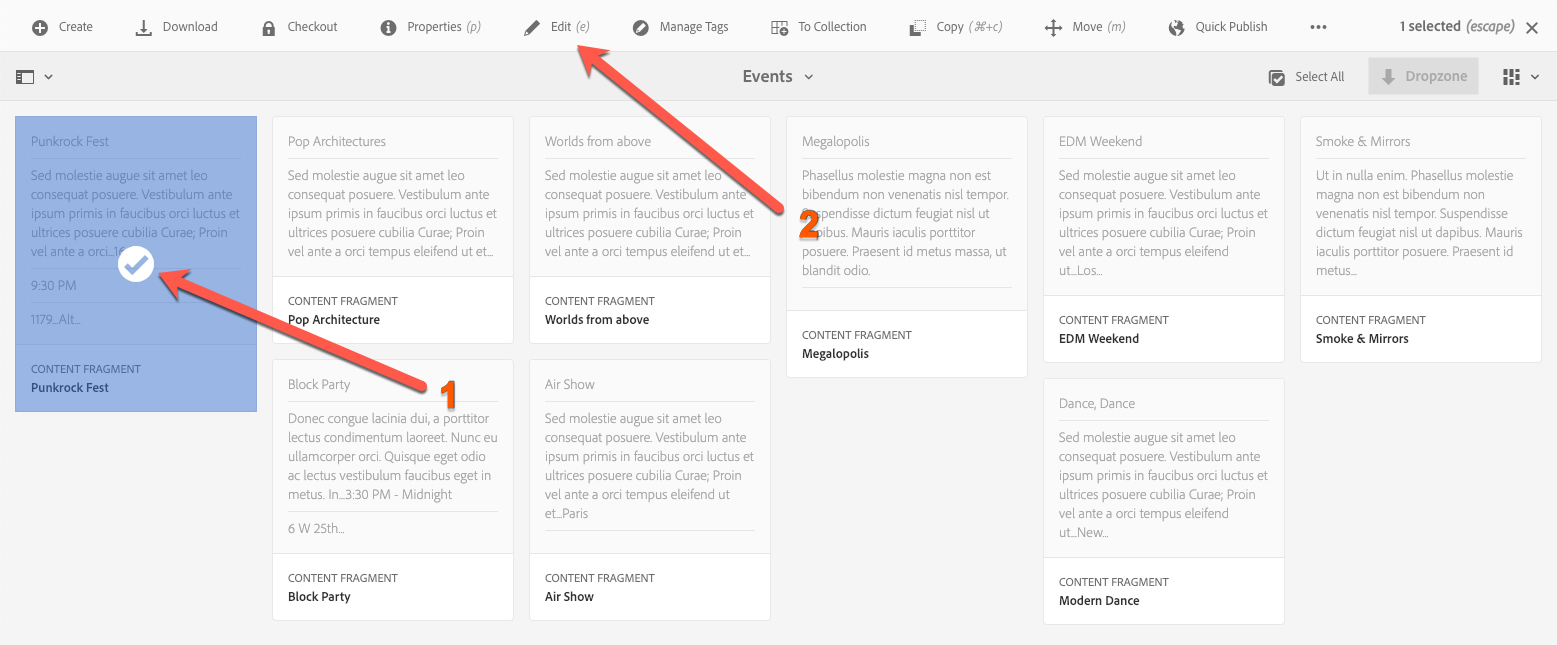
Select the Content Fragment you added to your Event Fragment (Exercise 2.1 - Step 2) & click "Edit".
Update the event description in the editor and click save.
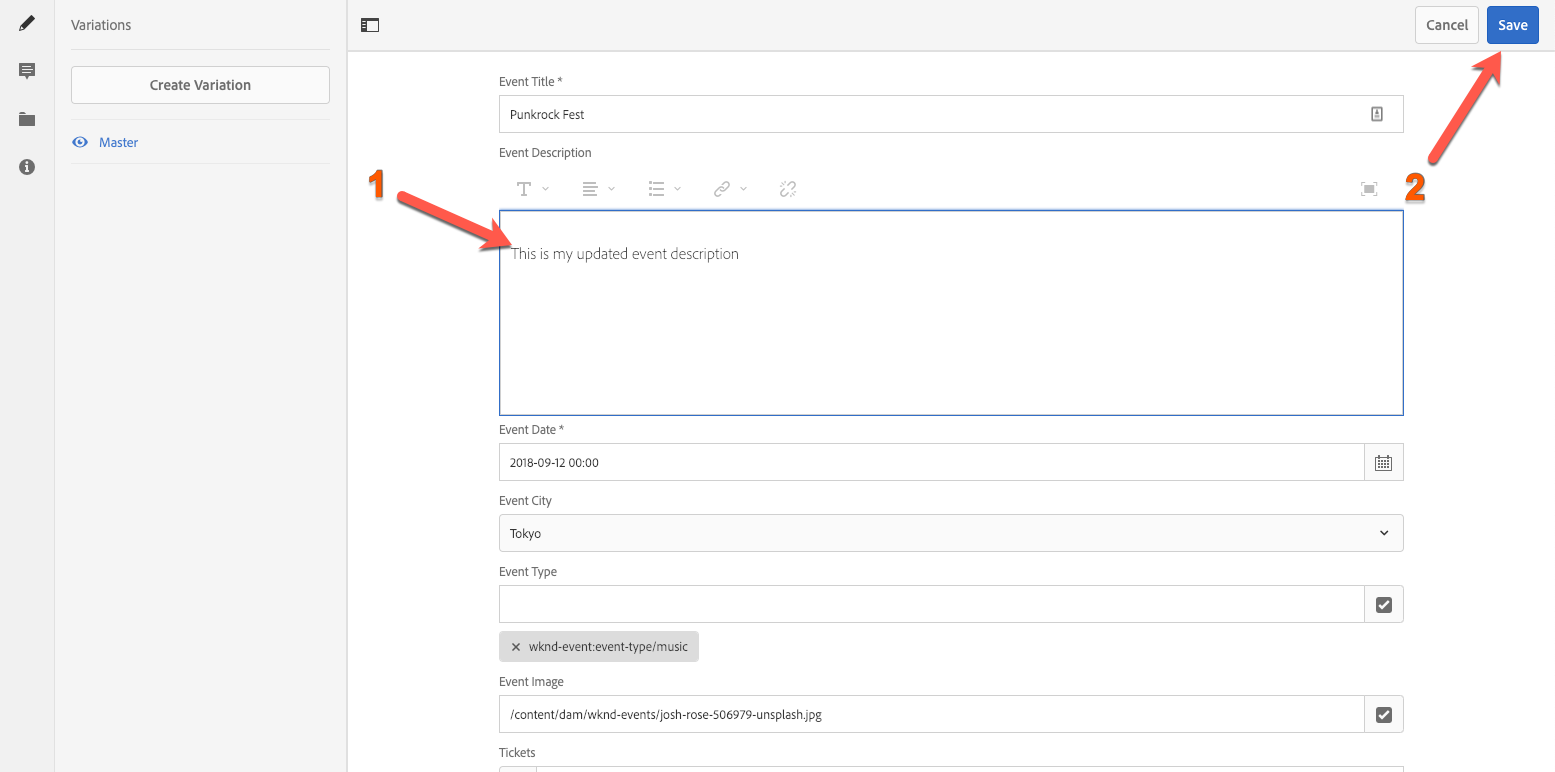
Notice that the editor contains all of the elements that we saw in the Content Fragment Model we looked at in Exercise 2.2.
Open the initial state ("Home") of the SPA for editing, again.
http://localhost:4502/editor.html/content/wknd-events/angular/home.html
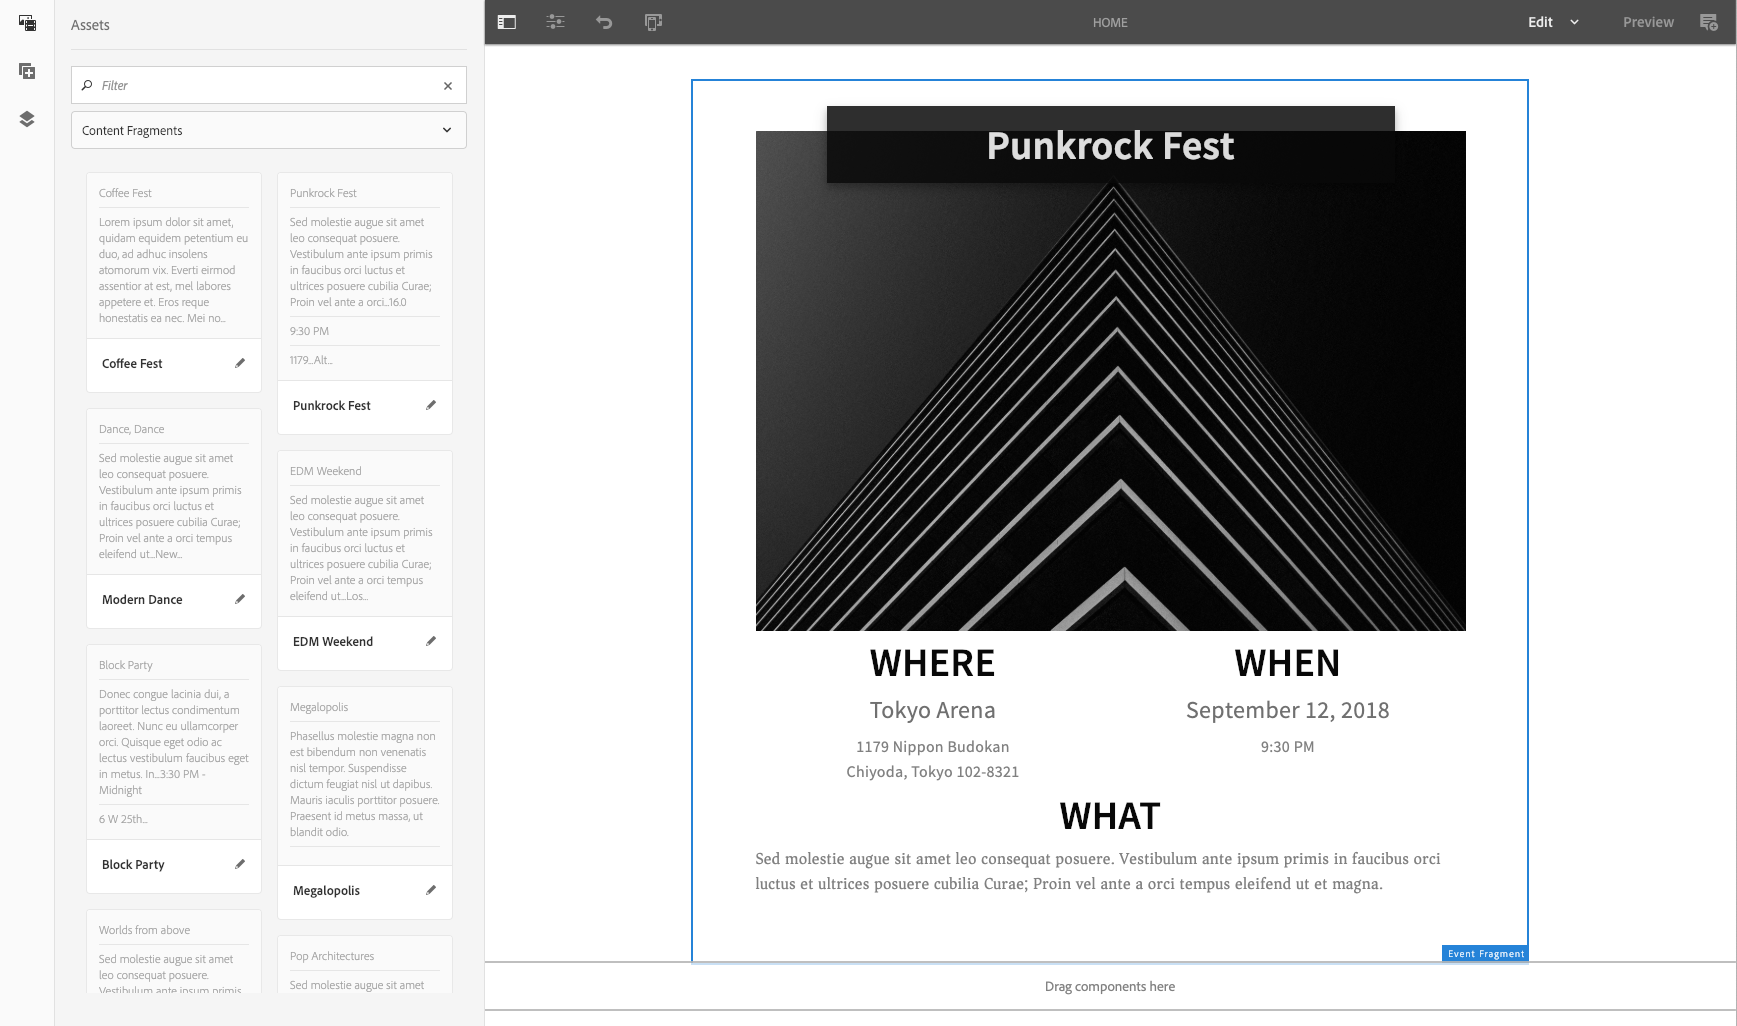
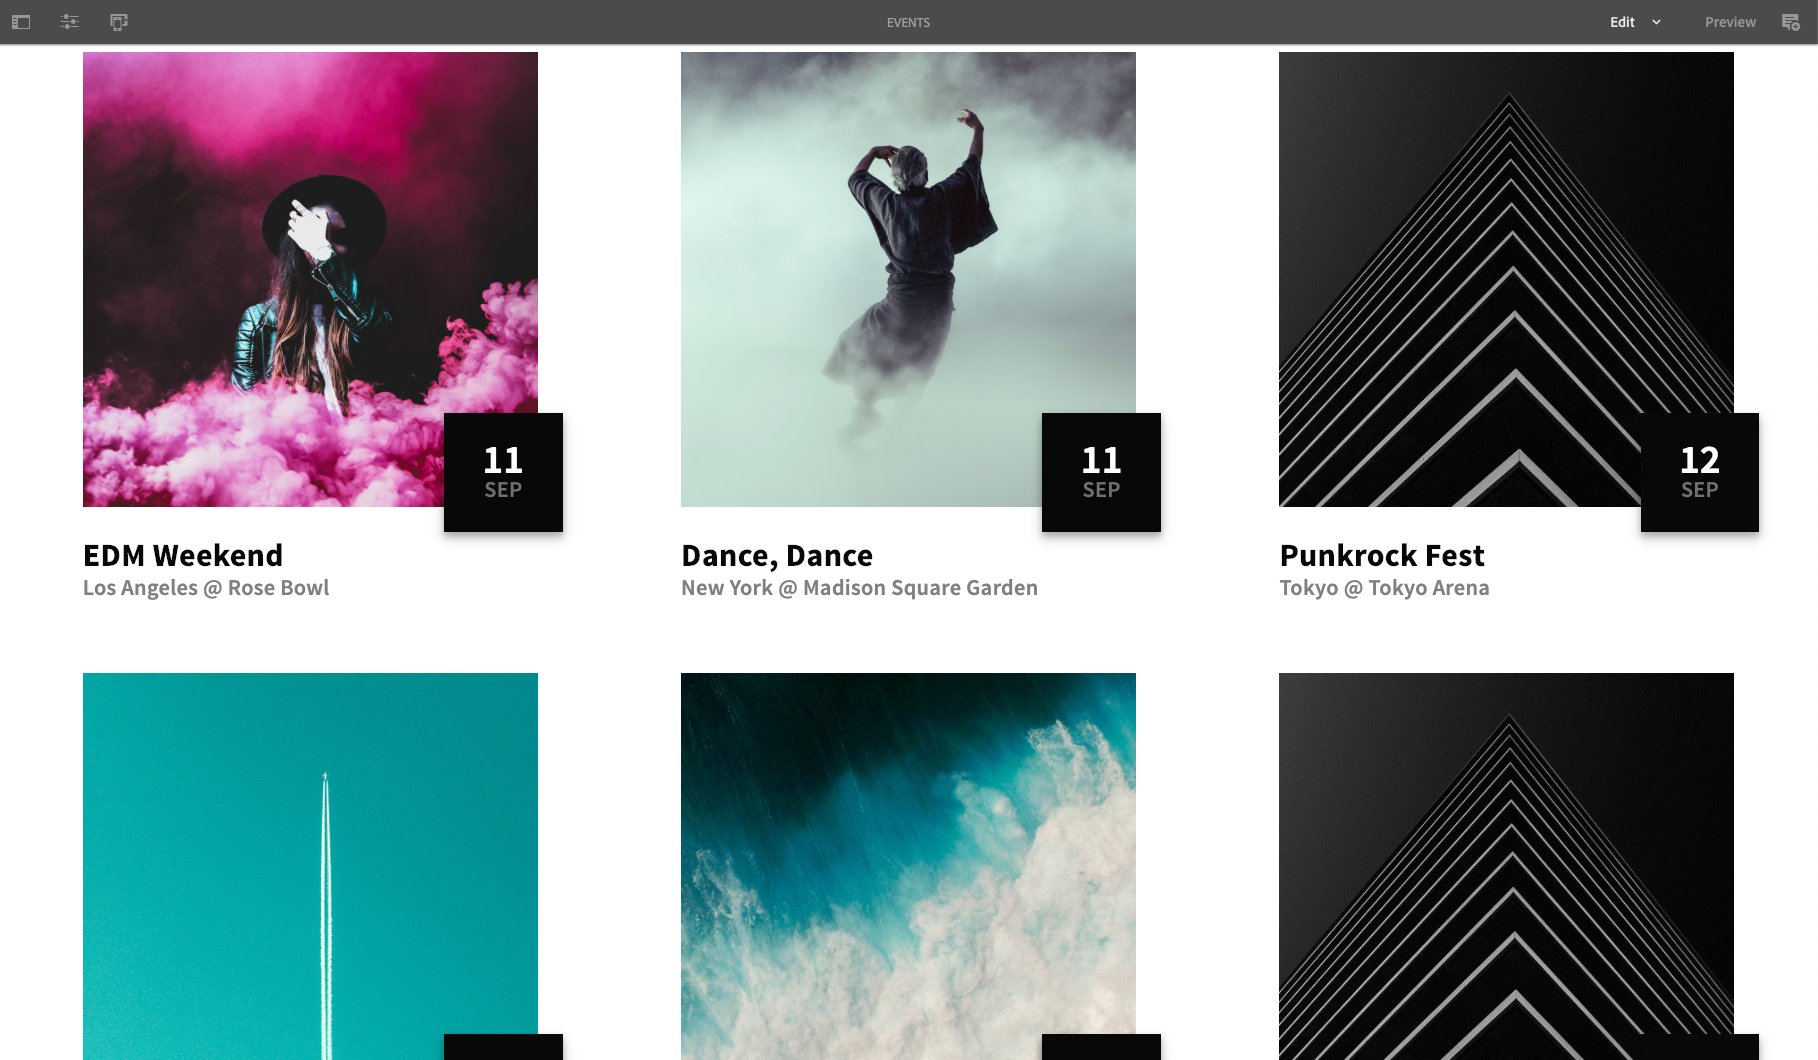
Take a look at the Event Fragment component that you configured in Exercise 2.1. You will notice that the changes you made in Step 3 have been propagated to the page.
Now let's take a look at how we can harness the power of Content Fragments to deliver a unified message everywhere.
This lesson shows how Content Fragments can be leveraged to provide updates in multiple locations just by updating a single asset. Easily allowing authors to provide a more unified message across channels & sites.
We would like to create an "Events" page, in our SPA, that renders new Events as their added without author intervention.
In this exercise, we will create an "Events" page to showcase all of our events (configured as Content Fragments).
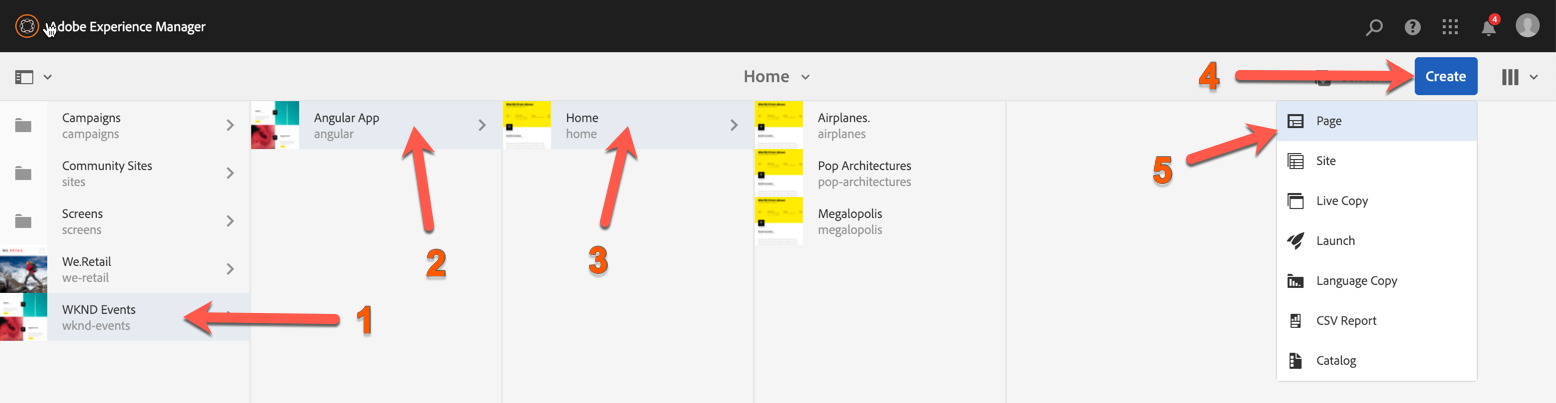
Open the Sites console
Navigate to "WKND Events" > "Angular App" > "Home". Click "Create" and select "Page".
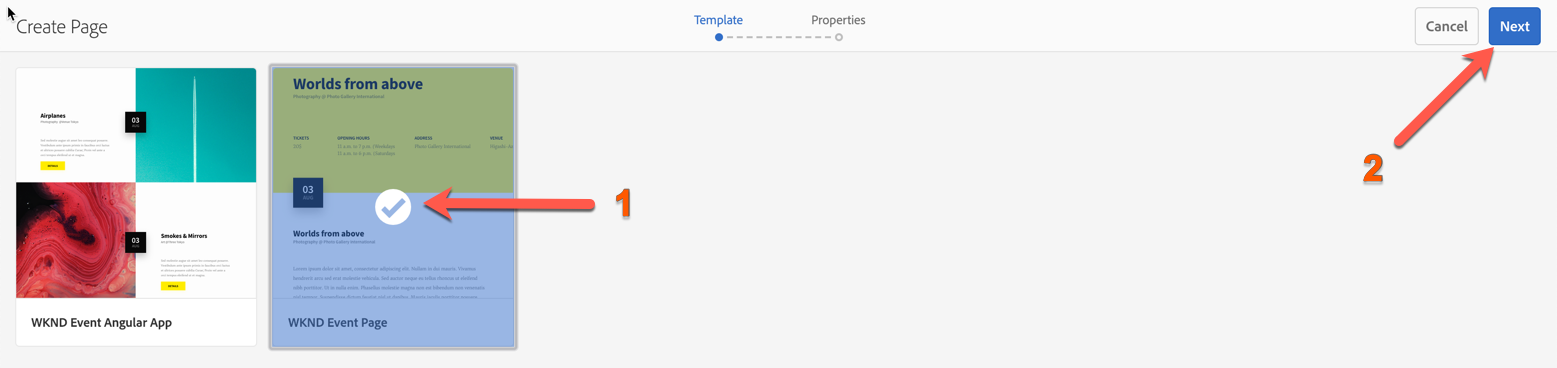
Select the "WKND Event Page" template and click "Next".
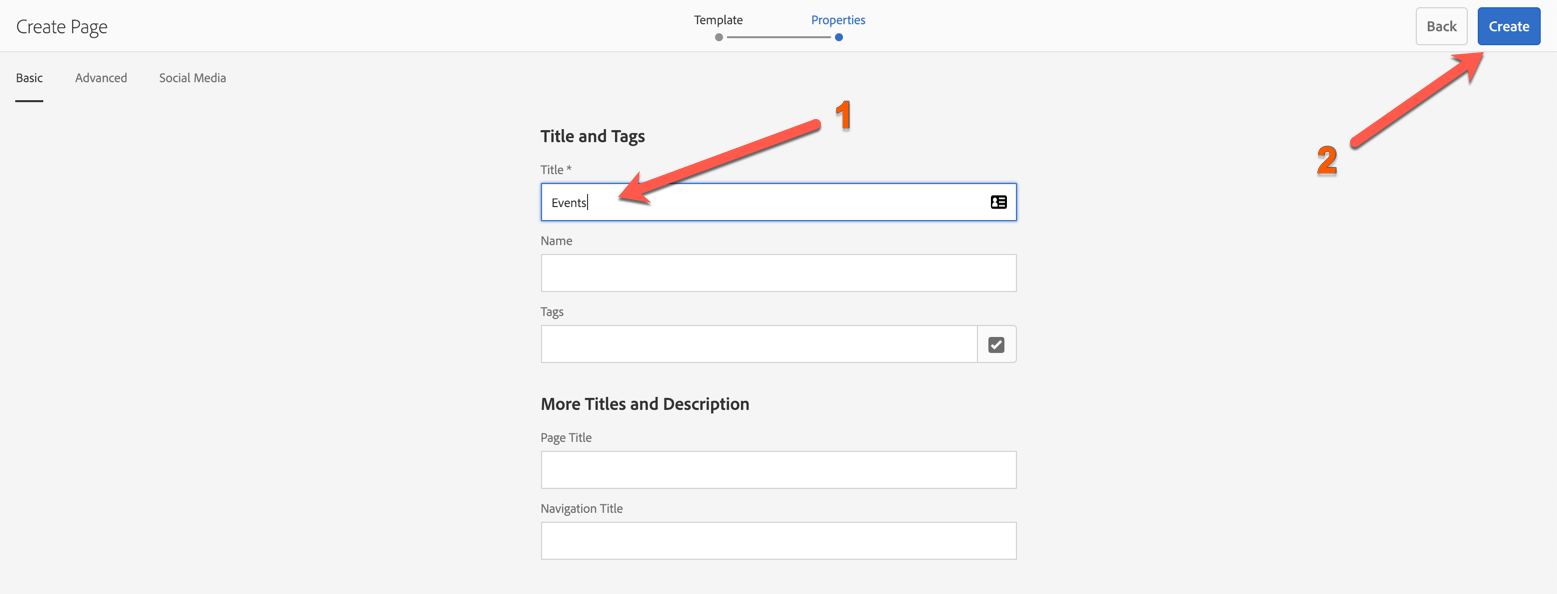
Title the page "Events" and click "Create".
Click "Open" in the modal.
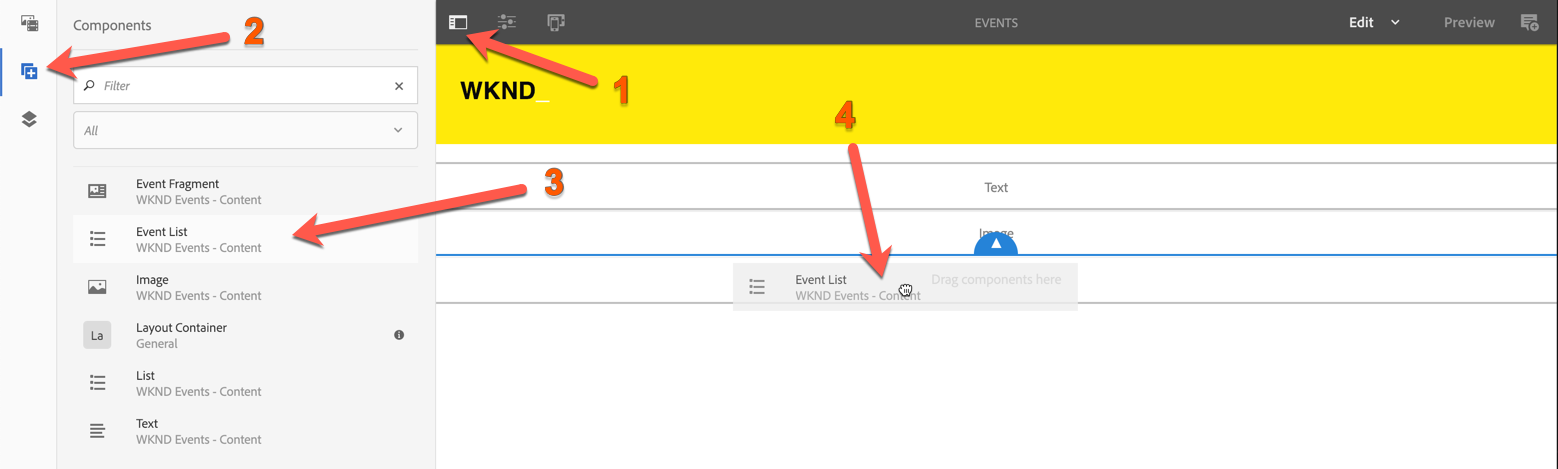
Open the sidebar, select the component context & drag an "Event List" component to the page.
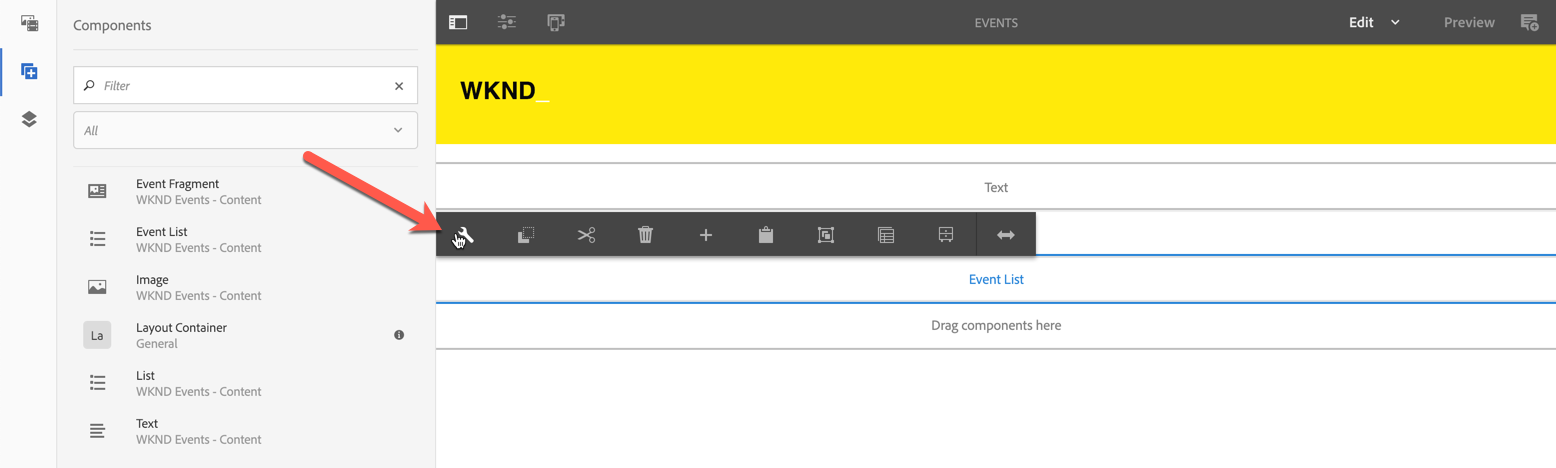
Select the "Event List" component and click the configure icon.
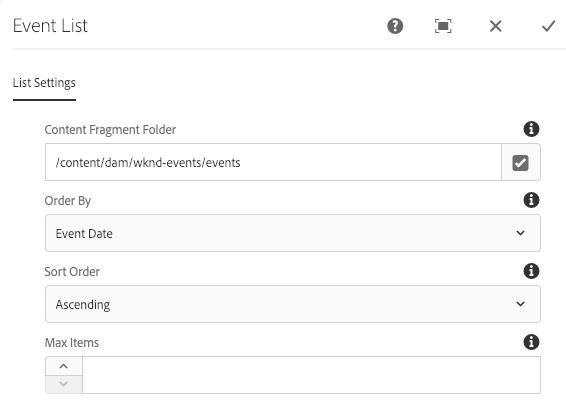
Configure the "Event List" component with the following configurations:
In this exercise, we will create a new Event (Content Fragment) and see how it is pulled in to the "Events" page automatically.
Open the Assets console
Navigate to "WKND Events" > "Events" and create a new Content Fragment.

Select the WKND Event template. Click "Next".

Enter a title for your event. Click "Create".
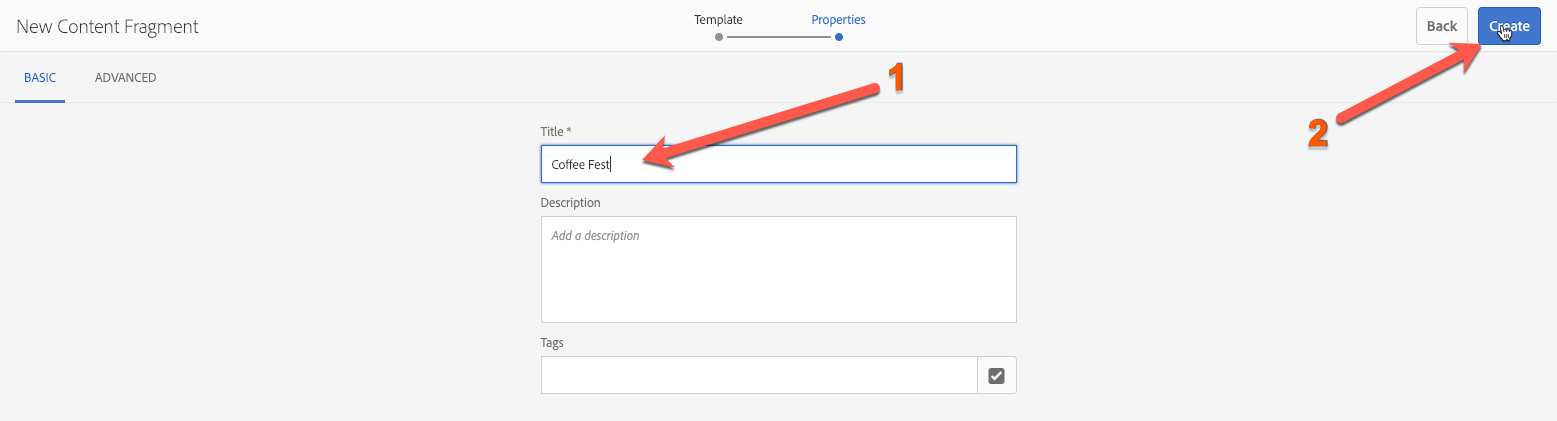
Open the Content Fragment.
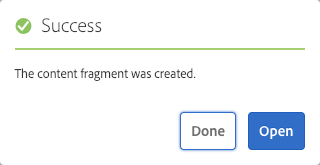
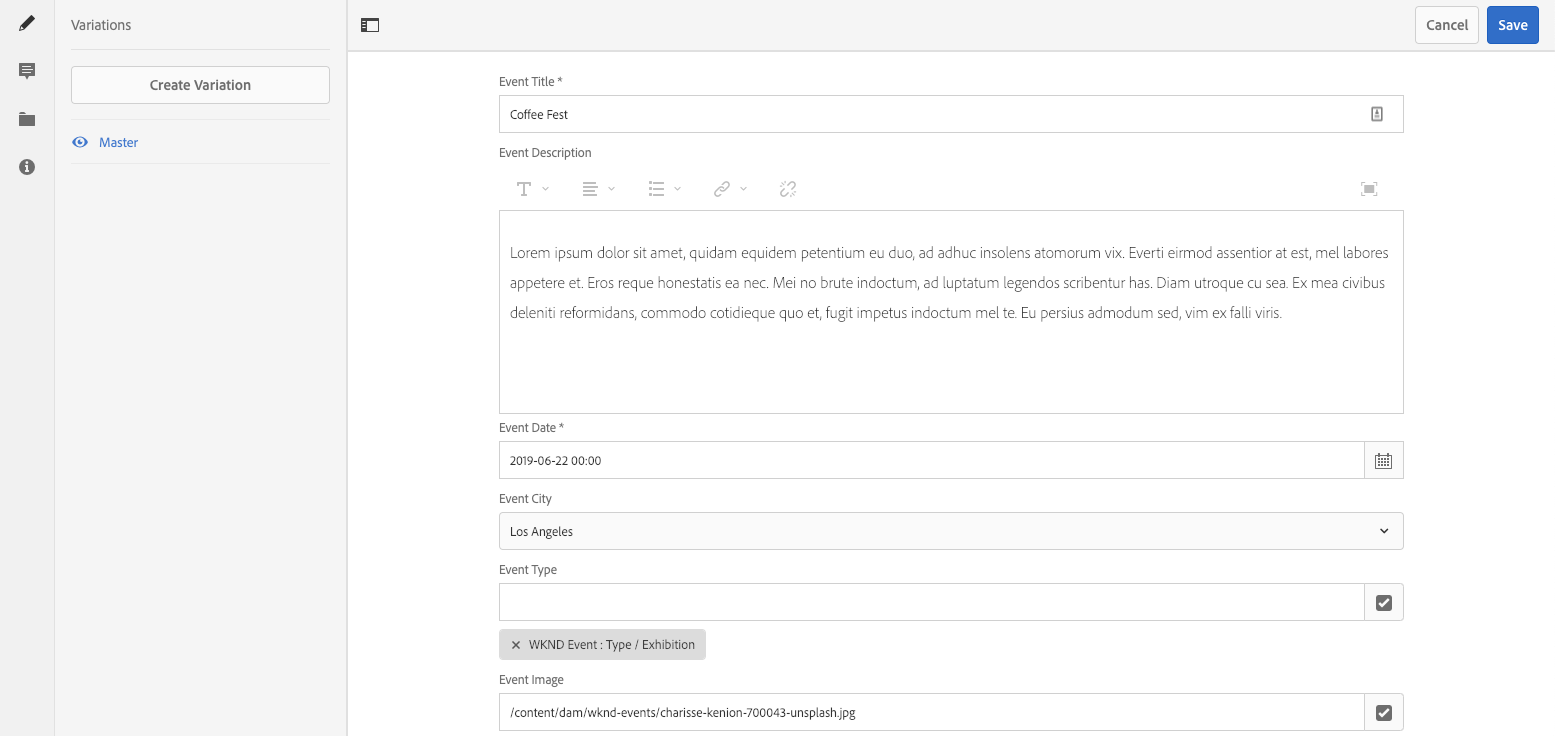
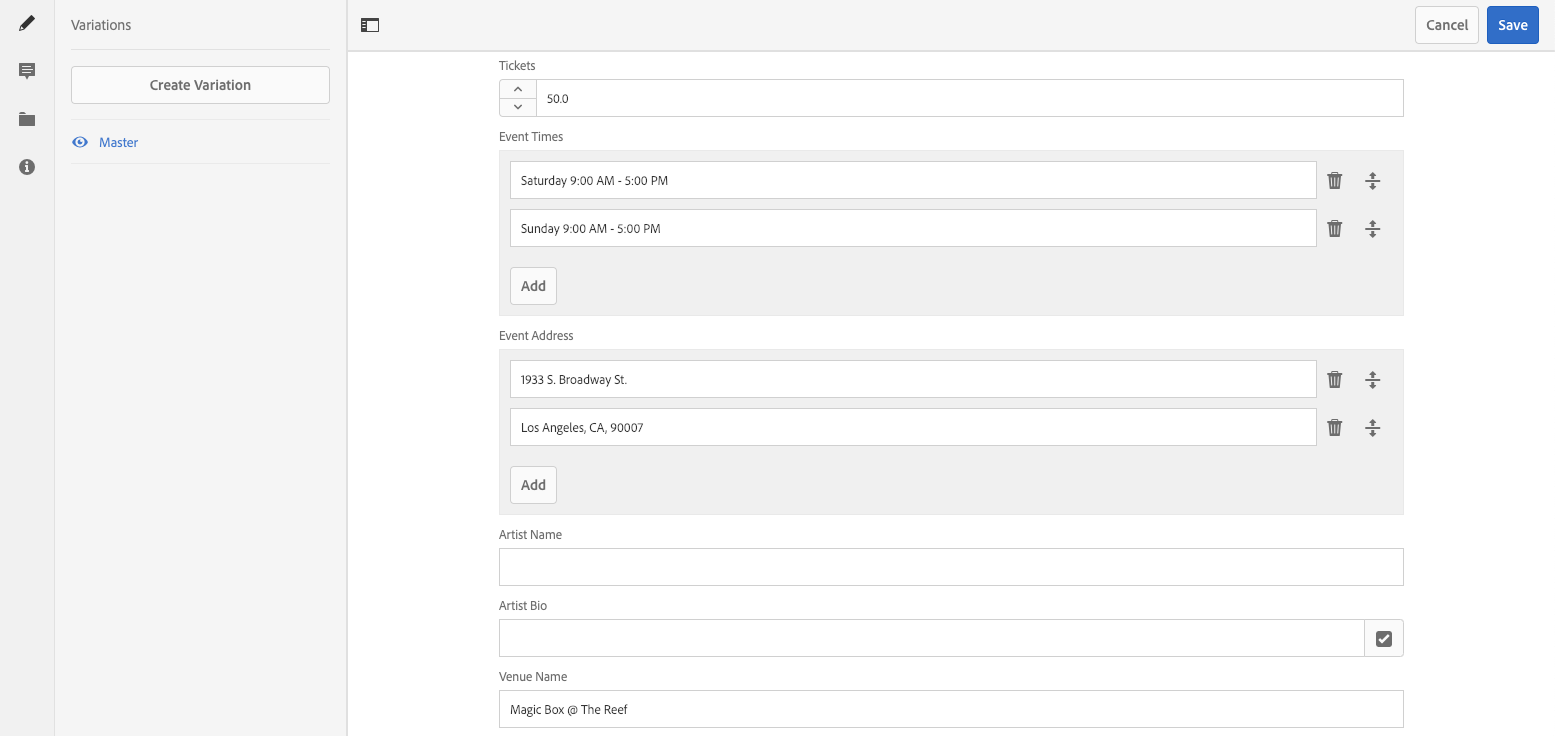
Enter the details for your event. Click "Save"
Open your Events page in the editor.
http://localhost:4502/editor.html/content/wknd-events/angular/home/events.html
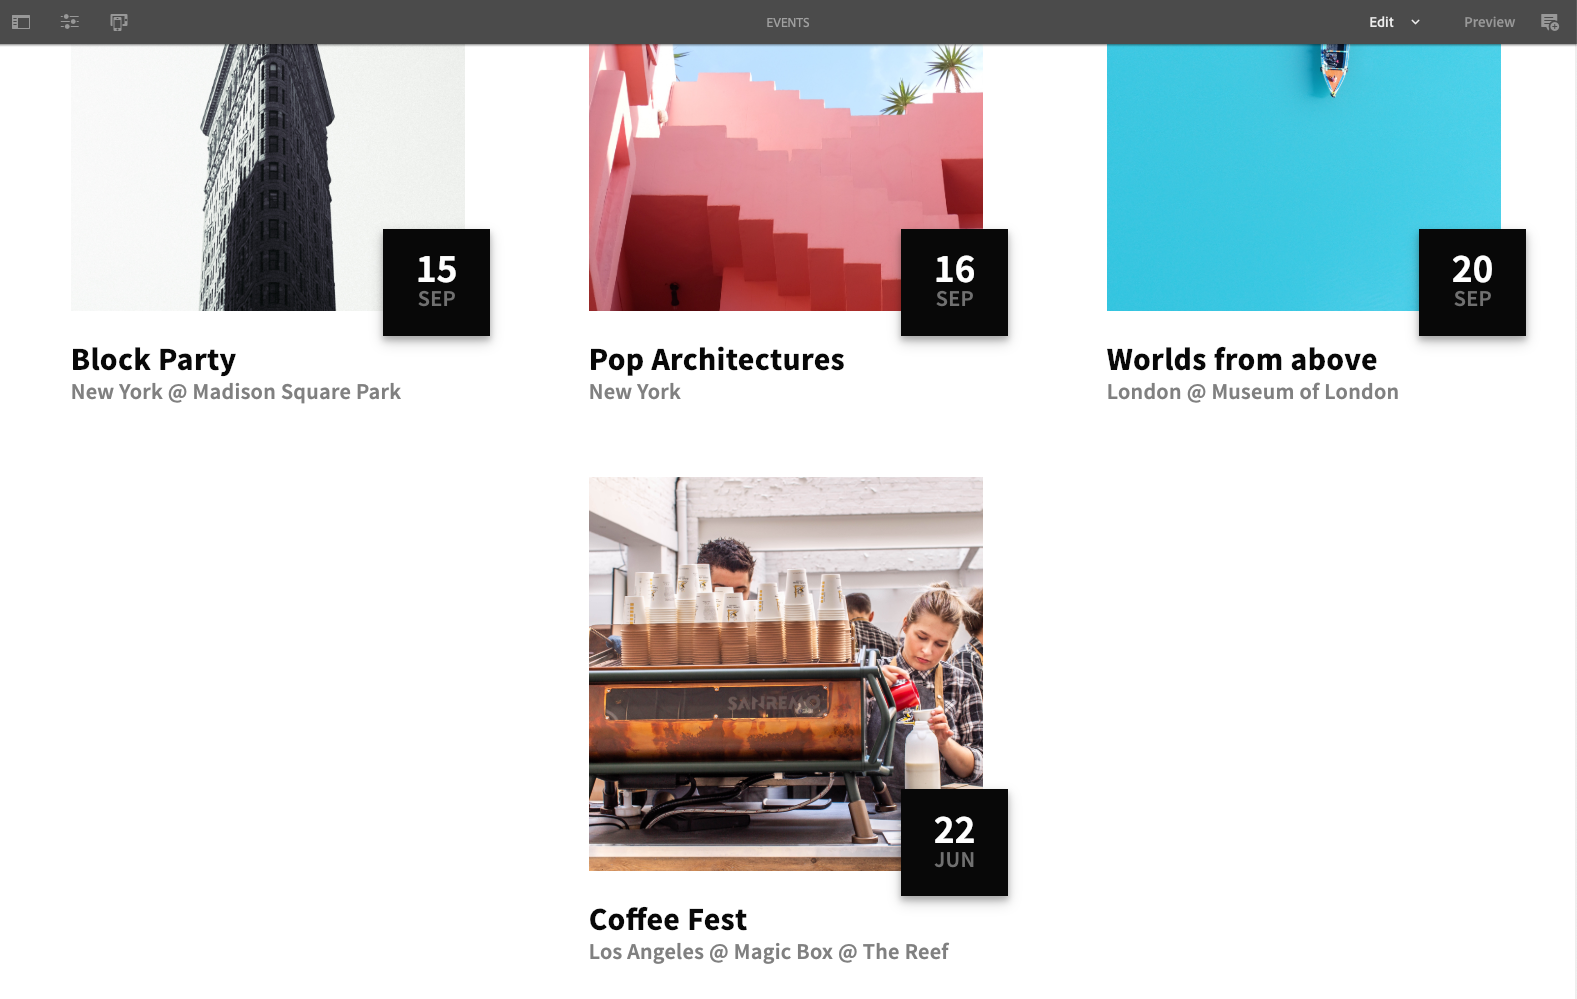
Notice that your new Event (Content Fragment) has been automatically pulled into the page.
In this bonus exercise, we will look at the Asset API that provides the Events JSON to the Event Fragment component for rendering.
For this exercise, you will want to download a browser extension which presents JSON to you in a more legible manner. There are plenty of extensions that do this, JSONView is a favorite for Chrome.
Once you have your browser extension install, open the following link:
http://localhost:4502/api/assets/wknd-events/events.json

You will notice that the JSON contains the following:
